
9 Amazing Ways to Use Blooming Gel for Nail Art
Blooming gel is a revolutionary product in the nail art world, allowing for stunning, diffused effects that were previously difficult to achieve. Whether you're a seasoned nail artist or just starting out, blooming gel opens up a world of creative possibilities. This guide will explore nine fantastic ways to incorporate blooming gel into your manicures.
1. Classic Marble Effect
The marble effect is perhaps the most well-known use for blooming gel. Apply a base coat of your desired color, then a thin layer of blooming gel. While the gel is still wet, add small dots or lines of a contrasting color. Watch as the colors naturally blend and diffuse, creating a beautiful marble pattern. Cure under a UV/LED lamp.
2. Watercolor Wash
For a delicate, watercolor-like effect, apply a thin layer of blooming gel over your base color. Then, using a fine brush or dotting tool, gently apply small amounts of different gel polish colors. The blooming gel will cause the colors to spread and blend subtly, creating a soft, artistic look.
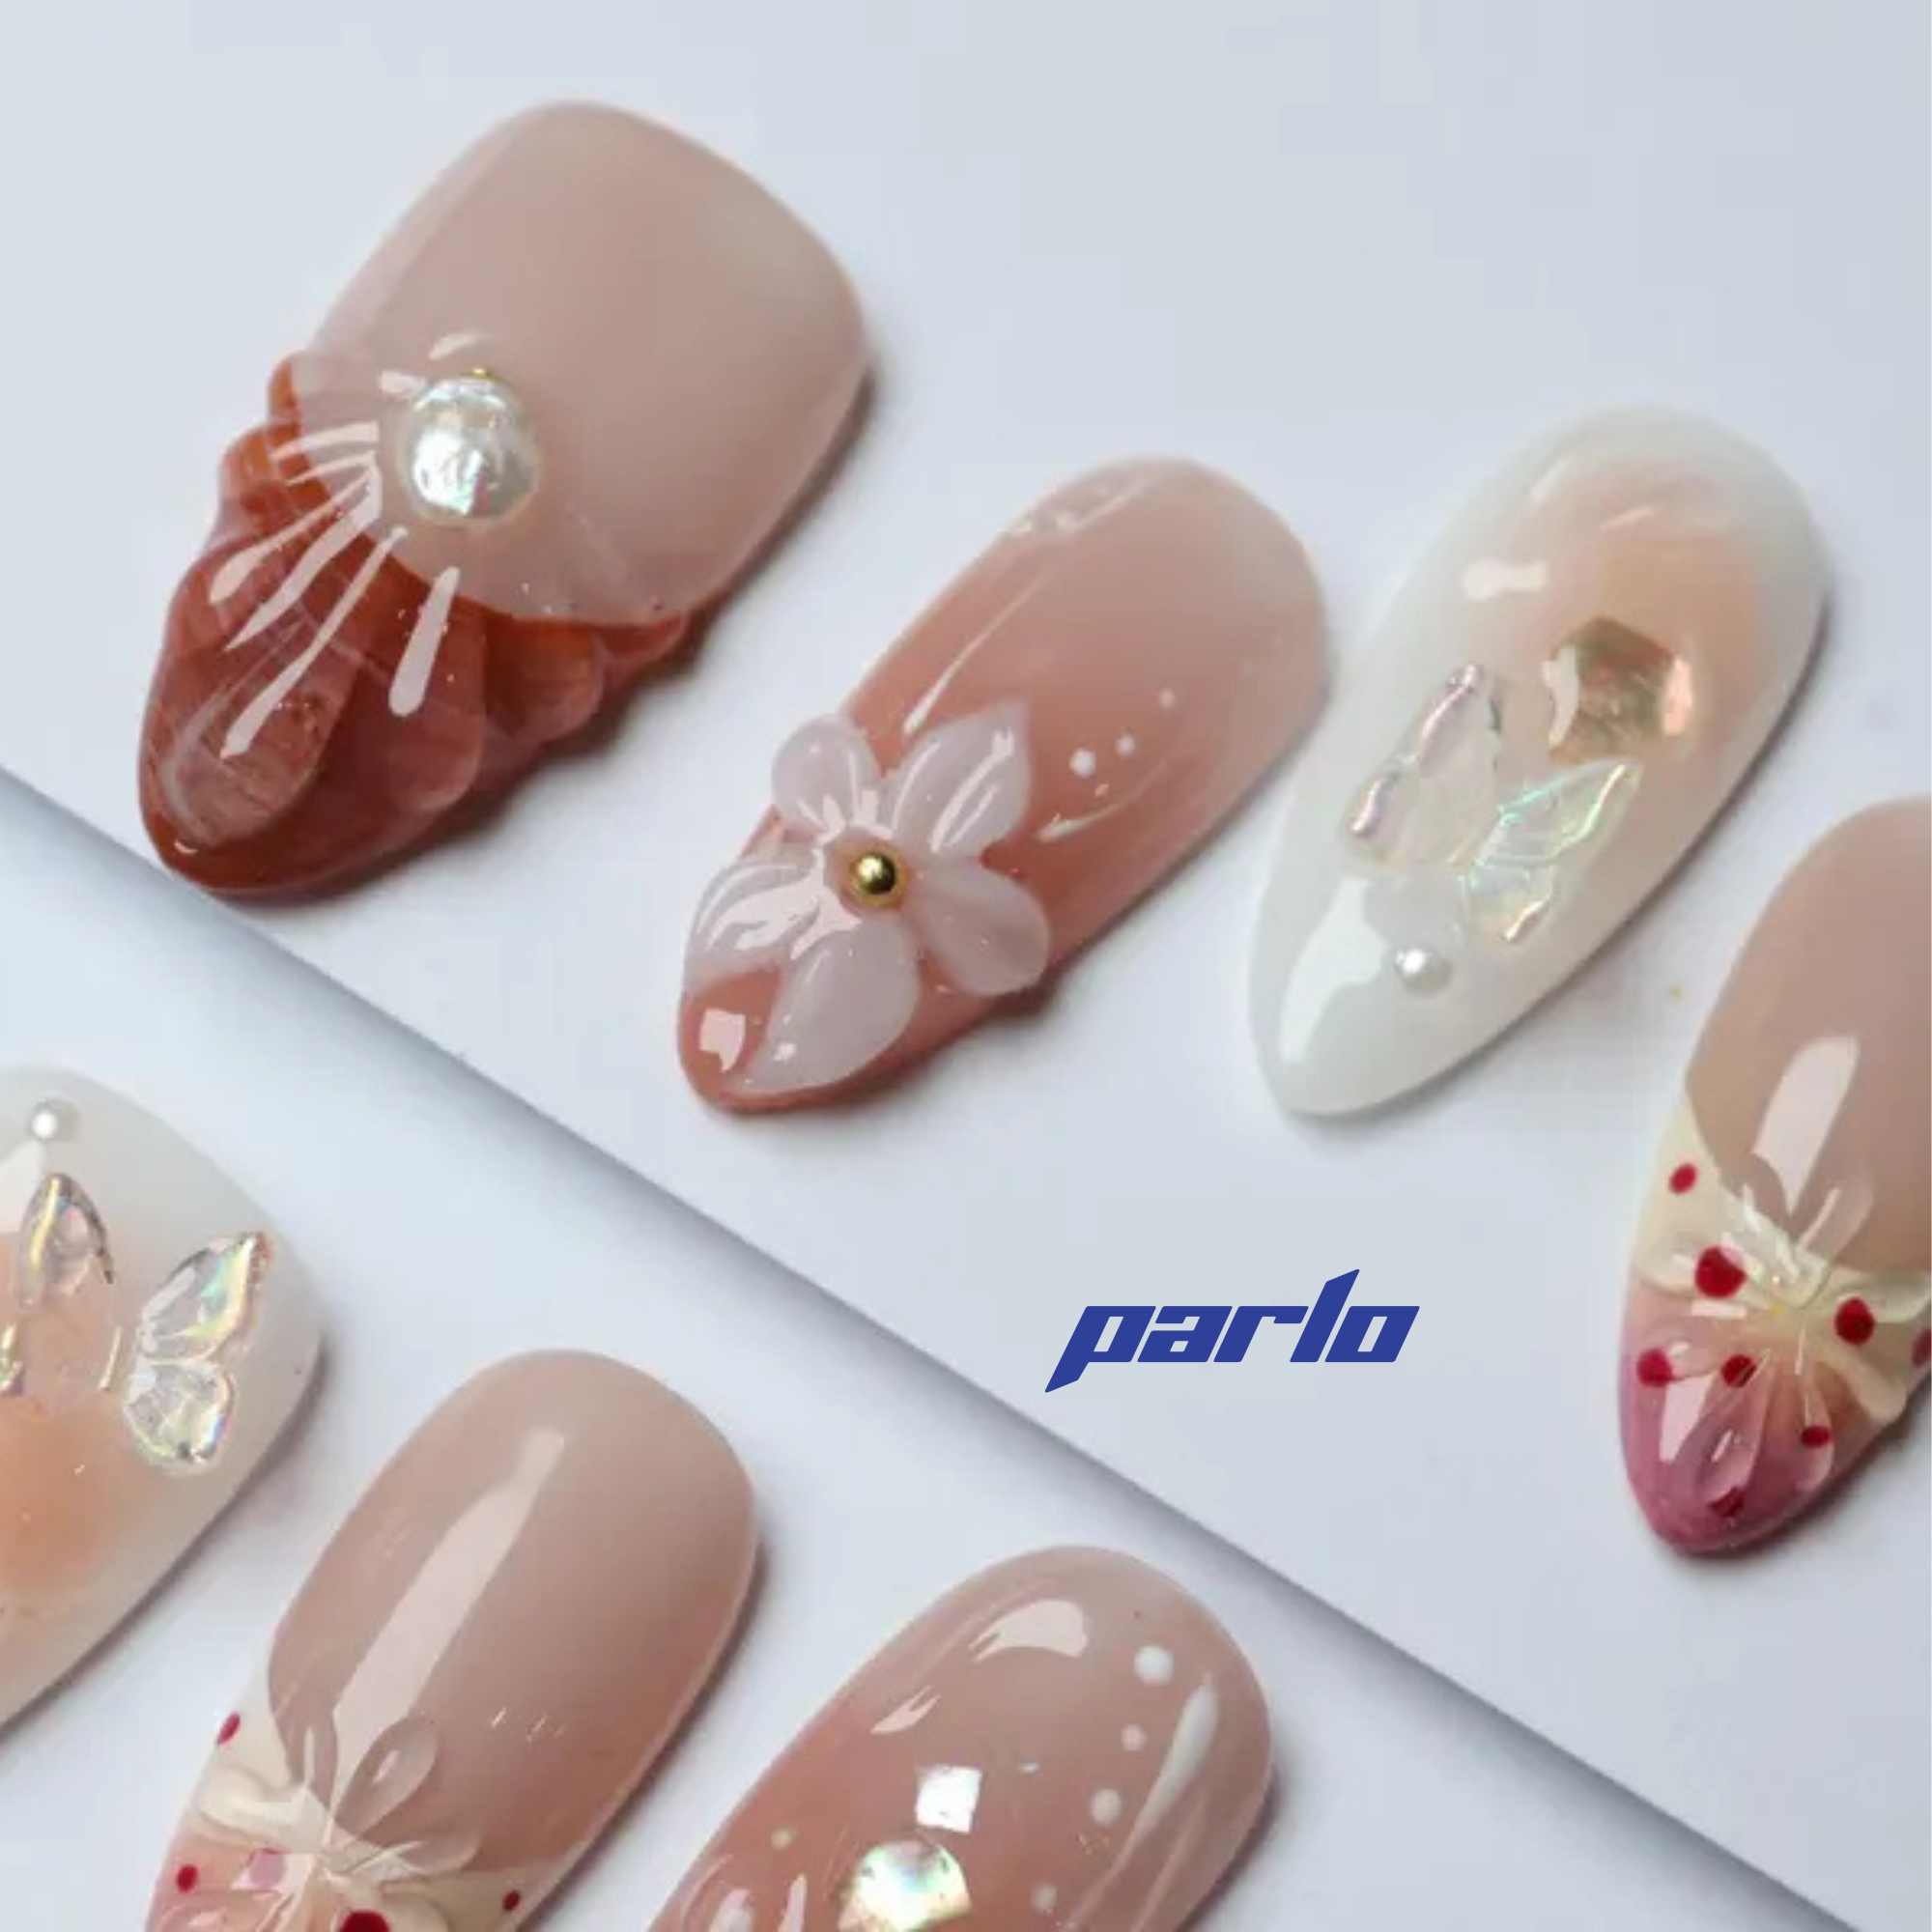
3. Elegant Floral Designs
Blooming gel is perfect for creating intricate floral designs. After applying a base coat and blooming gel layer, use a thin brush to paint delicate floral shapes. The blooming effect will soften the lines, giving your flowers a realistic and ethereal appearance. If you're looking for a quick floral fix, Check out these 3D floral press-ons!

4. Ombre Blends
Create smooth and seamless ombre transitions with blooming gel. Apply a base color, followed by a layer of blooming gel. Then, apply two or more gel polish colors side-by-side where you want the ombre to occur. The blooming gel will help the colors blend together effortlessly.
5. Abstract Art
Let your creativity run wild with abstract designs. Apply a layer of blooming gel and then use a variety of tools, such as brushes, dotting tools, or even toothpicks, to create random patterns and shapes with different gel polish colors. The blooming effect will add depth and complexity to your abstract art.
6. Animal Print Effects
Achieve realistic animal print effects, such as leopard or zebra stripes, with blooming gel. Apply a base color and a layer of blooming gel. Then, use a thin brush to create the animal print pattern. The blooming effect will soften the edges of the print, making it look more natural.
7. Galaxy Nails
Blooming gel is fantastic for creating mesmerizing galaxy nail designs. Apply a dark base color, such as black or navy blue, followed by a layer of blooming gel. Then, use a sponge or brush to dab on various colors of glitter and iridescent gel polish. The blooming gel will help the colors blend and create a starry effect.
8. Tie-Dye Swirls
Recreate the fun and vibrant look of tie-dye on your nails with blooming gel. Apply a base coat and blooming gel layer. Then, use a dotting tool to place small dots of different gel polish colors randomly on the nail. Use a thin brush or toothpick to swirl the colors together while the blooming gel is still wet.
9. Enhancing Glitter Effects
Blooming gel can be used to enhance the appearance of glitter polishes. Apply a layer of blooming gel over your base color before applying your glitter polish. The blooming gel will help the glitter particles spread more evenly and create a more diffused, sparkling effect. For a tropical touch, consider Aloha Acai!

Experiment with these techniques and discover your own unique ways to use blooming gel! The possibilities are endless.
Ready to create stunning nail art? Explore our collection of nail polishes and accessories today!
Generated from keyword: "9 Ways to Use Blooming Gel"