Acrylic A-Z: How to Apply NEW Kiara Sky All-in-One Acrylic
Achieving salon-quality acrylic nails at home is now easier than ever with Kiara Sky's All-in-One Acrylic system. This innovative product simplifies the application process, making it accessible for beginners while still delivering professional results. This comprehensive guide will take you through every step, from prepping your nails to achieving the perfect finish.
Step 1: Nail Preparation - The Foundation for Success
Proper nail preparation is crucial for long-lasting acrylics. Start by sanitizing your hands and removing any existing polish. Gently push back your cuticles using a cuticle pusher and trim away any excess skin. Next, gently buff the surface of your natural nails to remove the shine. This creates a textured surface for the acrylic to adhere to. Finally, cleanse your nails with a dehydrator to remove any oils or residue. A clean, dry surface is essential for optimal adhesion. Consider using a nail primer for enhanced bonding.
Step 2: Applying the Kiara Sky All-in-One Acrylic
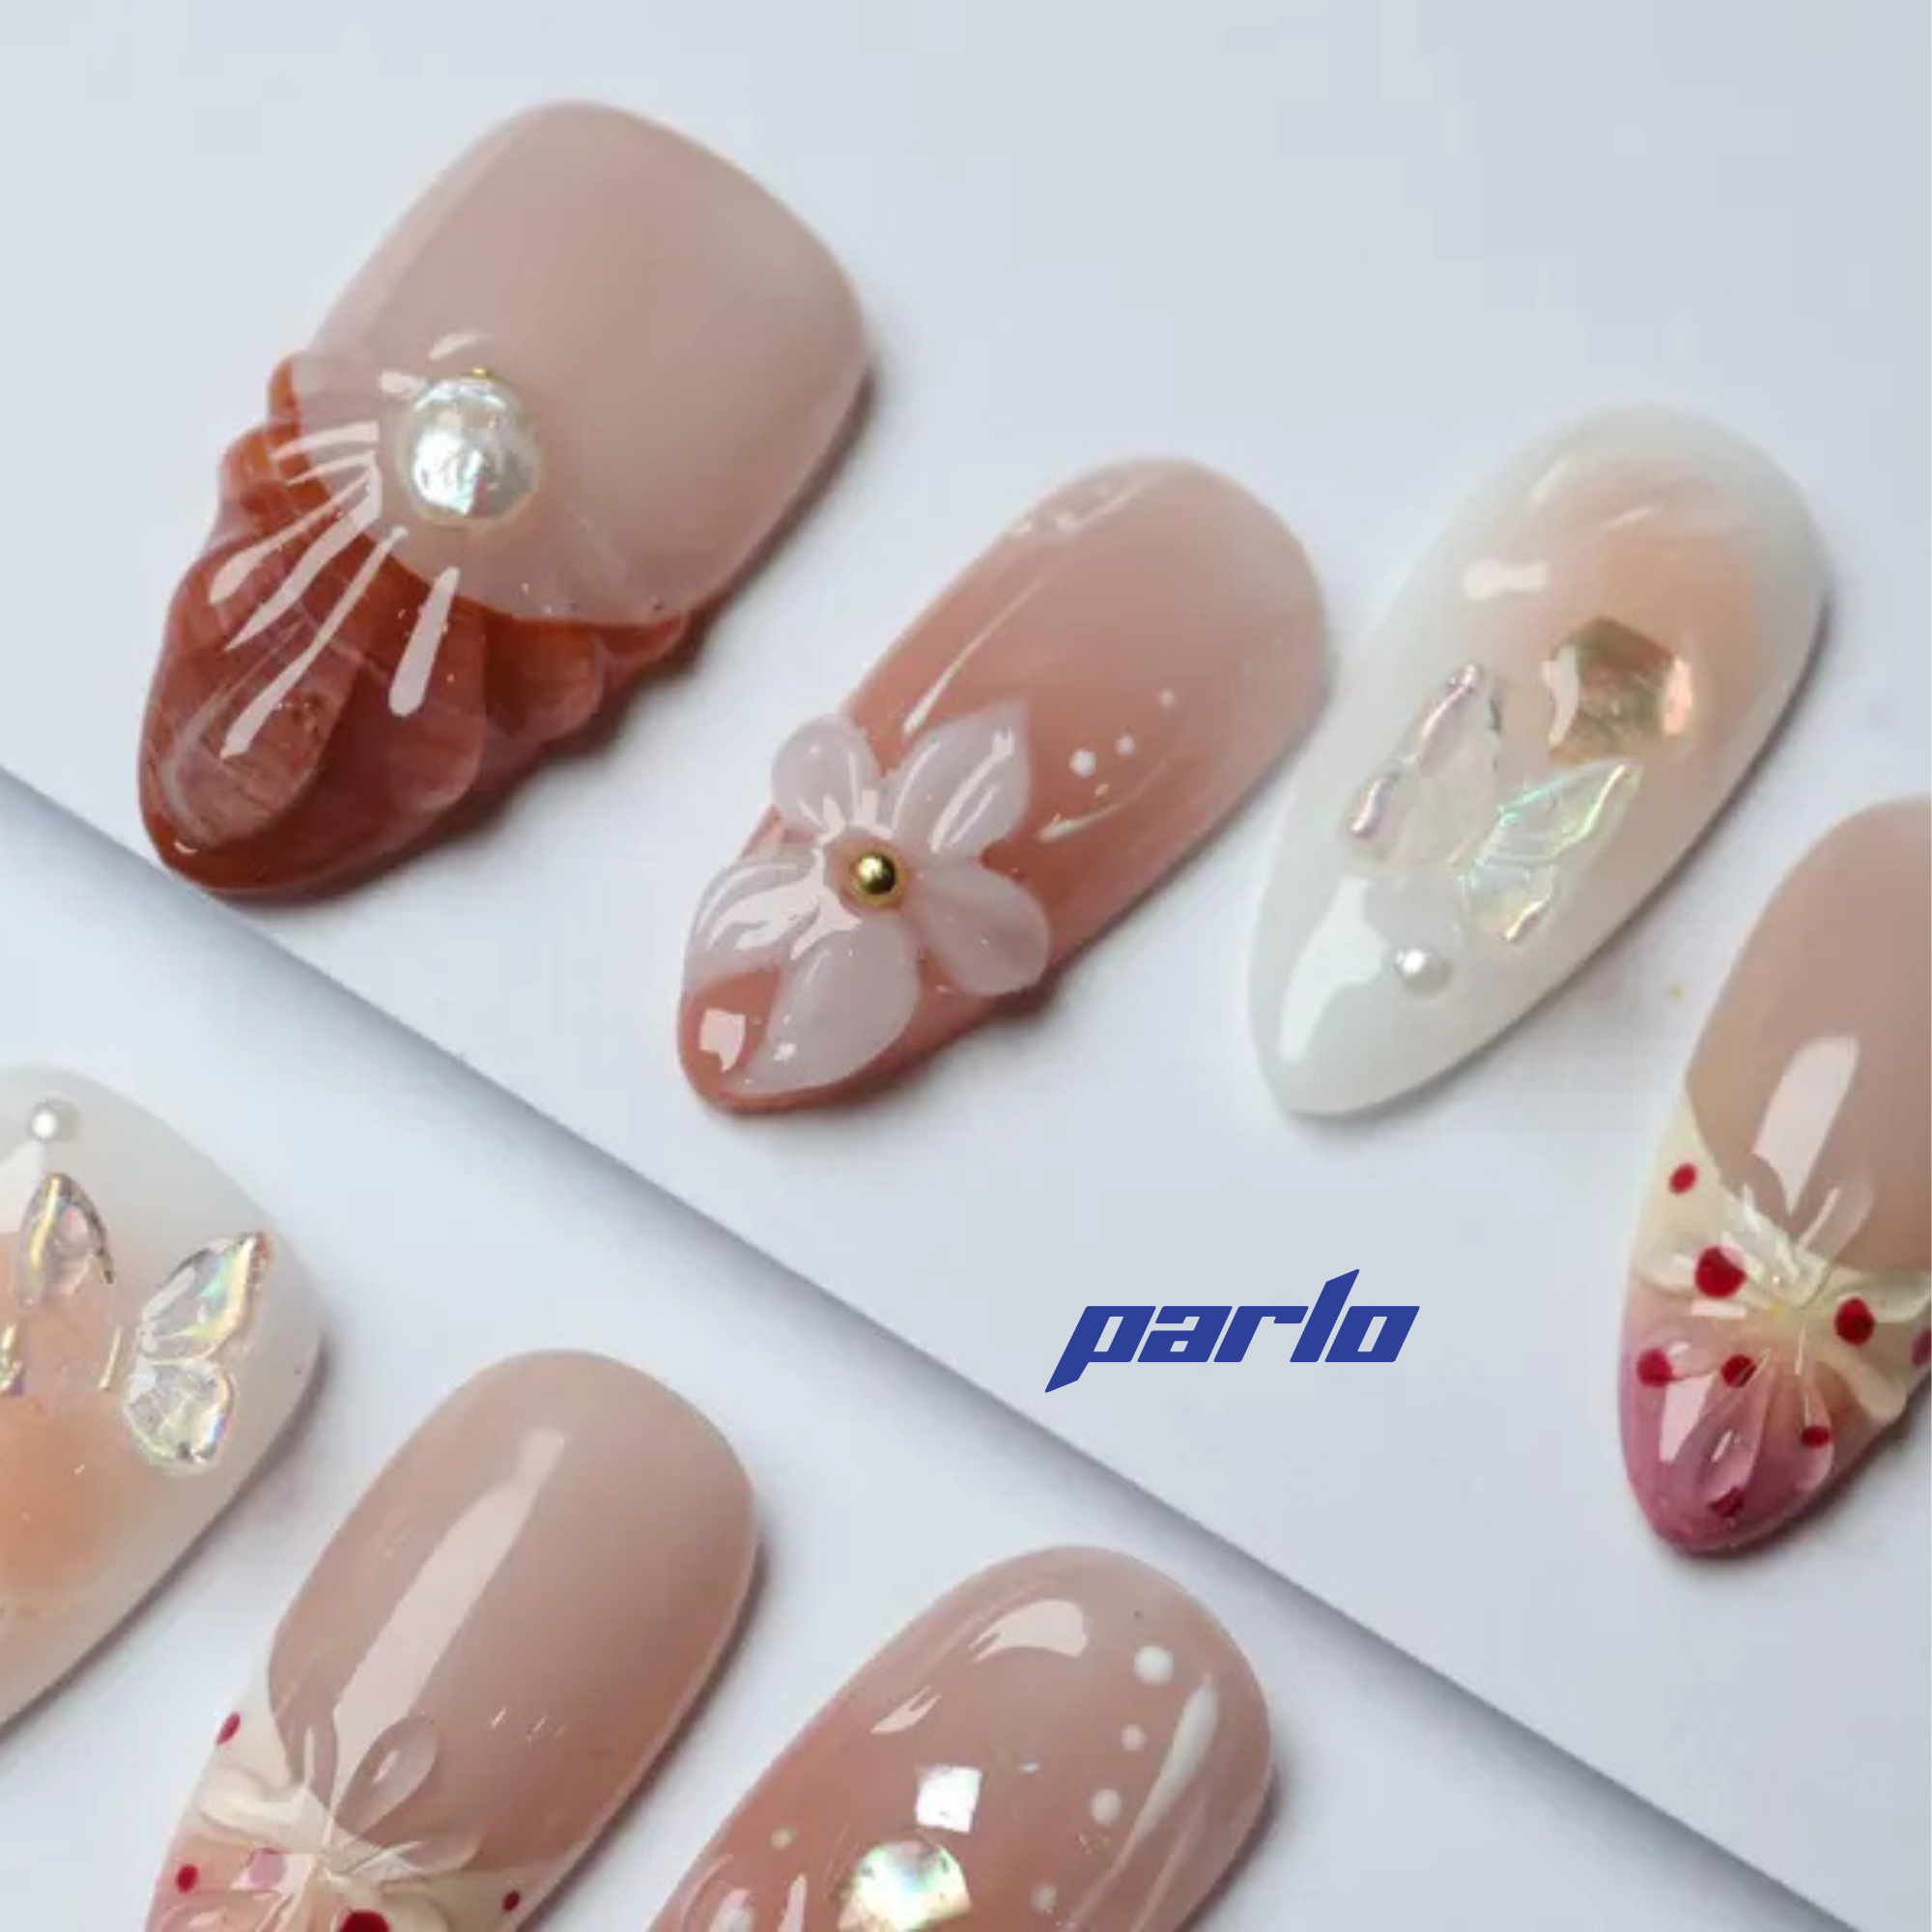
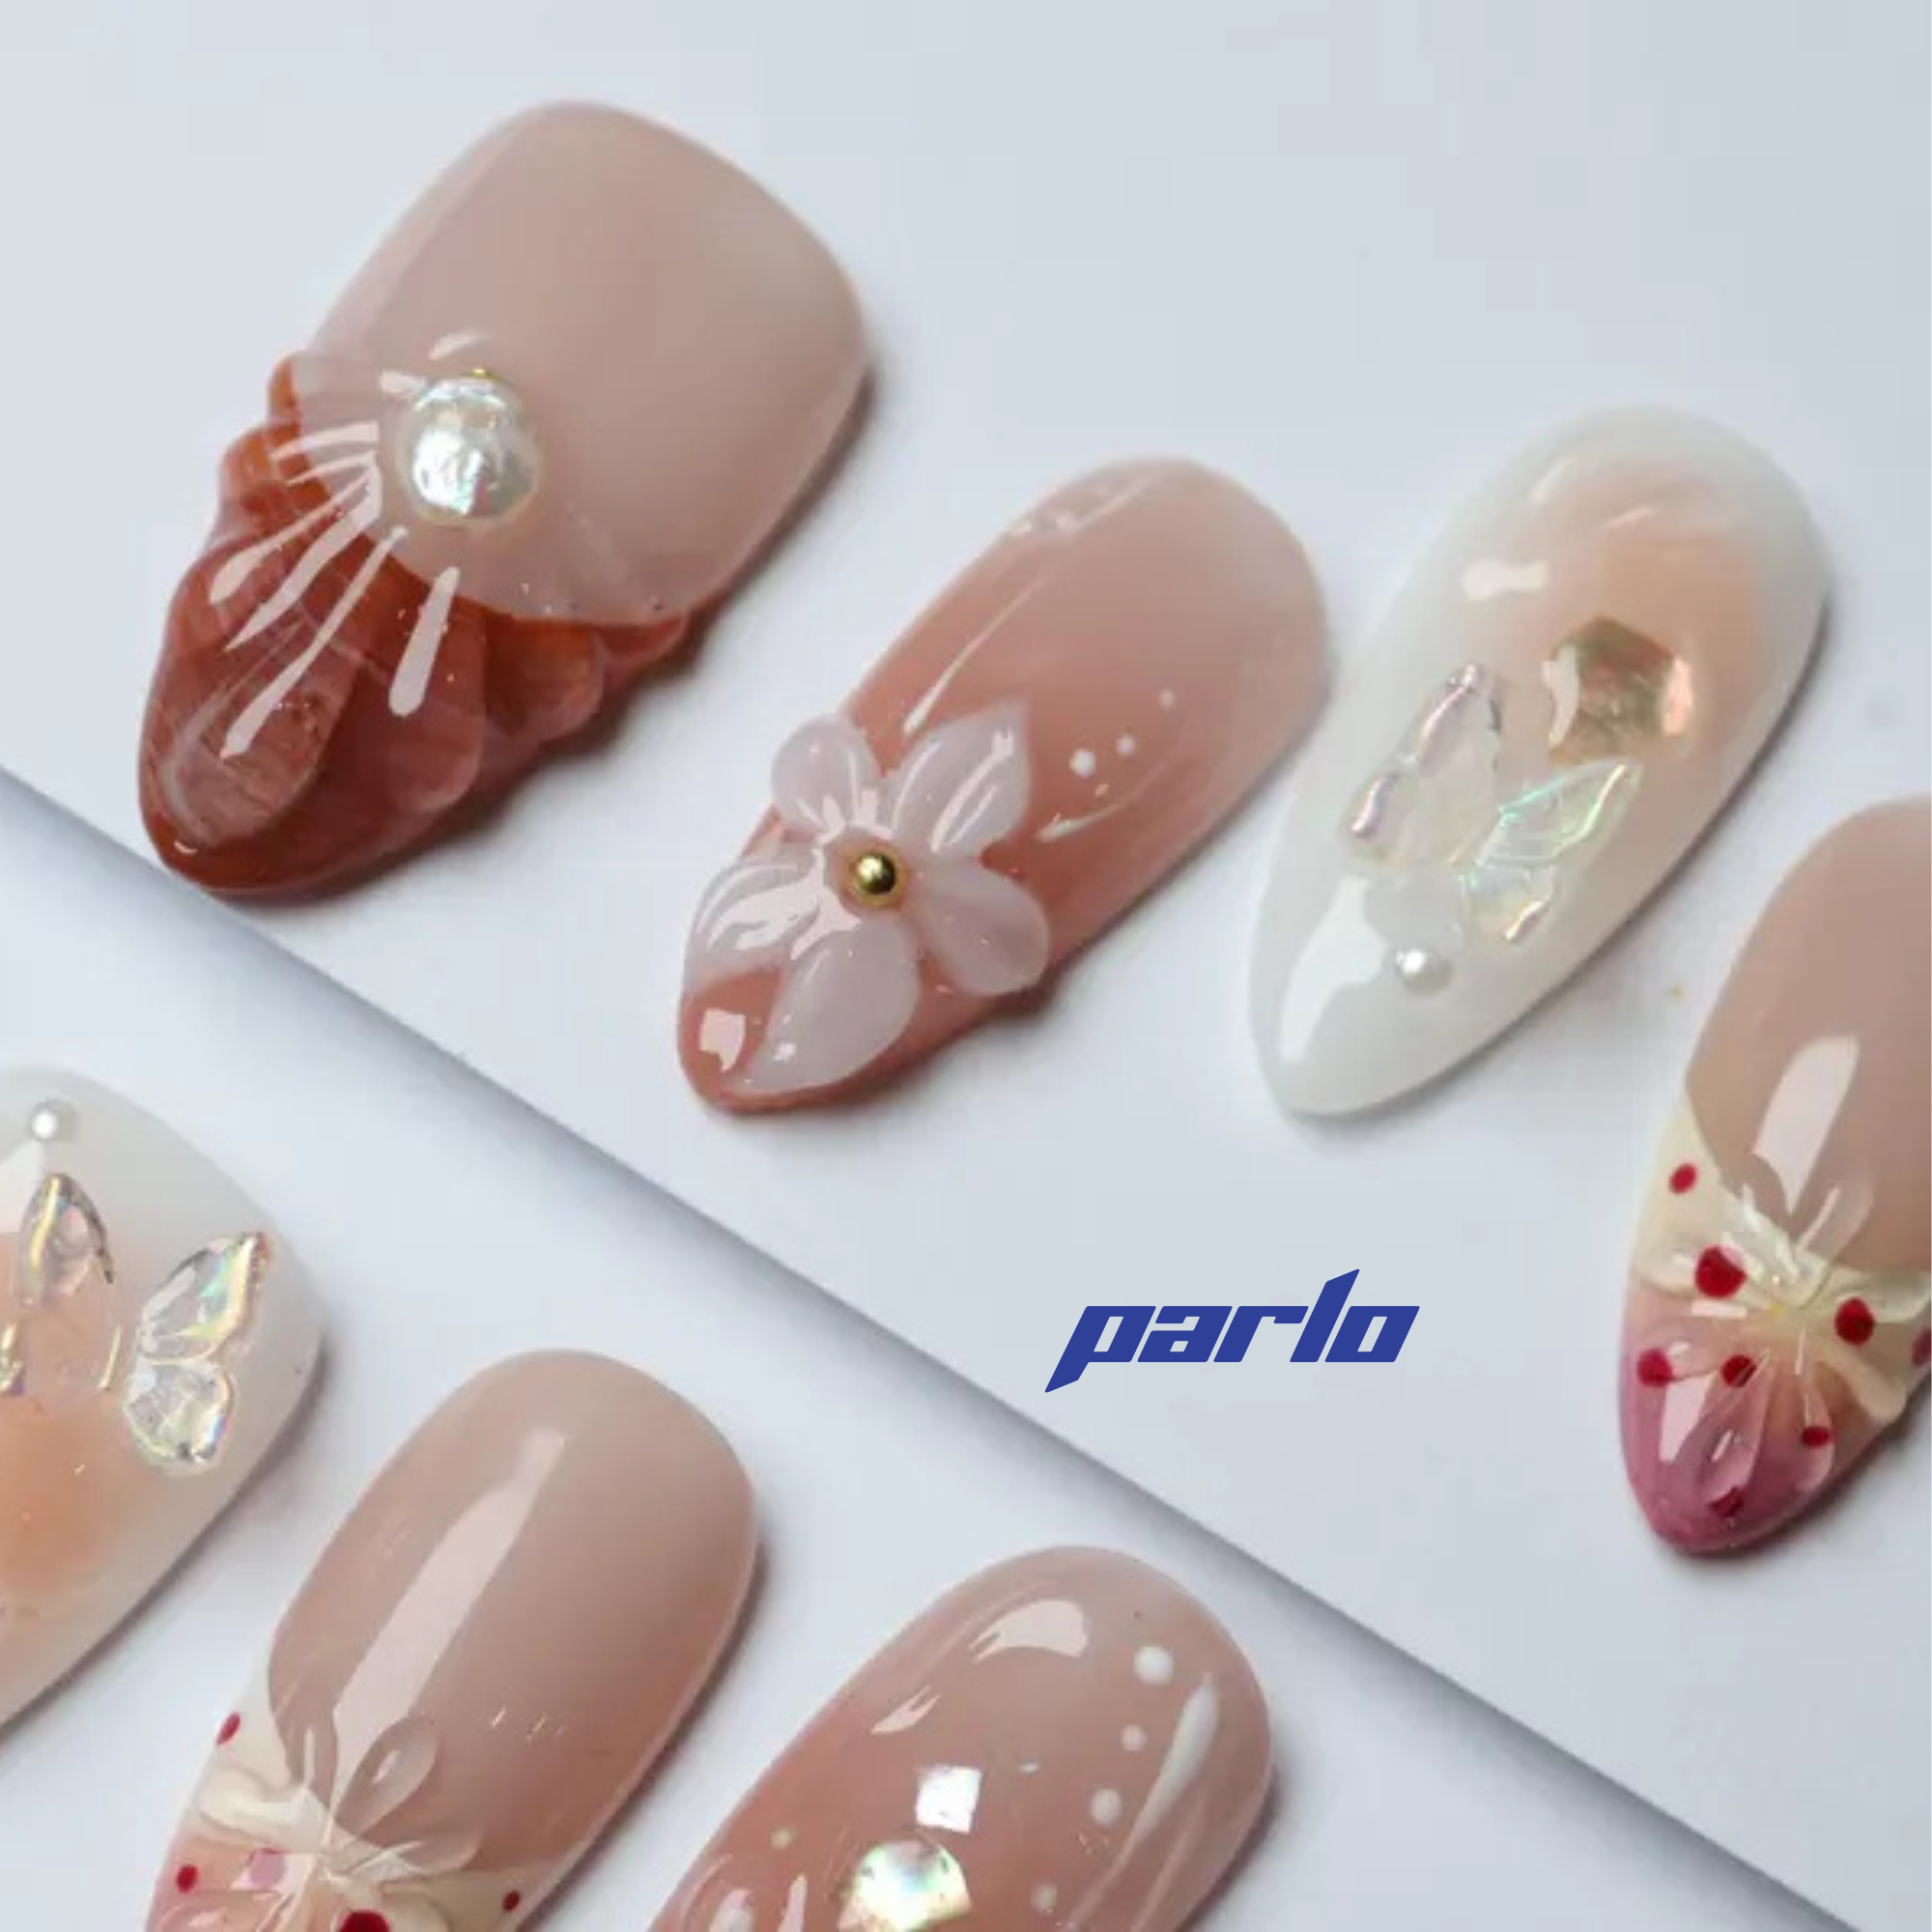
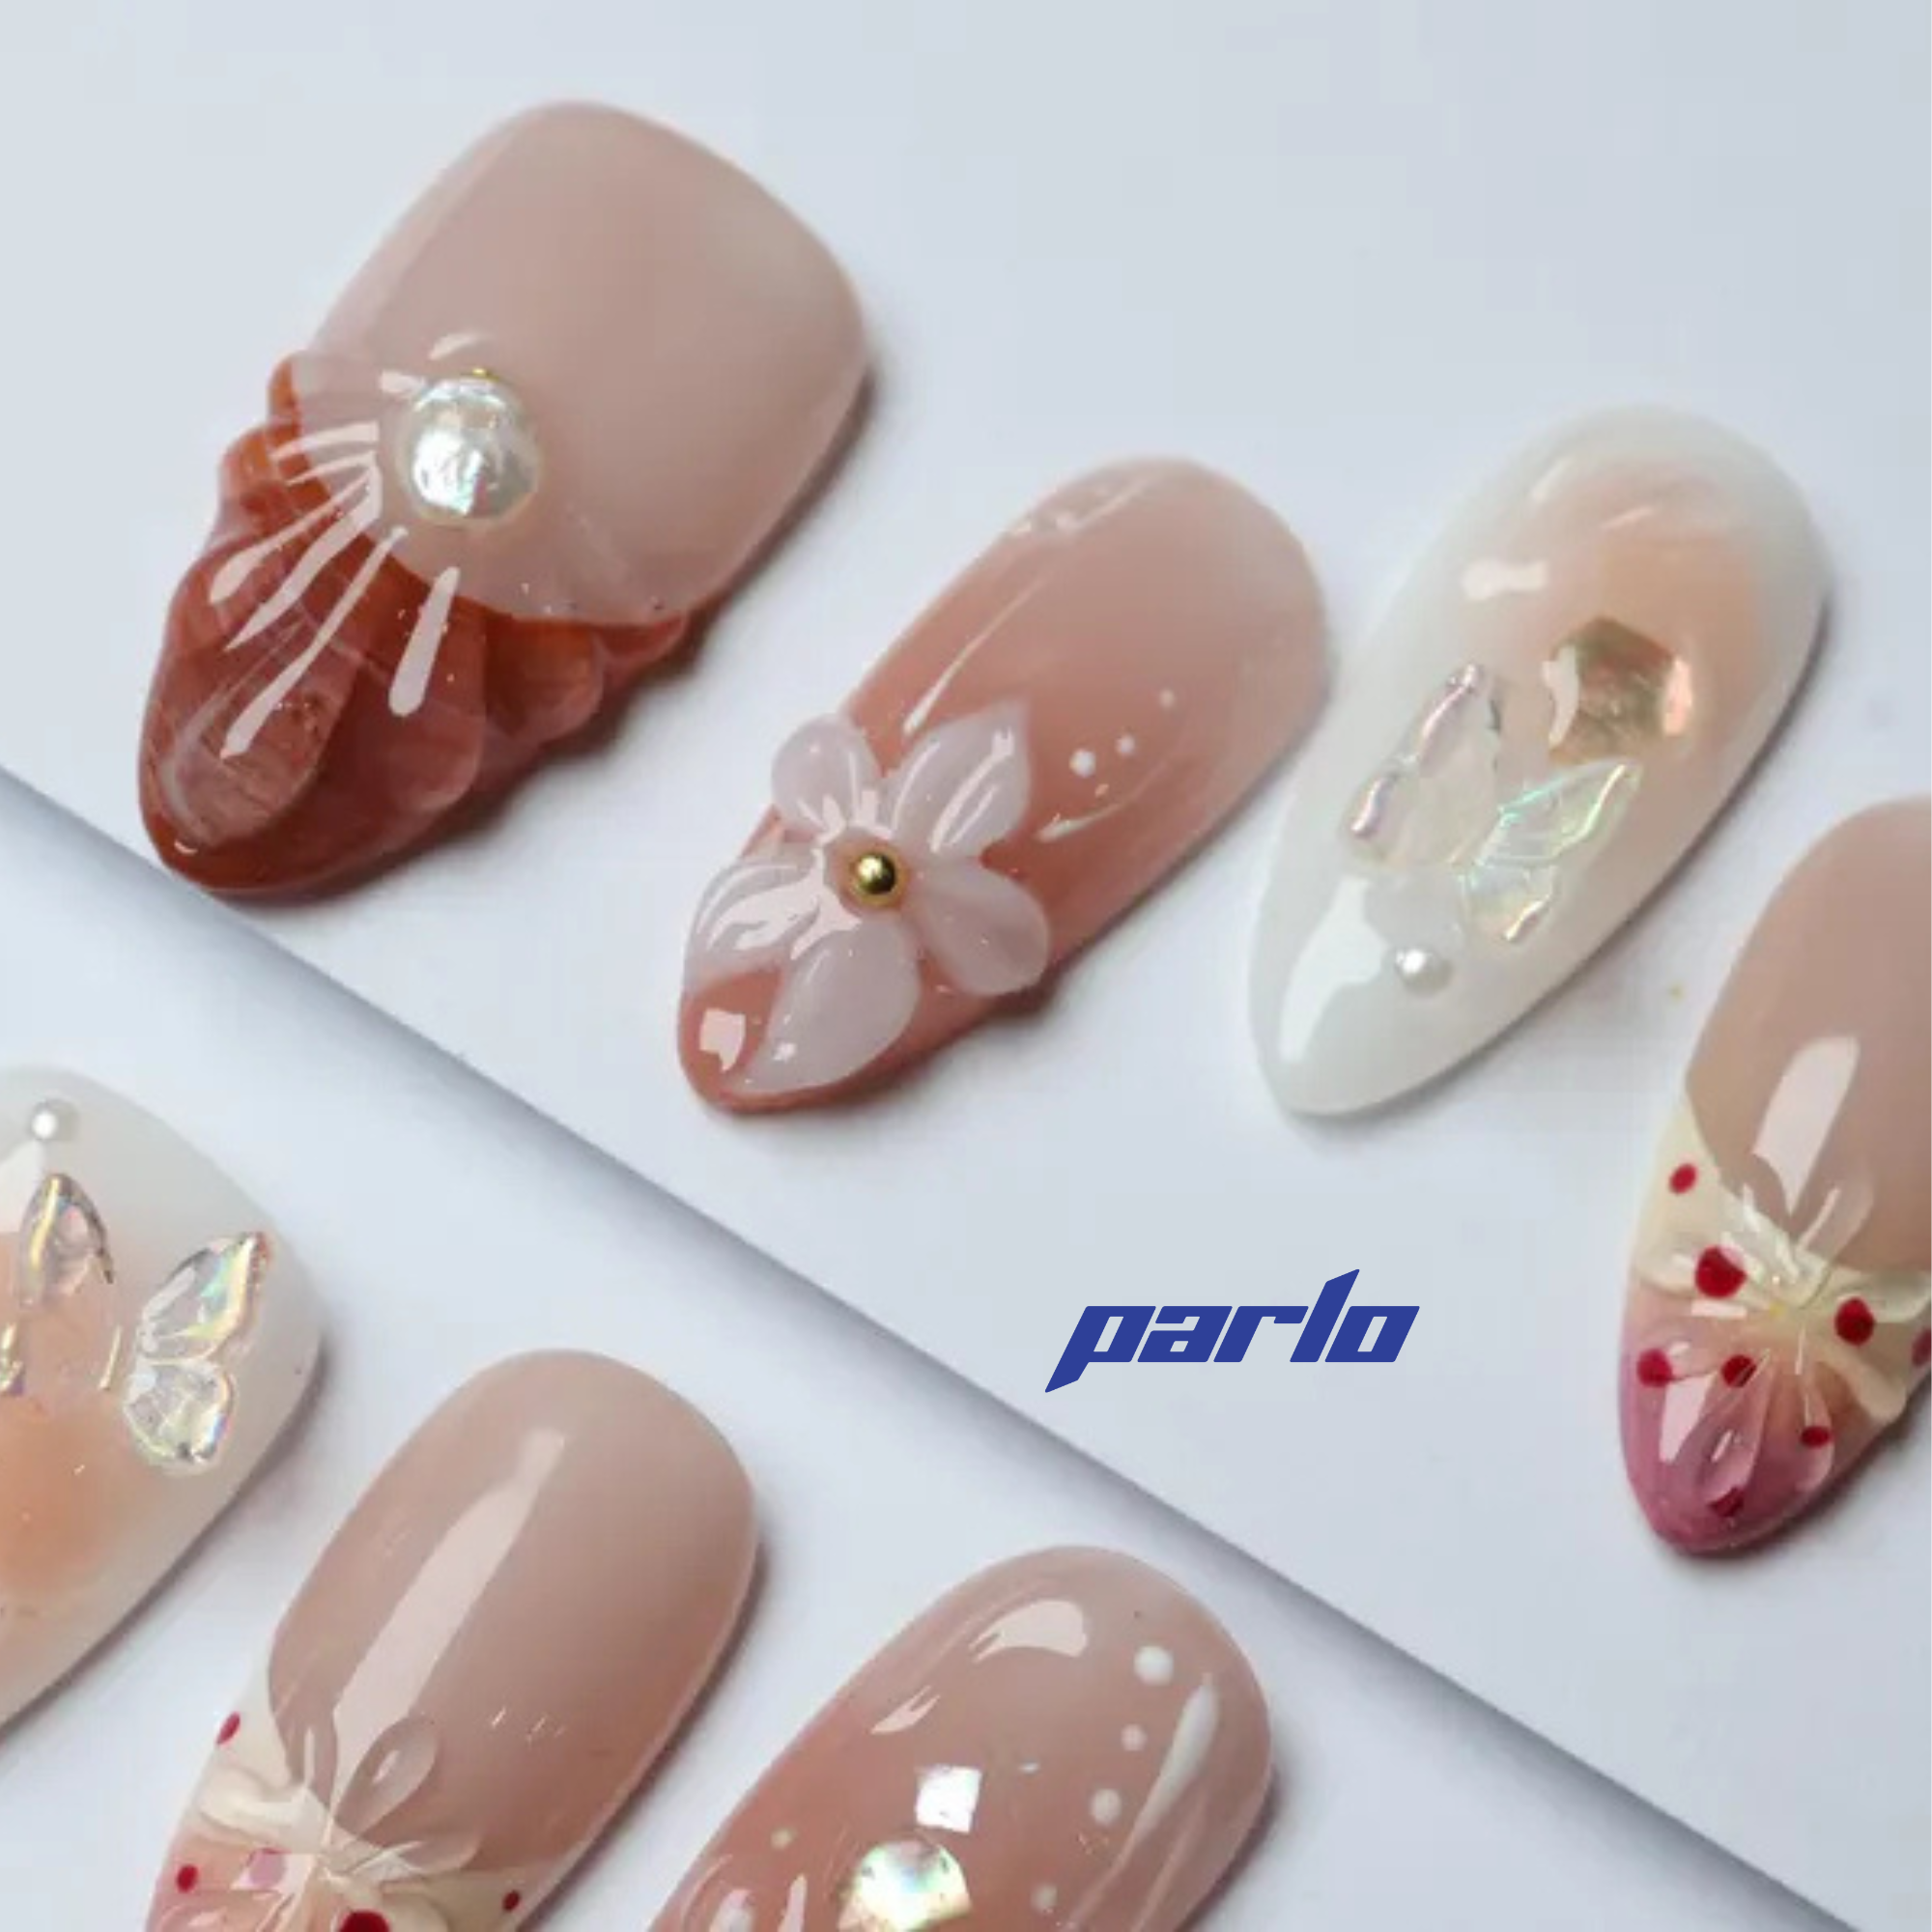
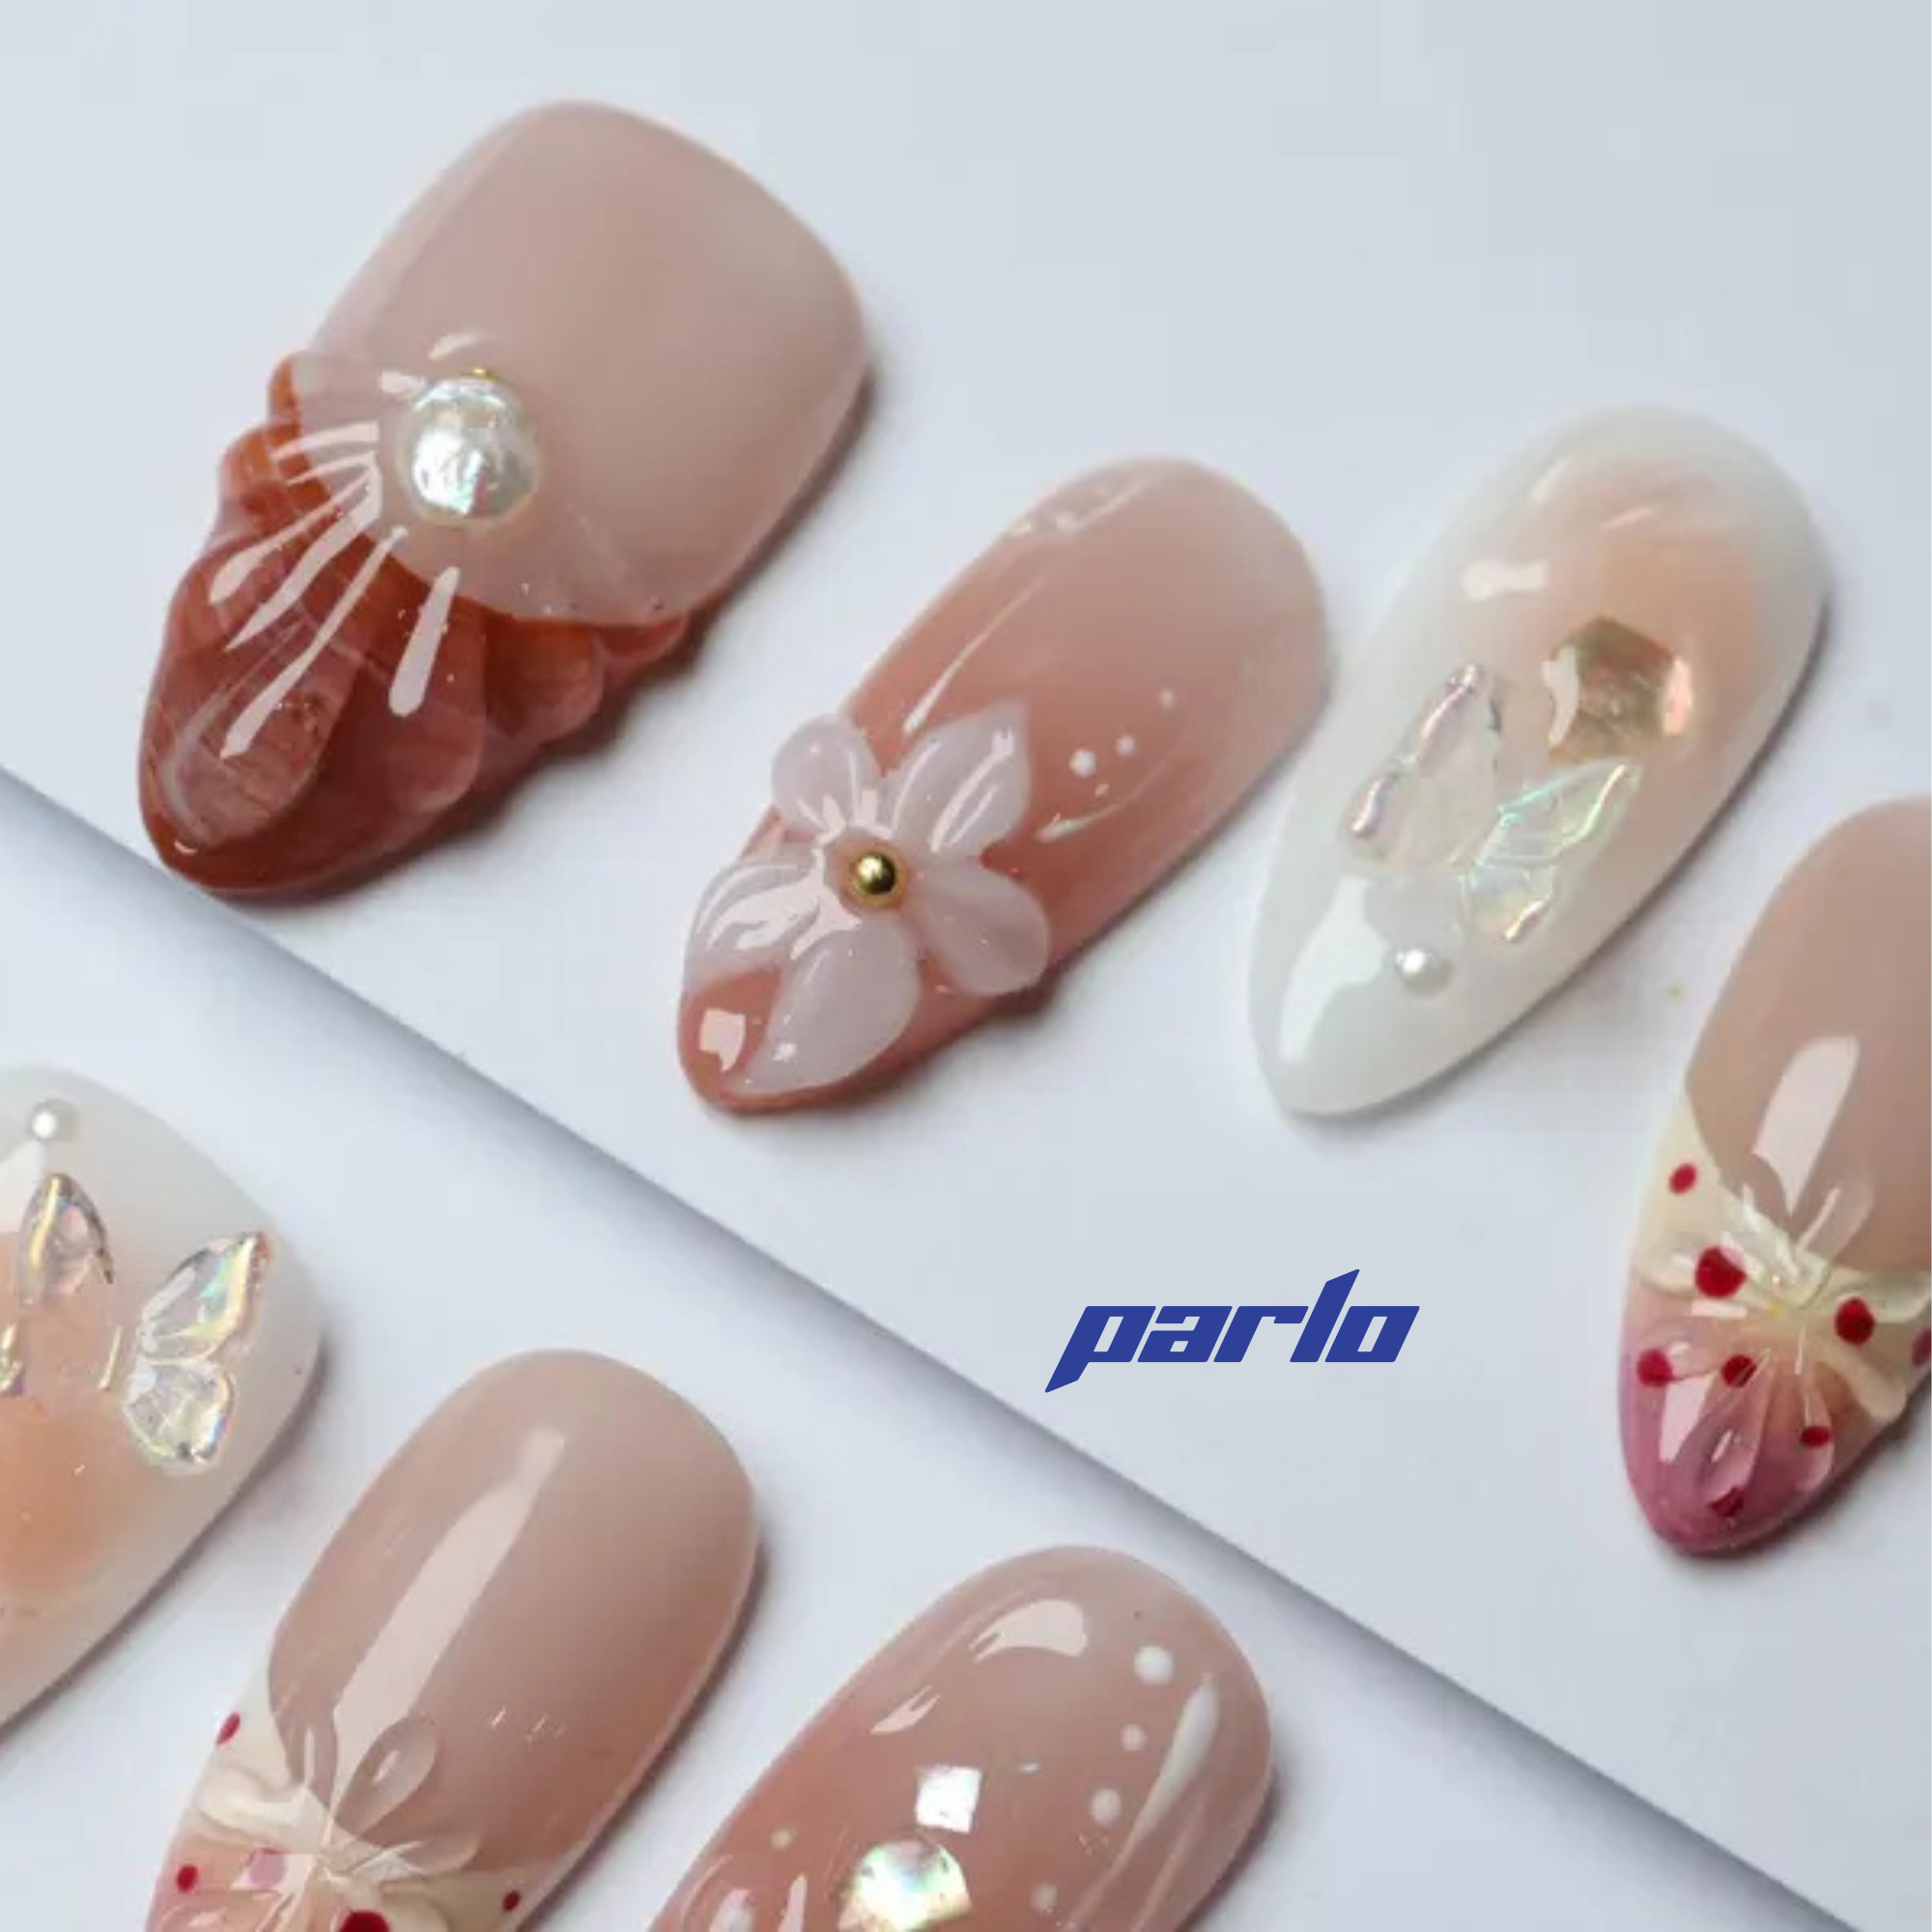
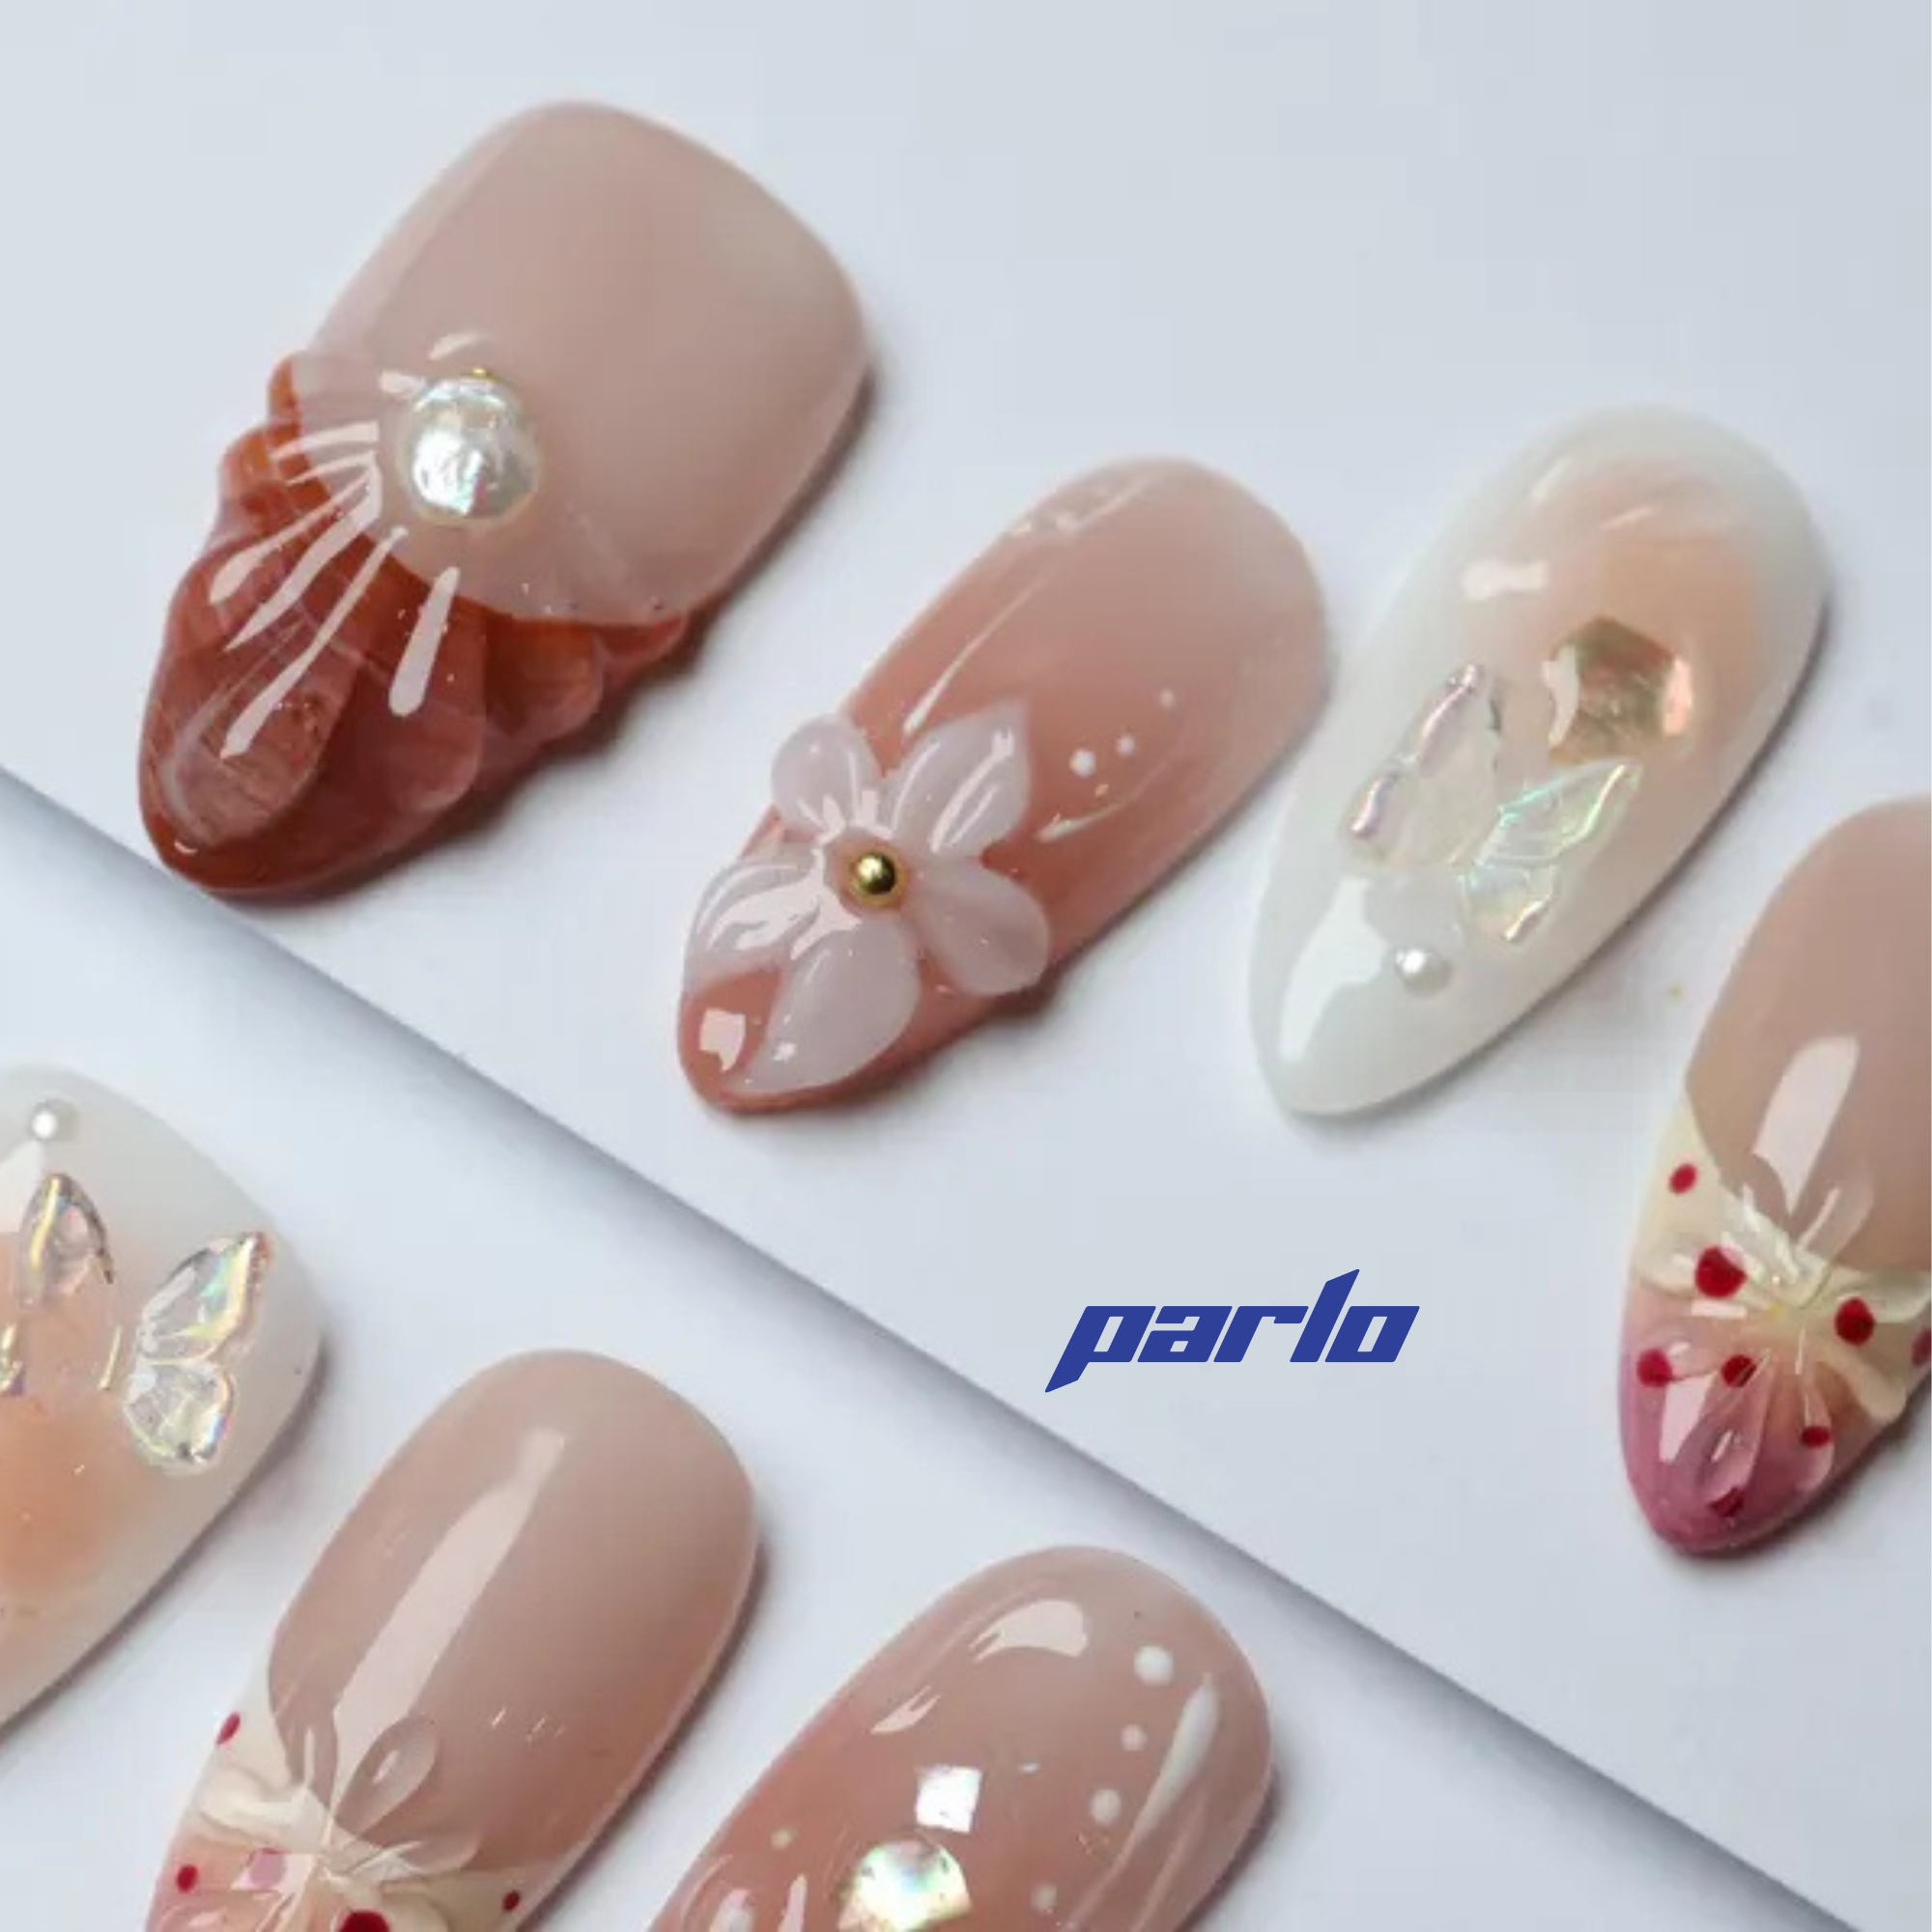
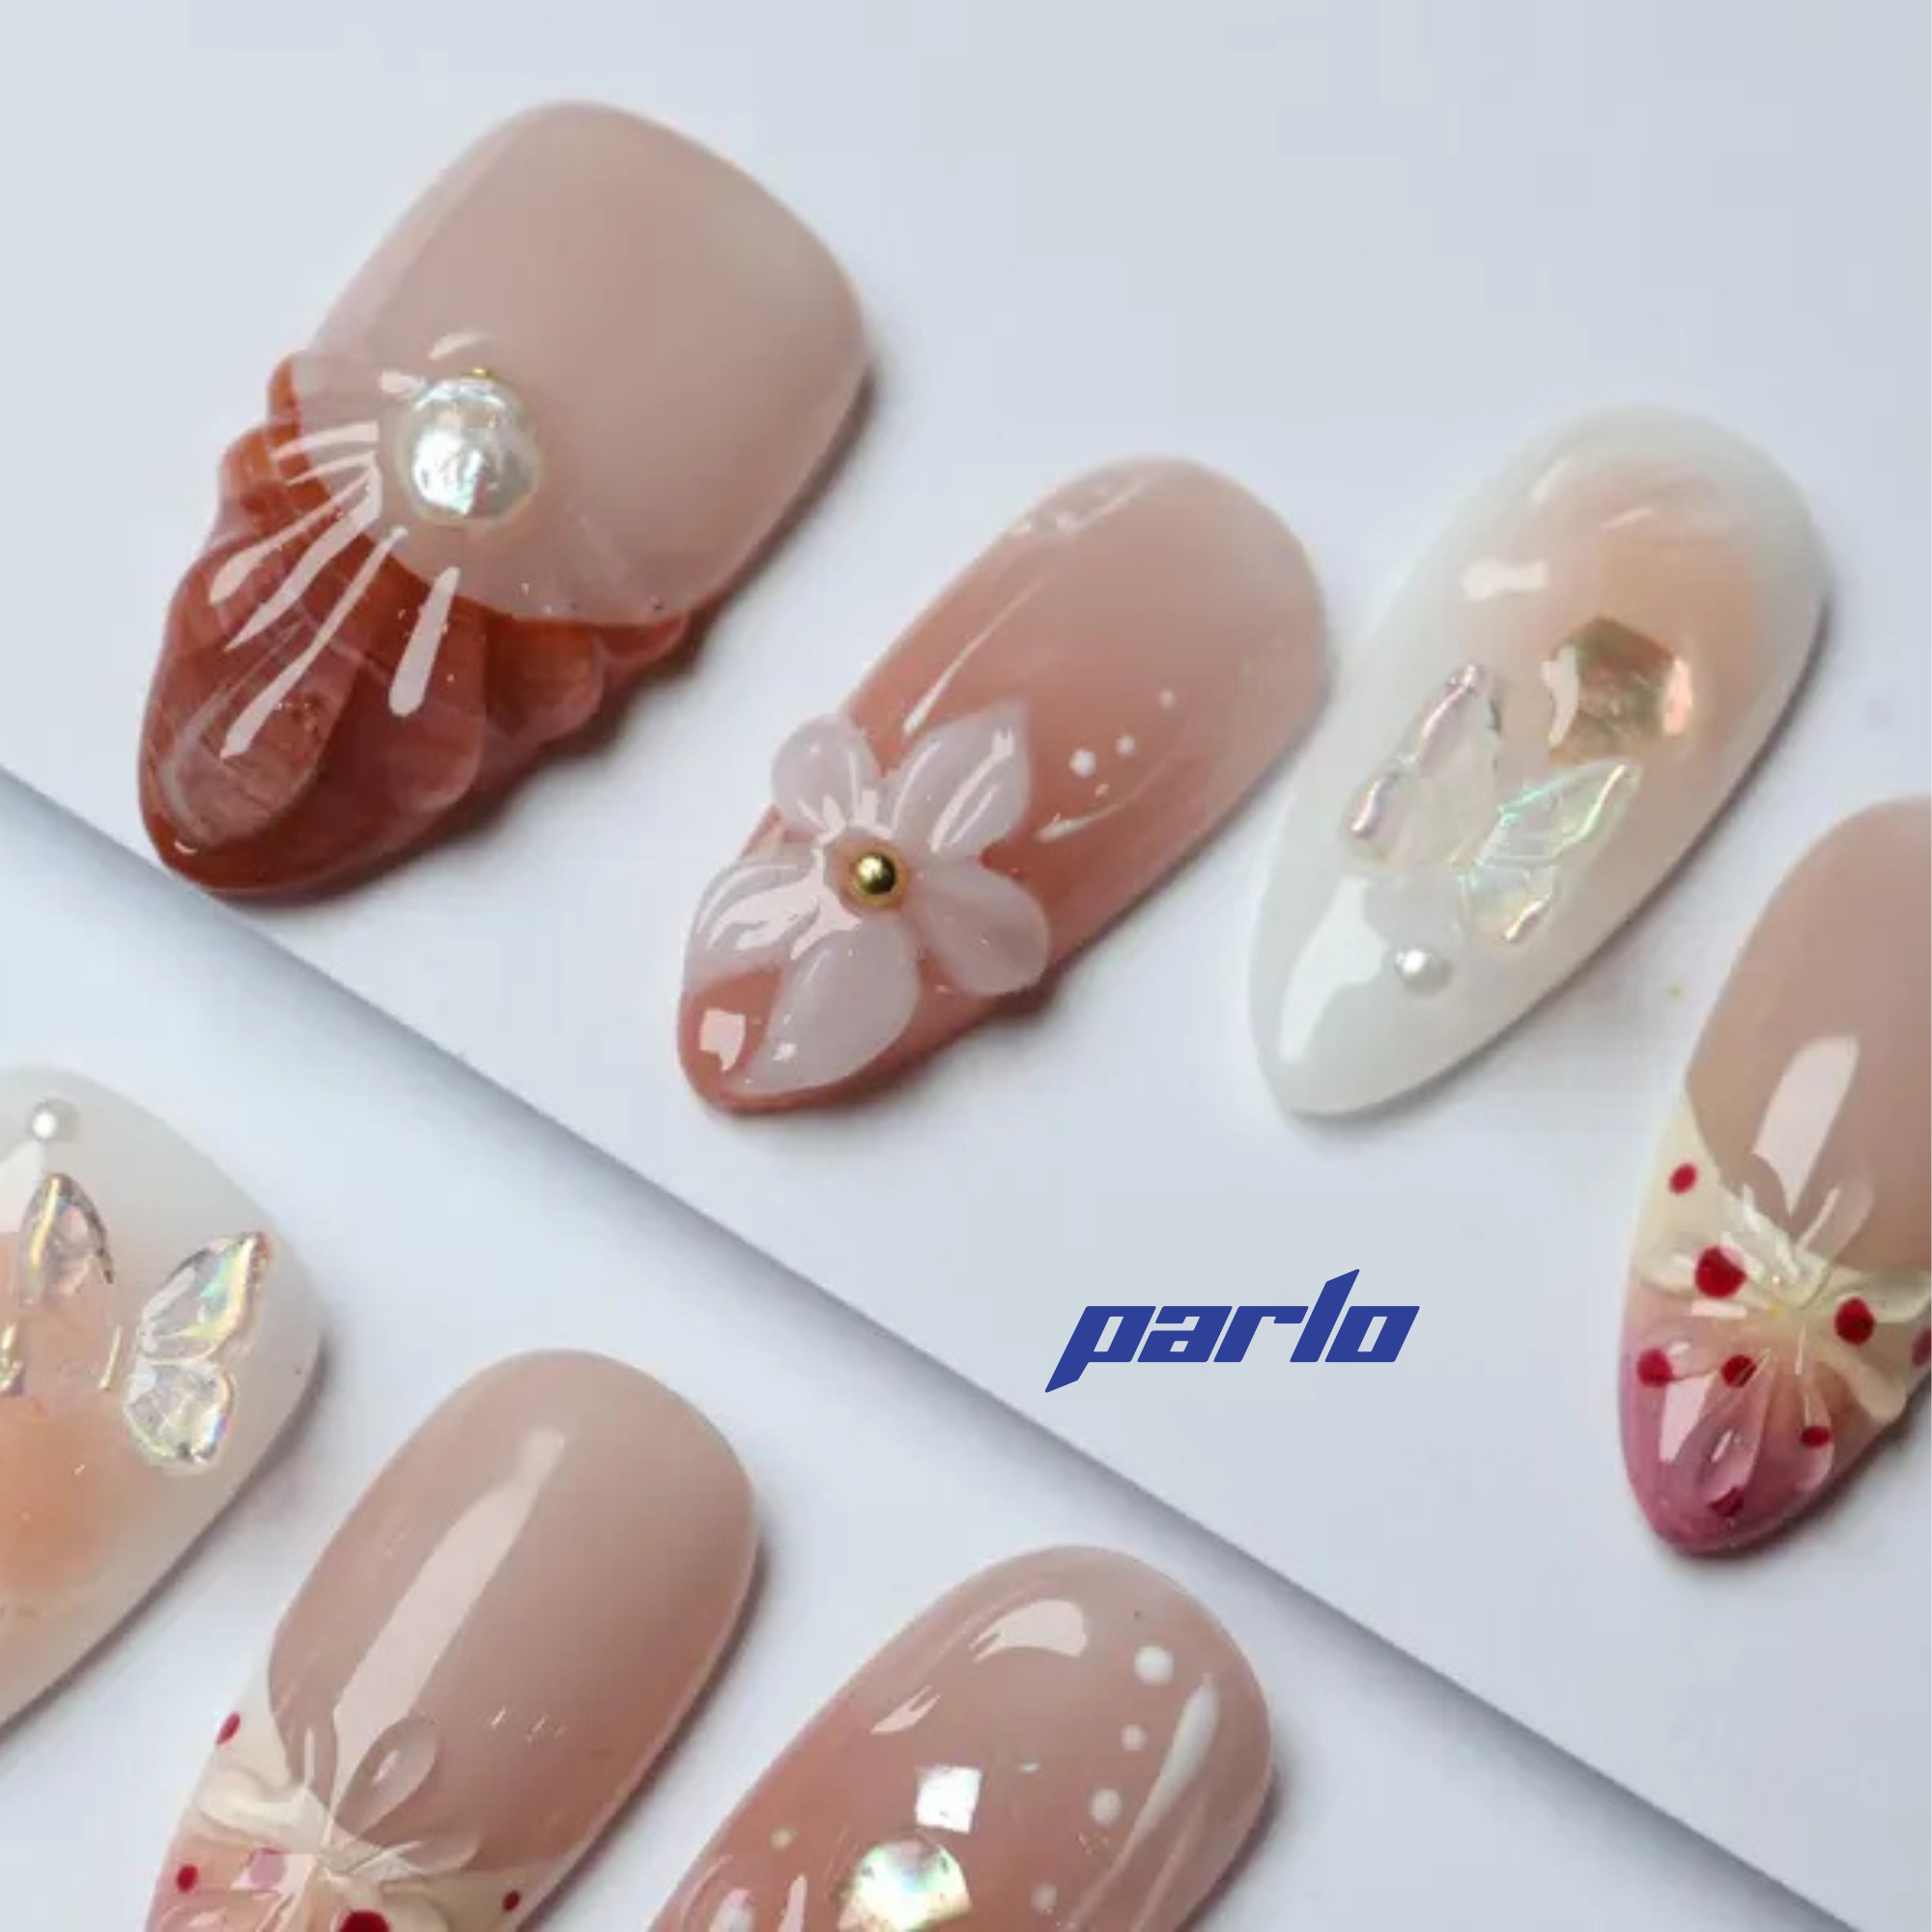
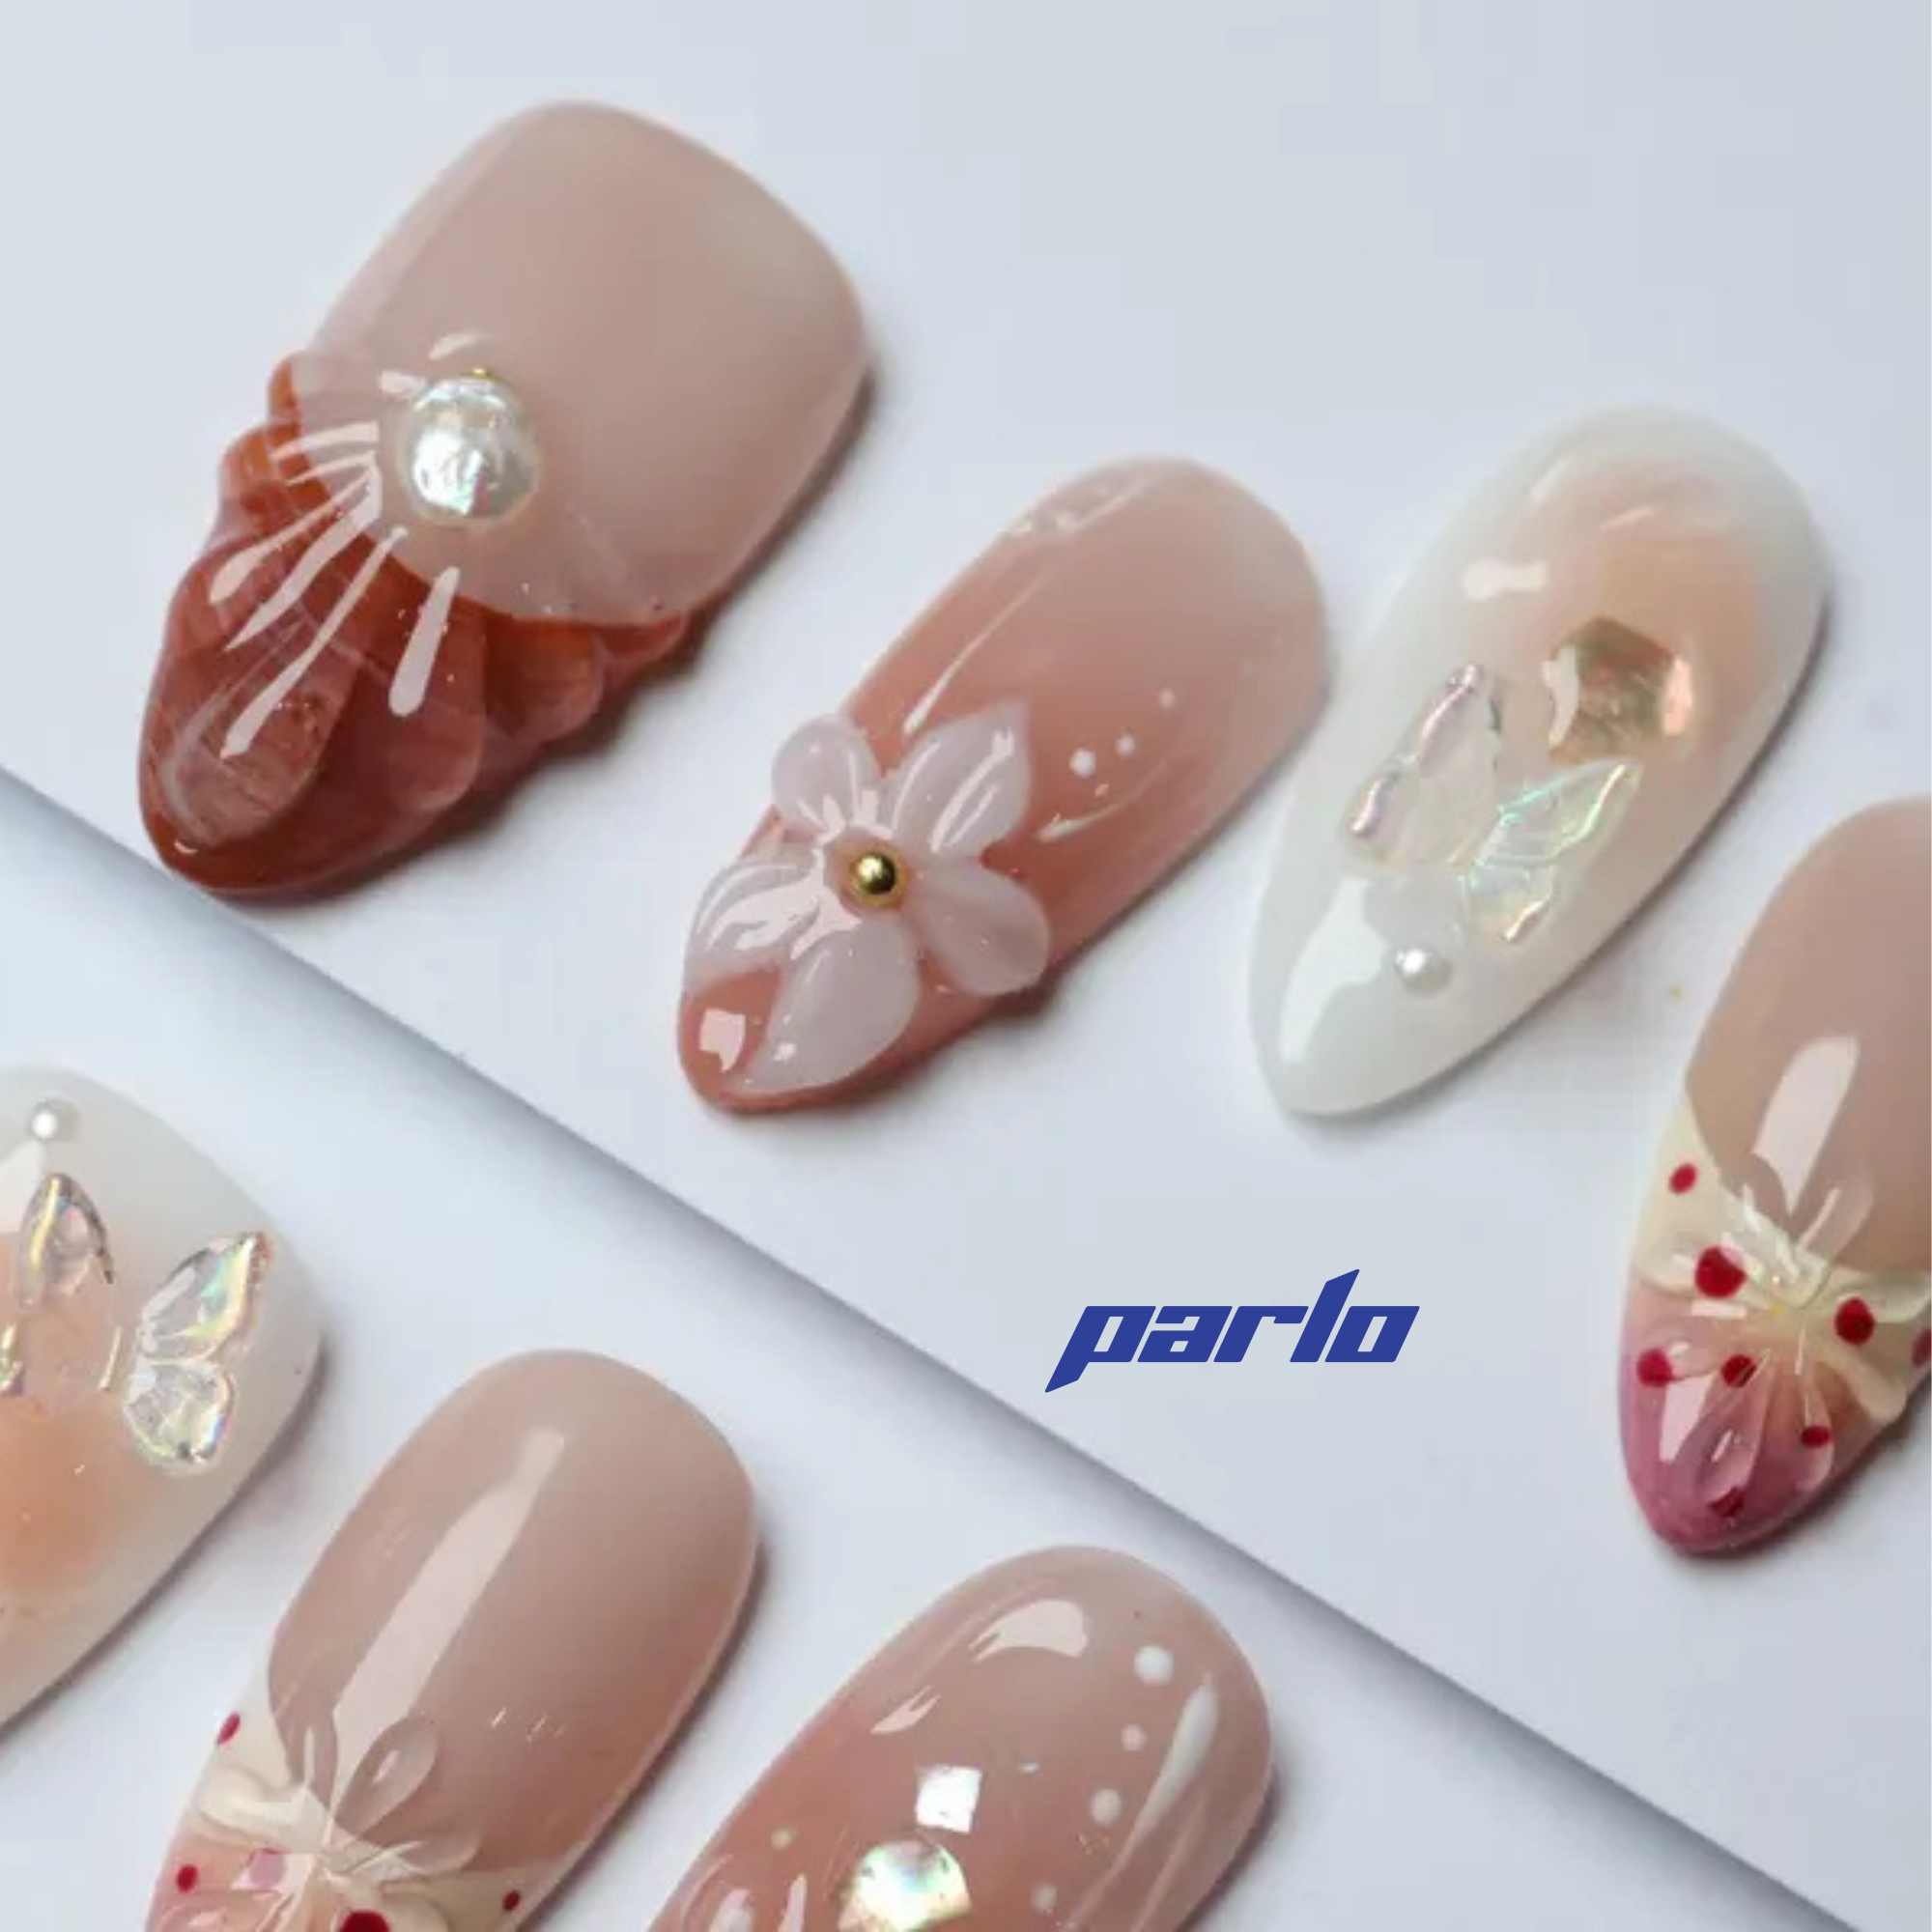
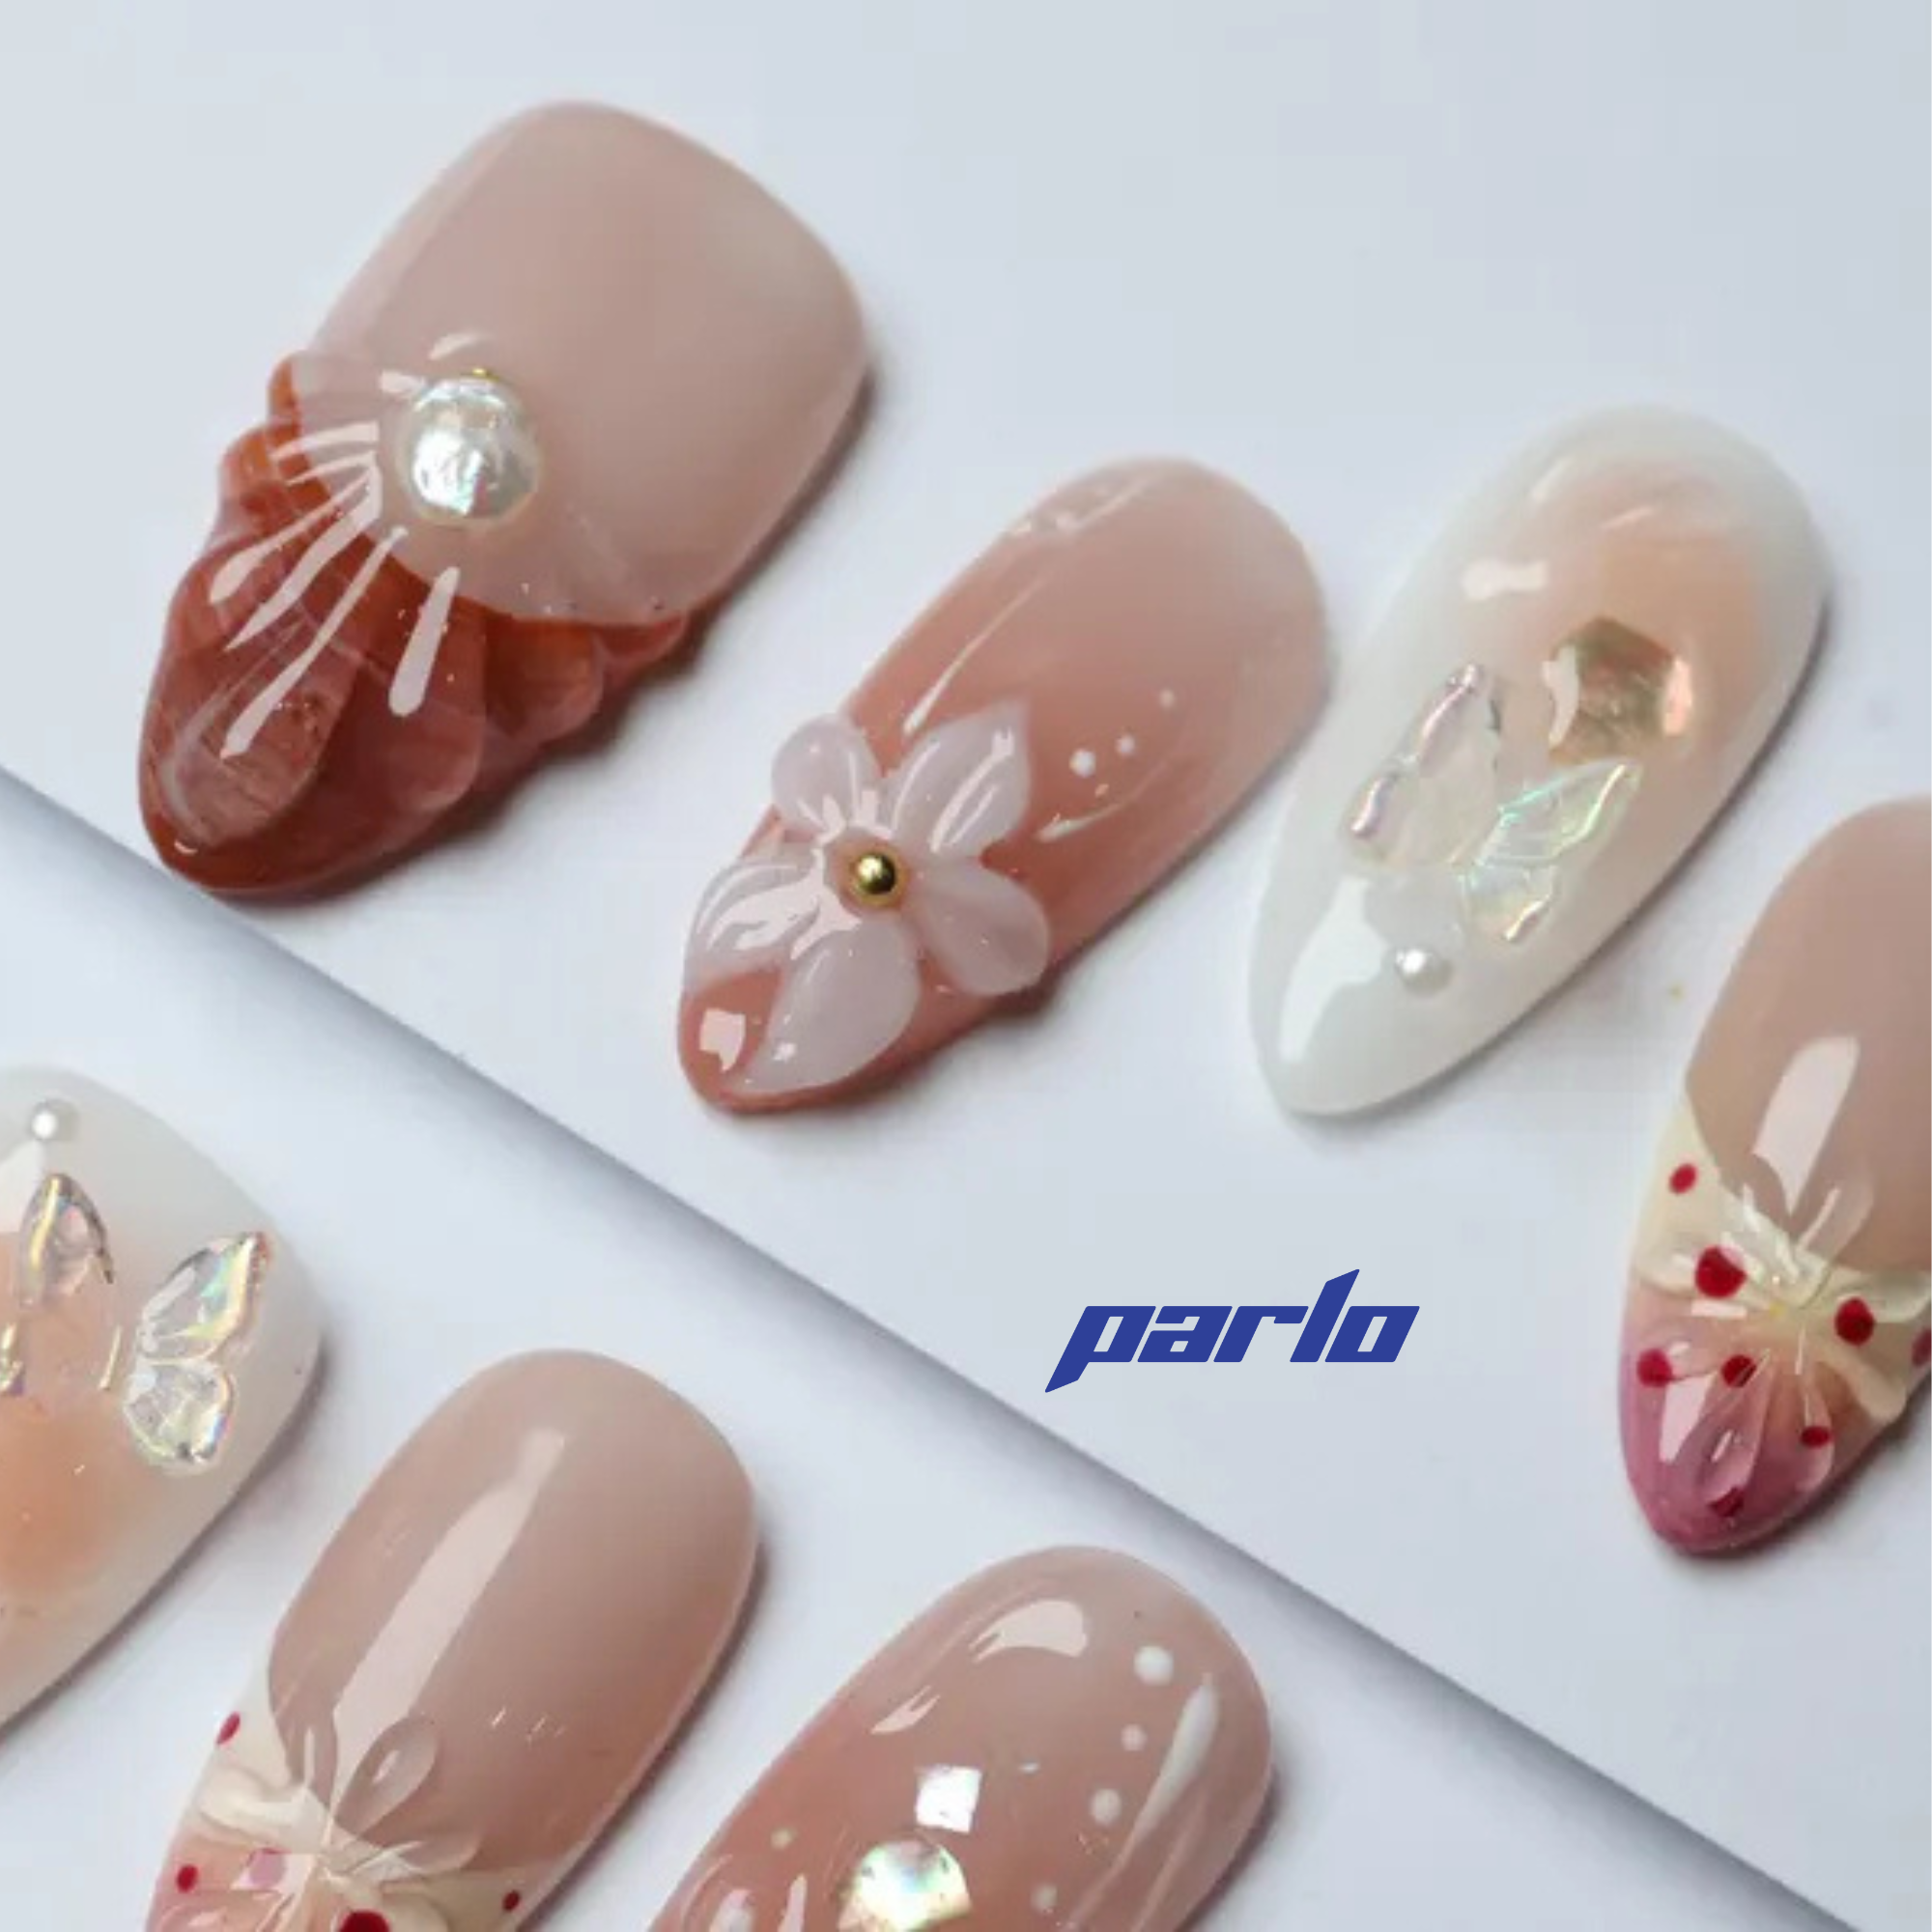
Now for the fun part! Kiara Sky's All-in-One Acrylic eliminates the need for separate monomers and polymers. Simply dip your brush into the All-in-One Acrylic and pick up a small bead. Apply the bead to your nail, starting near the cuticle area. Use a dabbing motion to spread the acrylic evenly, avoiding contact with the skin. Work your way down the nail, creating a smooth and even layer. Remember to work quickly, as the acrylic will start to harden. For a touch of glamour, you might consider adding some floral accents later, or even trying a different style altogether. If you're looking for some inspiration, Check out these 3D Floral Press-On Nails!
Step 3: Shaping and Refining Your Acrylic Nails
Once the acrylic has hardened, it's time to shape and refine your nails. Use a nail file to create your desired shape, whether it's square, oval, almond, or stiletto. Be sure to file in one direction to avoid damaging the acrylic. After shaping, use a buffer to smooth out any imperfections and create a seamless finish. Pay close attention to the cuticle area, blending the acrylic seamlessly with your natural nail. Experiment with different color combinations to create a style that fits your unique personality. Check out this vibrant color!
Step 4: Finishing Touches and Aftercare
The final step is to apply a top coat to seal and protect your acrylic nails. This will also add shine and prevent chipping. Apply two coats of top coat, allowing each coat to dry completely. To maintain your acrylic nails, avoid using them as tools and wear gloves when doing housework. Moisturize your cuticles regularly to keep them healthy and hydrated. Schedule regular fill appointments to maintain the integrity of your acrylics.
Troubleshooting Common Acrylic Nail Problems
Even with the best techniques, you might encounter issues like lifting, bubbling, or uneven application. Lifting often occurs due to improper nail preparation. Ensure your nails are thoroughly dehydrated and primed. Bubbling can be caused by applying the acrylic too thickly or working in a humid environment. Apply thin, even layers and ensure proper ventilation. Uneven application can be corrected with careful filing and buffering.
Ready to create stunning acrylic nails? Explore our collection of Kiara Sky products and nail art supplies today!
Generated from keyword: "Acrylic A-Z: How to Apply NEW Kiara Sky All-in-One Acrylic"


