
A Beginner's Guide to Acrylic Nails
Acrylic nails are a popular way to enhance your natural nails, adding length, strength, and a touch of glamour. But if you're new to the world of acrylics, the process can seem a bit daunting. Don't worry! This beginner's guide will walk you through everything you need to know to get started with acrylic nails, from understanding the materials to mastering the application process.
What are Acrylic Nails?
Acrylic nails are created by combining a liquid monomer with a powder polymer. This mixture forms a hard, durable layer that is applied over your natural nails or nail tips. Once the acrylic hardens, it can be shaped, filed, and polished to create a variety of looks.
Essential Acrylic Nail Supplies
Before you begin, you'll need to gather the necessary supplies. Here's a basic checklist:
- Acrylic liquid monomer
- Acrylic powder polymer (various colors)
- Acrylic nail brush
- Nail tips (optional)
- Nail glue (if using tips)
- Nail file and buffer
- Primer
- Top coat
- Dappen dish
- Cuticle pusher
- Nail dehydrator
Step-by-Step Acrylic Nail Application
Now for the fun part! Follow these steps to apply your acrylic nails:
- Prepare your nails: Push back your cuticles, file your natural nails, and gently buff the surface. Apply nail dehydrator.
- Apply nail tips (optional): If using tips, select the correct size for each nail and glue them in place. Trim and shape the tips to your desired length and shape.
- Apply primer: Apply a thin layer of primer to your natural nails and tips.
- Mix the acrylic: Pour a small amount of acrylic liquid into a dappen dish. Dip your acrylic brush into the liquid, then tap it into the acrylic powder to create a small bead.
- Apply the acrylic: Apply the bead of acrylic to your nail, starting near the cuticle and working your way towards the free edge. Use the brush to shape and smooth the acrylic.
- Repeat: Repeat steps 4 and 5 until your nail is fully covered with acrylic.
- File and shape: Once the acrylic has hardened, use a nail file to shape the nails to your desired shape. Use a buffer to smooth the surface.
- Apply top coat: Apply a layer of top coat to seal the acrylic and add shine.
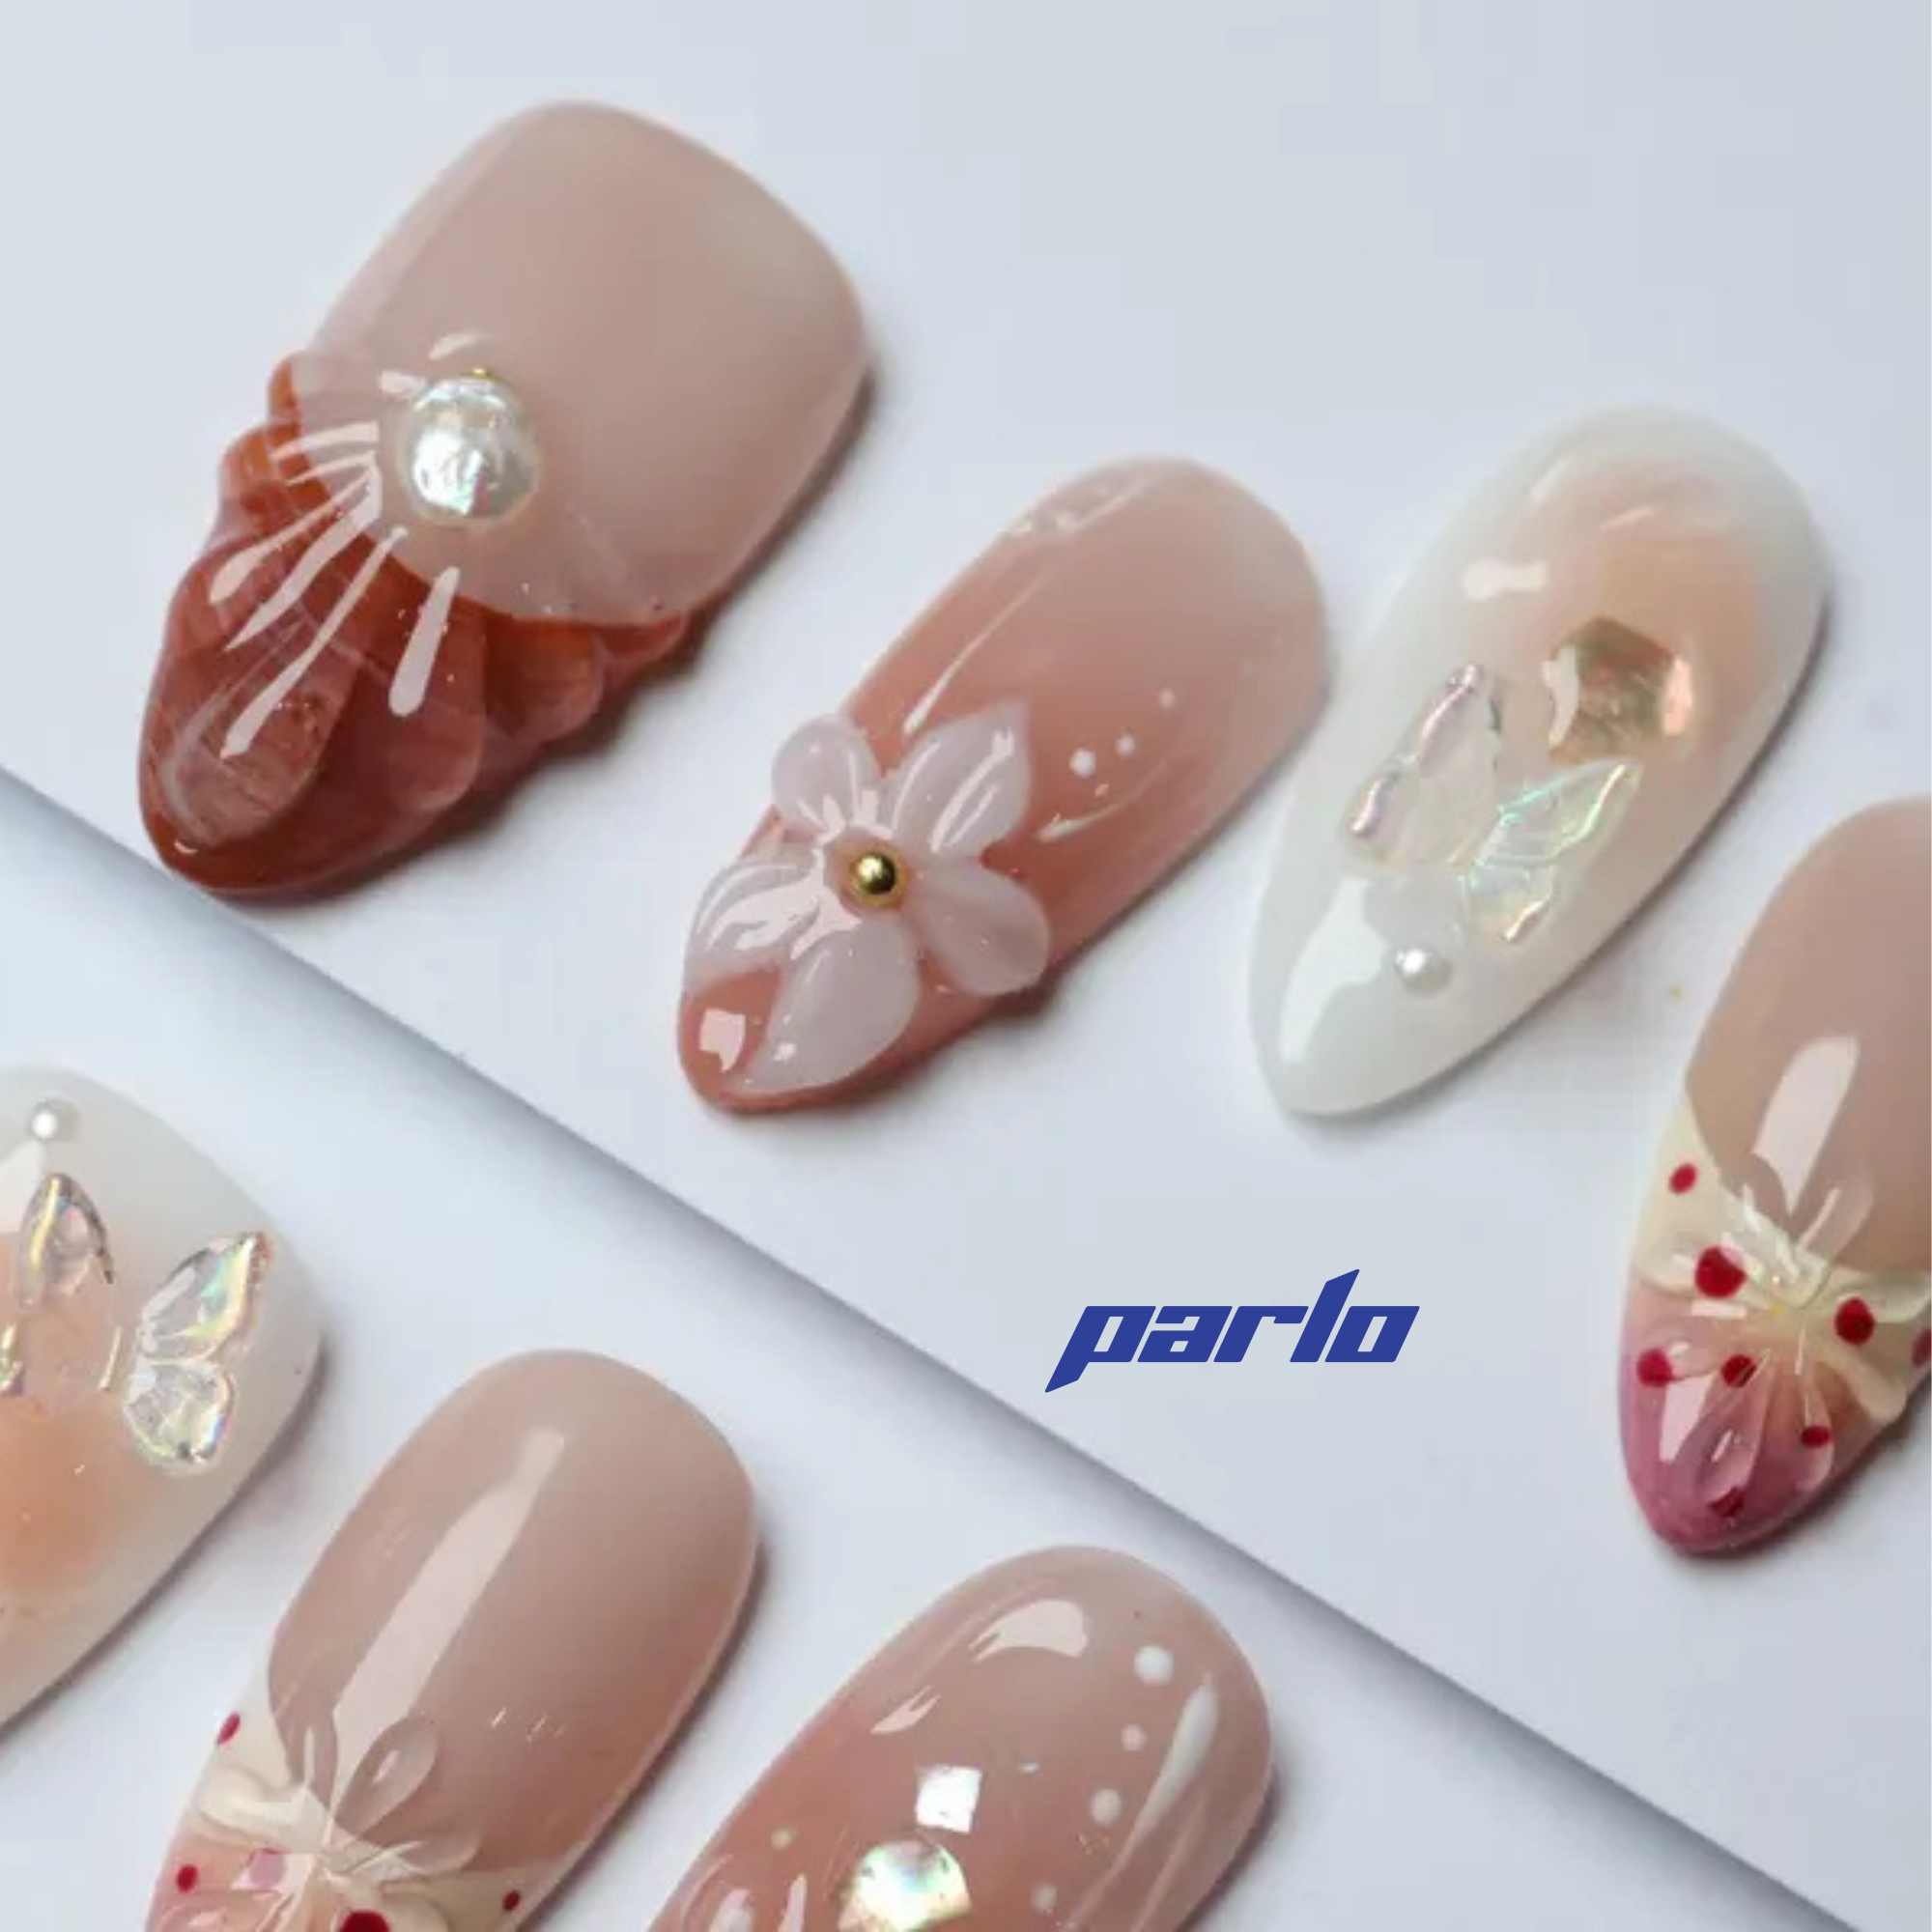
Acrylic Nail Designs & Inspiration
Once you've mastered the basic application, you can start experimenting with different designs and colors! From classic French manicures to bold and colorful creations, the possibilities are endless. Consider trying out some floral designs for a fresh, vibrant look. Check out this product! for inspiration.

For a more summery vibe, explore vibrant colors and playful patterns. Check out this product! for some fun ideas!

Removing Acrylic Nails Safely
Proper removal is crucial to avoid damaging your natural nails. Never peel or rip off acrylics! The most common method involves soaking your nails in acetone. Here's how:
- File off the top layer of the acrylic.
- Soak cotton balls in acetone and place them on your nails.
- Wrap each finger in foil to hold the cotton balls in place.
- Wait 20-30 minutes.
- Gently scrape off the softened acrylic with a cuticle pusher.
- Buff your nails and apply cuticle oil.
Remember to moisturize your hands and nails after removing acrylics to keep them healthy.
Call to Action
Ready to elevate your nail game? Explore our collection of nail accessories and polishes today!
Generated from keyword: "A Beginner's Guide to Acrylic Nails"