
DIY Nail Art Tutorials: Create Stunning Designs at Home
Want to express your creativity and elevate your style without breaking the bank? Look no further than DIY nail art! Creating your own unique nail designs is a fun, rewarding, and surprisingly easy way to personalize your look. This guide will walk you through the basics, offering easy-to-follow tutorials and expert tips to help you achieve salon-worthy results from the comfort of your own home. From simple stripes to intricate patterns, the possibilities are endless!
Getting Started: Essential Tools and Supplies
Before diving into specific designs, it's crucial to gather the right tools and supplies. A basic DIY nail art kit should include:
- Base coat
- Top coat
- Various nail polish colors
- Thin nail art brushes
- Dotting tools
- Nail art sponges
- Nail polish remover
- Cotton balls or pads
Optional additions include nail stickers, glitter, rhinestones, and striping tape. Don't be afraid to experiment and build your collection as you discover new techniques and designs you enjoy!
Easy DIY Nail Art Tutorials for Beginners
Here are a few simple nail art tutorials perfect for beginners:
1. Polka Dot Perfection
Polka dots are a classic and easy design to master. Simply apply a base coat and your chosen polish color. Once dry, use a dotting tool to create evenly spaced dots in a contrasting color. Seal with a top coat for a long-lasting finish.
2. Striped Sensations
Stripes are another beginner-friendly option. Use striping tape to create clean lines on your nails. Paint between the tape with different colors, then carefully remove the tape while the polish is still slightly wet. Finish with a top coat.
3. Marble Magic
Achieving a marble effect is easier than you think! Fill a small cup with room temperature water. Drop a few drops of different nail polish colors into the water, one at a time. Use a toothpick to swirl the colors together gently. Dip your finger into the water, ensuring the polish adheres to your nail. Clean up any excess polish around your nail with a cotton swab dipped in nail polish remover.
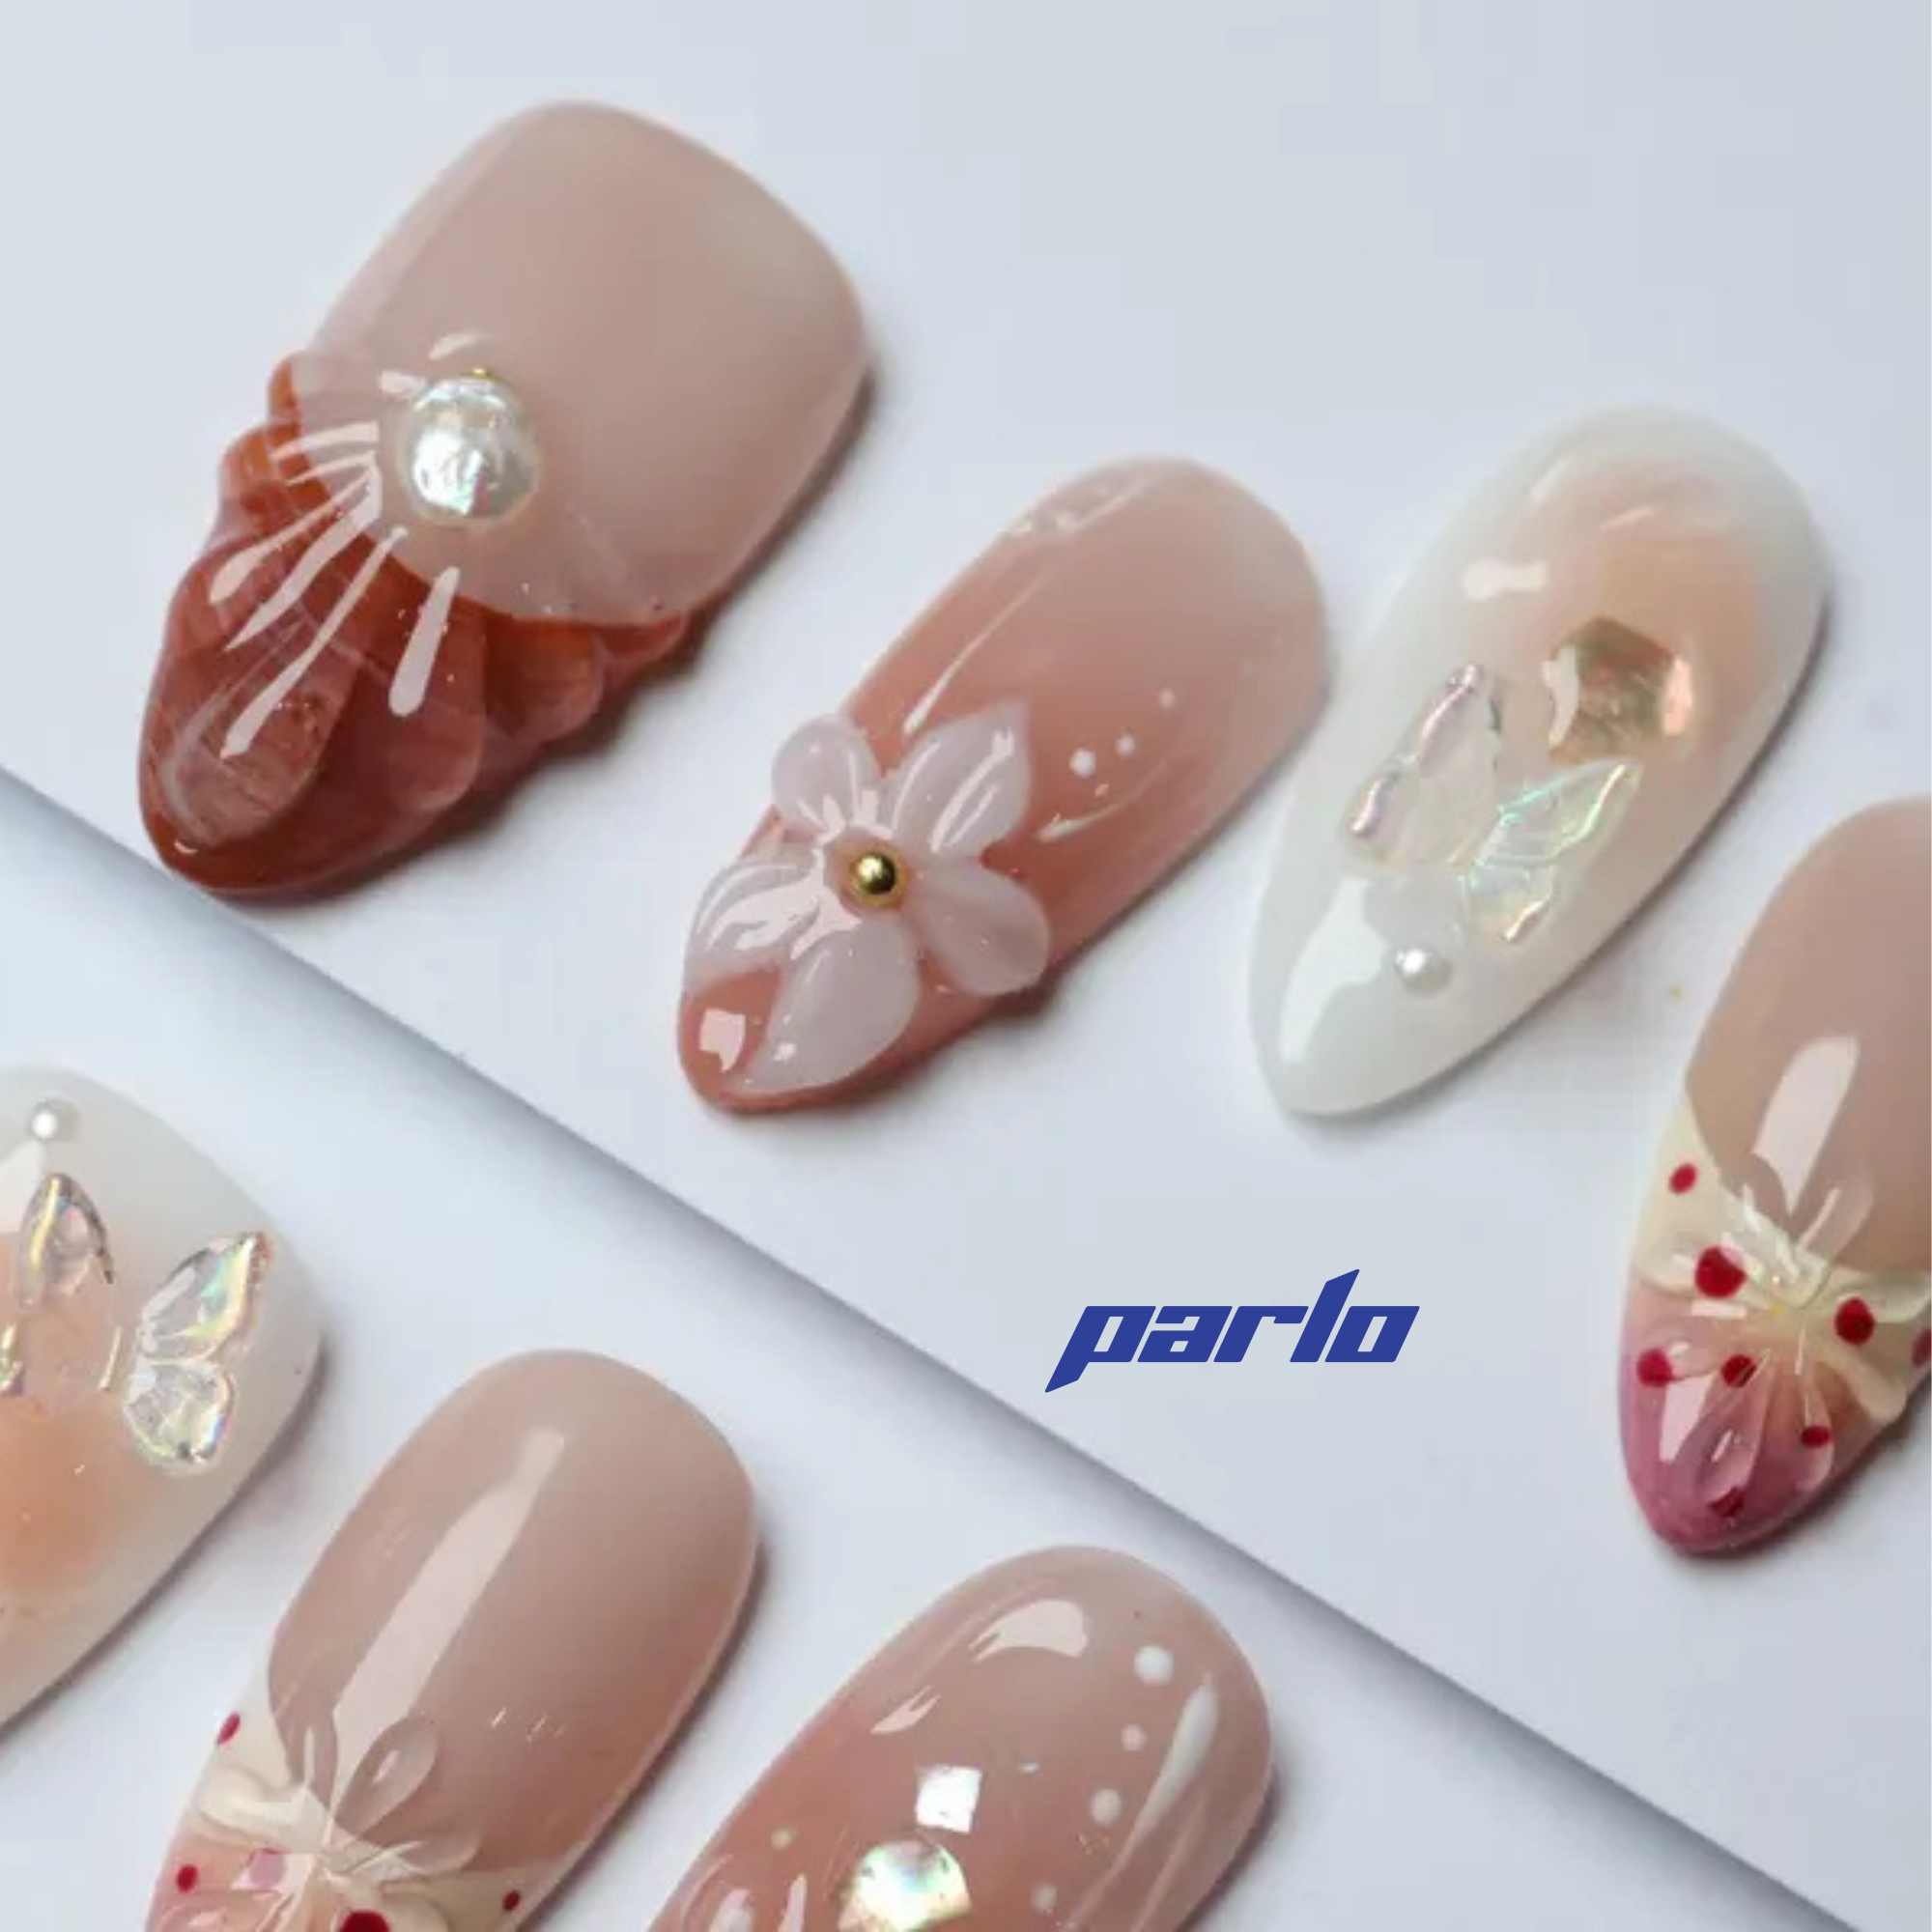
If you are looking for a more elegant design, Check out this product!

Level Up Your Nail Art Skills
Once you've mastered the basics, you can explore more advanced techniques, such as ombre nails, freehand designs, and using stencils. Watching video tutorials and practicing regularly are key to improving your skills. Consider investing in higher-quality nail art brushes for greater precision and control.
For a fun and vibrant design, Check out this product!

Tips for Long-Lasting Nail Art
To ensure your DIY nail art lasts as long as possible, follow these tips:
- Always start with a clean and dry nail surface.
- Apply a base coat to protect your nails and create a smooth canvas.
- Apply thin coats of nail polish to prevent chipping.
- Seal your design with a high-quality top coat.
- Reapply top coat every few days to maintain shine and prevent wear.
- Avoid harsh chemicals and prolonged exposure to water.
Ready to start creating your own amazing nail art? Remember, practice makes perfect! Don't be discouraged if your first few attempts aren't flawless. With patience and creativity, you'll be rocking stunning DIY manicures in no time.
Explore our collection of nail art supplies and find everything you need to create your dream designs! Shop Now!
Generated from keyword: "DIY Nail Art Tutorials"