
Fall Nail Tutorial: Easy Stickers & Stamping Designs
As the leaves turn golden and pumpkin spice fills the air, it's time to update your nail game with some gorgeous fall-themed designs! Nail art doesn't have to be complicated or time-consuming. With the help of nail stickers and stamping, you can achieve stunning, salon-worthy manicures right at home. This tutorial will guide you through the process, offering tips and tricks for creating unique and beautiful fall nail art.
Gather Your Supplies
Before you begin, make sure you have all the necessary supplies. You'll need:
- Base coat
- Fall-themed nail polish colors (think warm browns, oranges, reds, and greens)
- Nail stickers (leaves, pumpkins, acorns, etc.)
- Nail stamping plate with fall designs
- Stamping polish (highly pigmented for clear images)
- Stamper and scraper
- Top coat
- Tweezers (for applying stickers)
- Nail polish remover and cotton swabs (for cleanup)
Step-by-Step Sticker Nail Art
Nail stickers are the easiest way to add intricate designs to your nails. Here's how to use them:
- Apply a base coat to protect your nails.
- Paint your nails with your desired base color. Let it dry completely.
- Carefully peel off the nail sticker using tweezers.
- Position the sticker on your nail and gently press it down to smooth out any air bubbles.
- Apply a top coat to seal the sticker and add shine.

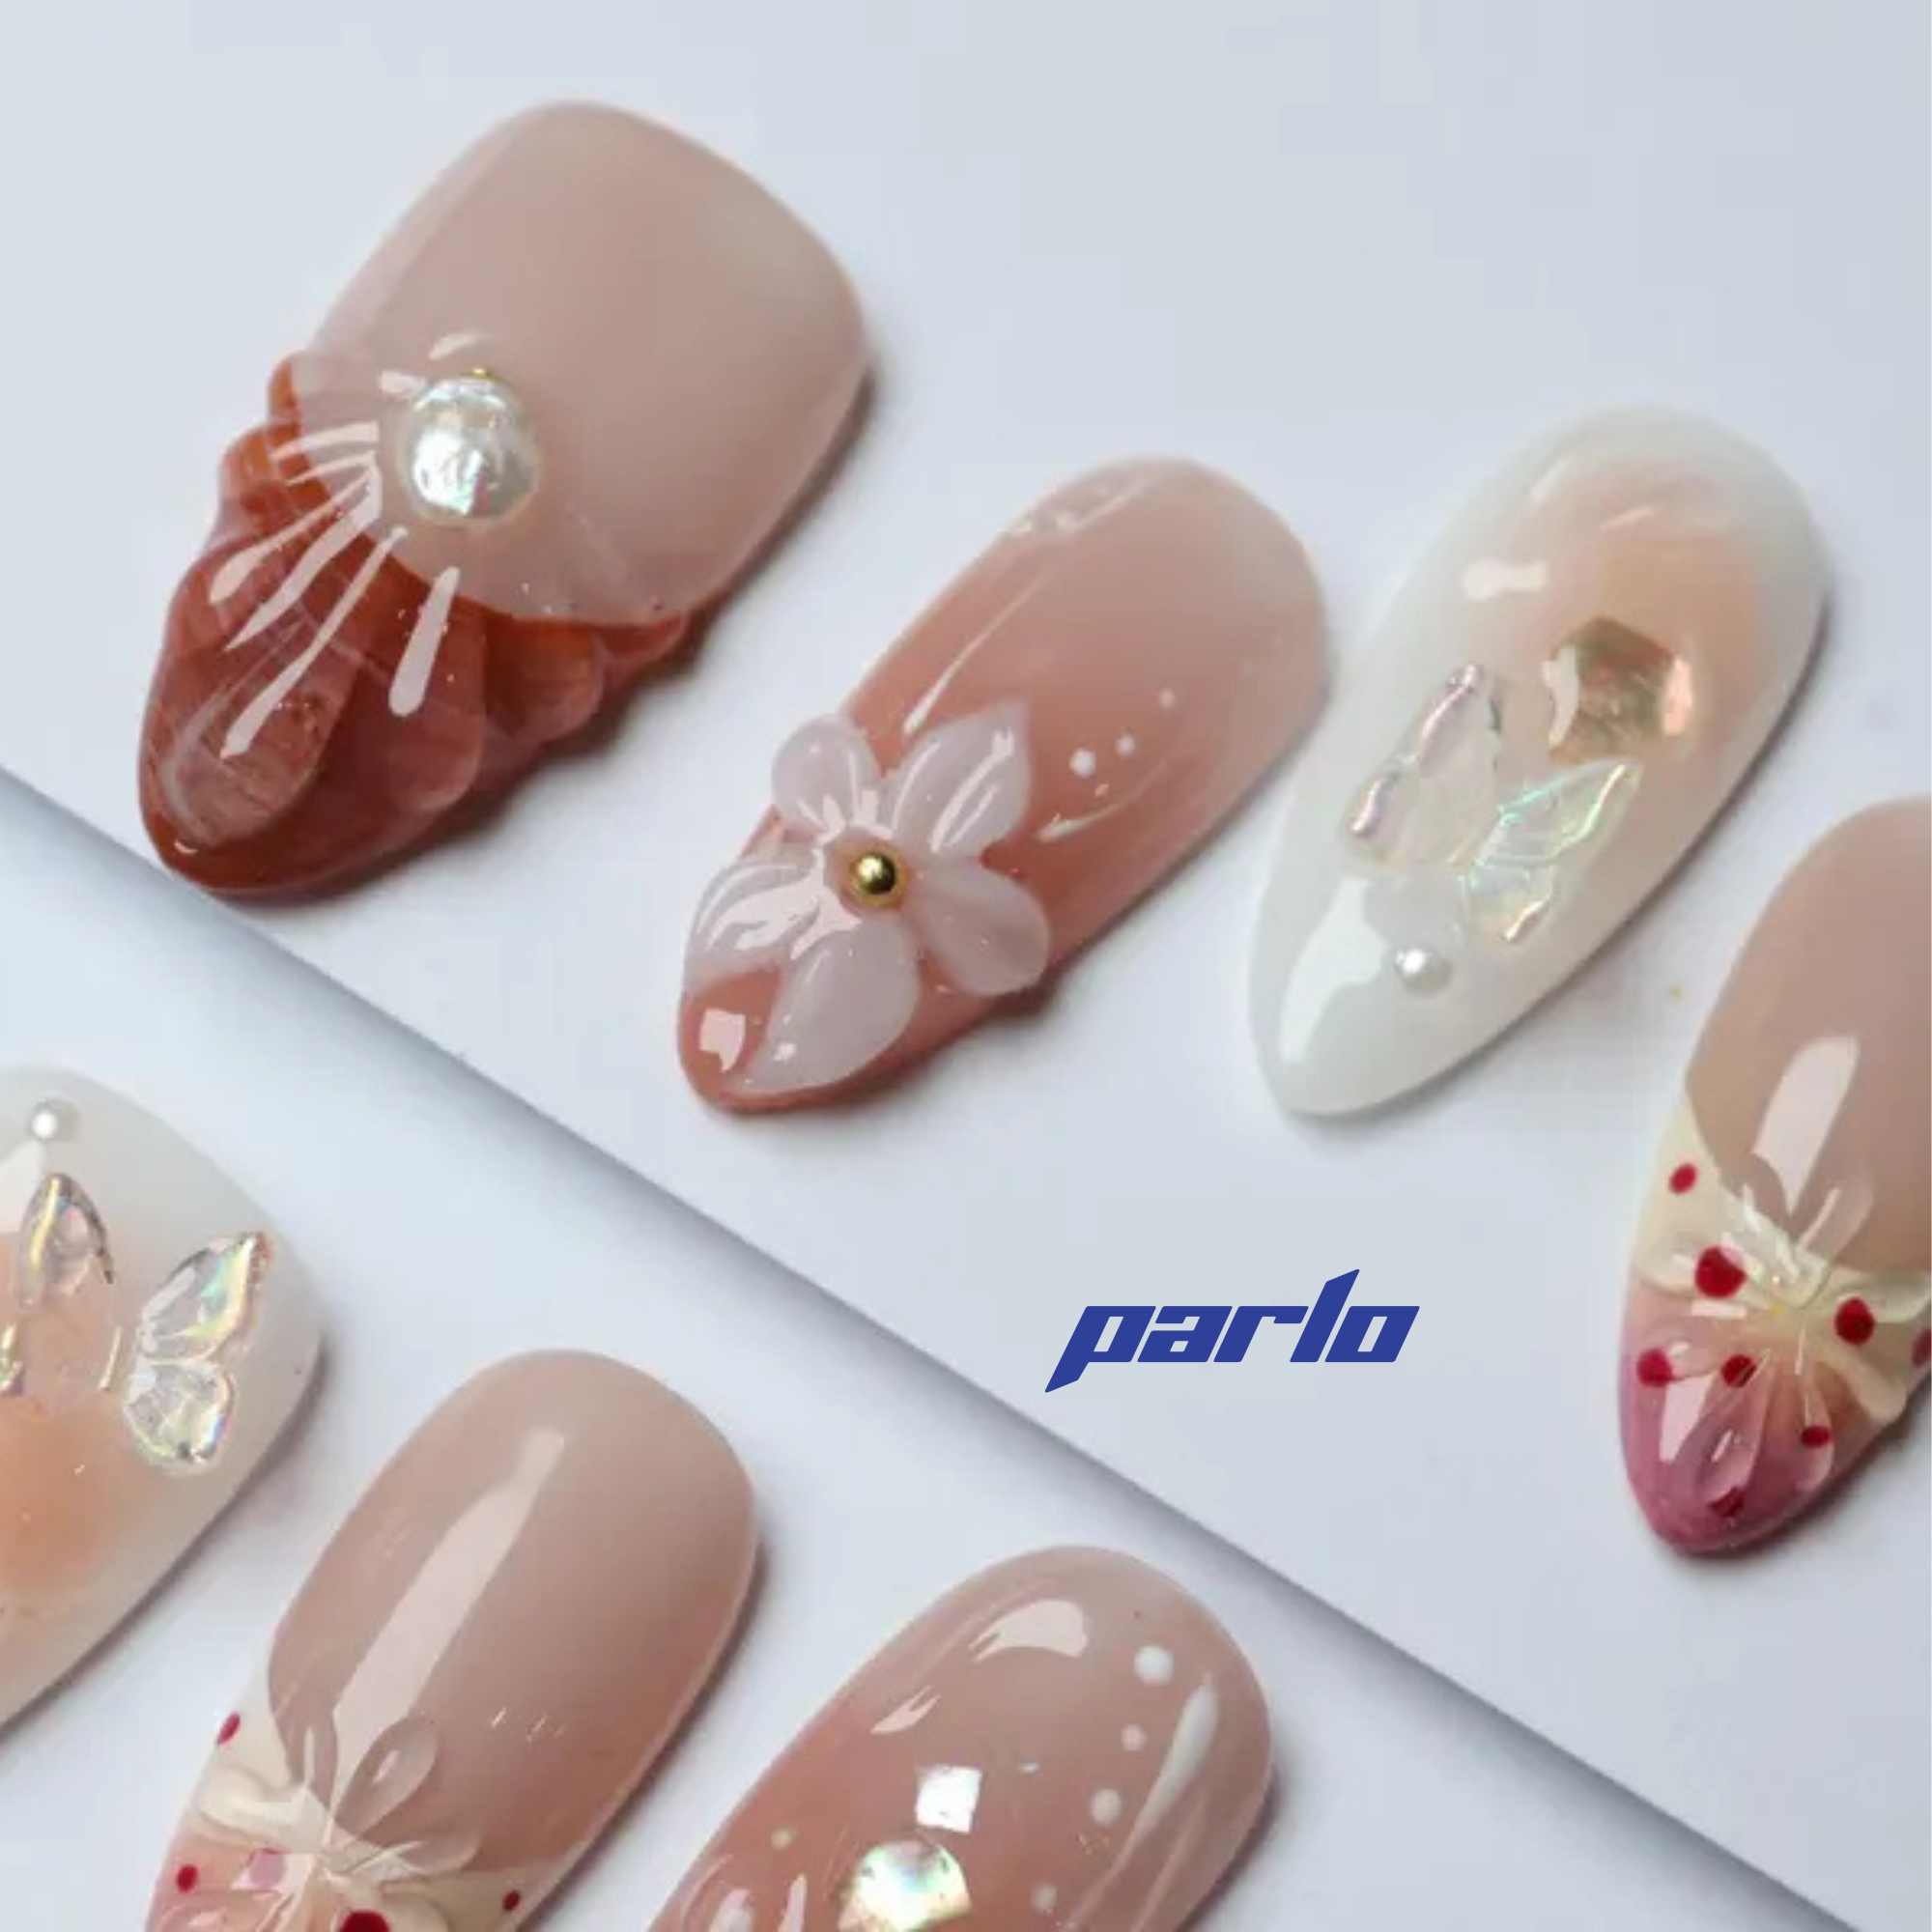
Consider using these 3D Floral Press On Nails for an even more elegant look! They're perfect for a quick and sophisticated fall manicure.
Mastering Nail Stamping
Nail stamping allows you to create detailed designs that would be difficult to achieve freehand. Follow these steps:
- Apply a base coat and your desired base color. Let it dry completely.
- Apply a thick layer of stamping polish to the chosen design on the stamping plate.
- Scrape off the excess polish using the scraper at a 45-degree angle.
- Quickly roll the stamper over the design to pick it up.
- Transfer the design onto your nail by rolling the stamper over your nail.
- Clean up any excess polish around your nail using a cotton swab dipped in nail polish remover.
- Apply a top coat to seal the design.
Combining Stickers and Stamping
For a truly unique look, try combining nail stickers and stamping. For example, you could stamp a leafy background and then add a pumpkin sticker on top. Experiment with different combinations to create your own signature fall nail art!

Looking for inspiration? The colors in Aloha Acai could provide a great base for your fall stamping designs!
Tips and Tricks for Perfect Fall Nails
- Use high-quality nail polish and stamping polish for best results.
- Clean your stamping plate and stamper after each use to prevent polish buildup.
- Practice your stamping technique on a piece of paper before applying it to your nails.
- Don't be afraid to experiment with different colors and designs.
- Seal your nail art with a good top coat to make it last longer.
With a little practice and creativity, you can create stunning fall nail art that will impress everyone. So, grab your nail stickers, stamping plates, and favorite fall colors, and get ready to create some beautiful manicures!
Ready to elevate your nail game? Explore our collection of nail art supplies and find everything you need to create your dream fall manicure!
Generated from keyword: "Fall Nail Tutorial using Stickers and Nail Stamping"