
How to Apply Kiara Sky Gelly Tips: A Complete Guide
Kiara Sky Gelly Tips have revolutionized the at-home manicure game, offering salon-quality results in a fraction of the time. These pre-shaped, full-coverage tips are designed for easy application and long-lasting wear. If you're new to Gelly Tips, or just looking for a refresher, this comprehensive guide will walk you through each step, ensuring a flawless and durable manicure. Say goodbye to messy acrylics and hello to perfectly sculpted nails!
What You'll Need: Kiara Sky Gelly Tips Application Essentials
Before you begin, gather all the necessary tools and products. This will make the application process smoother and more efficient. Here's a checklist:
- Kiara Sky Gelly Tips (in your desired shape and length)
- Kiara Sky Gelly Tips Prep
- Kiara Sky Gelly Tips Adhesive
- Kiara Sky Flash Cure Lamp
- UV/LED Nail Lamp
- Nail File and Buffer
- Cuticle Pusher
- Alcohol Wipes
- Optional: Nail Dehydrator and Primer
Step-by-Step Application Process
Now, let's get started! Follow these steps carefully for optimal results:
- Prep Your Natural Nails: Begin by gently pushing back your cuticles with a cuticle pusher. Then, lightly buff the surface of your natural nails to remove shine. This creates a better surface for the Gelly Tips to adhere to. Cleanse with alcohol wipes.
- Size Your Gelly Tips: Select the appropriate size Gelly Tip for each nail. The tip should fit snugly from sidewall to sidewall without overlapping onto the skin. If you're between sizes, it's better to choose a slightly larger size and gently file it down.
- Apply Gelly Tips Prep: Apply a thin layer of Gelly Tips Prep to your natural nail.
- Apply Gelly Tips Adhesive: Apply a thin layer of Gelly Tips Adhesive to the underside of the Gelly Tip, focusing on the area that will contact your natural nail.
- Apply the Gelly Tip: Align the Gelly Tip with your cuticle and gently press it onto your natural nail, starting at a 45-degree angle and slowly flattening it down. Hold the tip in place firmly.
- Flash Cure: While holding the tip in place, use the Kiara Sky Flash Cure Lamp to cure the tip for 5-10 seconds. This will secure the tip and prevent air bubbles.
- Full Cure: Once all tips are applied and flash cured, cure your entire hand under a UV/LED lamp for 60 seconds.
- Shape and Refine: Use a nail file to refine the shape and length of the Gelly Tips to your desired look.
- Finishing Touches: Apply your favorite gel polish or top coat for a glossy finish. Cure under the UV/LED lamp according to the polish instructions.
Level Up Your Look
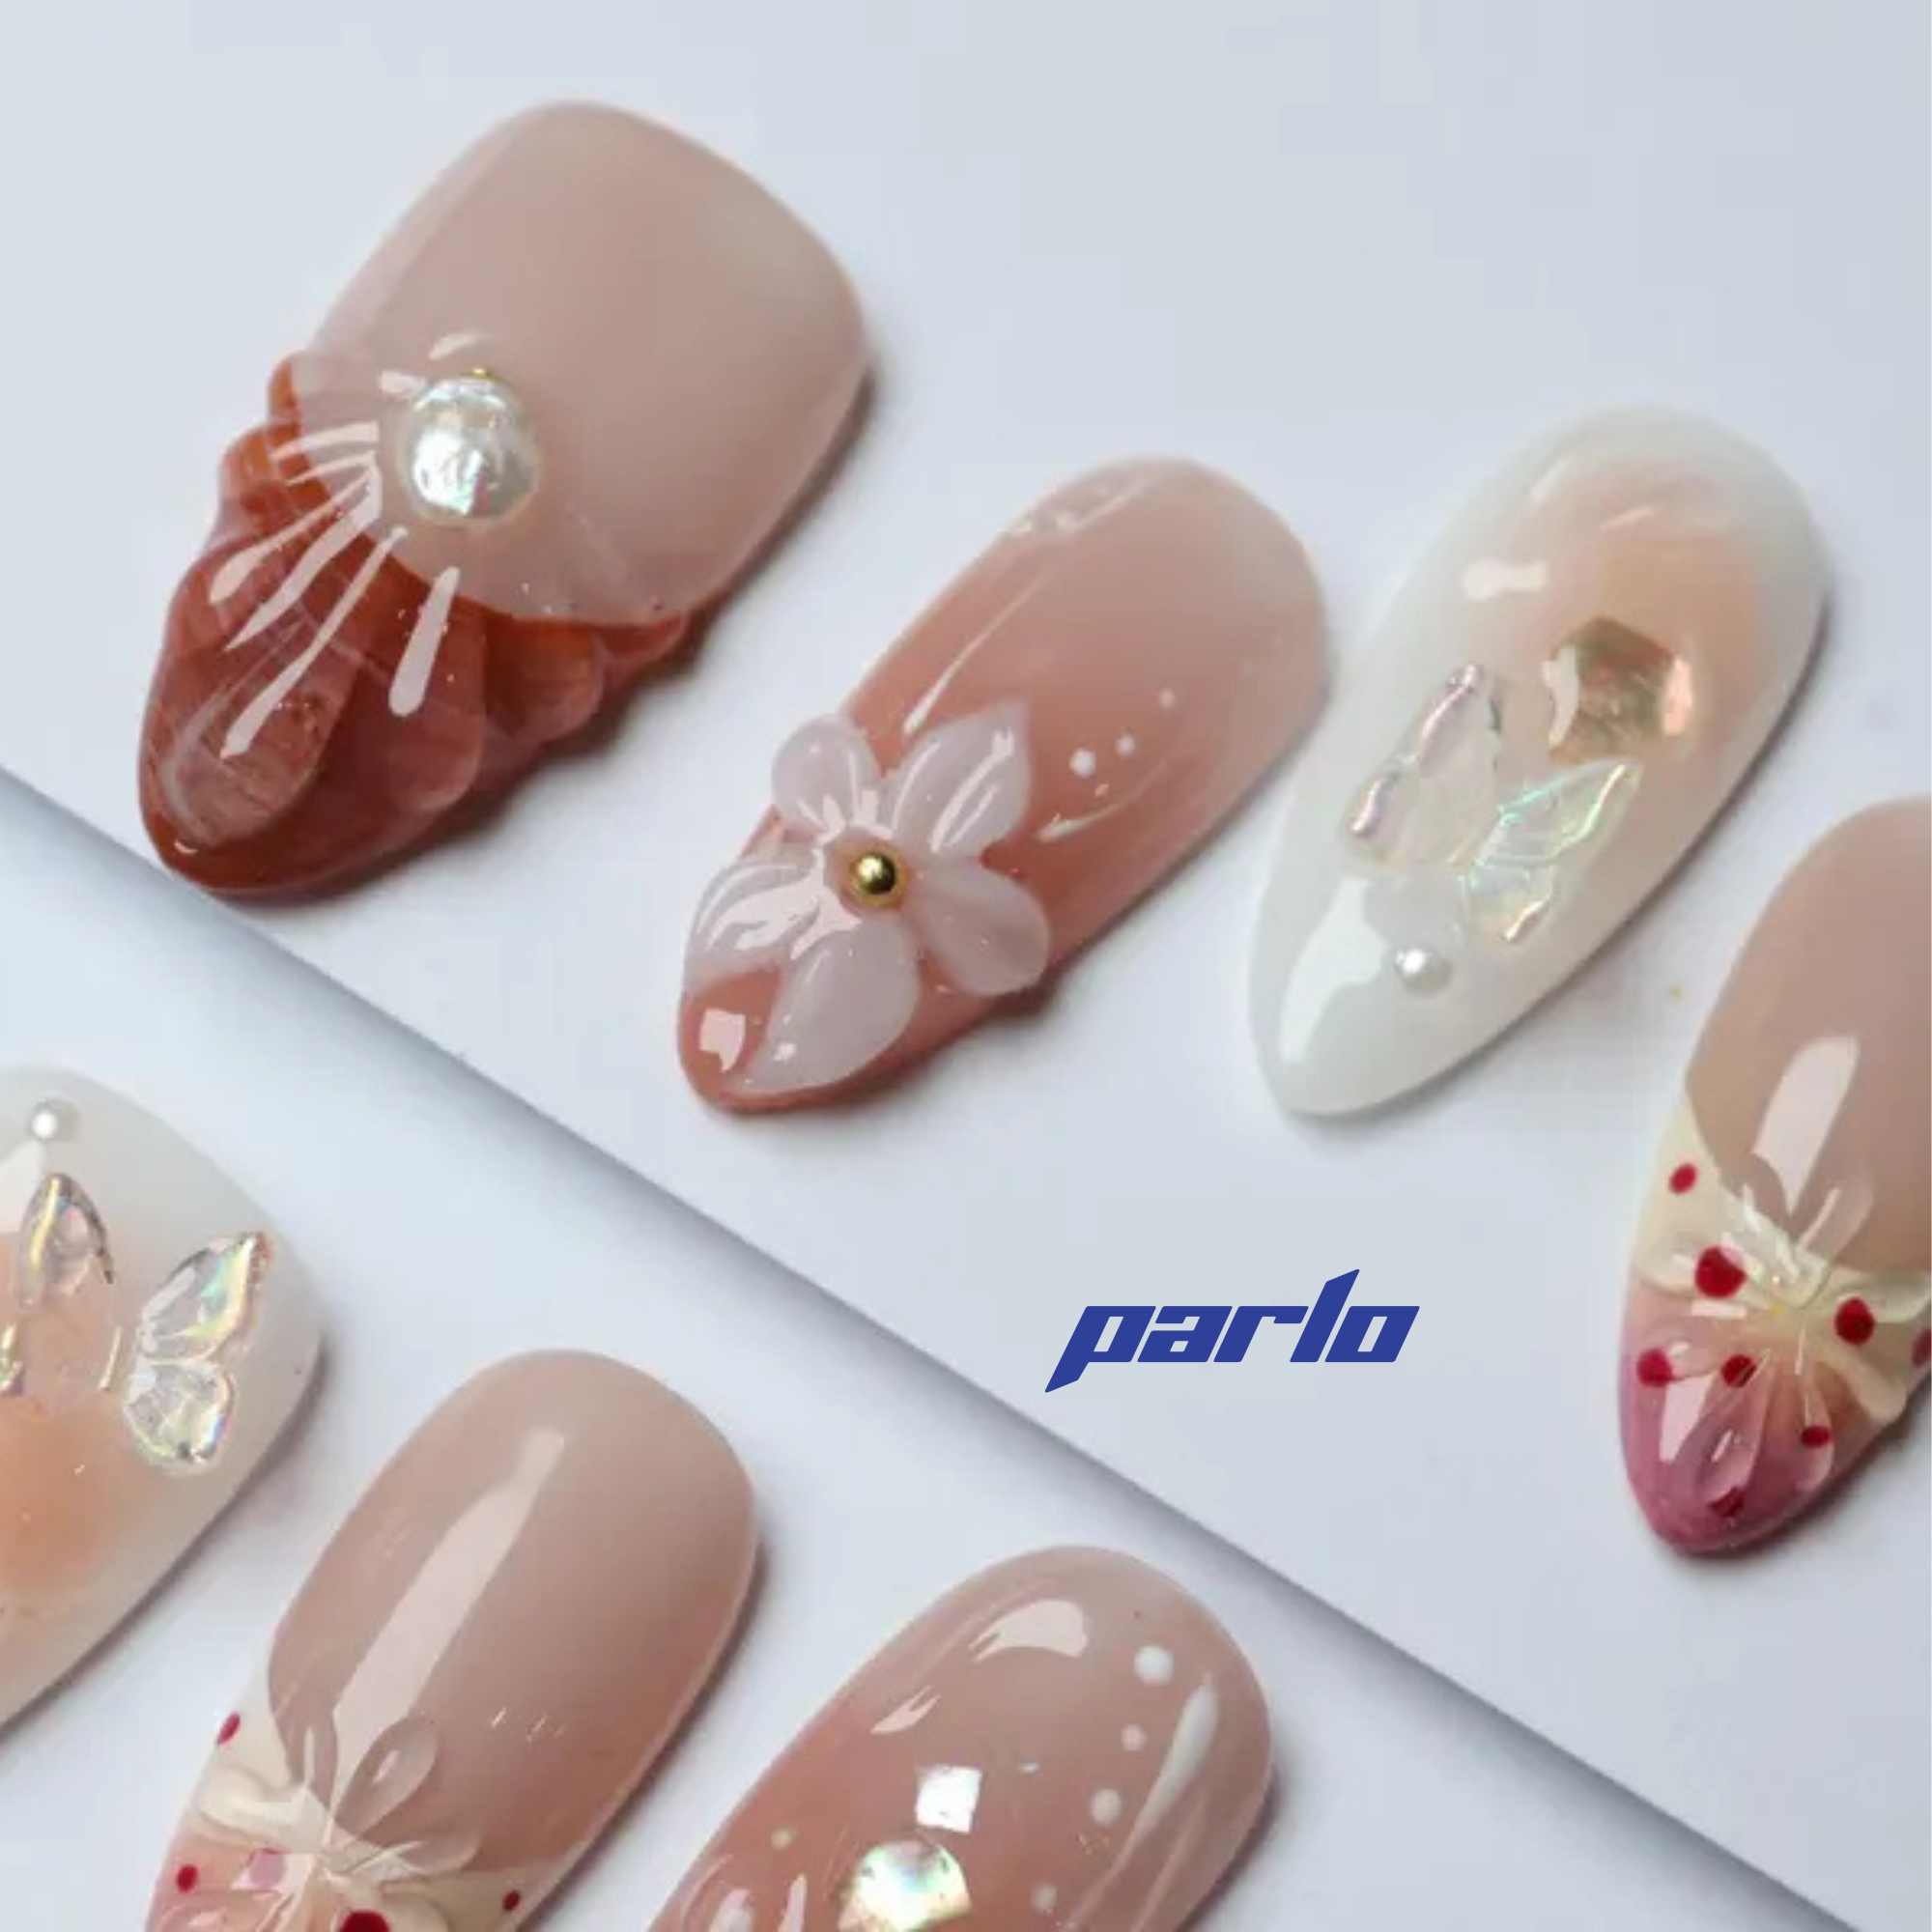
Once you have your gelly tips on, you can add your personal touch. Consider adding some flair with a pop of color or some cool designs! Check out this product!

Consider adding some floral designs as well!

Troubleshooting Common Issues
Lifting: Ensure proper nail prep is crucial. Gently buff the natural nail and use a nail dehydrator for better adhesion.
Air Bubbles: Apply the adhesive evenly and press the Gelly Tip firmly onto the nail, starting at a 45-degree angle.
Weak Tips: Apply multiple layers of gel polish or a builder gel for added strength.
Maintaining Your Kiara Sky Gelly Tips
To keep your Gelly Tips looking their best, avoid harsh chemicals and excessive water exposure. Wear gloves when doing household chores and apply cuticle oil regularly to keep your nails hydrated. With proper care, your Kiara Sky Gelly Tips can last for up to 3 weeks.
Ready to elevate your at-home manicure game? Explore the Kiara Sky Gelly Tips collection and discover the perfect set for your style. Don't forget to stock up on essential tools and products for a seamless application!
For more nail tips and tutorials, check out our other blog posts! Ready to try something new? Check out our other nail design options! Call to Action: Explore our press on nail collection!Generated from keyword: "How to Apply NEW Kiara Sky Gelly Tips!"