How to Create a Simple French Braid in 6 Easy Steps
The French braid is a classic hairstyle that's both elegant and practical. It can seem intimidating at first, but with a little practice, anyone can master it. This guide will break down the process into 6 simple steps, allowing you to create a beautiful French braid in no time.
Step 1: Prepare Your Hair
Before you begin, make sure your hair is detangled. Use a brush or comb to remove any knots or tangles. Slightly damp hair is often easier to braid, so you can lightly mist your hair with water if needed. This will give it a bit more grip and prevent flyaways. Consider adding a texturizing spray for extra hold.
Step 2: Divide the Hair
Gather a section of hair at the crown of your head, about 2-3 inches wide. Divide this section into three equal strands, just as you would when starting a regular braid. This is the foundation of your French braid.
Step 3: Begin the Braid
Start a regular braid by crossing the right strand over the middle strand, and then the left strand over the new middle strand. This completes the first stitch of your French braid.
Step 4: Add Hair to Each Strand
This is the key to a French braid! Before crossing the right strand over the middle, gather a small section of hair from the right side of your head and add it to the right strand. Then, cross the combined strand over the middle. Repeat this process on the left side, gathering a small section of hair from the left side of your head and adding it to the left strand before crossing it over the middle.
Step 5: Continue Braiding Down
Continue adding hair to each strand as you braid down the length of your head. Make sure to pick up even sections of hair on each side to create a balanced and symmetrical braid. As you get closer to the nape of your neck, you'll run out of hair to add. At this point, simply continue braiding the remaining hair in a regular three-strand braid.
Step 6: Secure the Braid
Once you've braided all the way to the end, secure the braid with a hair tie. You can use a clear elastic for a subtle look or a decorative hair tie to add a touch of style. For a more relaxed look, gently pull on the sides of the braid to loosen it and create a fuller appearance.
And there you have it – a beautiful and simple French braid! Practice makes perfect, so don't be discouraged if it doesn't look perfect on your first try. Keep practicing, and you'll be braiding like a pro in no time.
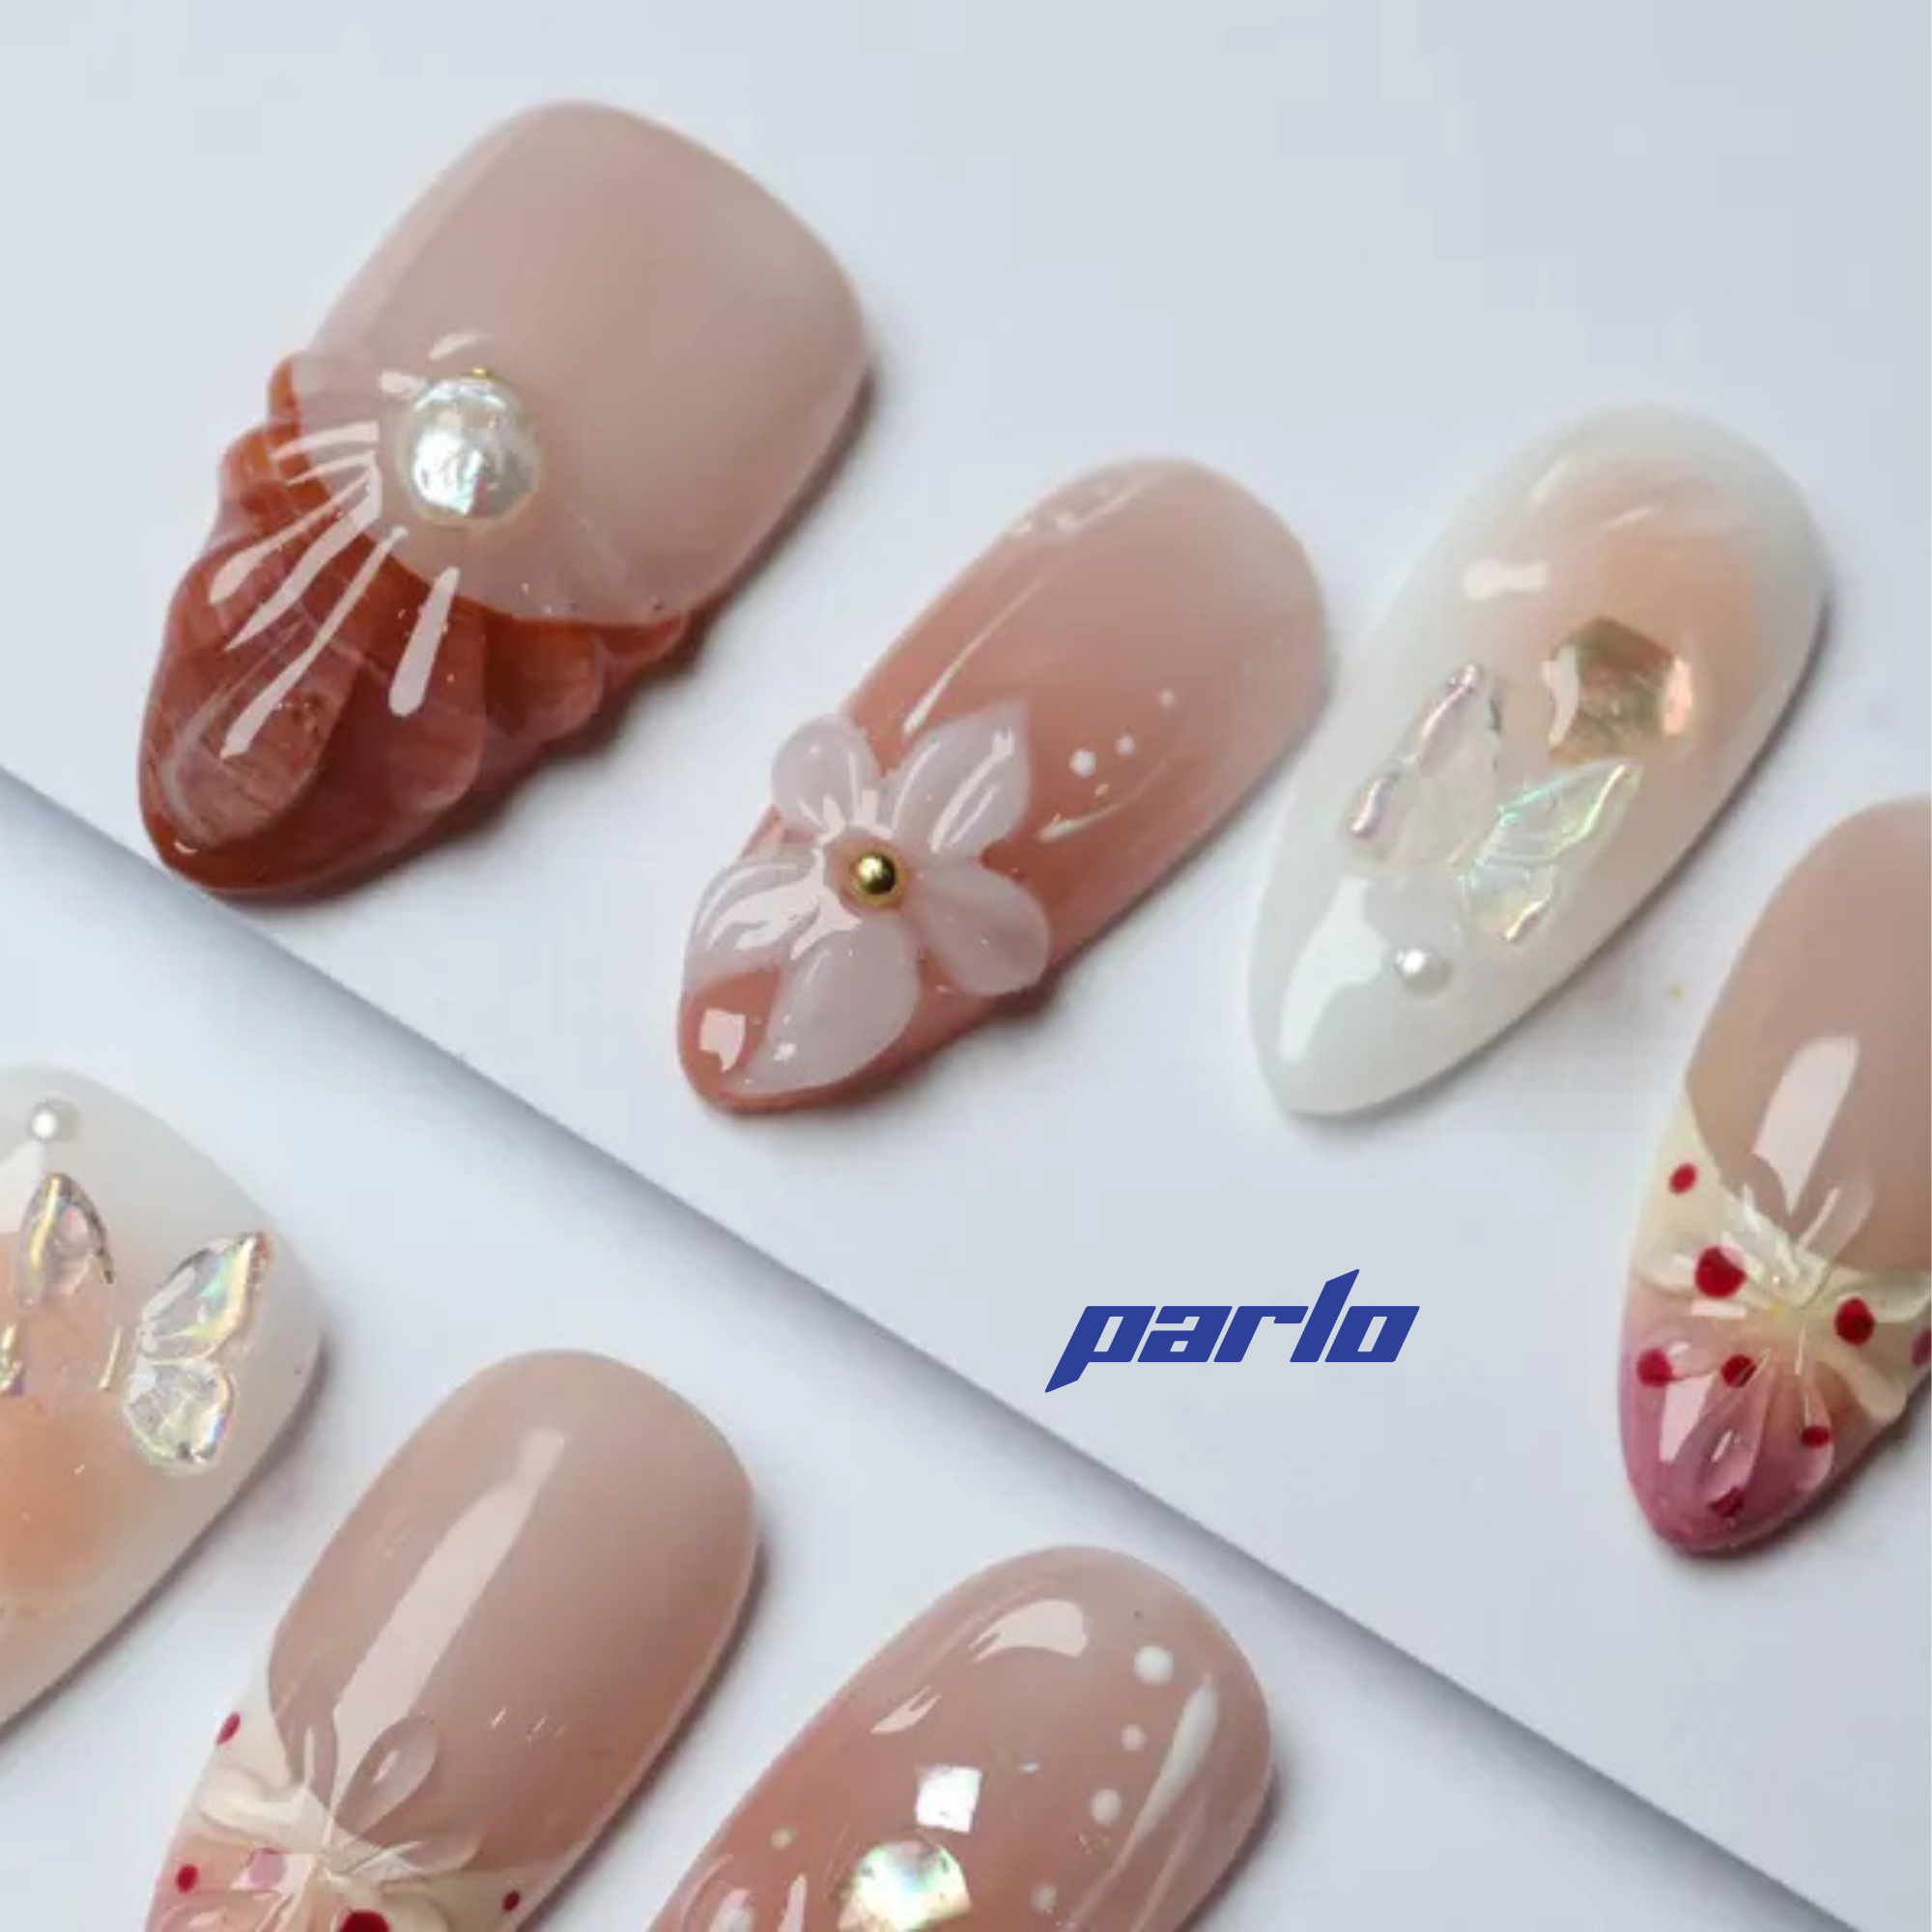
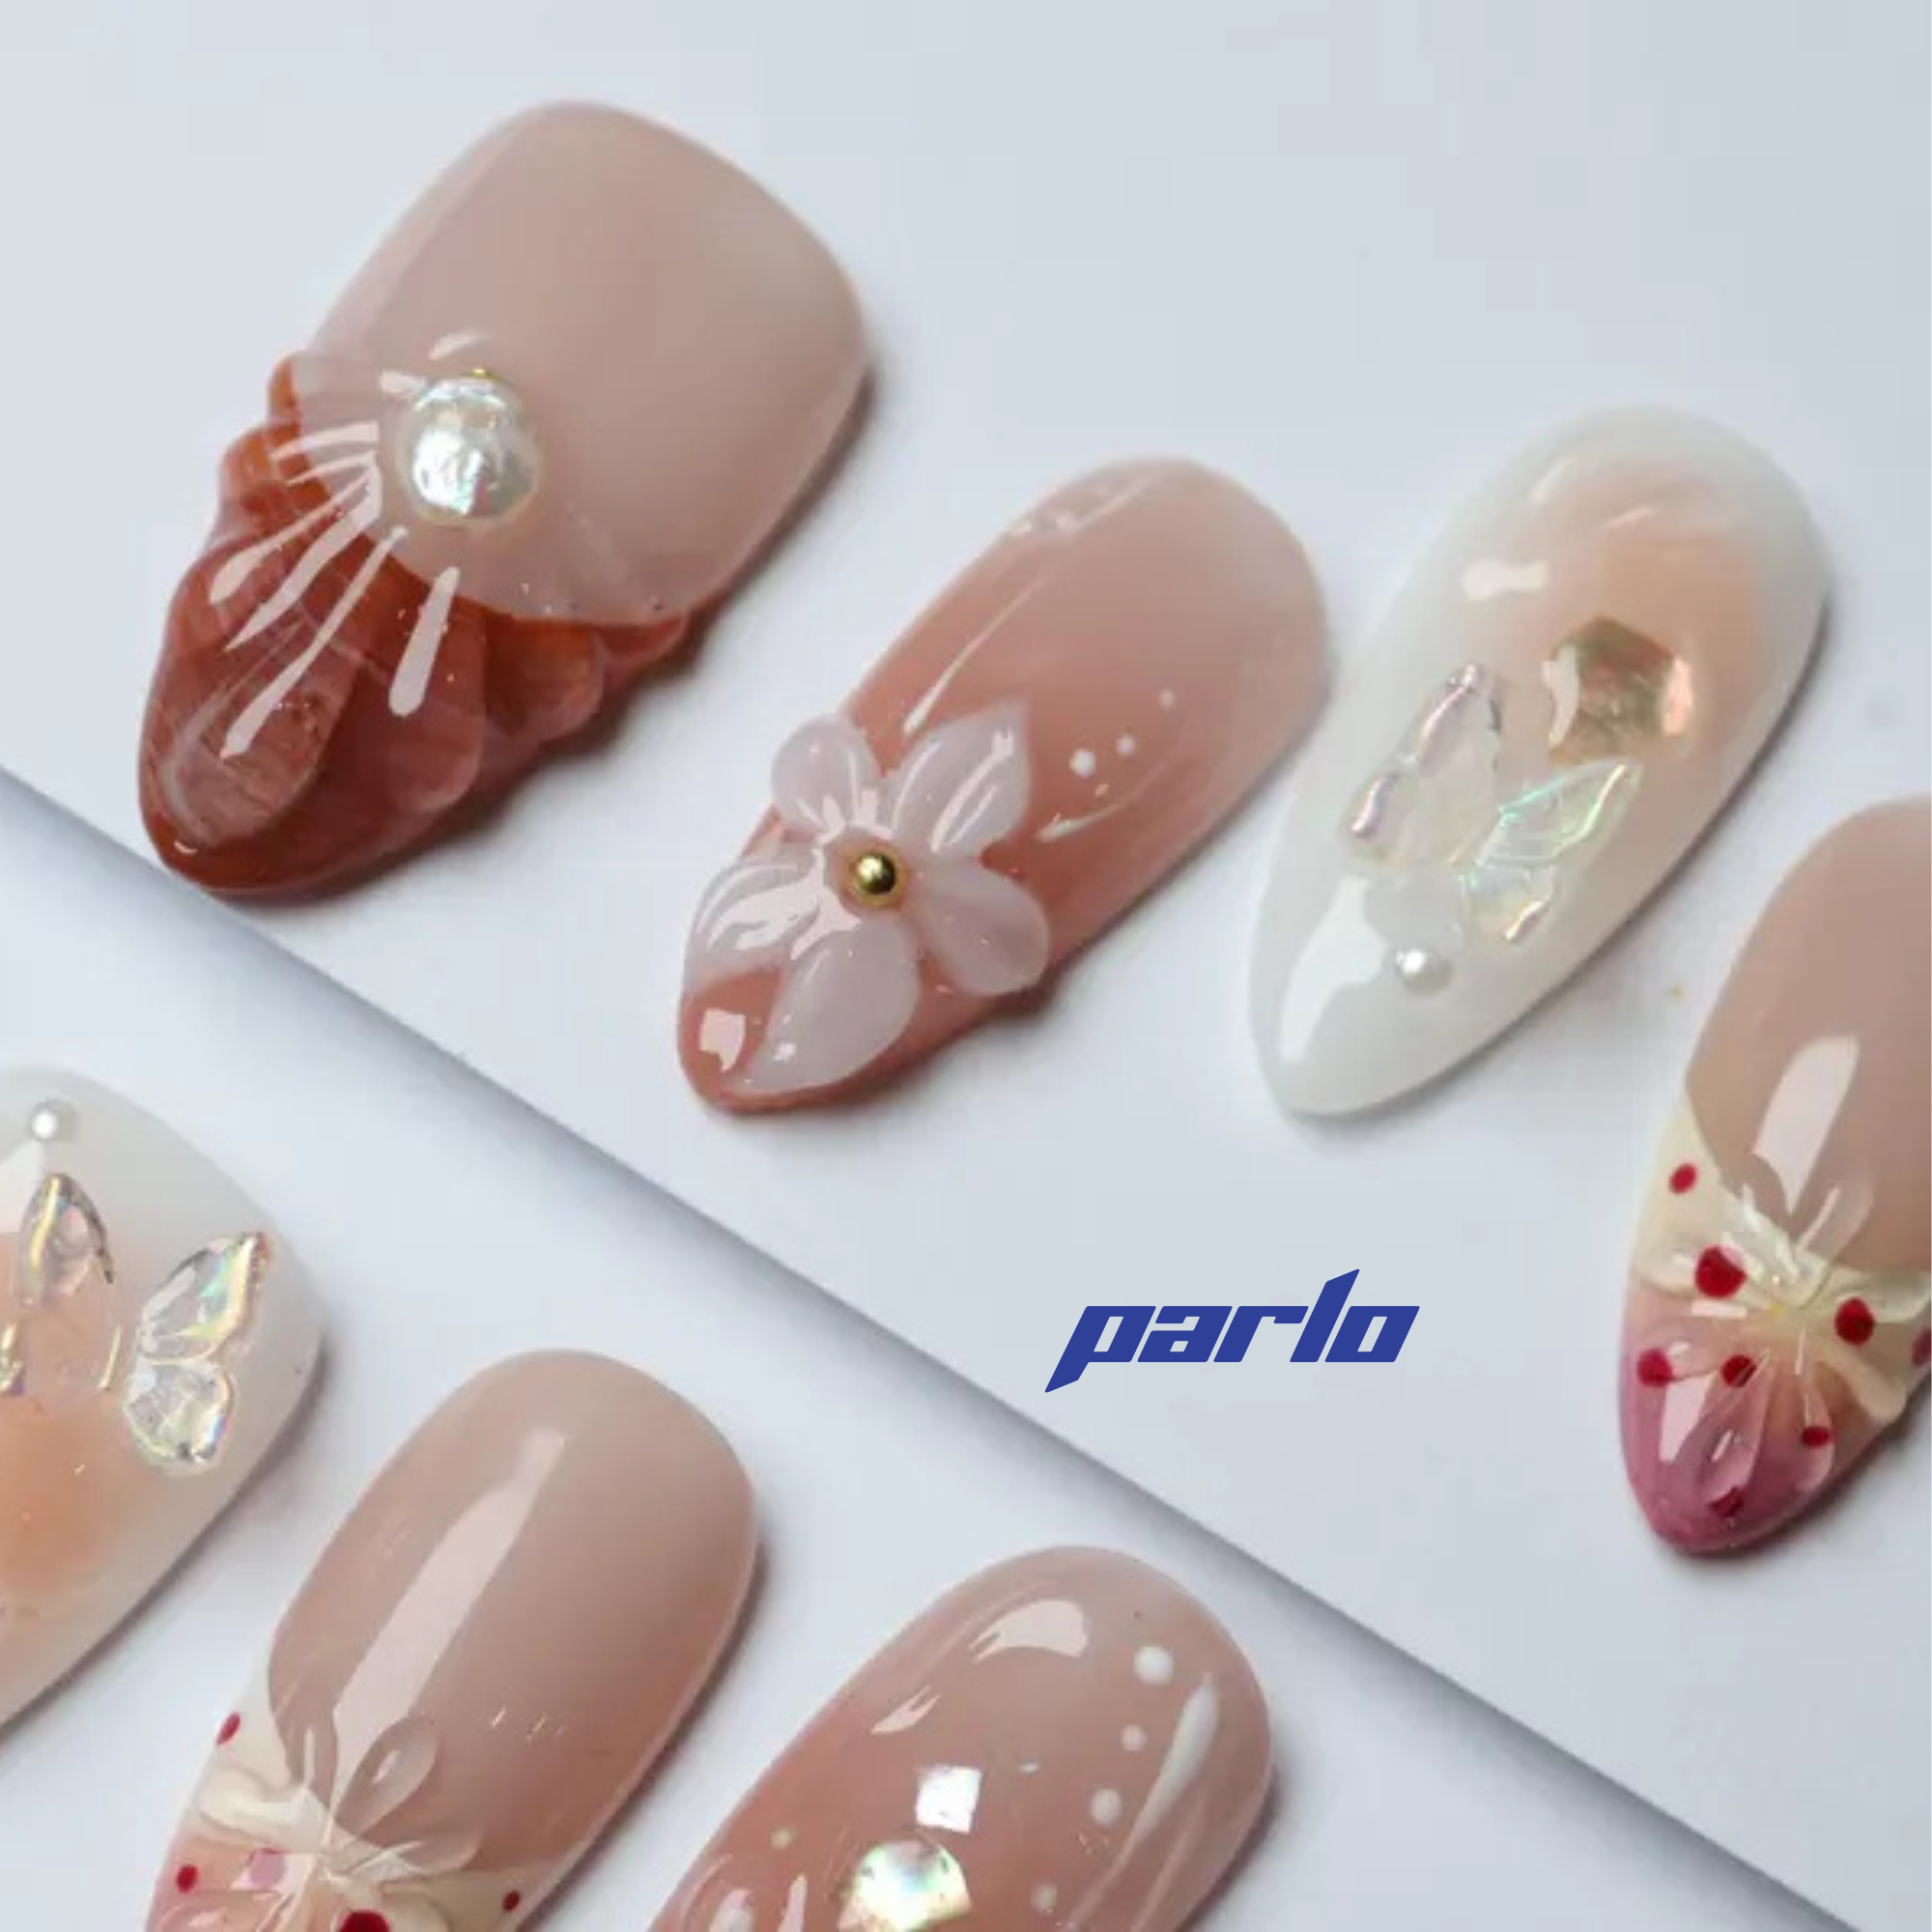
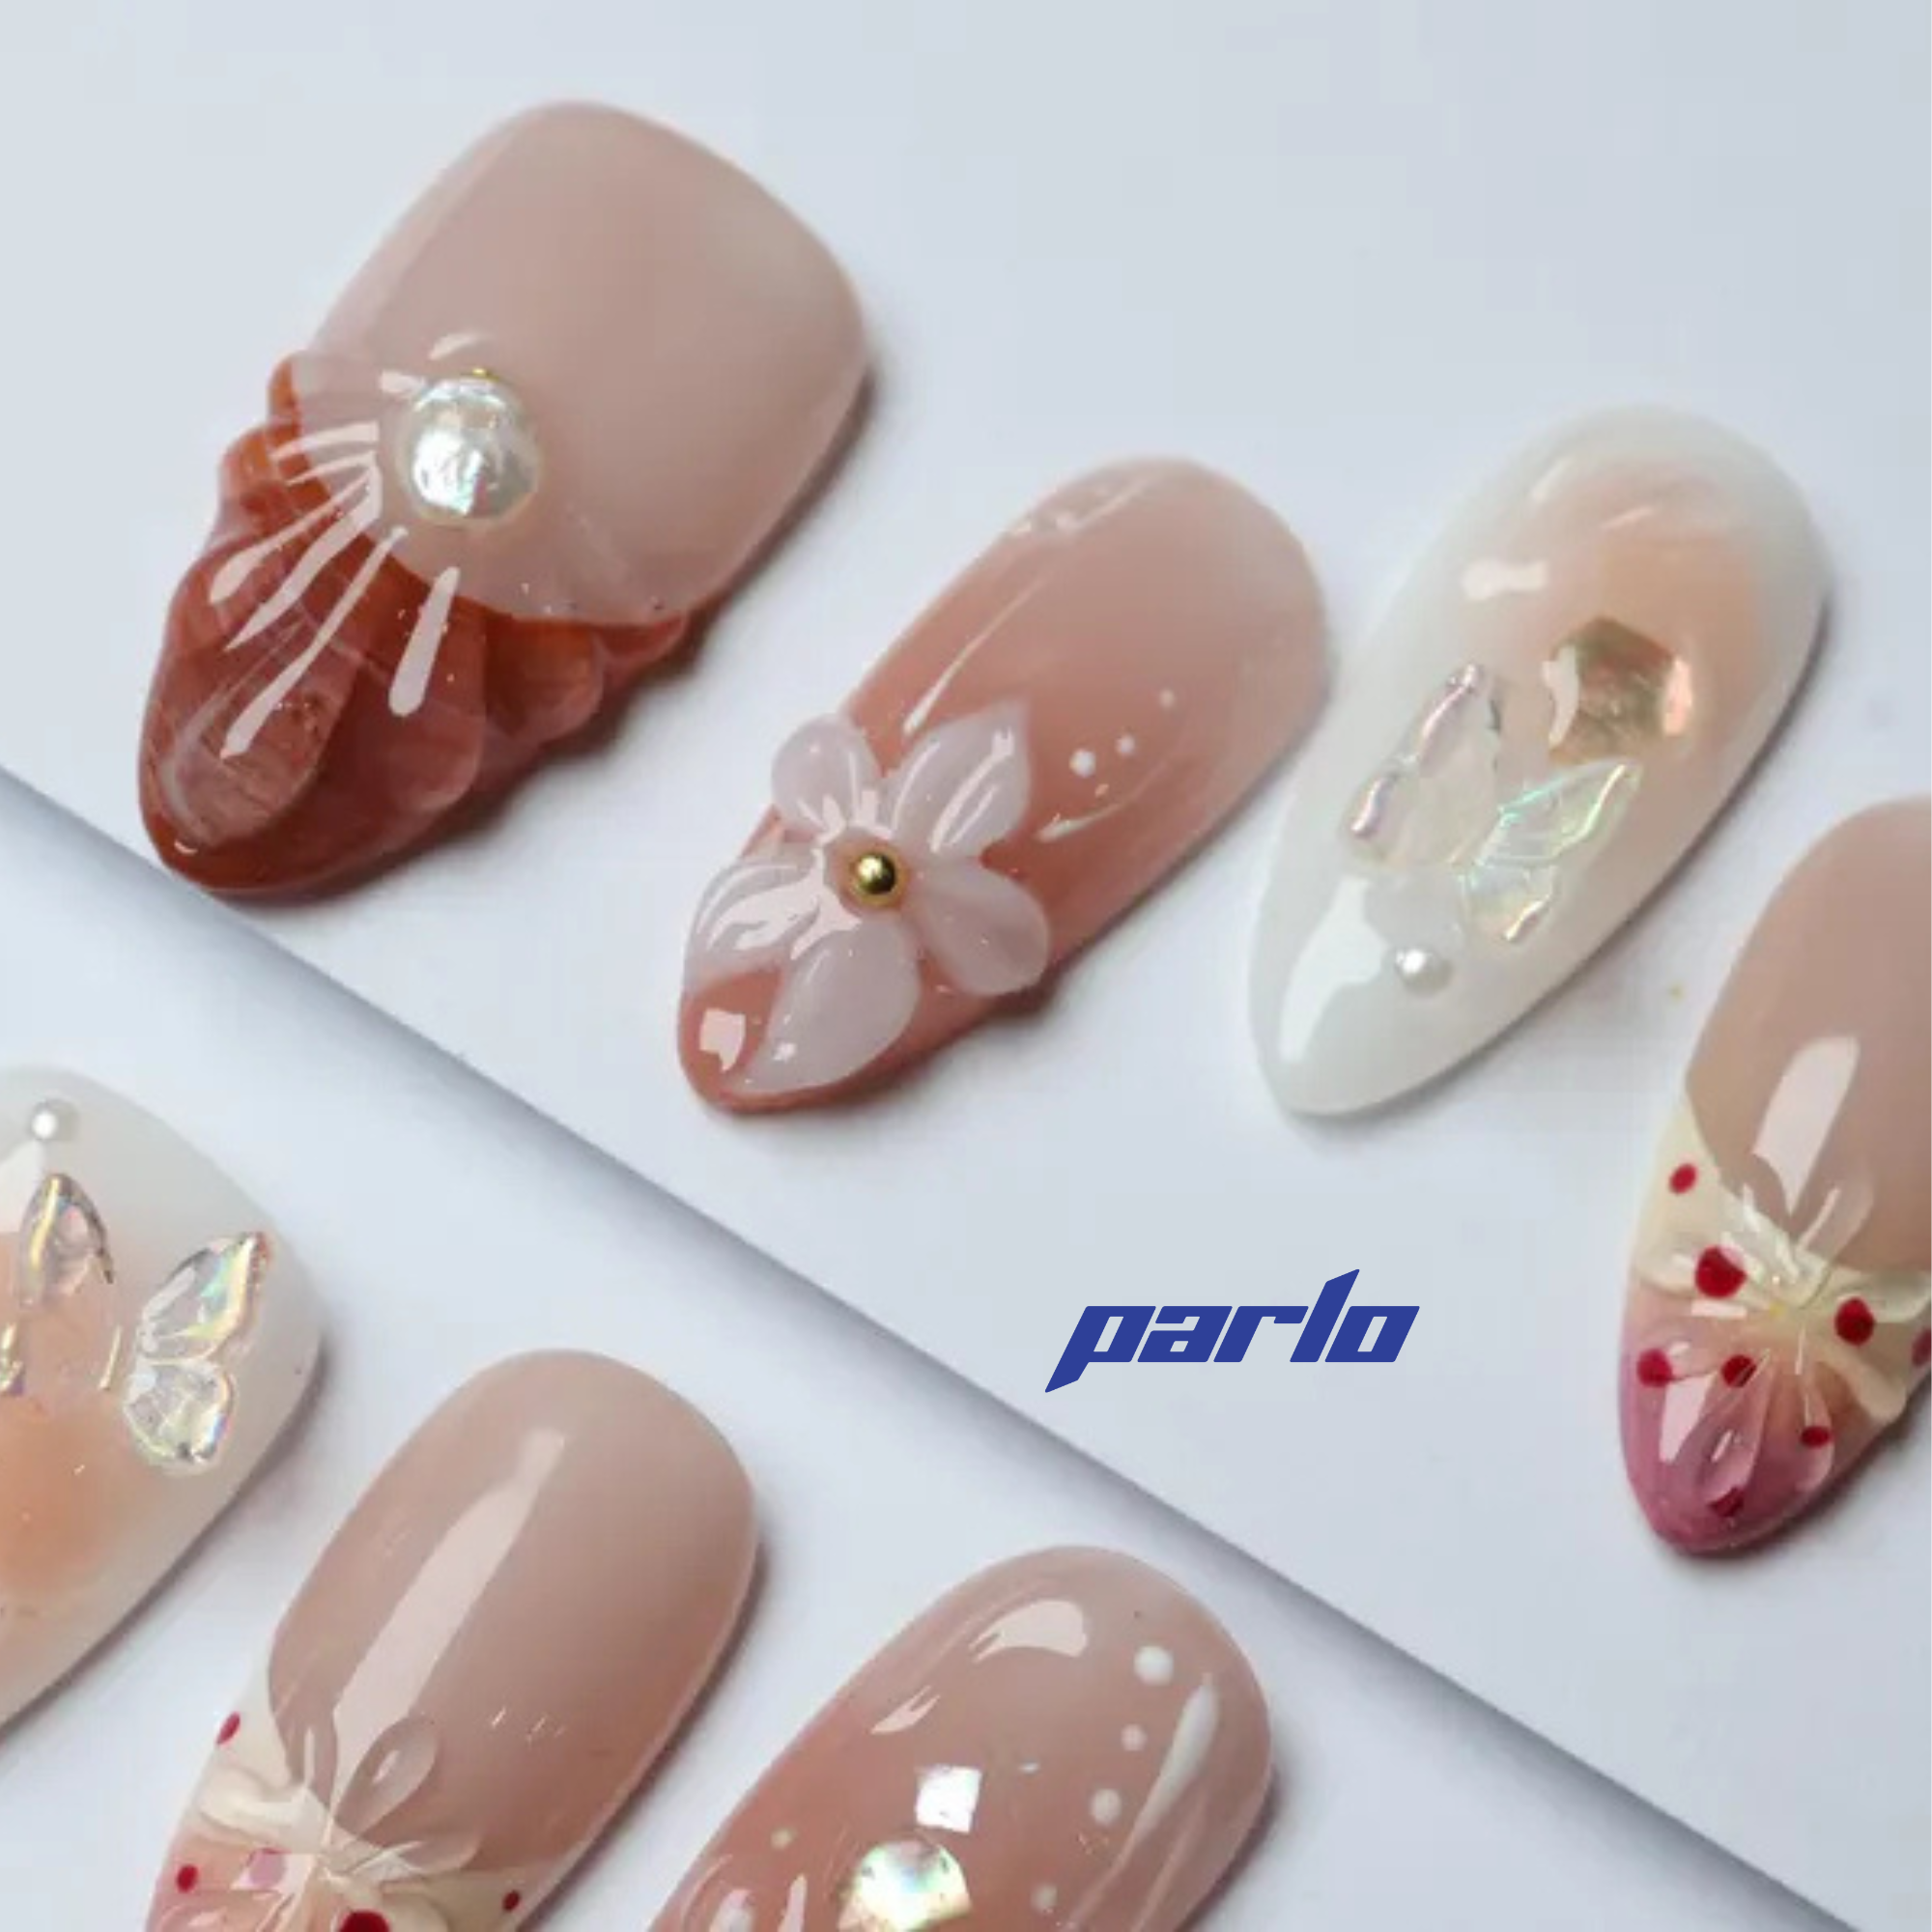
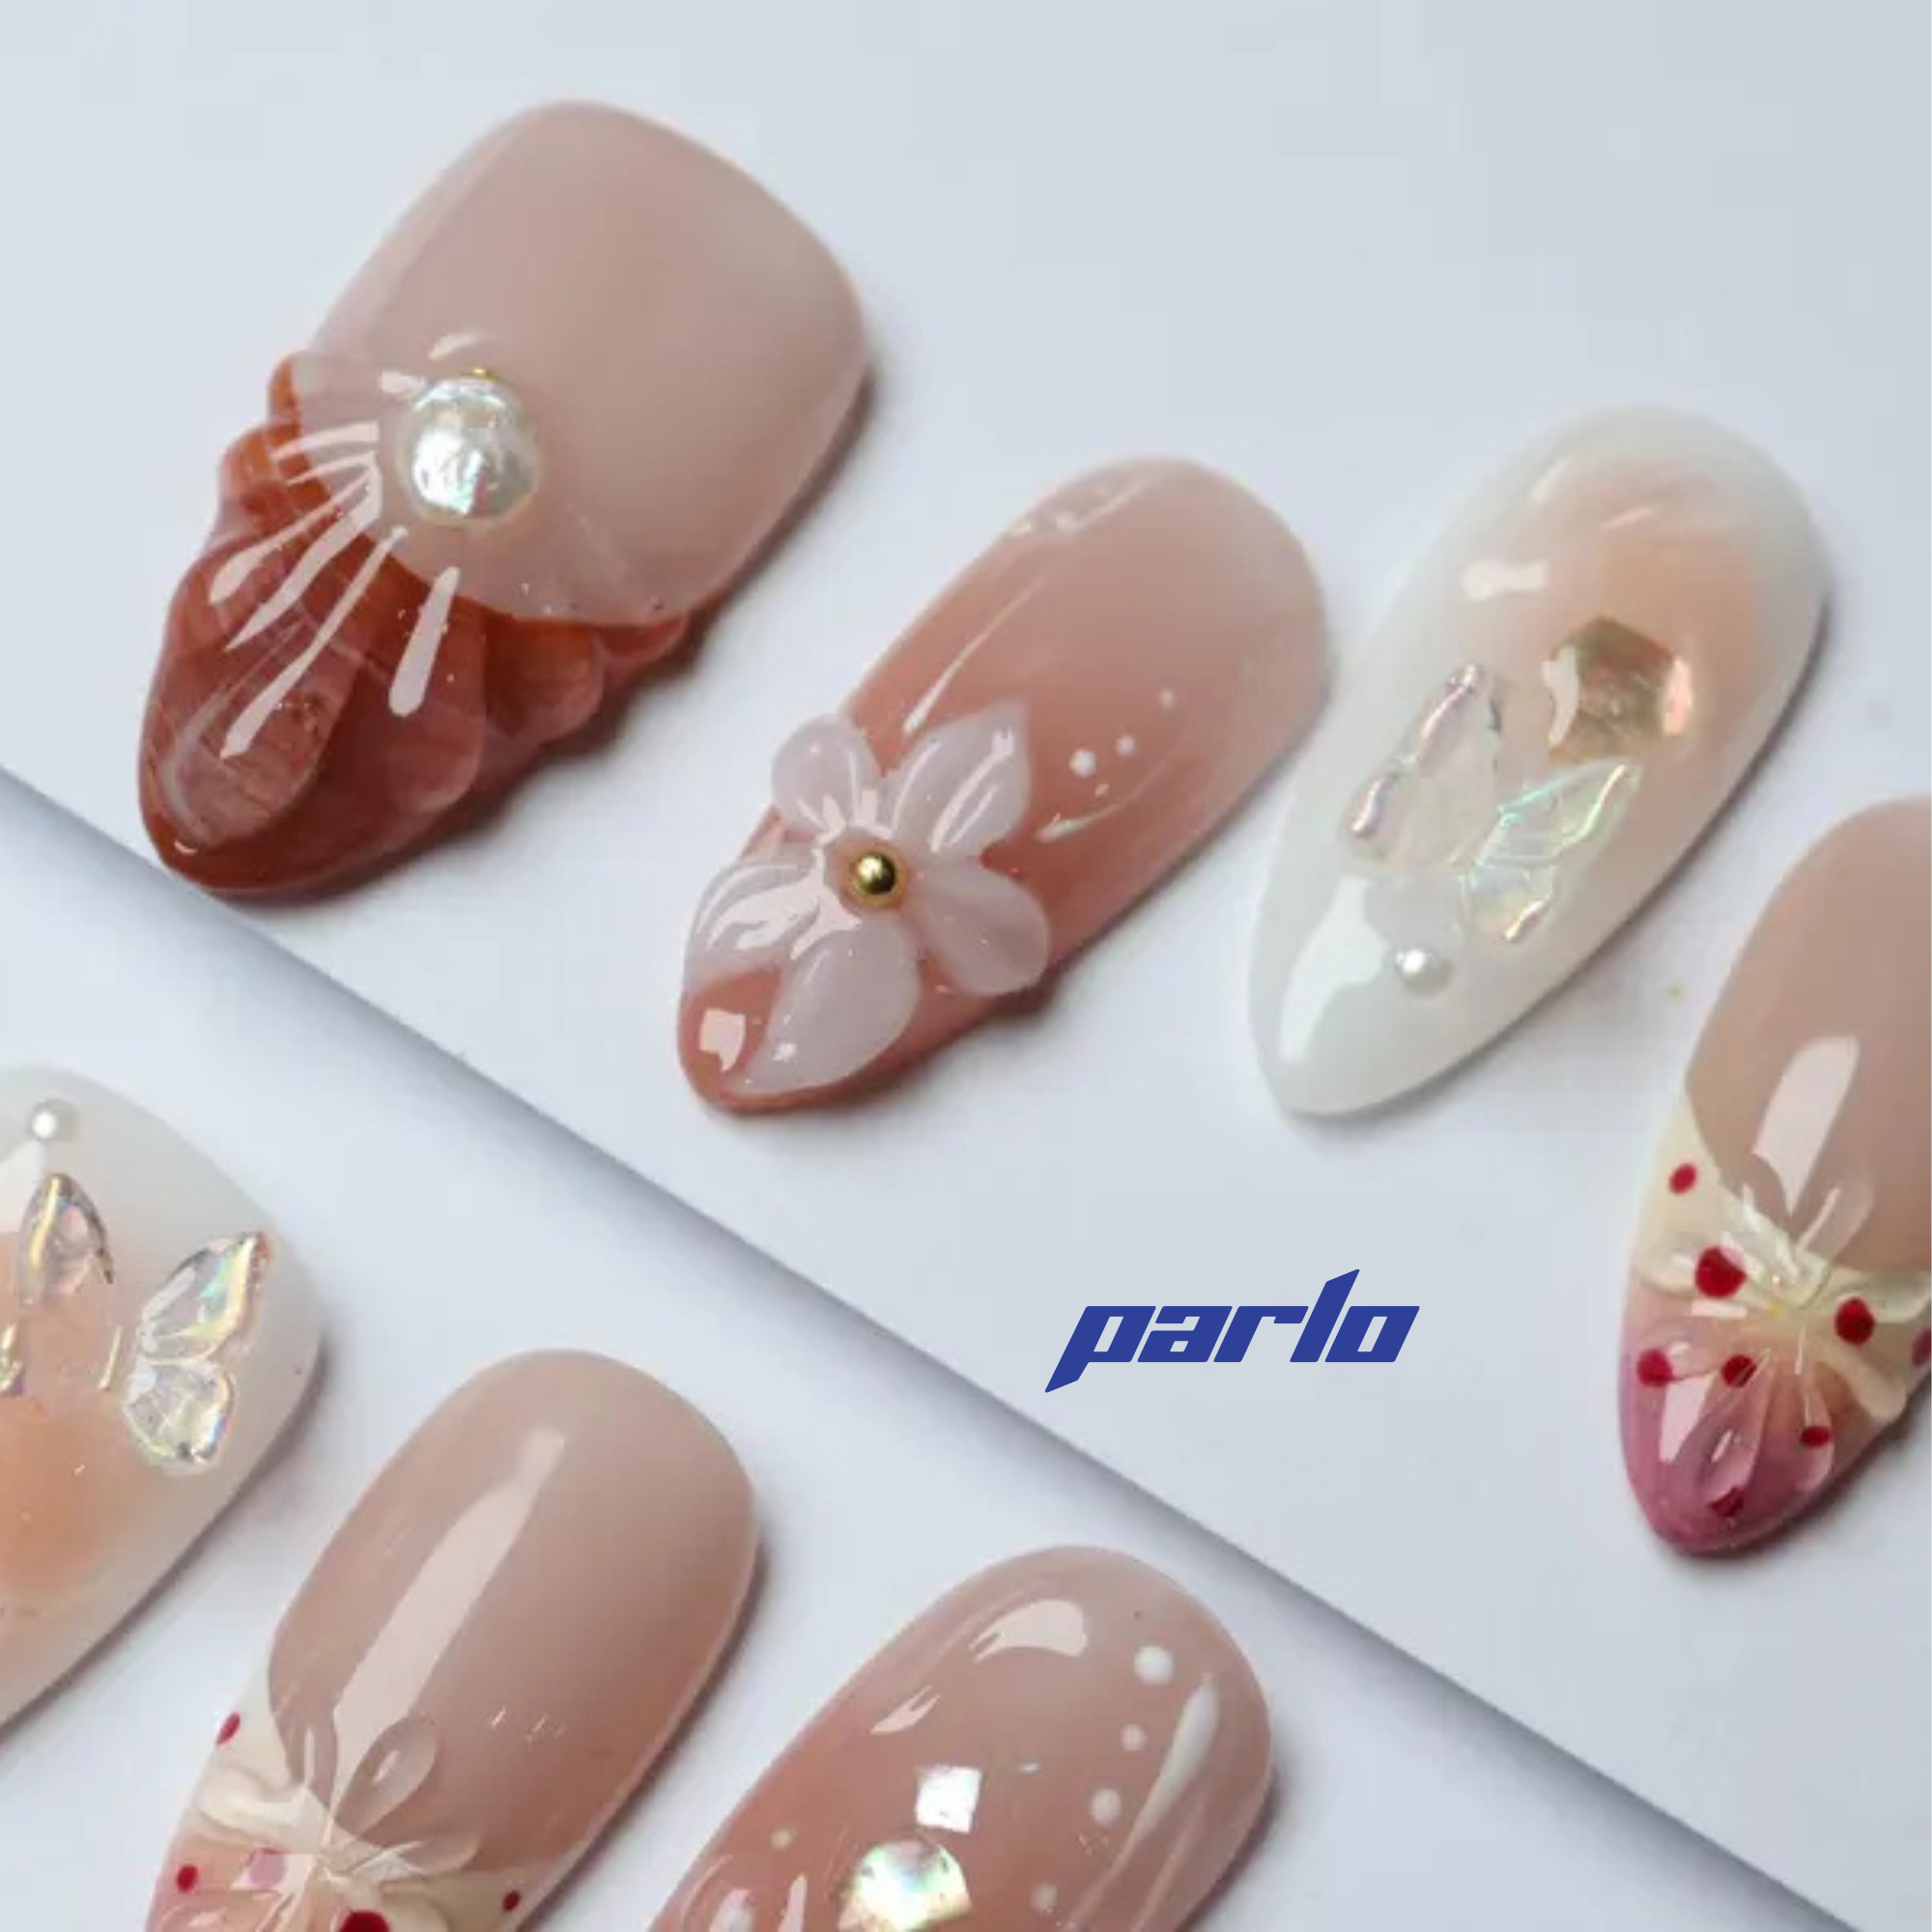
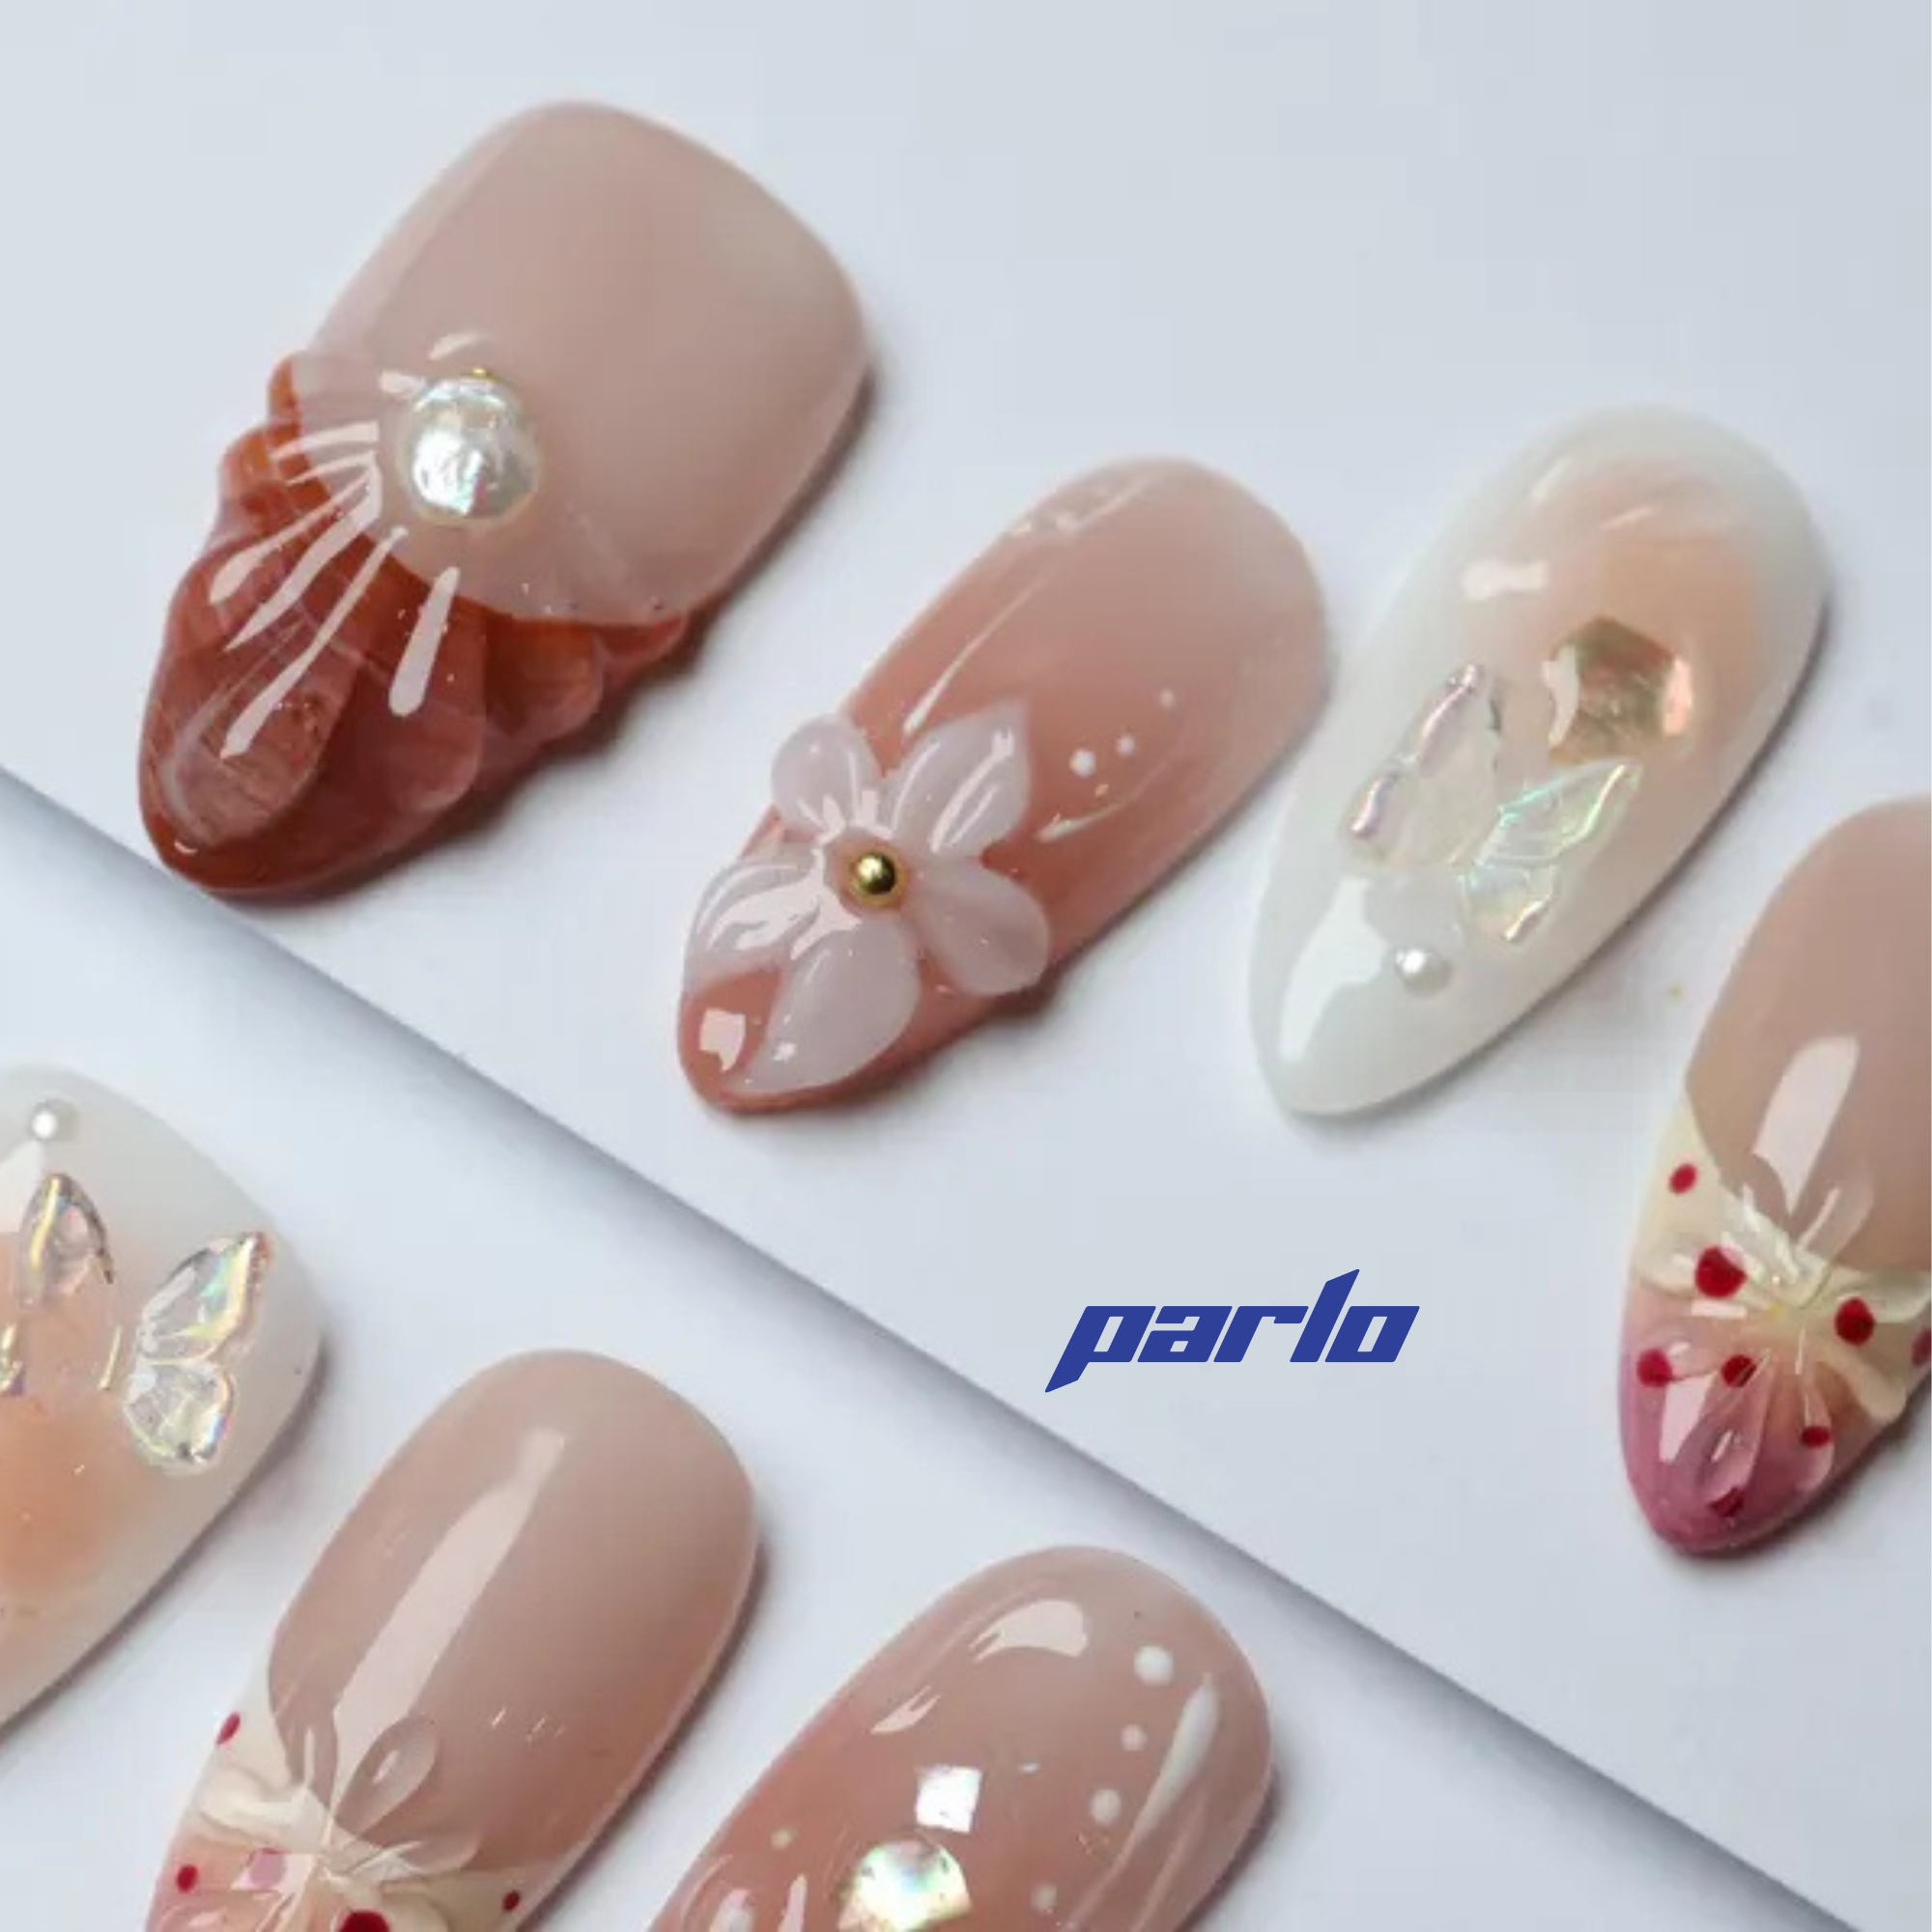
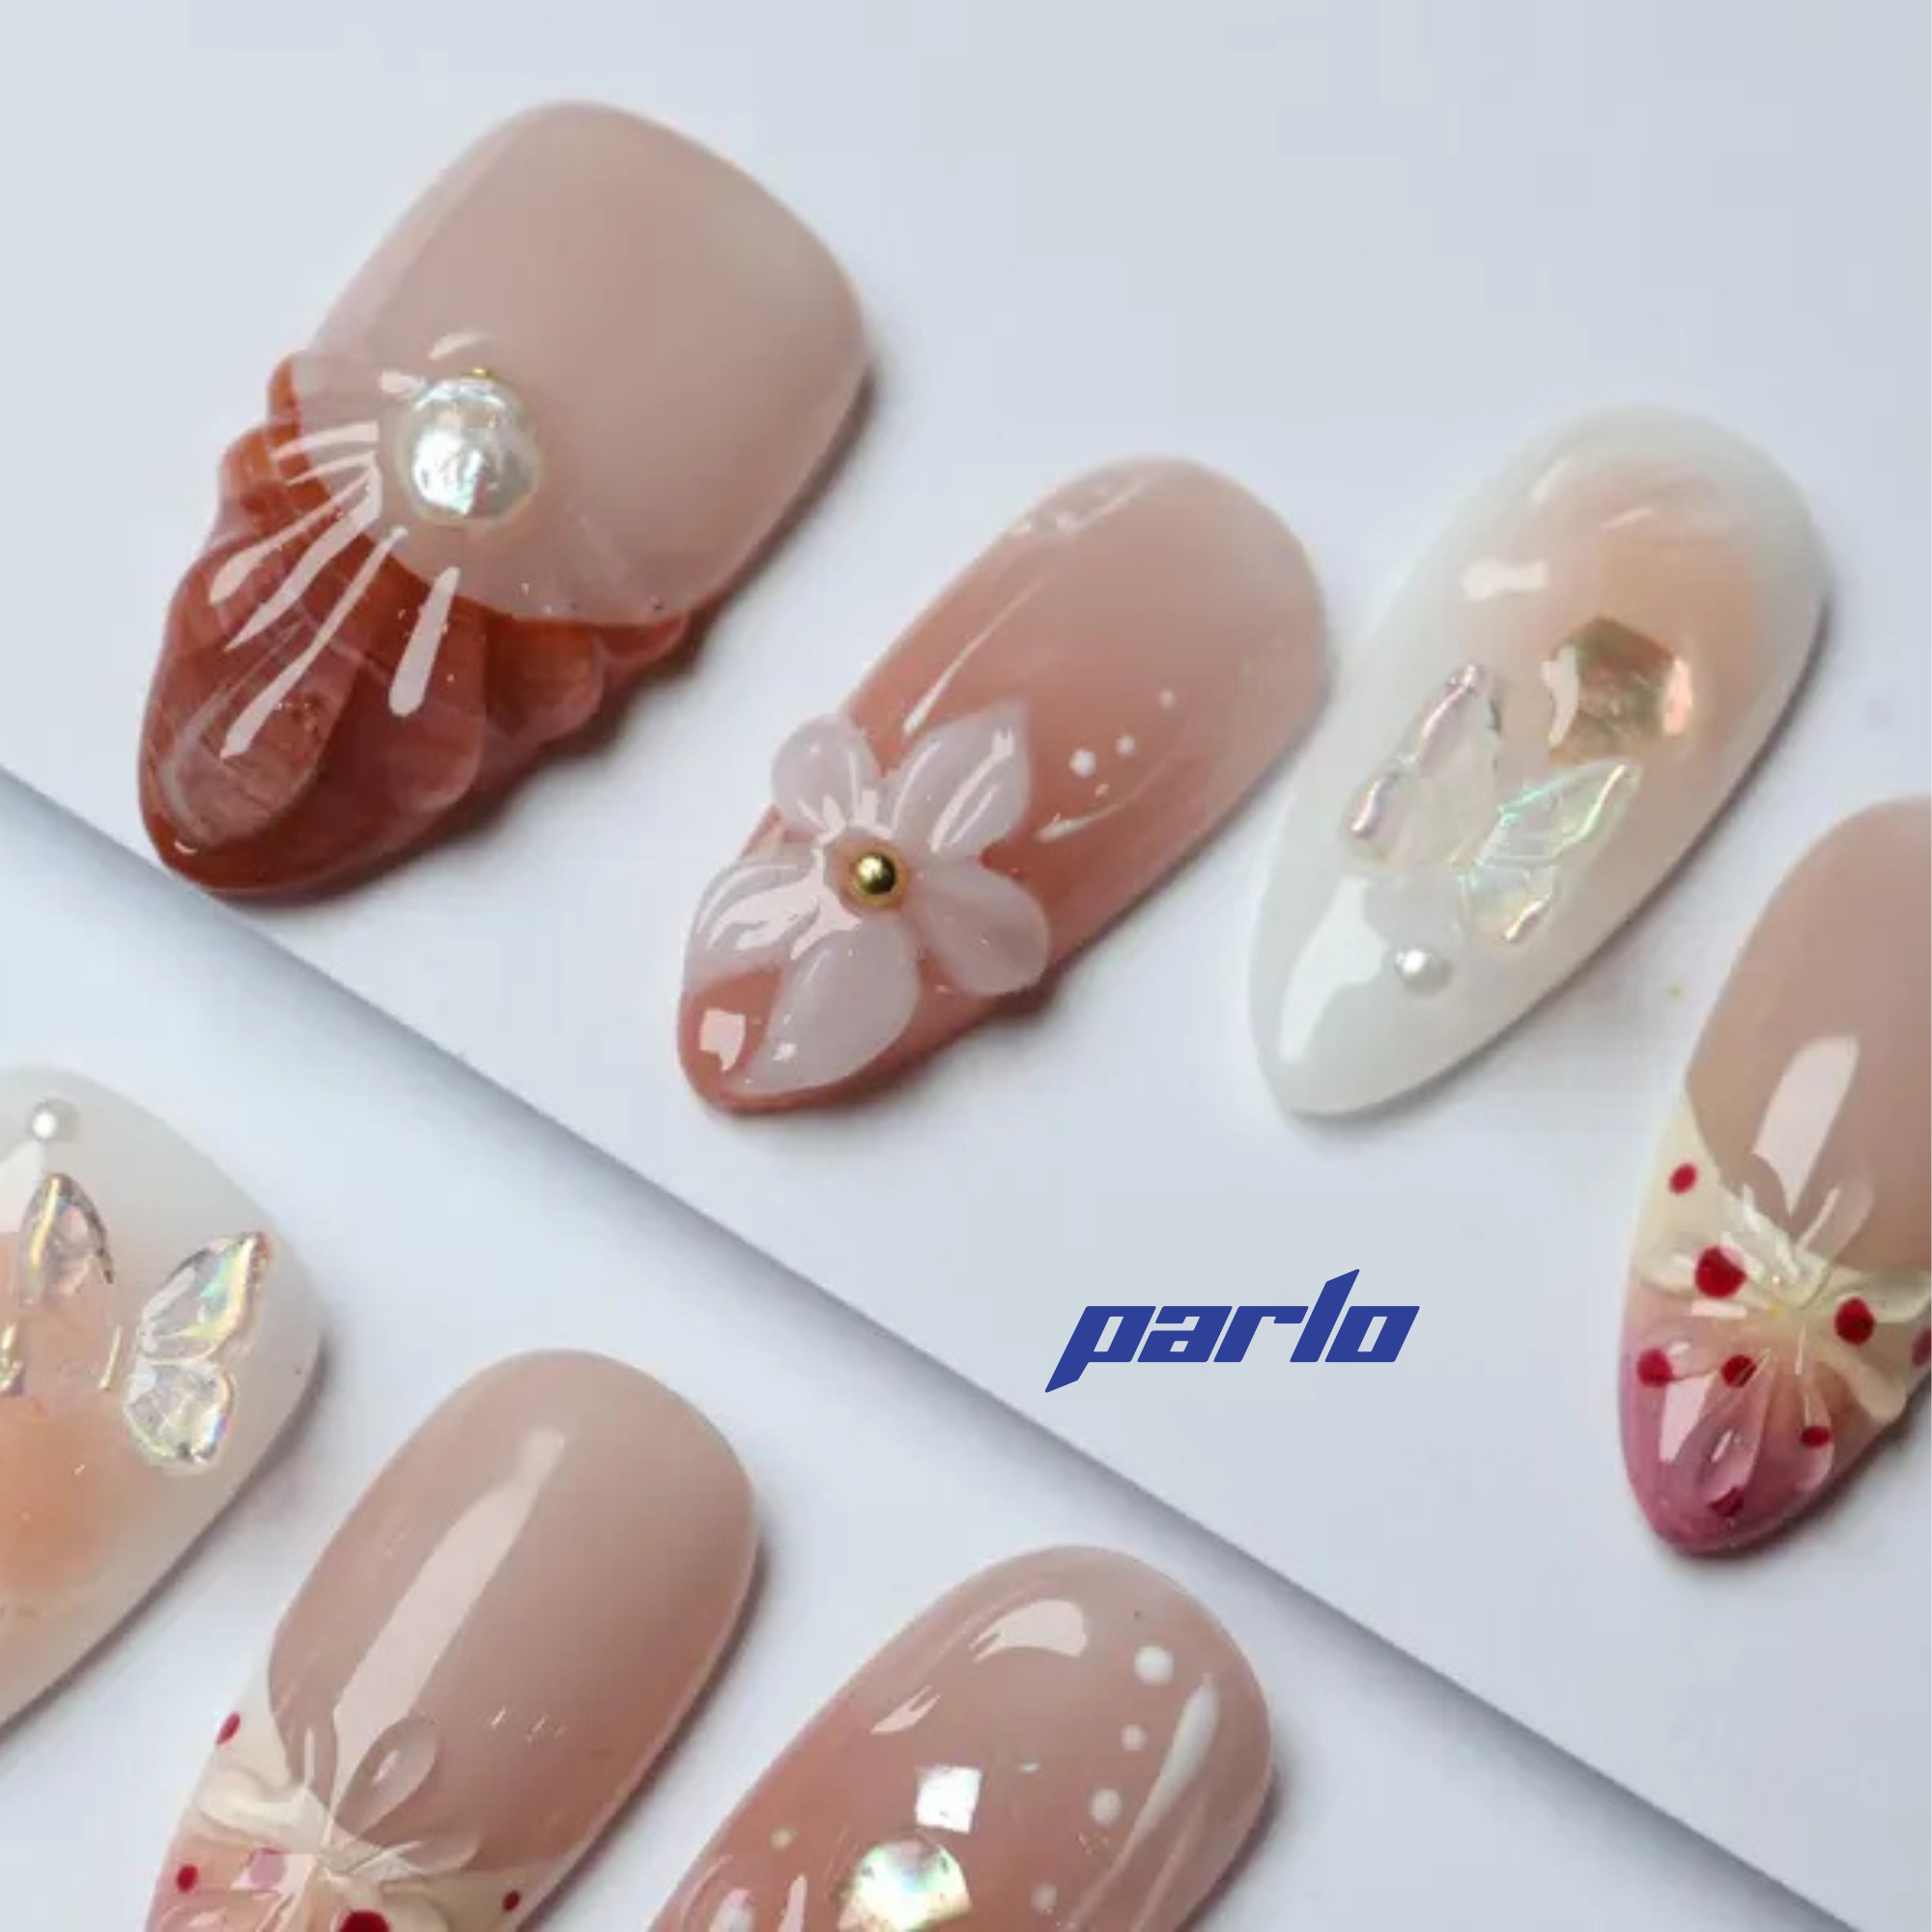
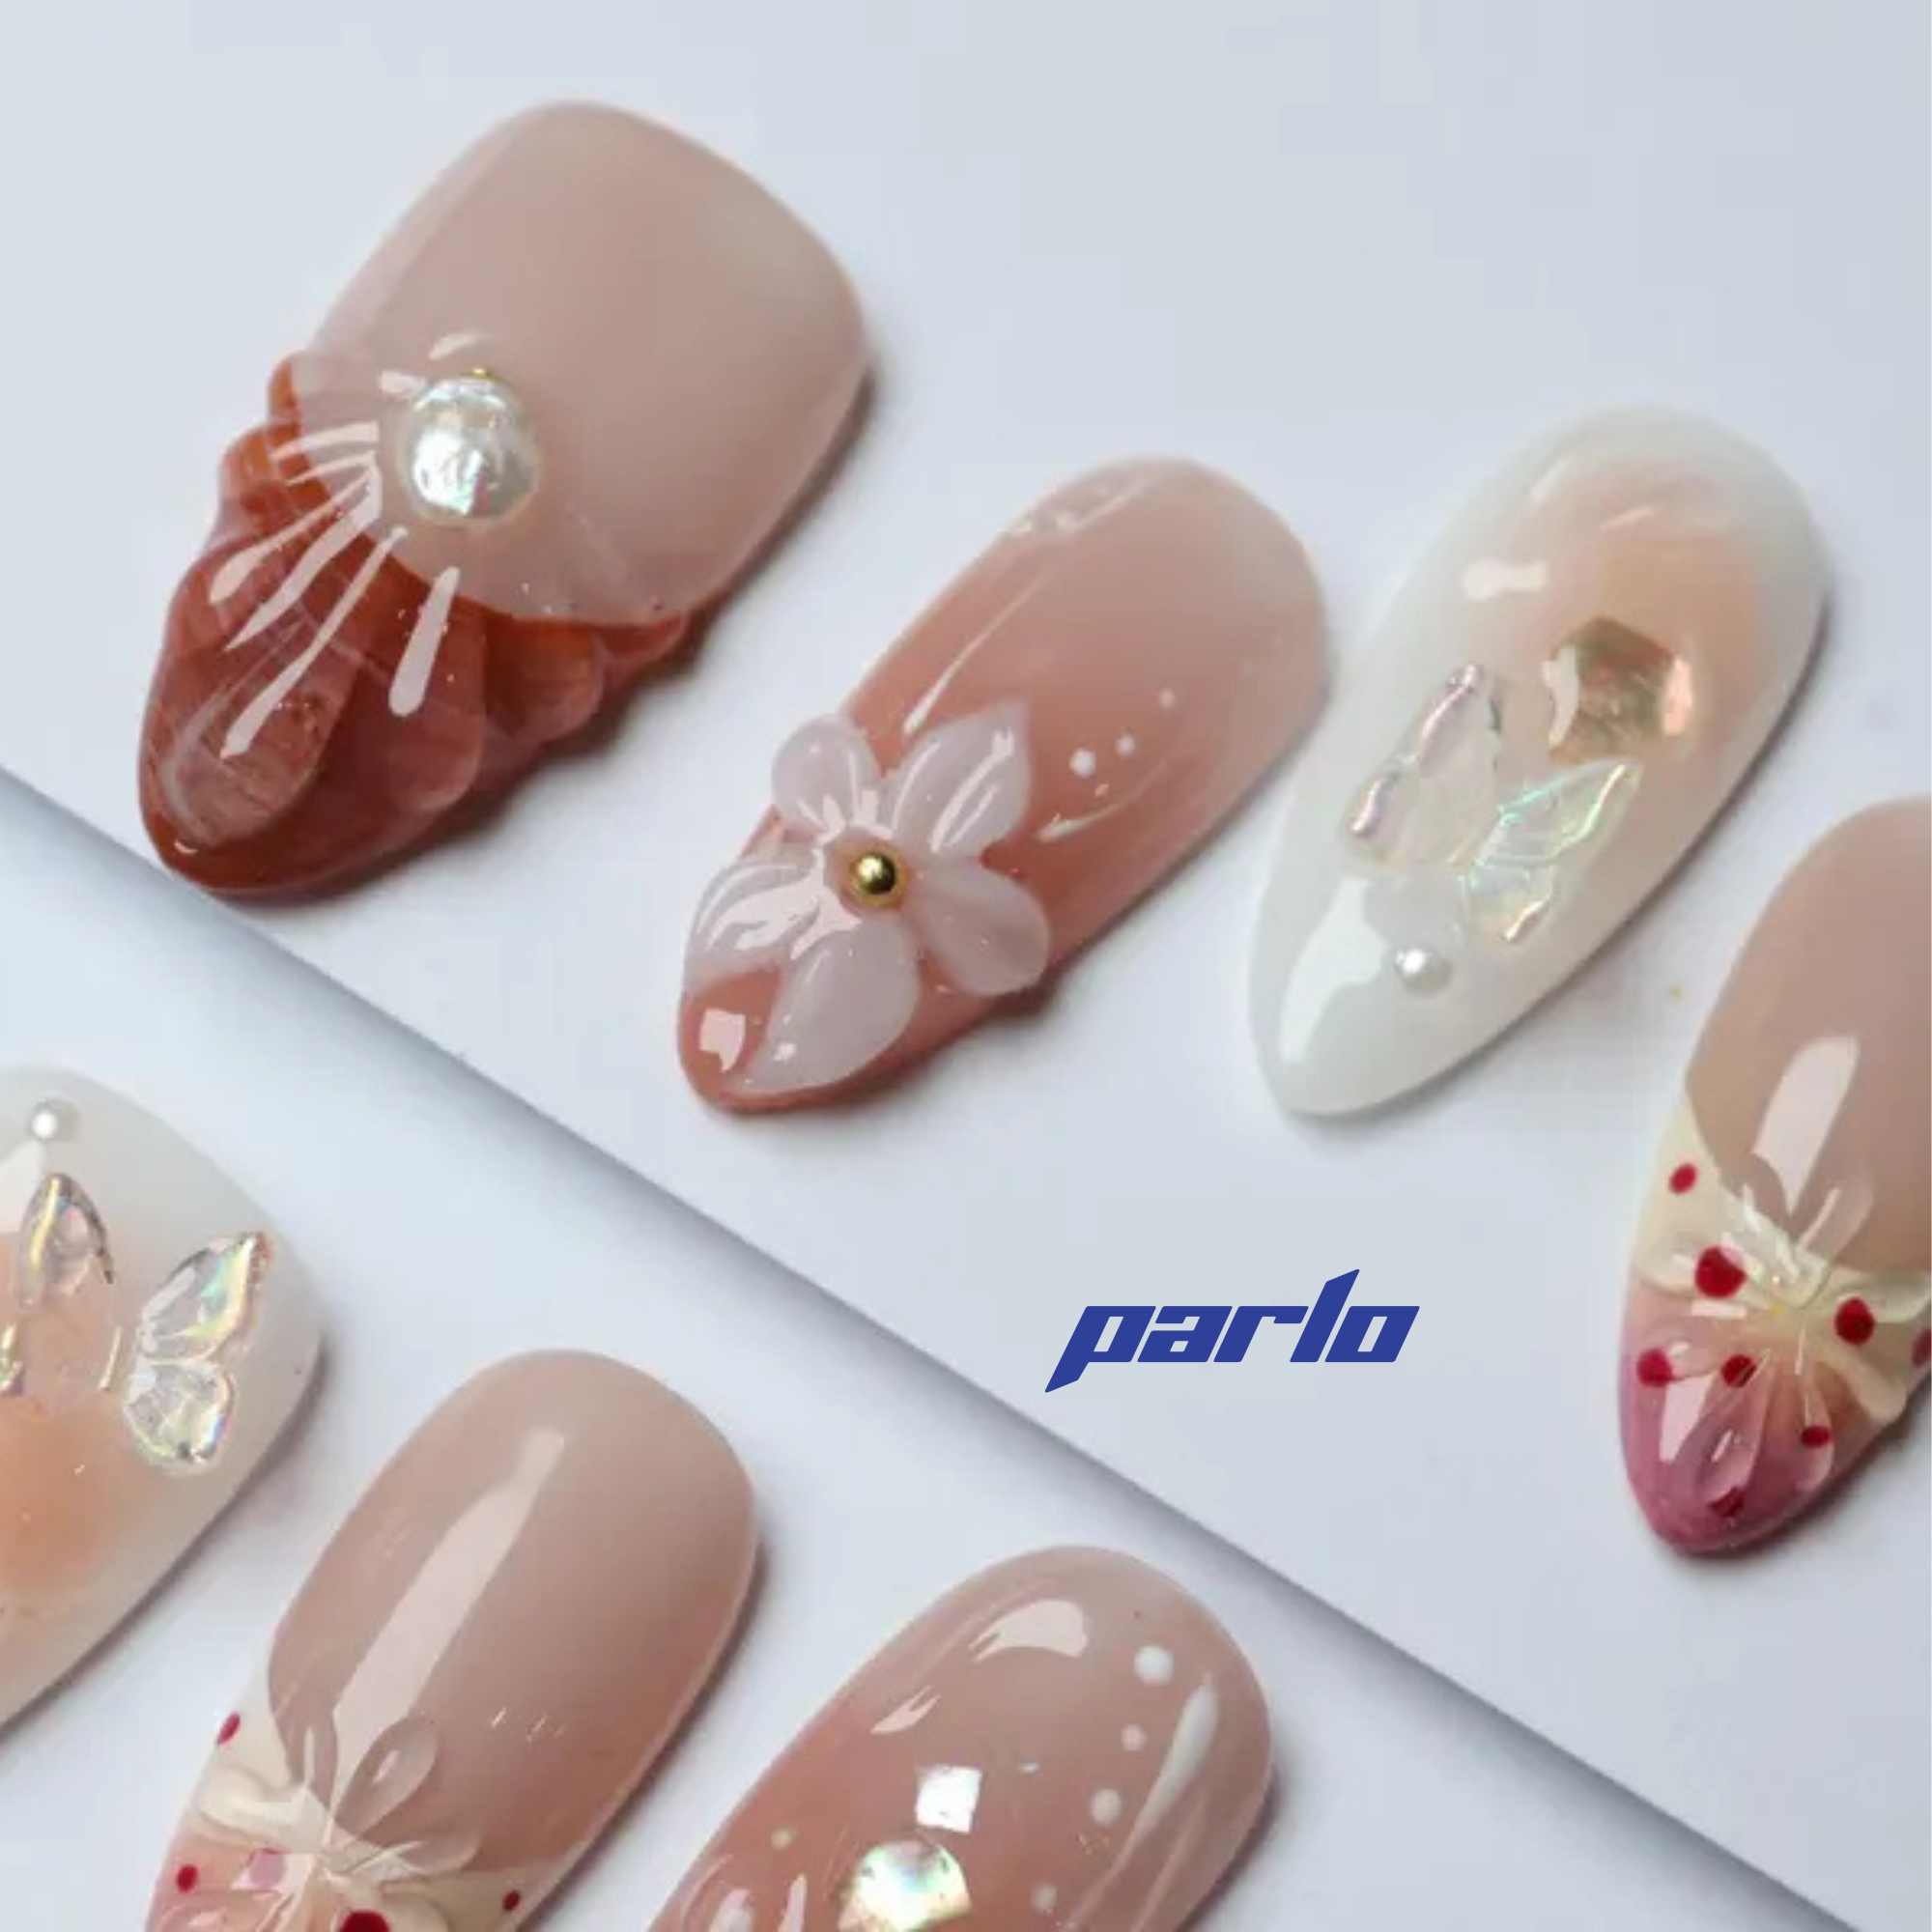
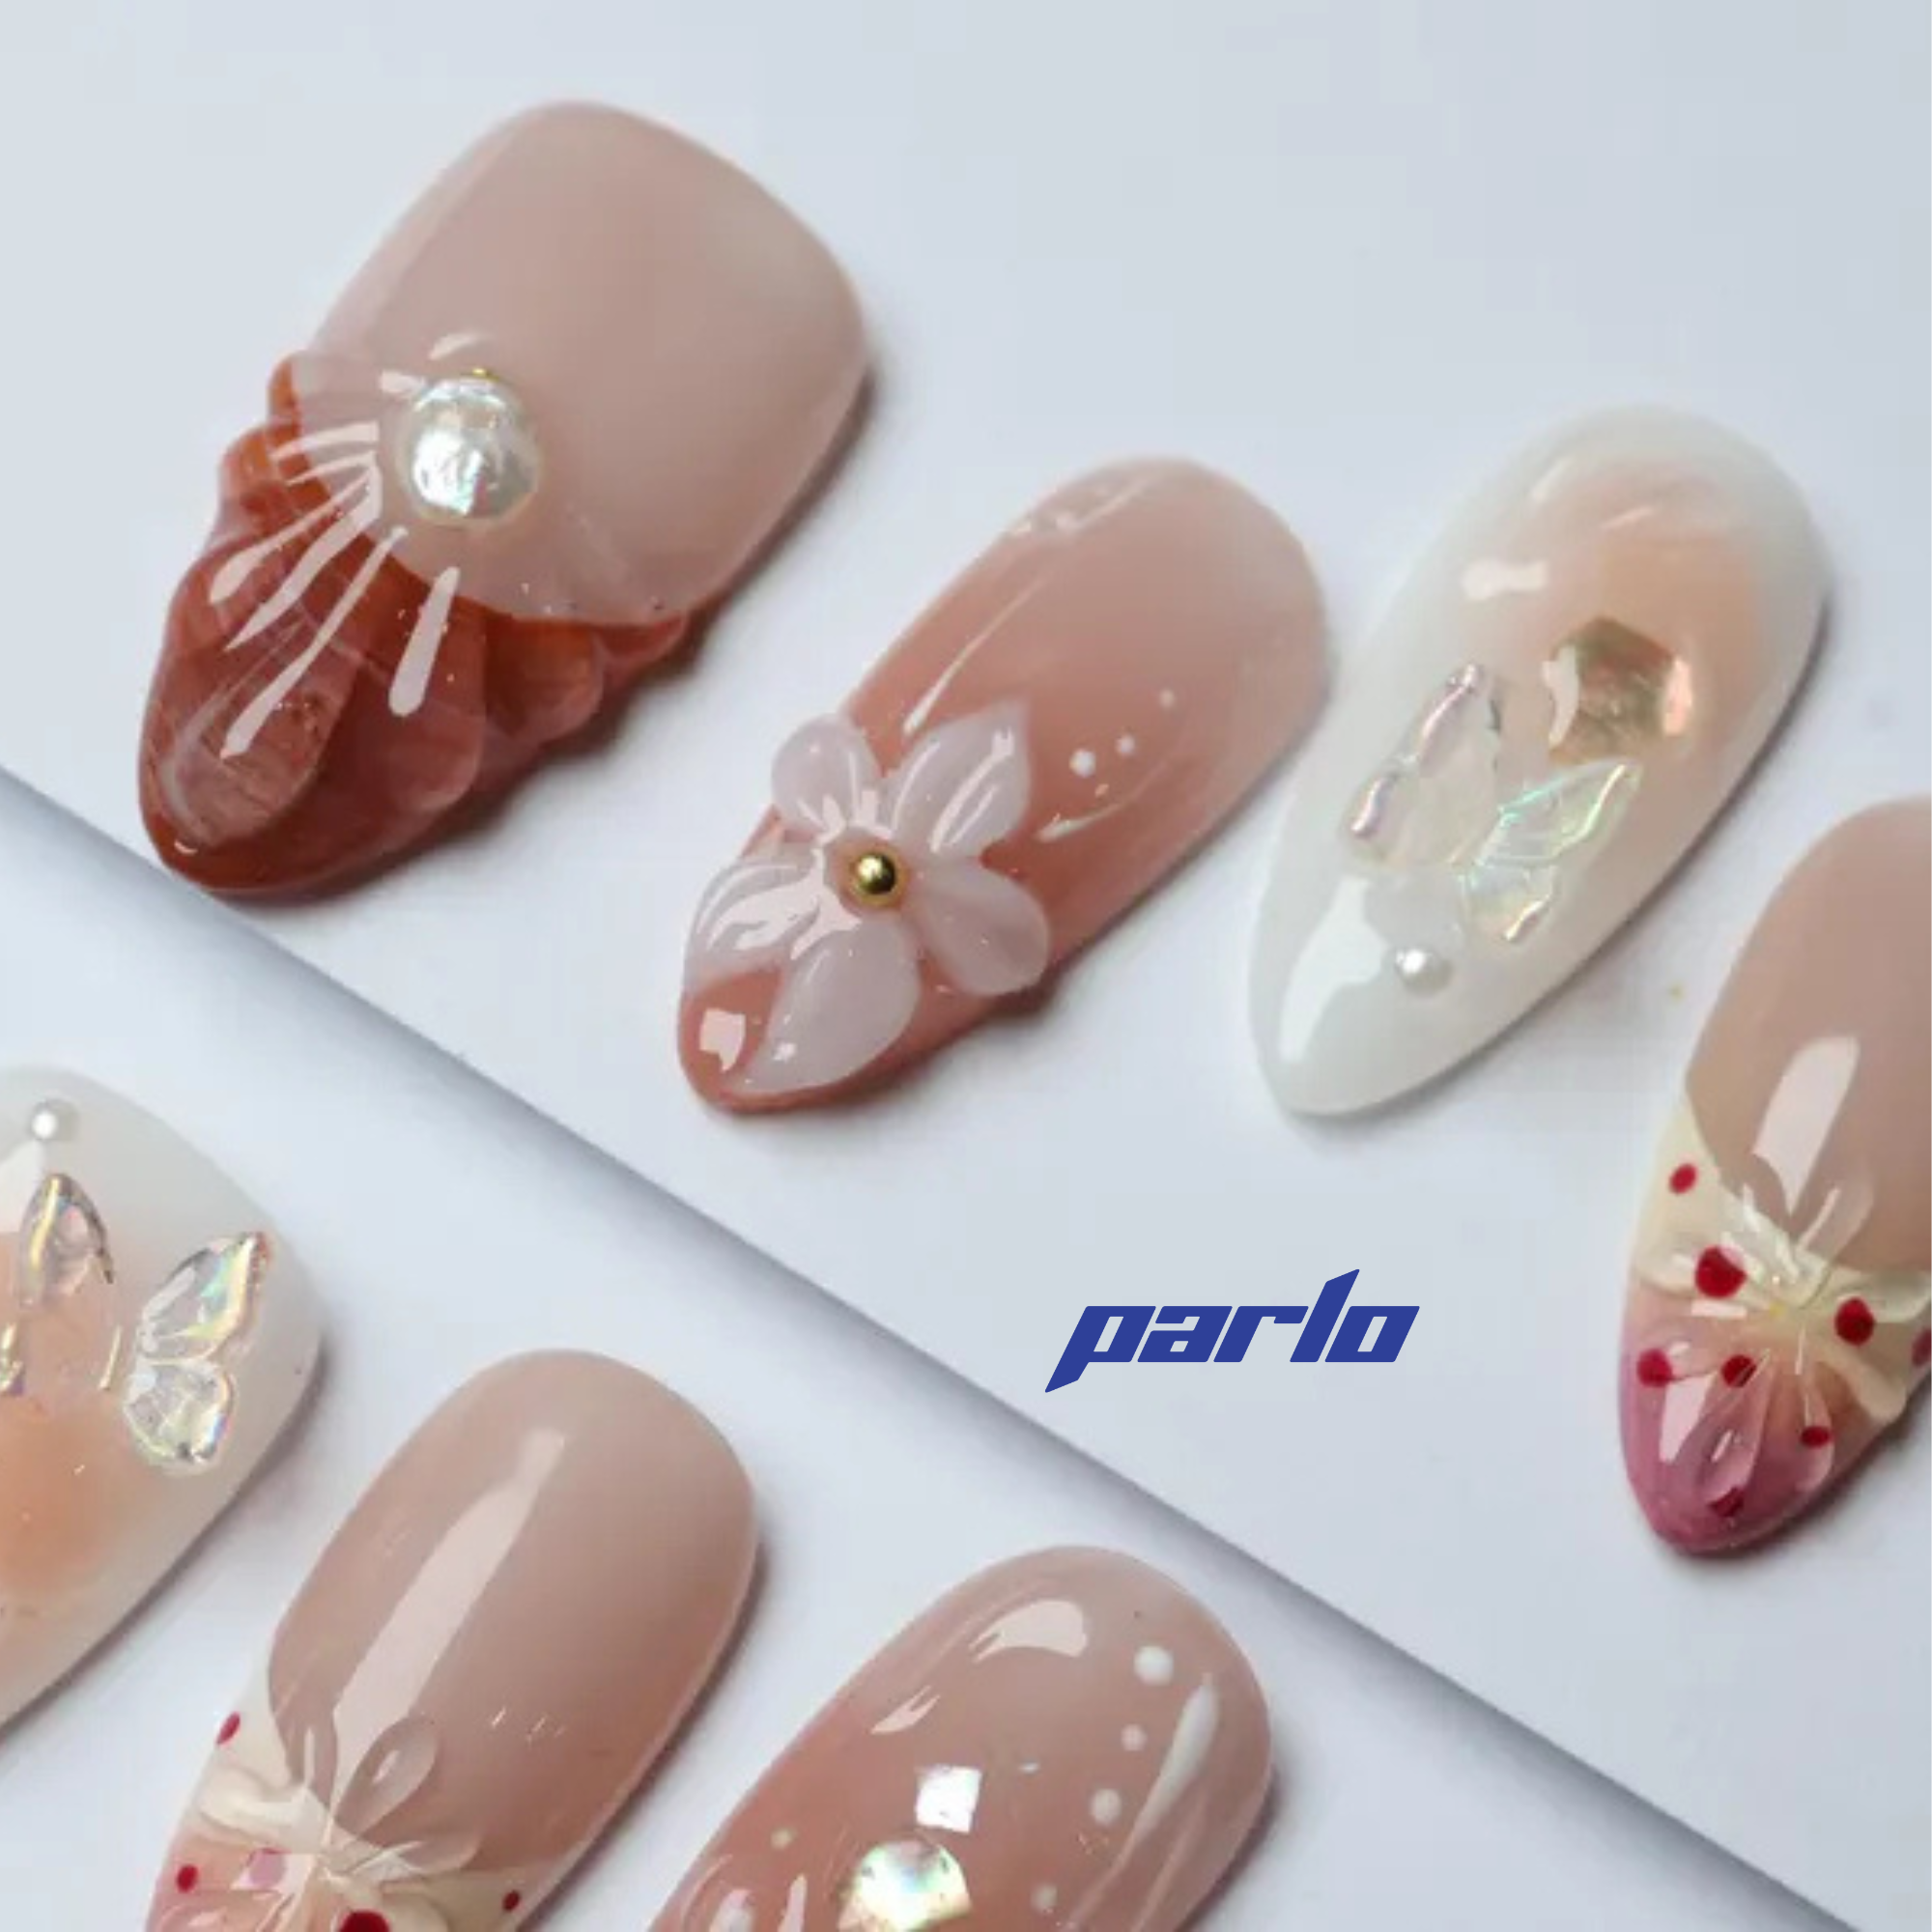
Want to elevate your style even further? Consider adding some stunning press-on nails to complete your look. Check out these gorgeous 3D floral press-on nails!
For a fun and vibrant pop of color, why not try these Aloha Acai press-on nails? They are perfect for adding a touch of summer to any outfit!
Remember to experiment with different variations of the French braid, such as a Dutch braid (where you cross the strands under instead of over) or a side French braid. You can also add accessories like ribbons or beads to personalize your braid.
Looking for more hair styling tips and tricks? Check out our other articles on hairstyles and beauty tips.
Call to Action: Explore our full collection of beauty products!
Generated from keyword: "How to Create a Simple French Braid in 6 Easy Steps"


