How to Create a Simple French Braid in 6 Easy Steps
The French braid is a classic hairstyle that's both elegant and practical. It keeps your hair out of your face while adding a touch of sophistication to any look. While it might seem intimidating at first, mastering a French braid is easier than you think! This step-by-step guide will show you how to create a simple French braid in just six easy steps.
Step 1: Prep Your Hair
Before you begin, it's important to prep your hair. Start by brushing your hair thoroughly to remove any knots or tangles. If your hair is very fine or slippery, you might want to add a little texture with a texturizing spray or dry shampoo. This will help the braid hold better. Consider using a light-hold hairspray to keep flyaways at bay. Speaking of looking your best, have you seen our amazing nail art? It's a great way to complete your look!
Step 2: Divide Your Hair
Begin by taking a section of hair from the crown of your head, about 2-3 inches wide. Divide this section into three equal strands, just like you would for a regular braid. Make sure the strands are even for a balanced braid.
Step 3: Start Braiding
Begin braiding as you would a normal braid. Cross the right strand over the middle strand, then cross the left strand over the new middle strand.
Step 4: Incorporate More Hair
Now comes the key to the French braid! Before you cross the right strand over the middle, pick up a small section of hair from the right side of your head and add it to the right strand. Then, cross the combined strand over the middle. Repeat this process on the left side: pick up a small section of hair from the left side of your head, add it to the left strand, and cross it over the middle. Continue adding hair from each side as you braid down the back of your head.
Step 5: Continue to the End
Once you've incorporated all of the hair from the sides of your head, continue braiding the remaining hair in a regular three-strand braid. Secure the end with a hair tie. For a more polished look, consider using a clear elastic band. Want to add a little flair to your look? Check out these amazing nails! 
Step 6: Secure and Style
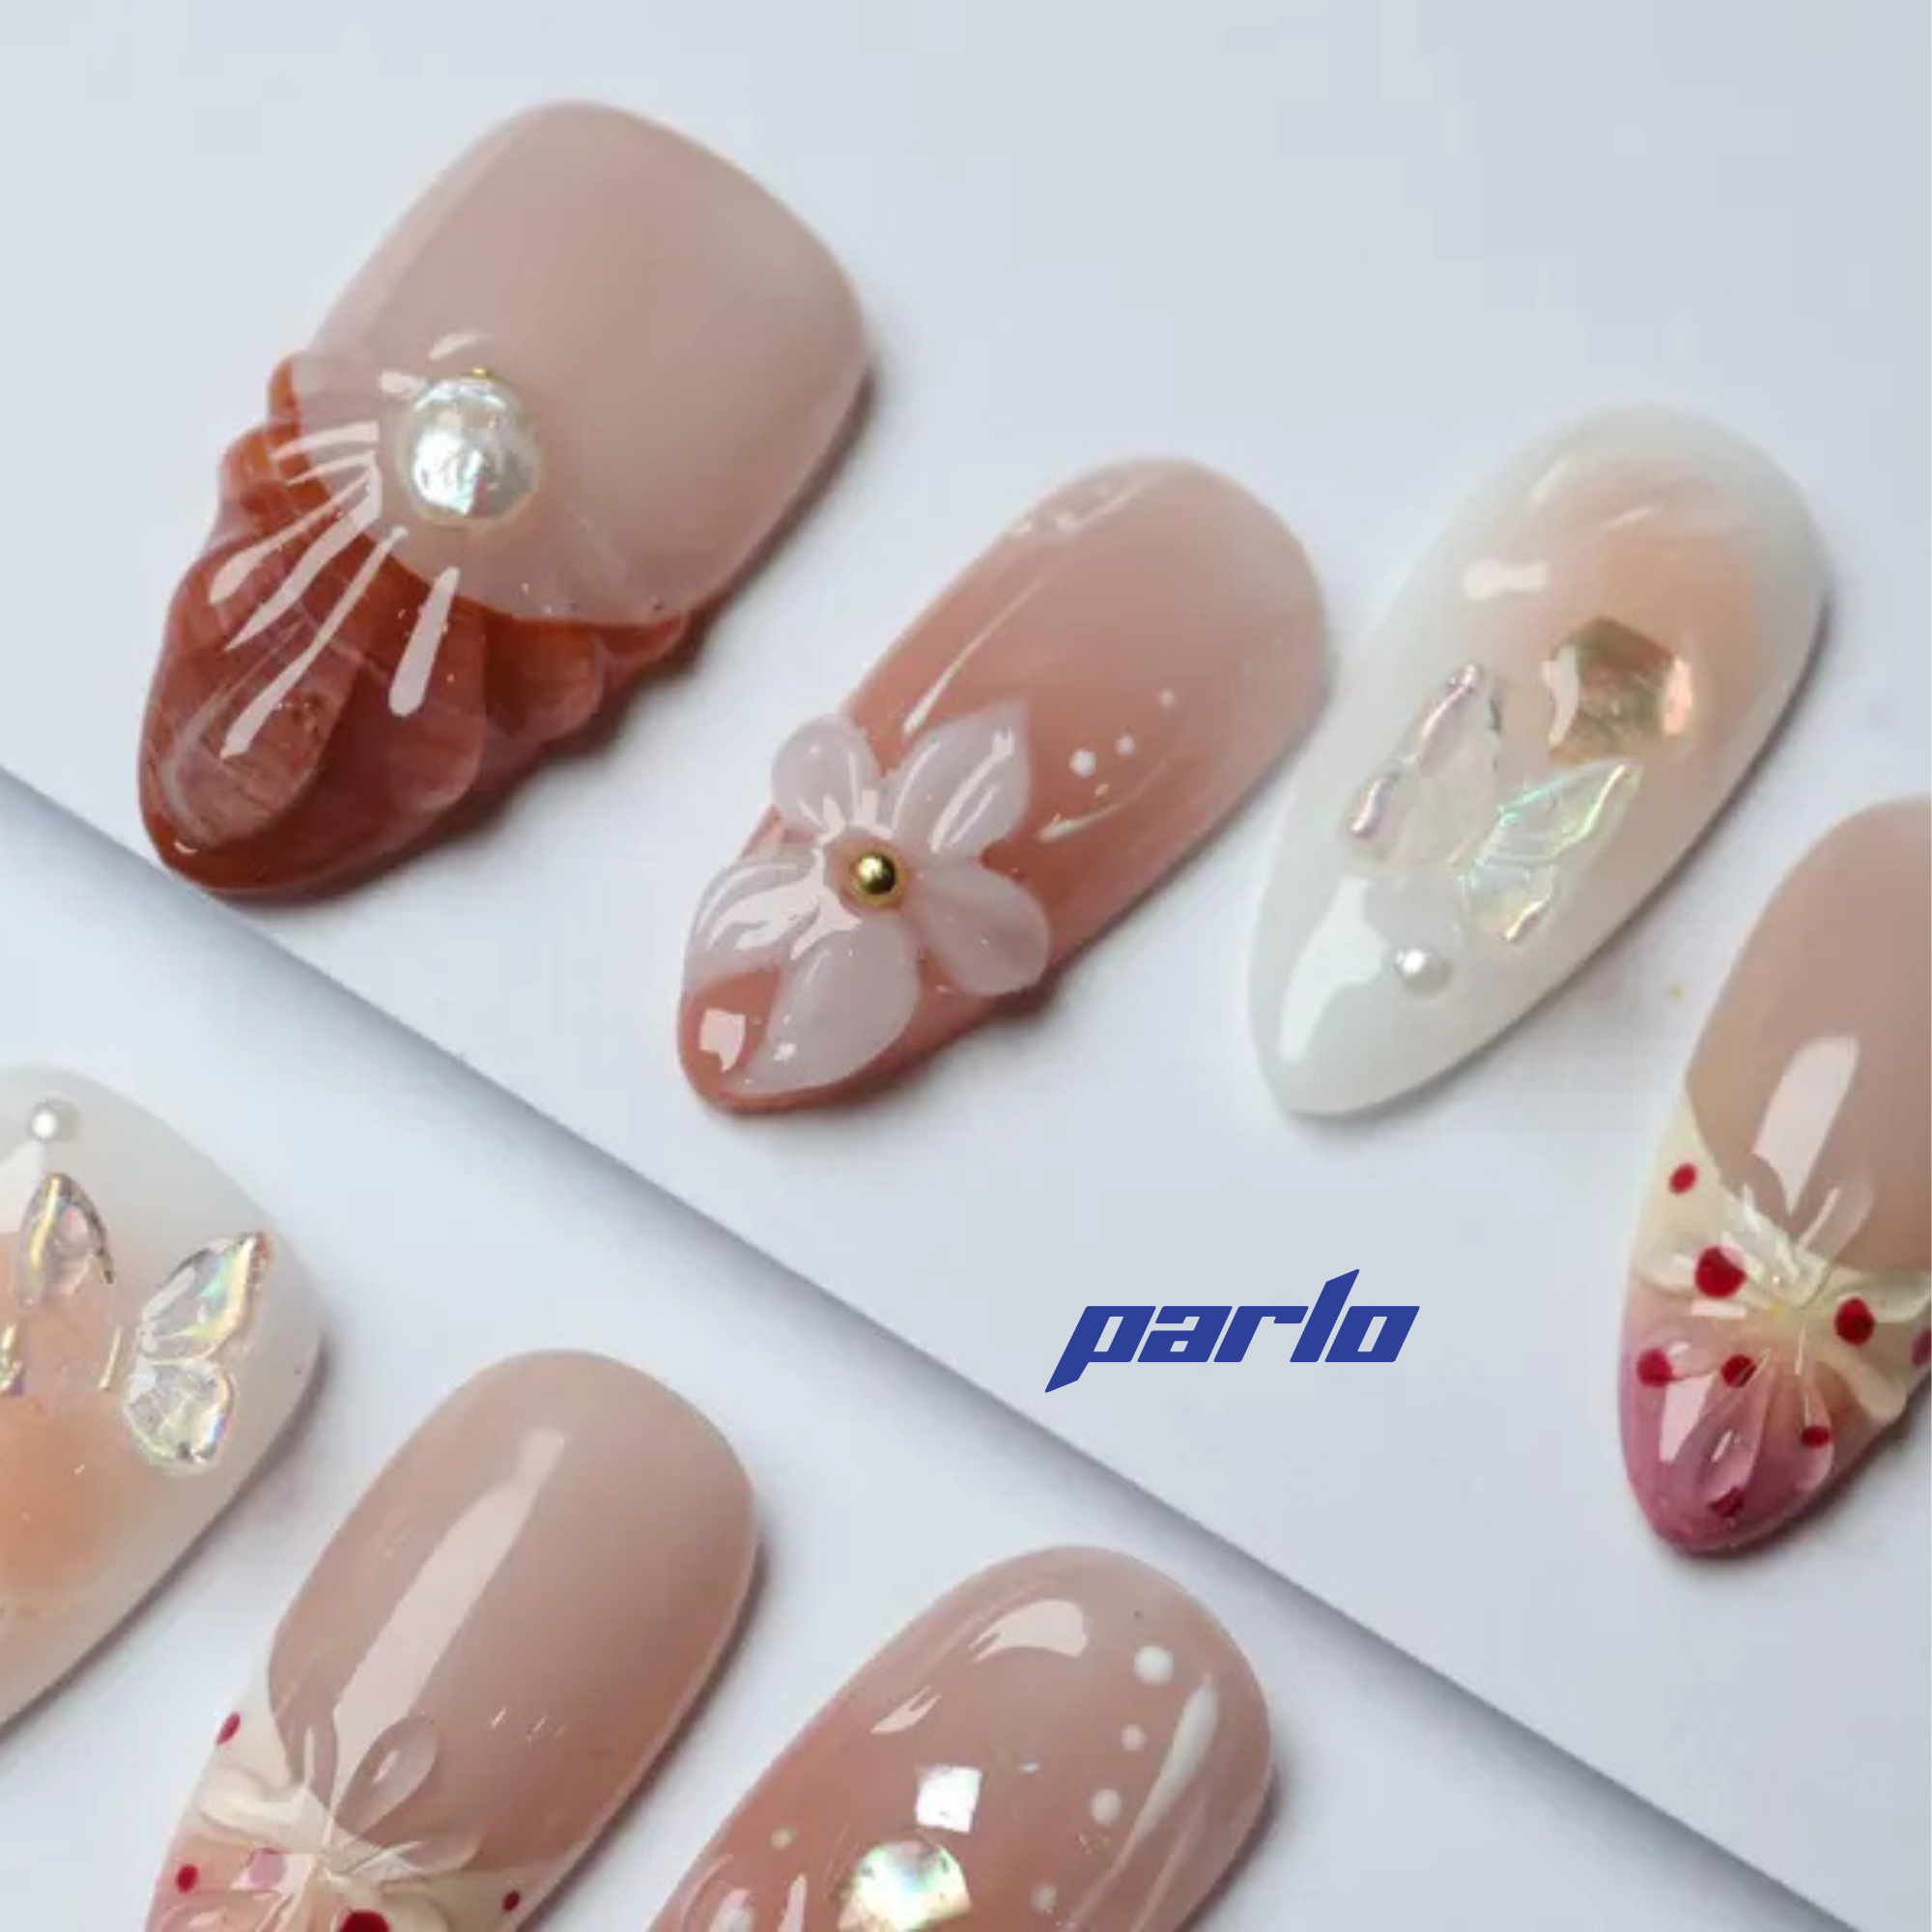
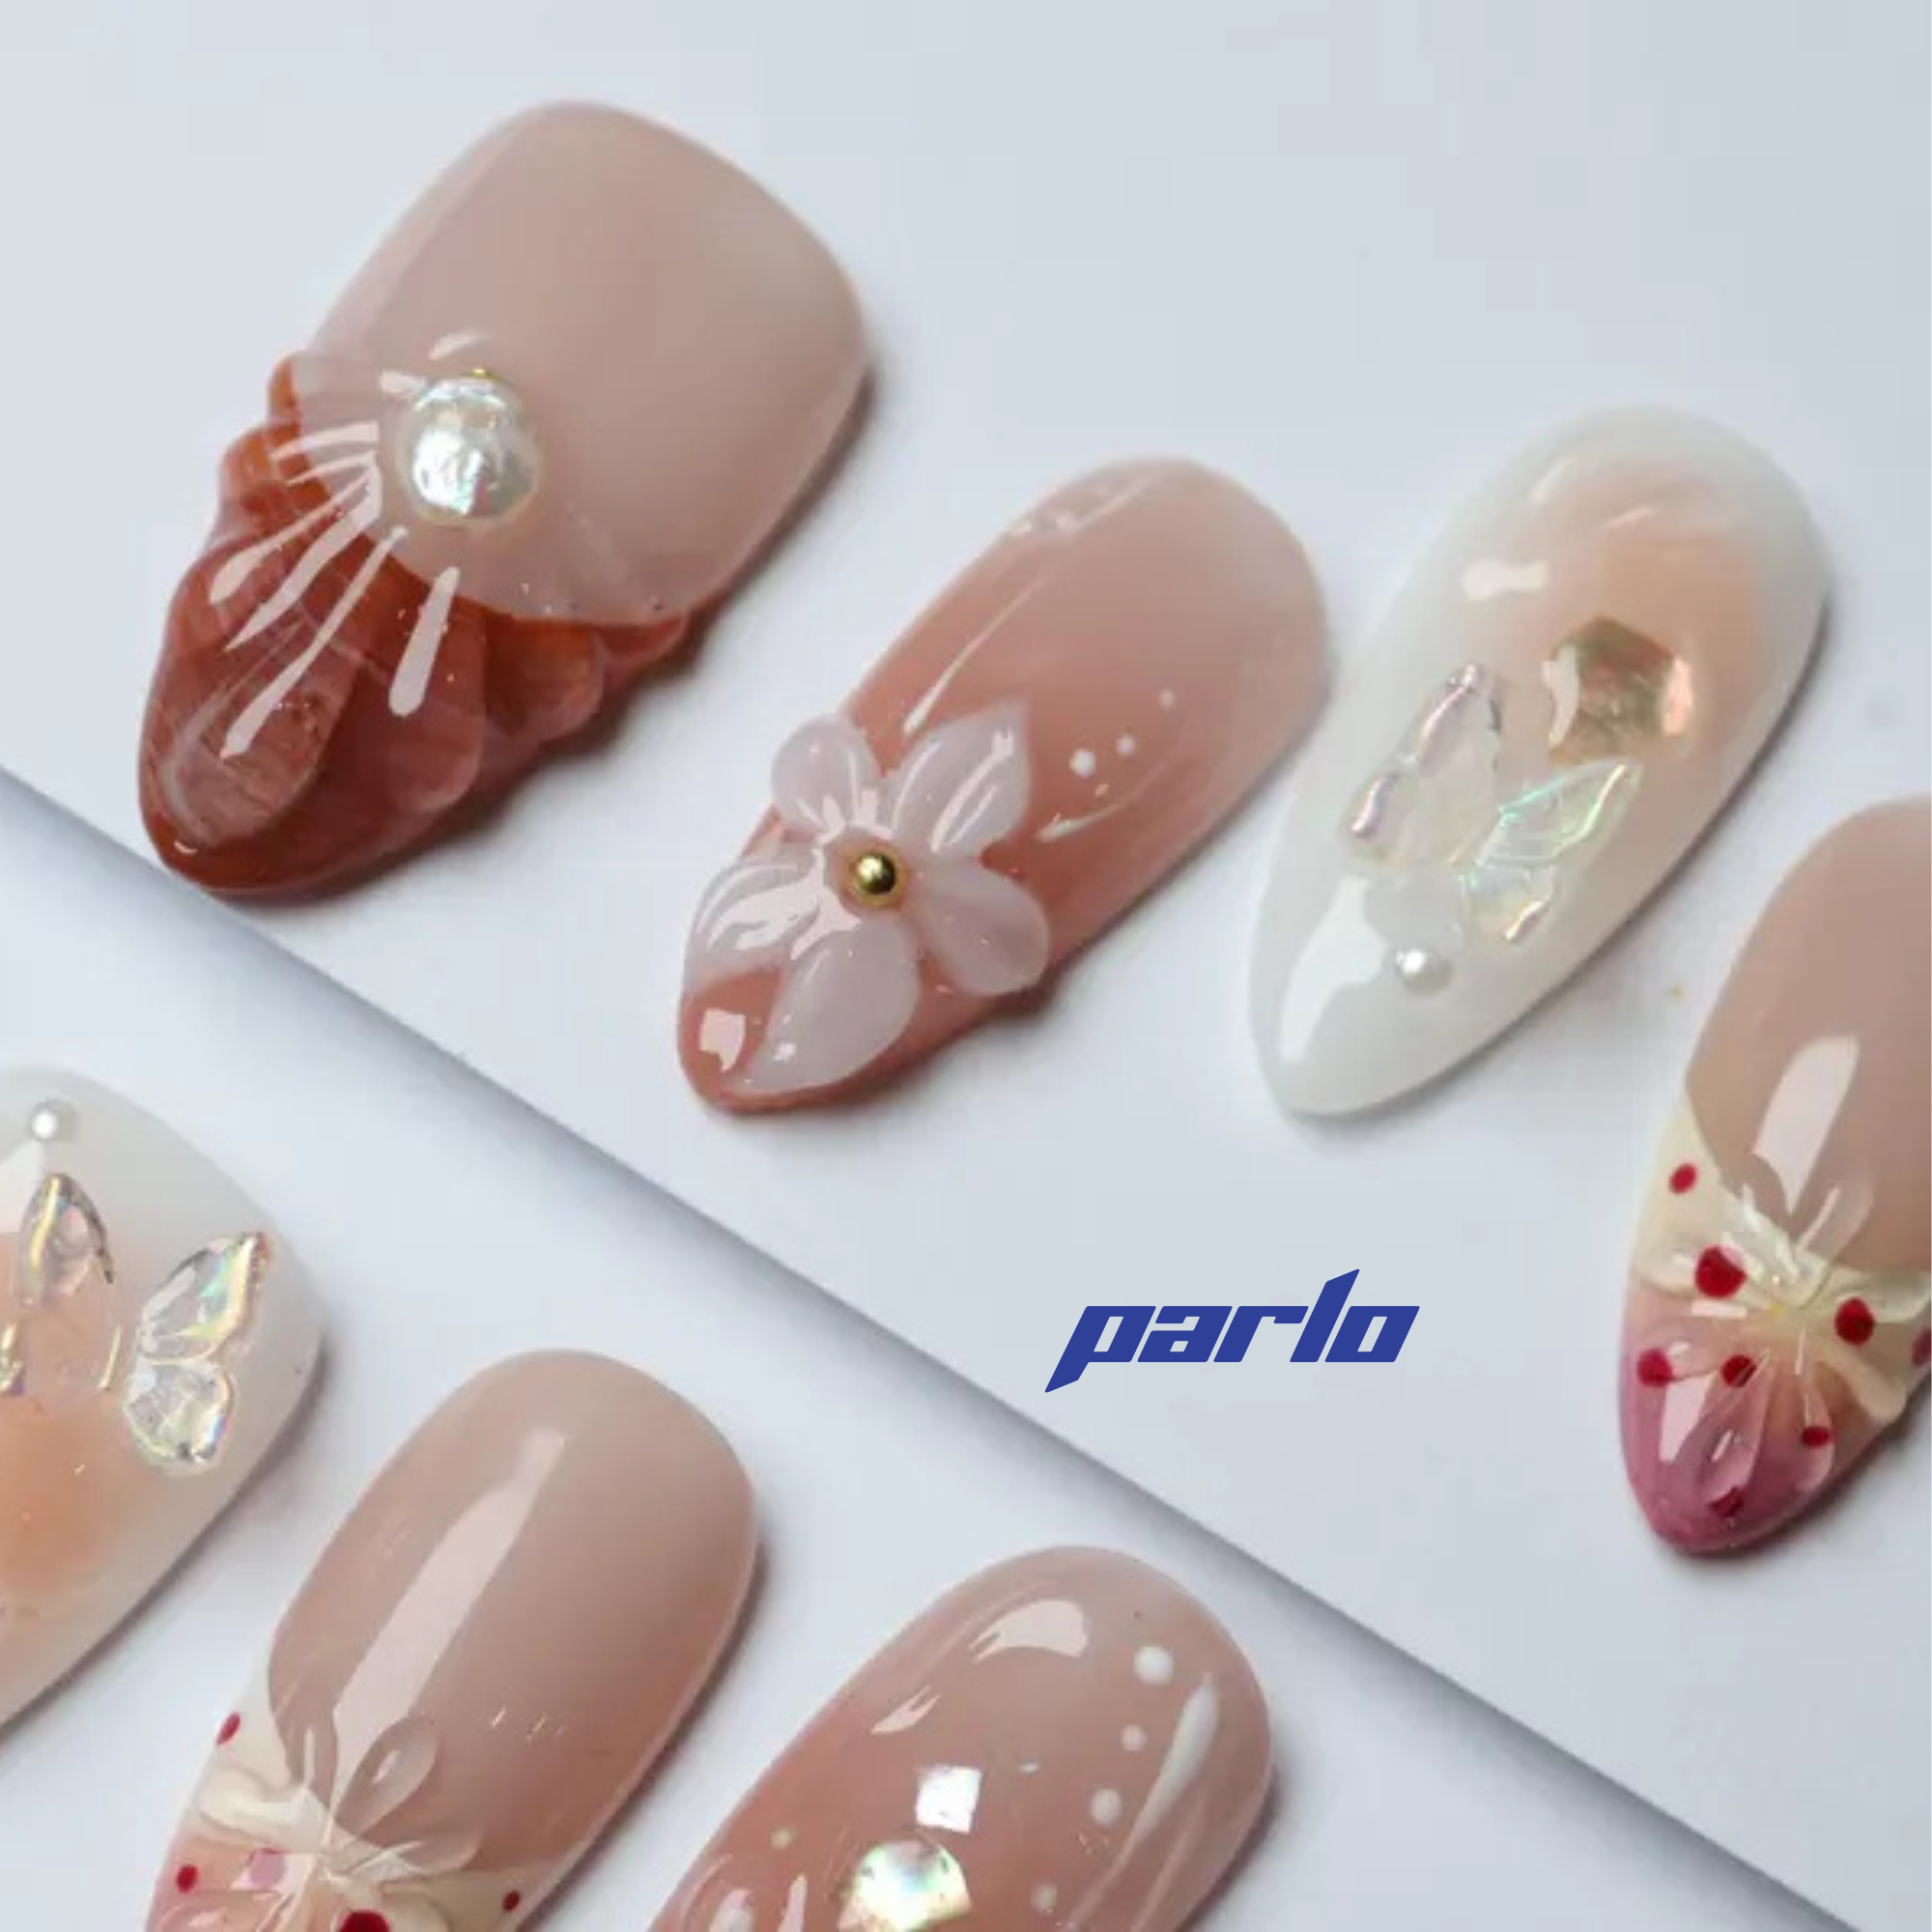
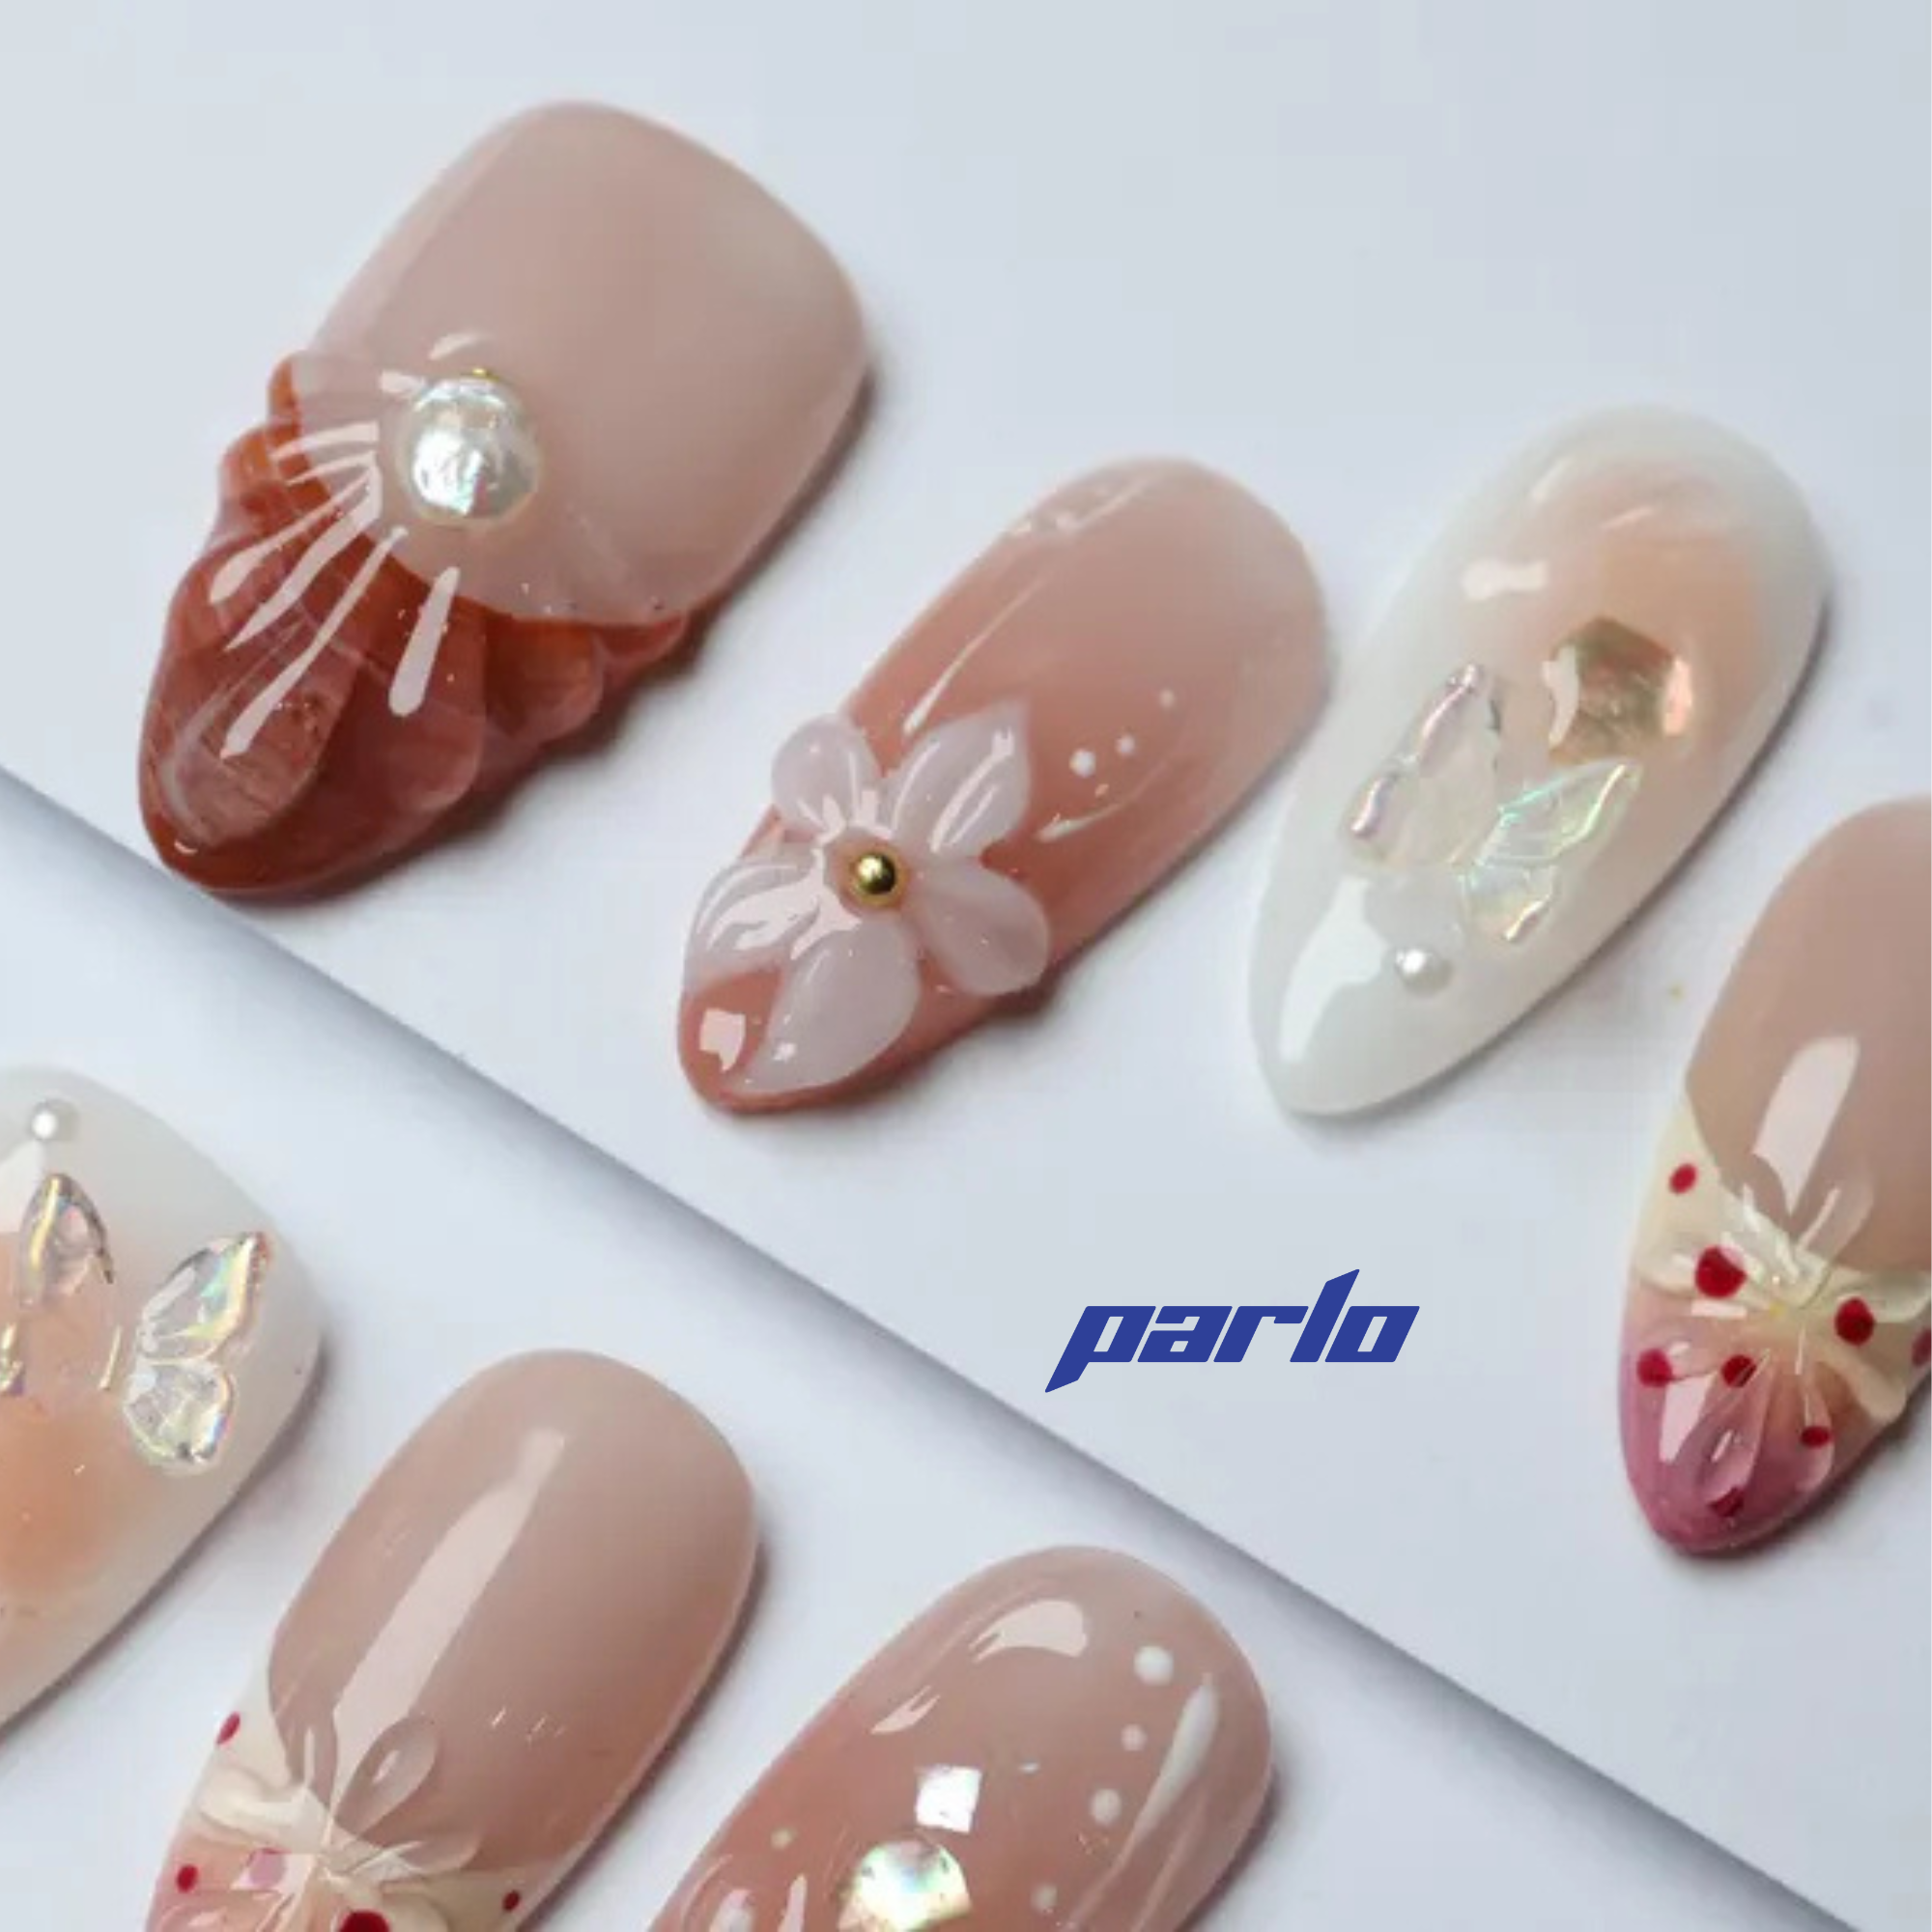
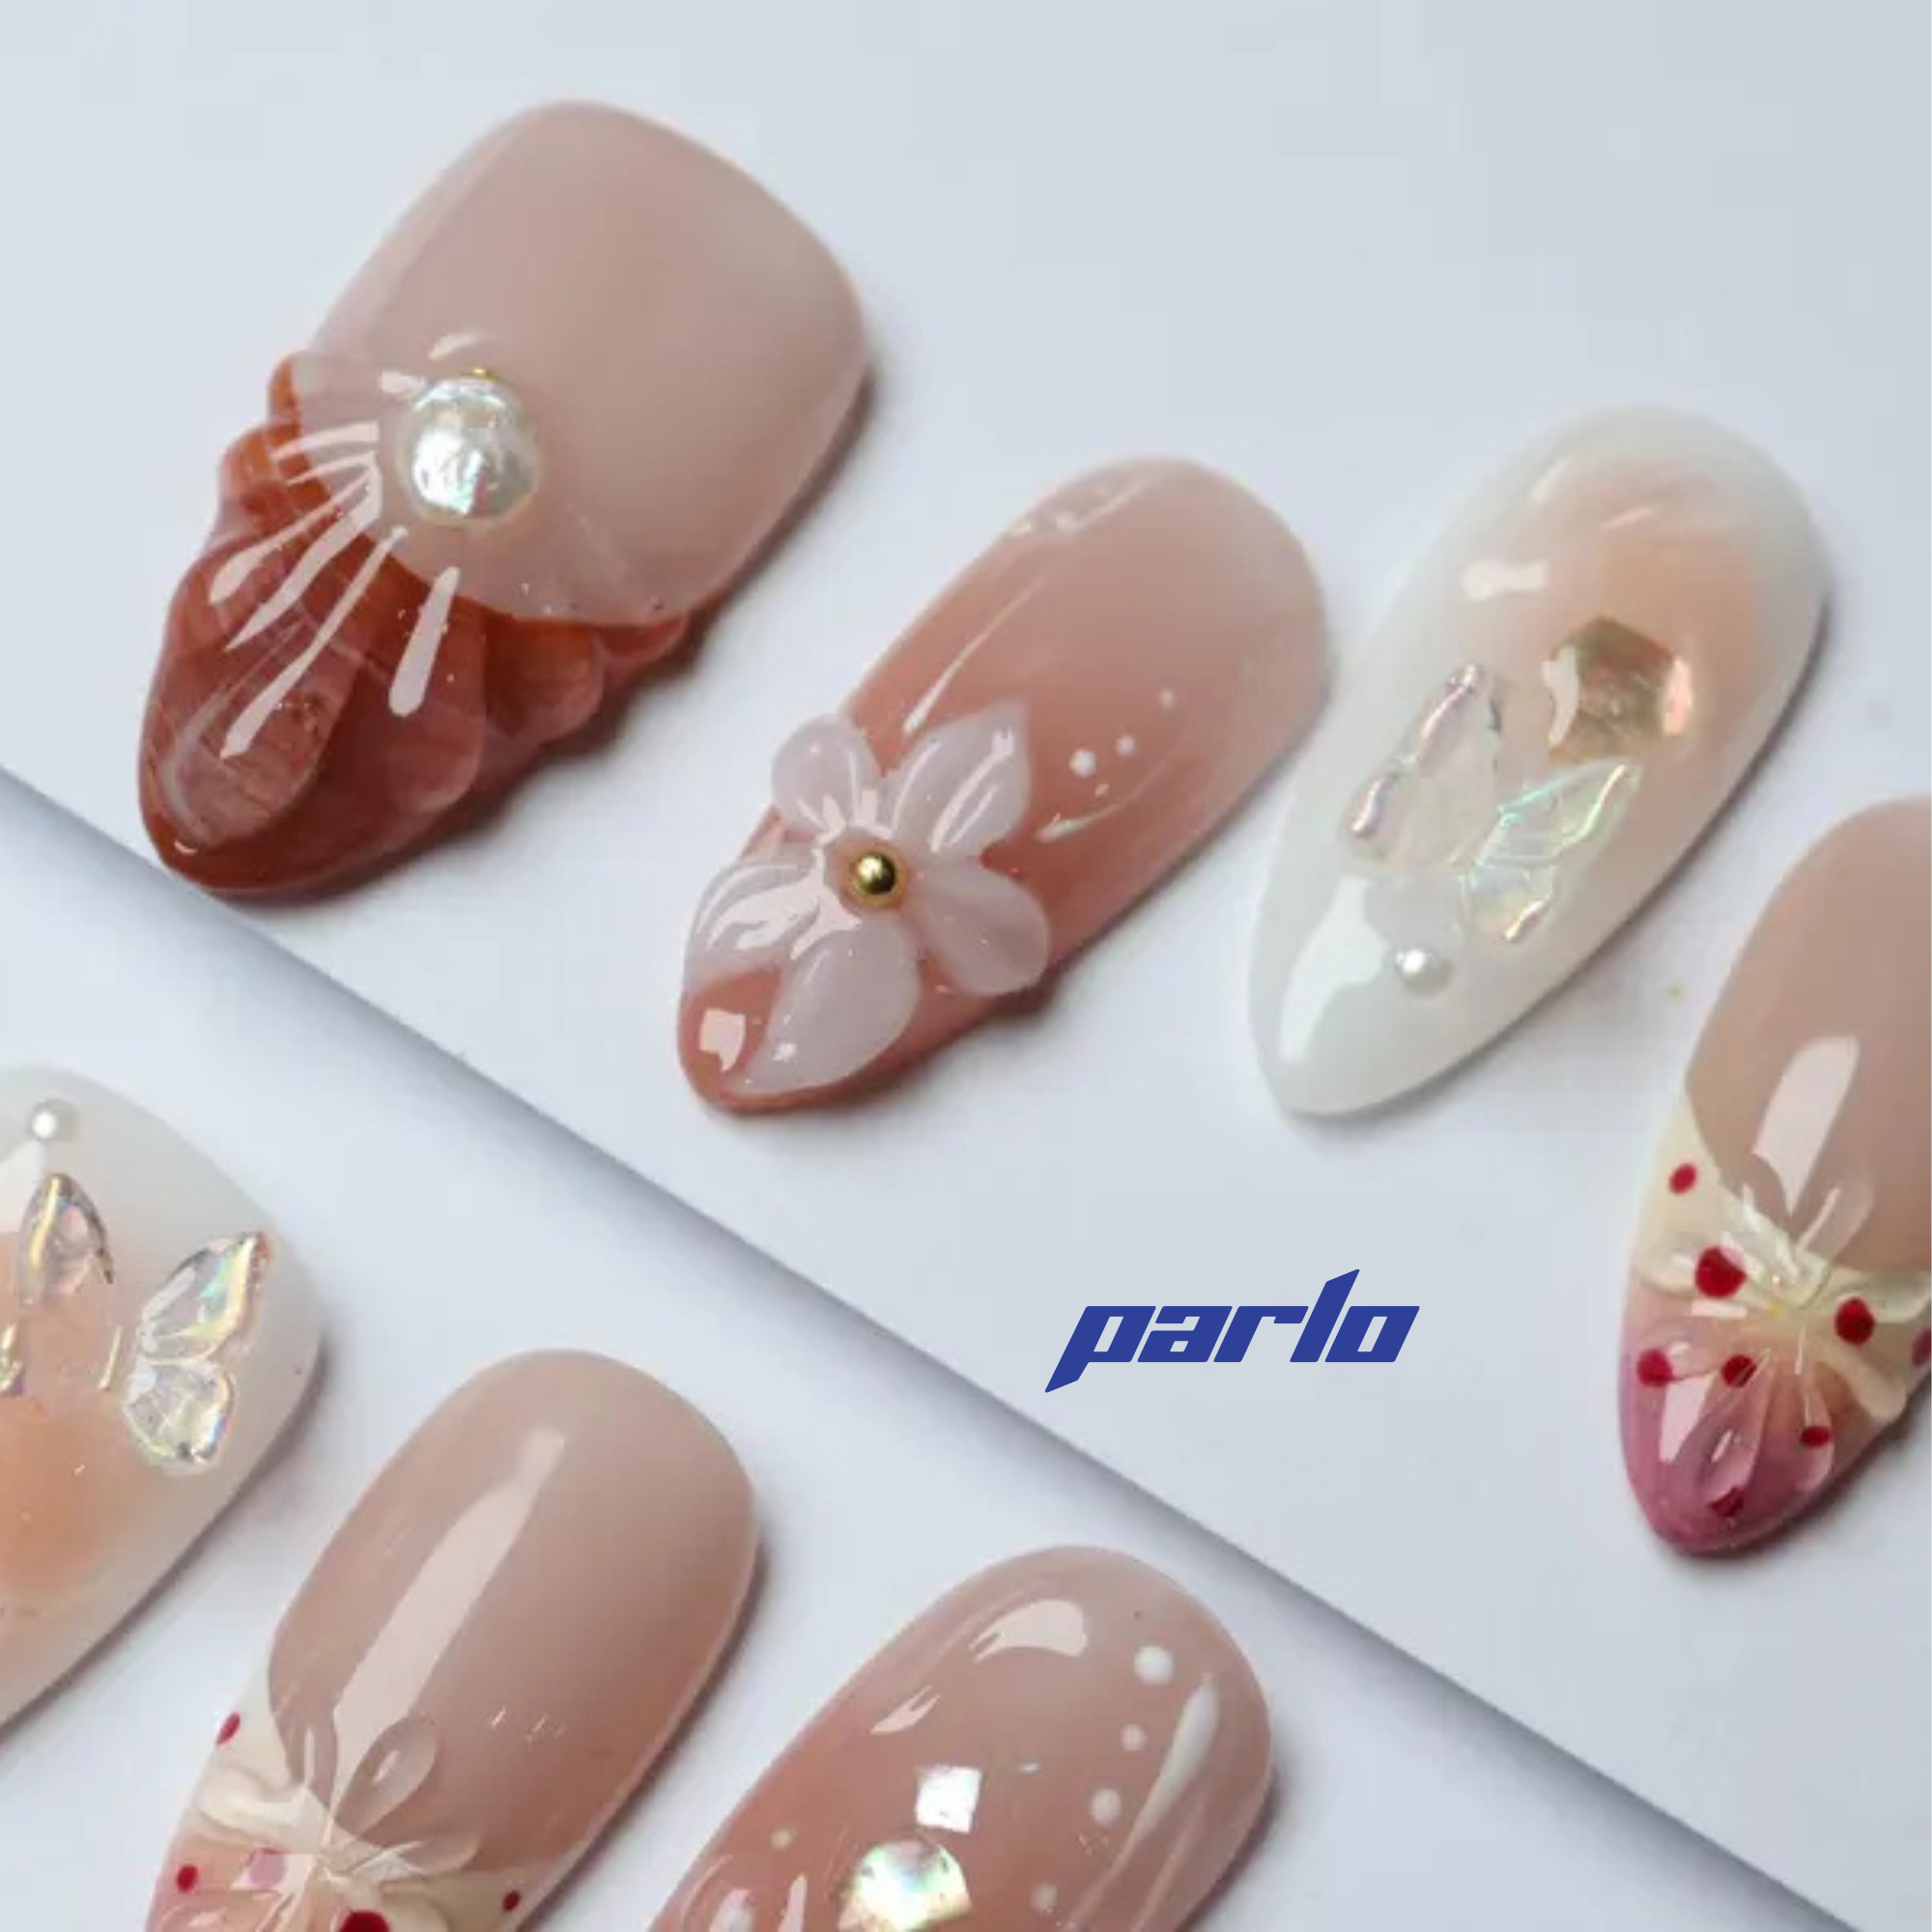
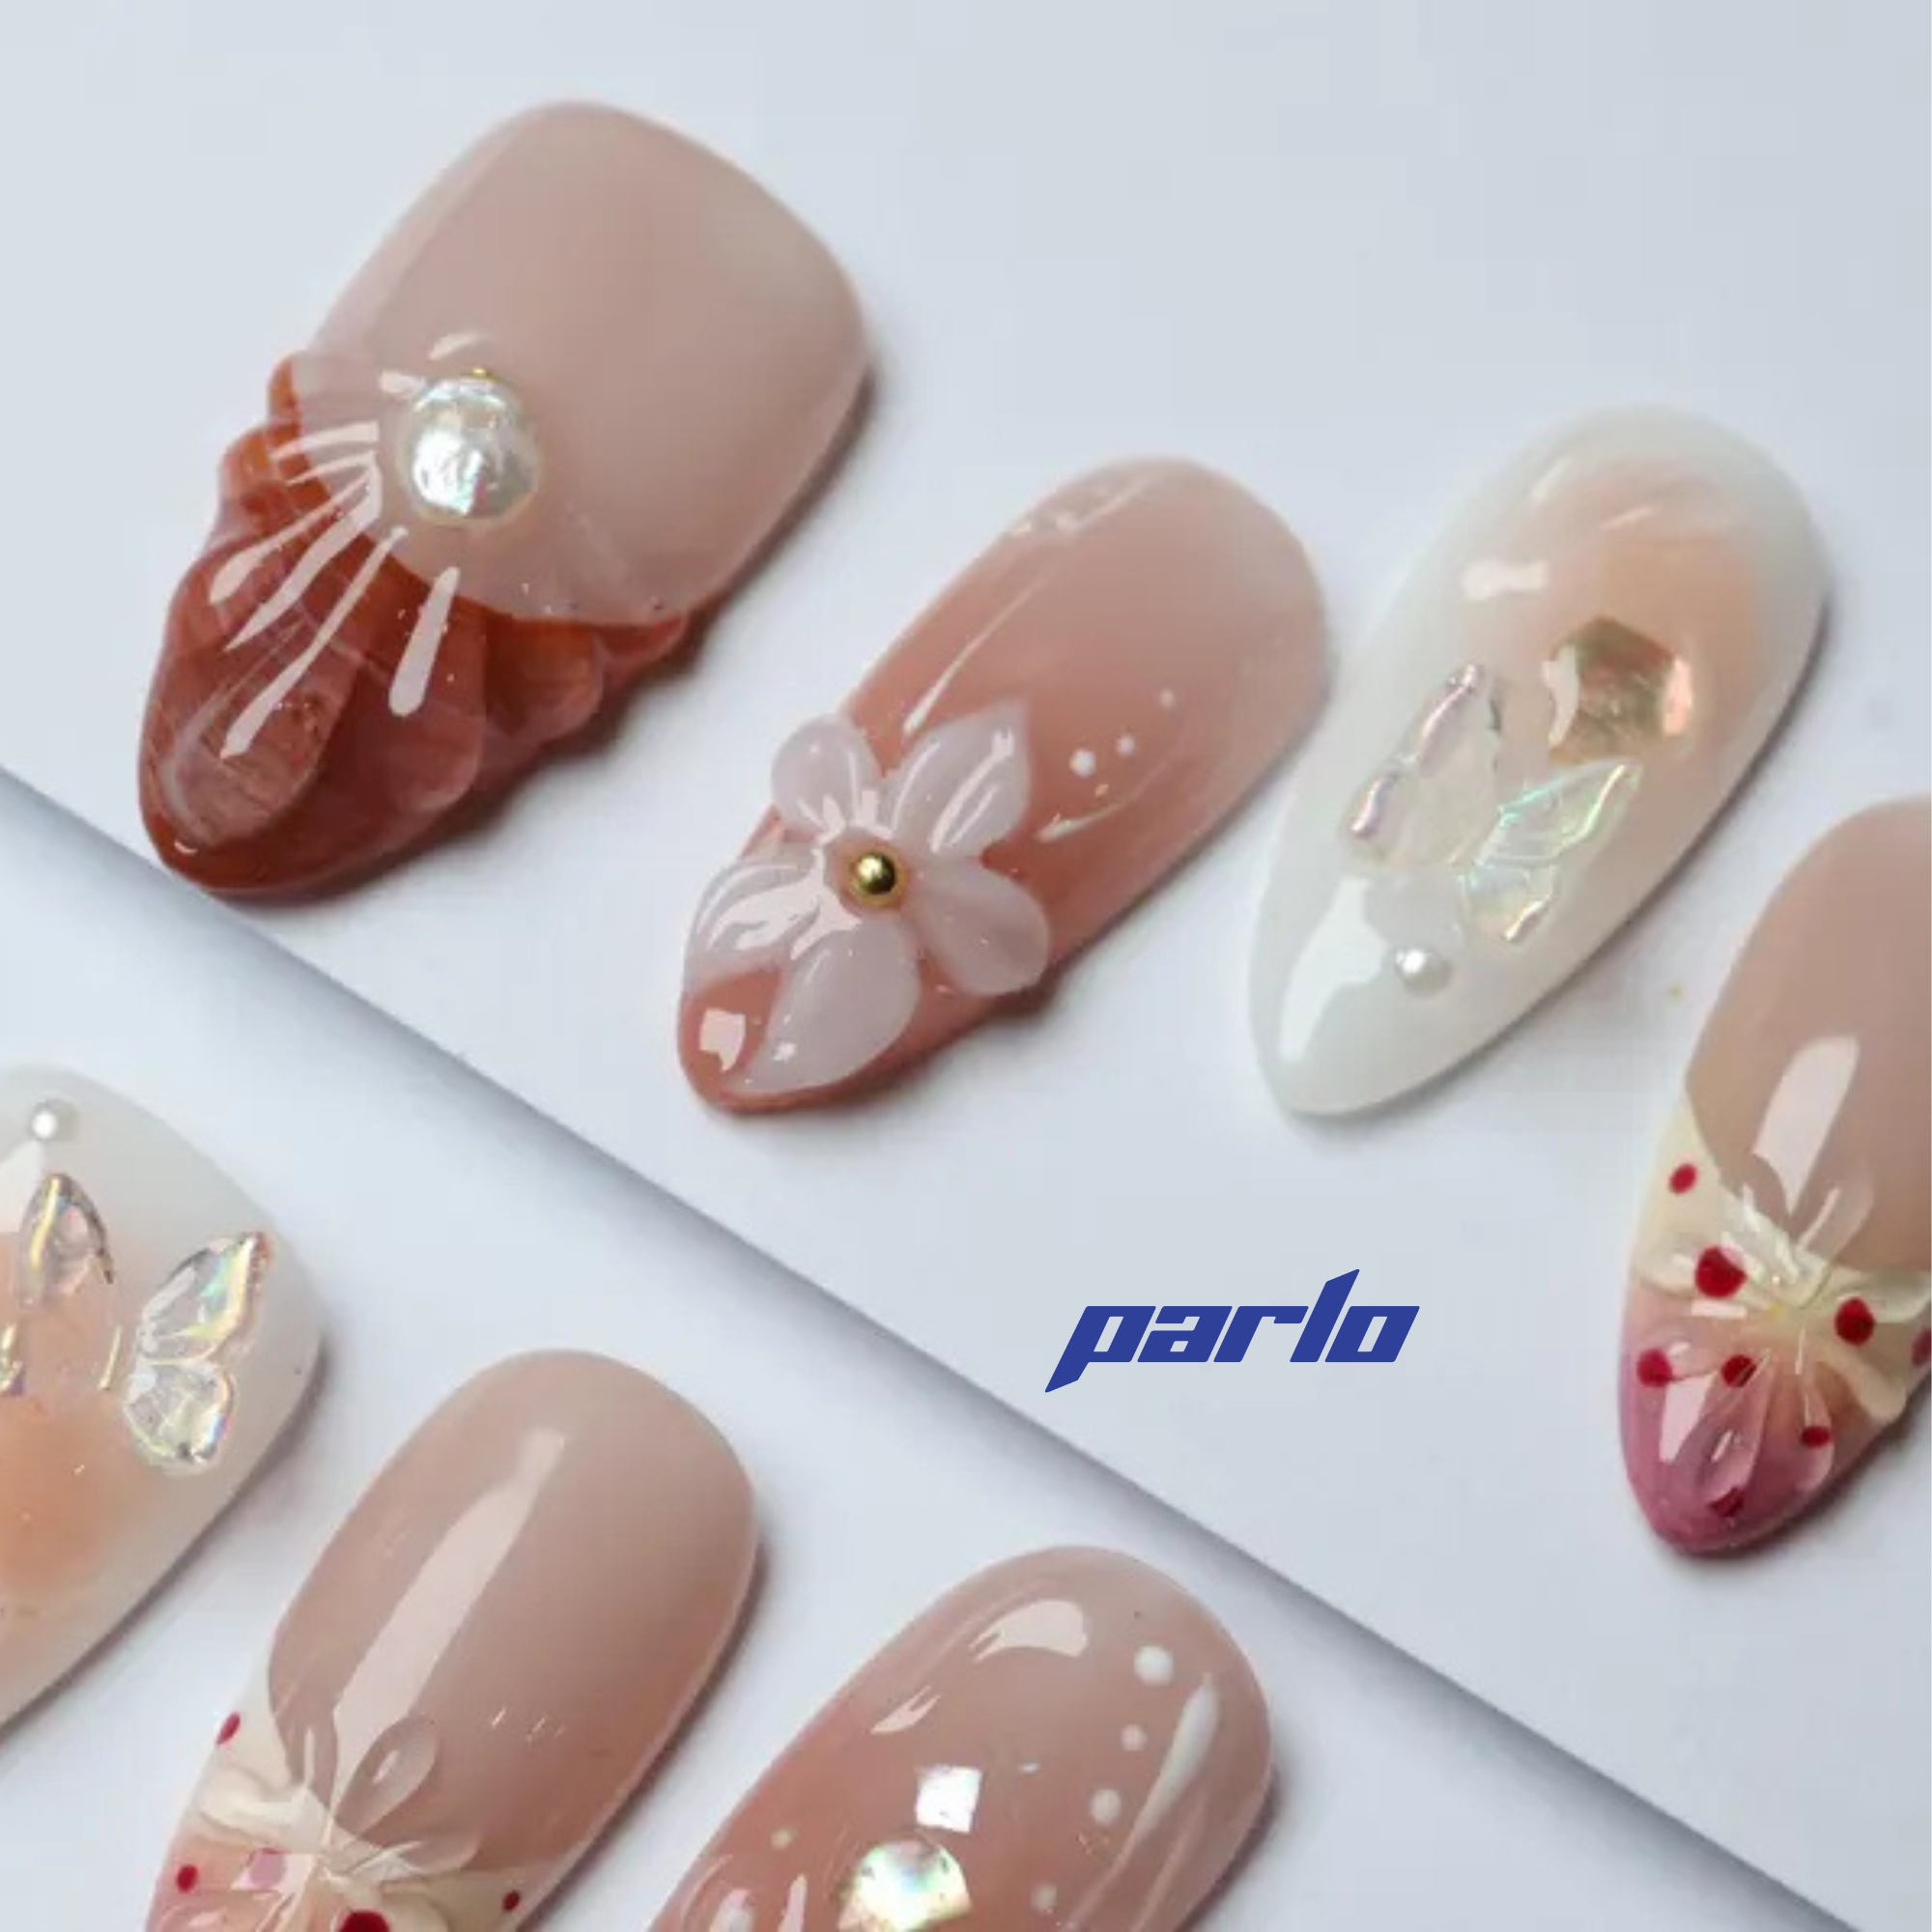
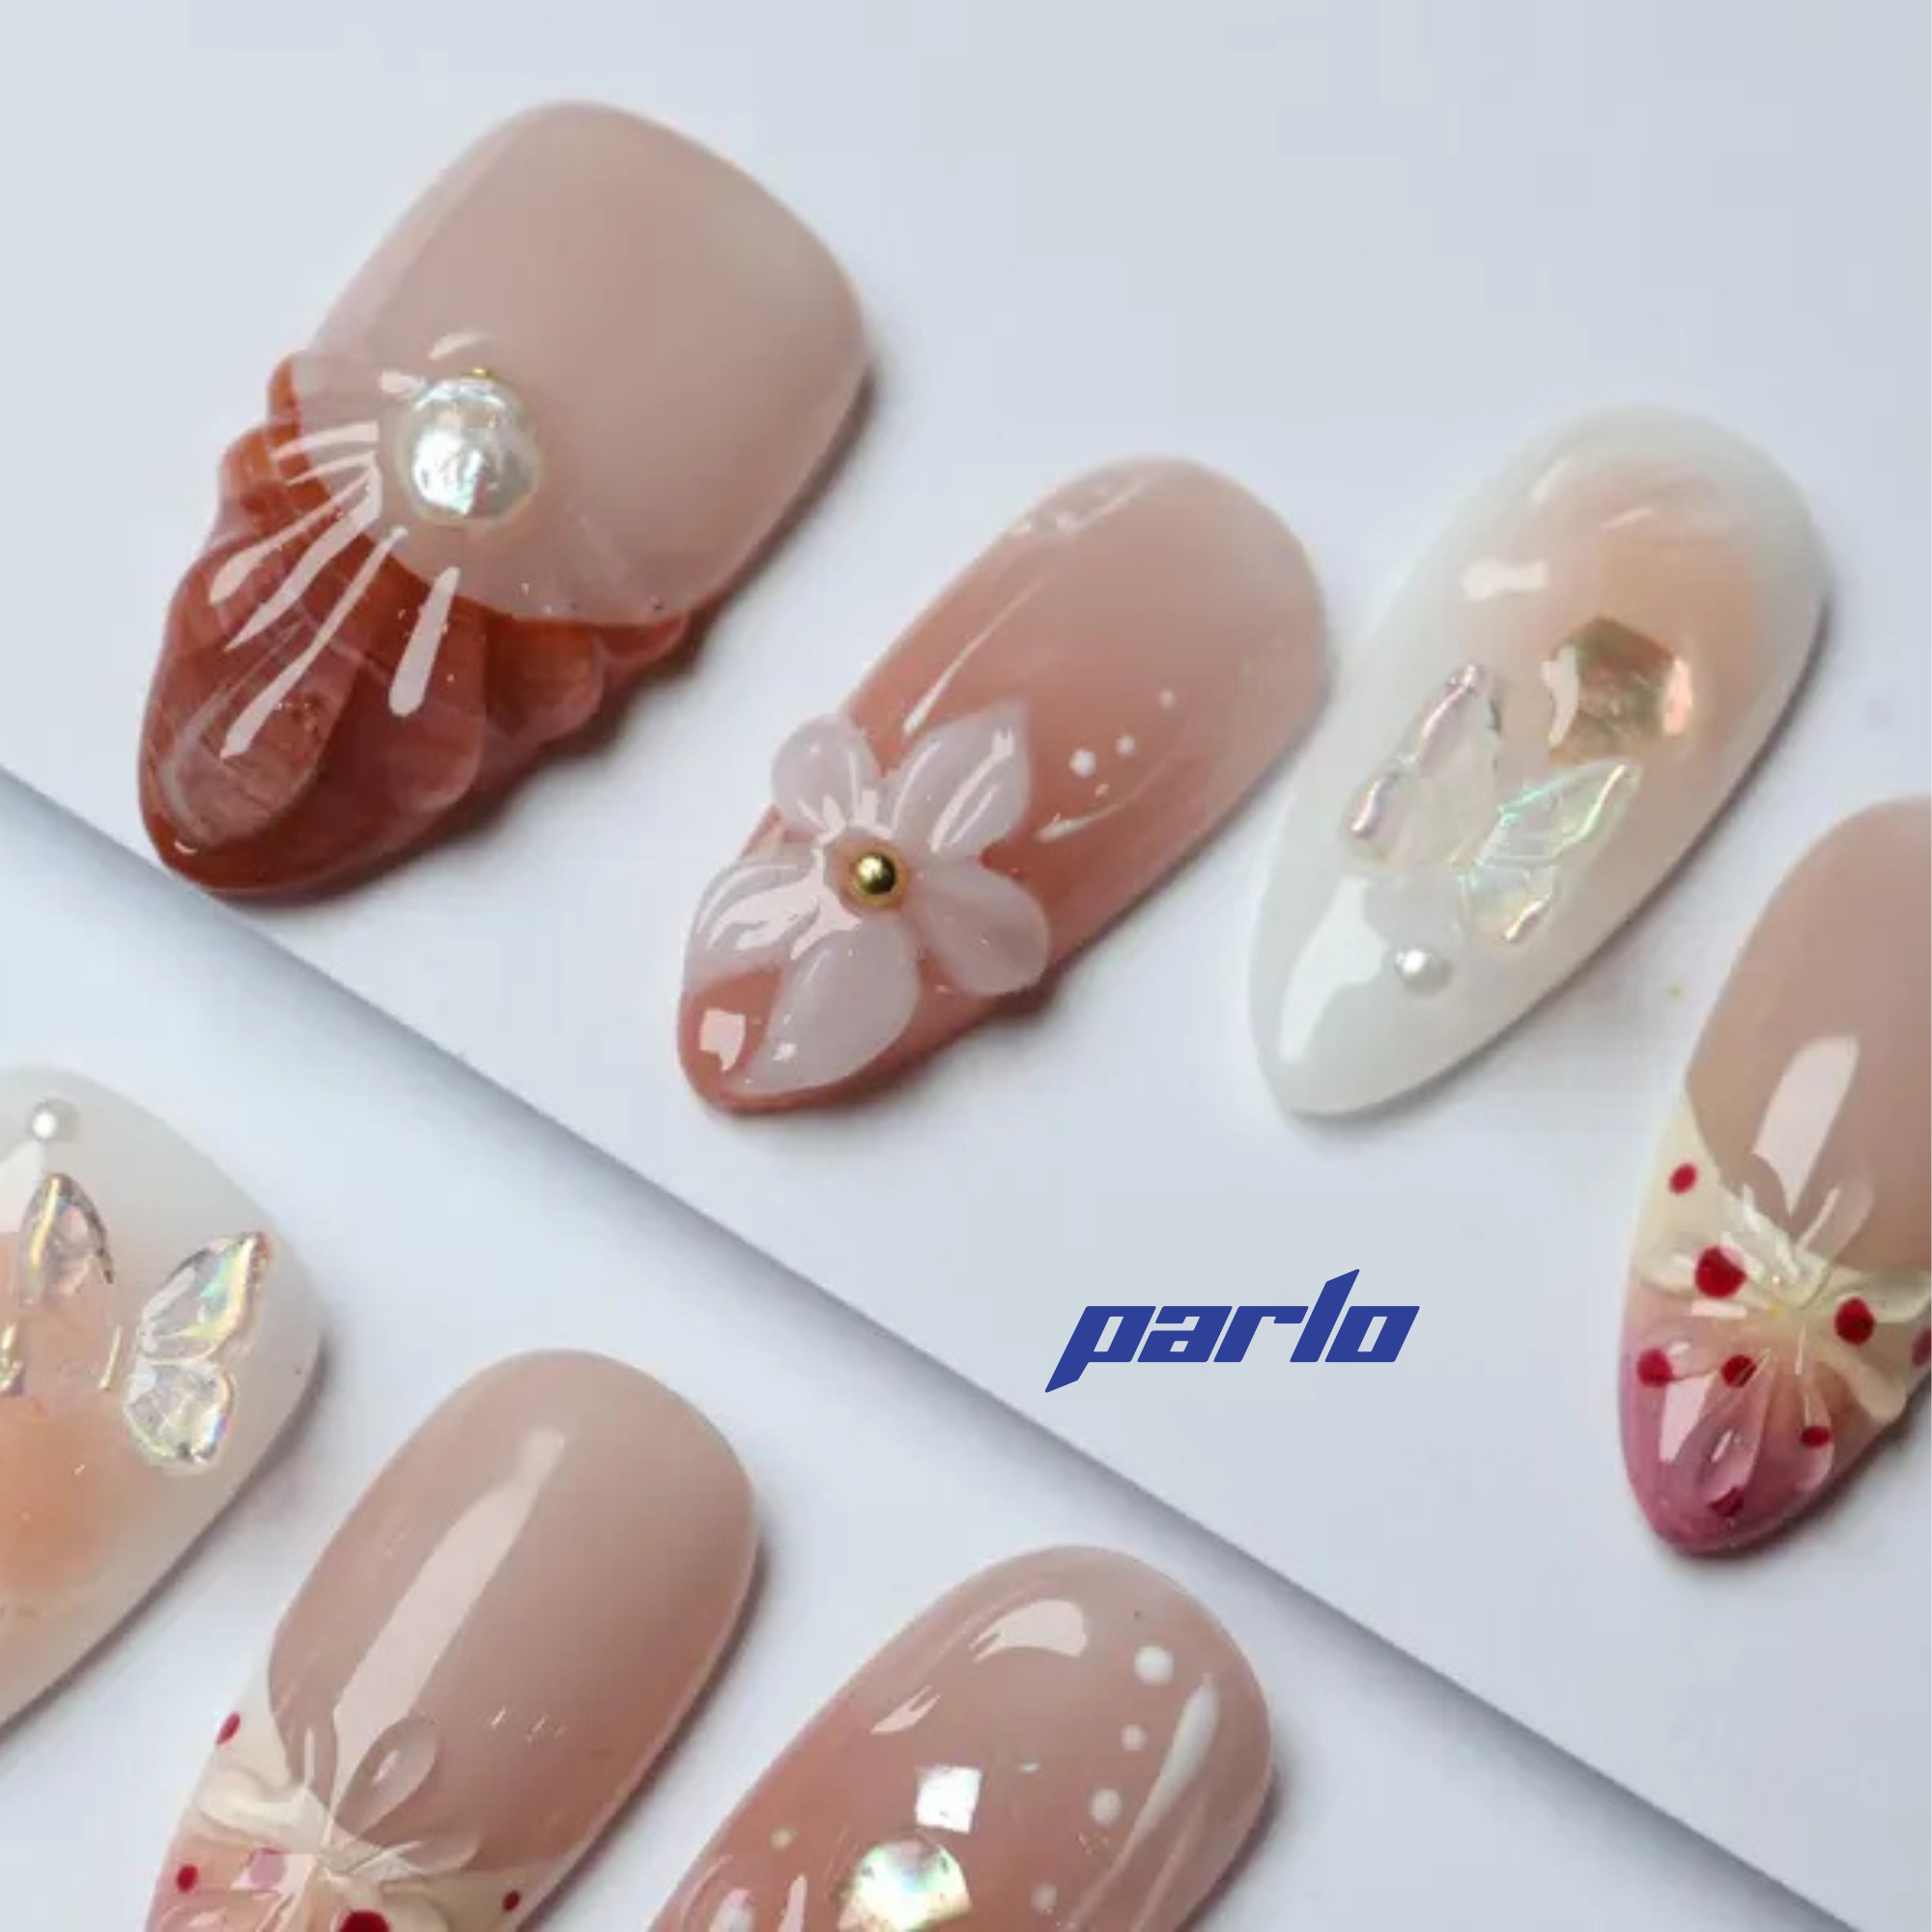
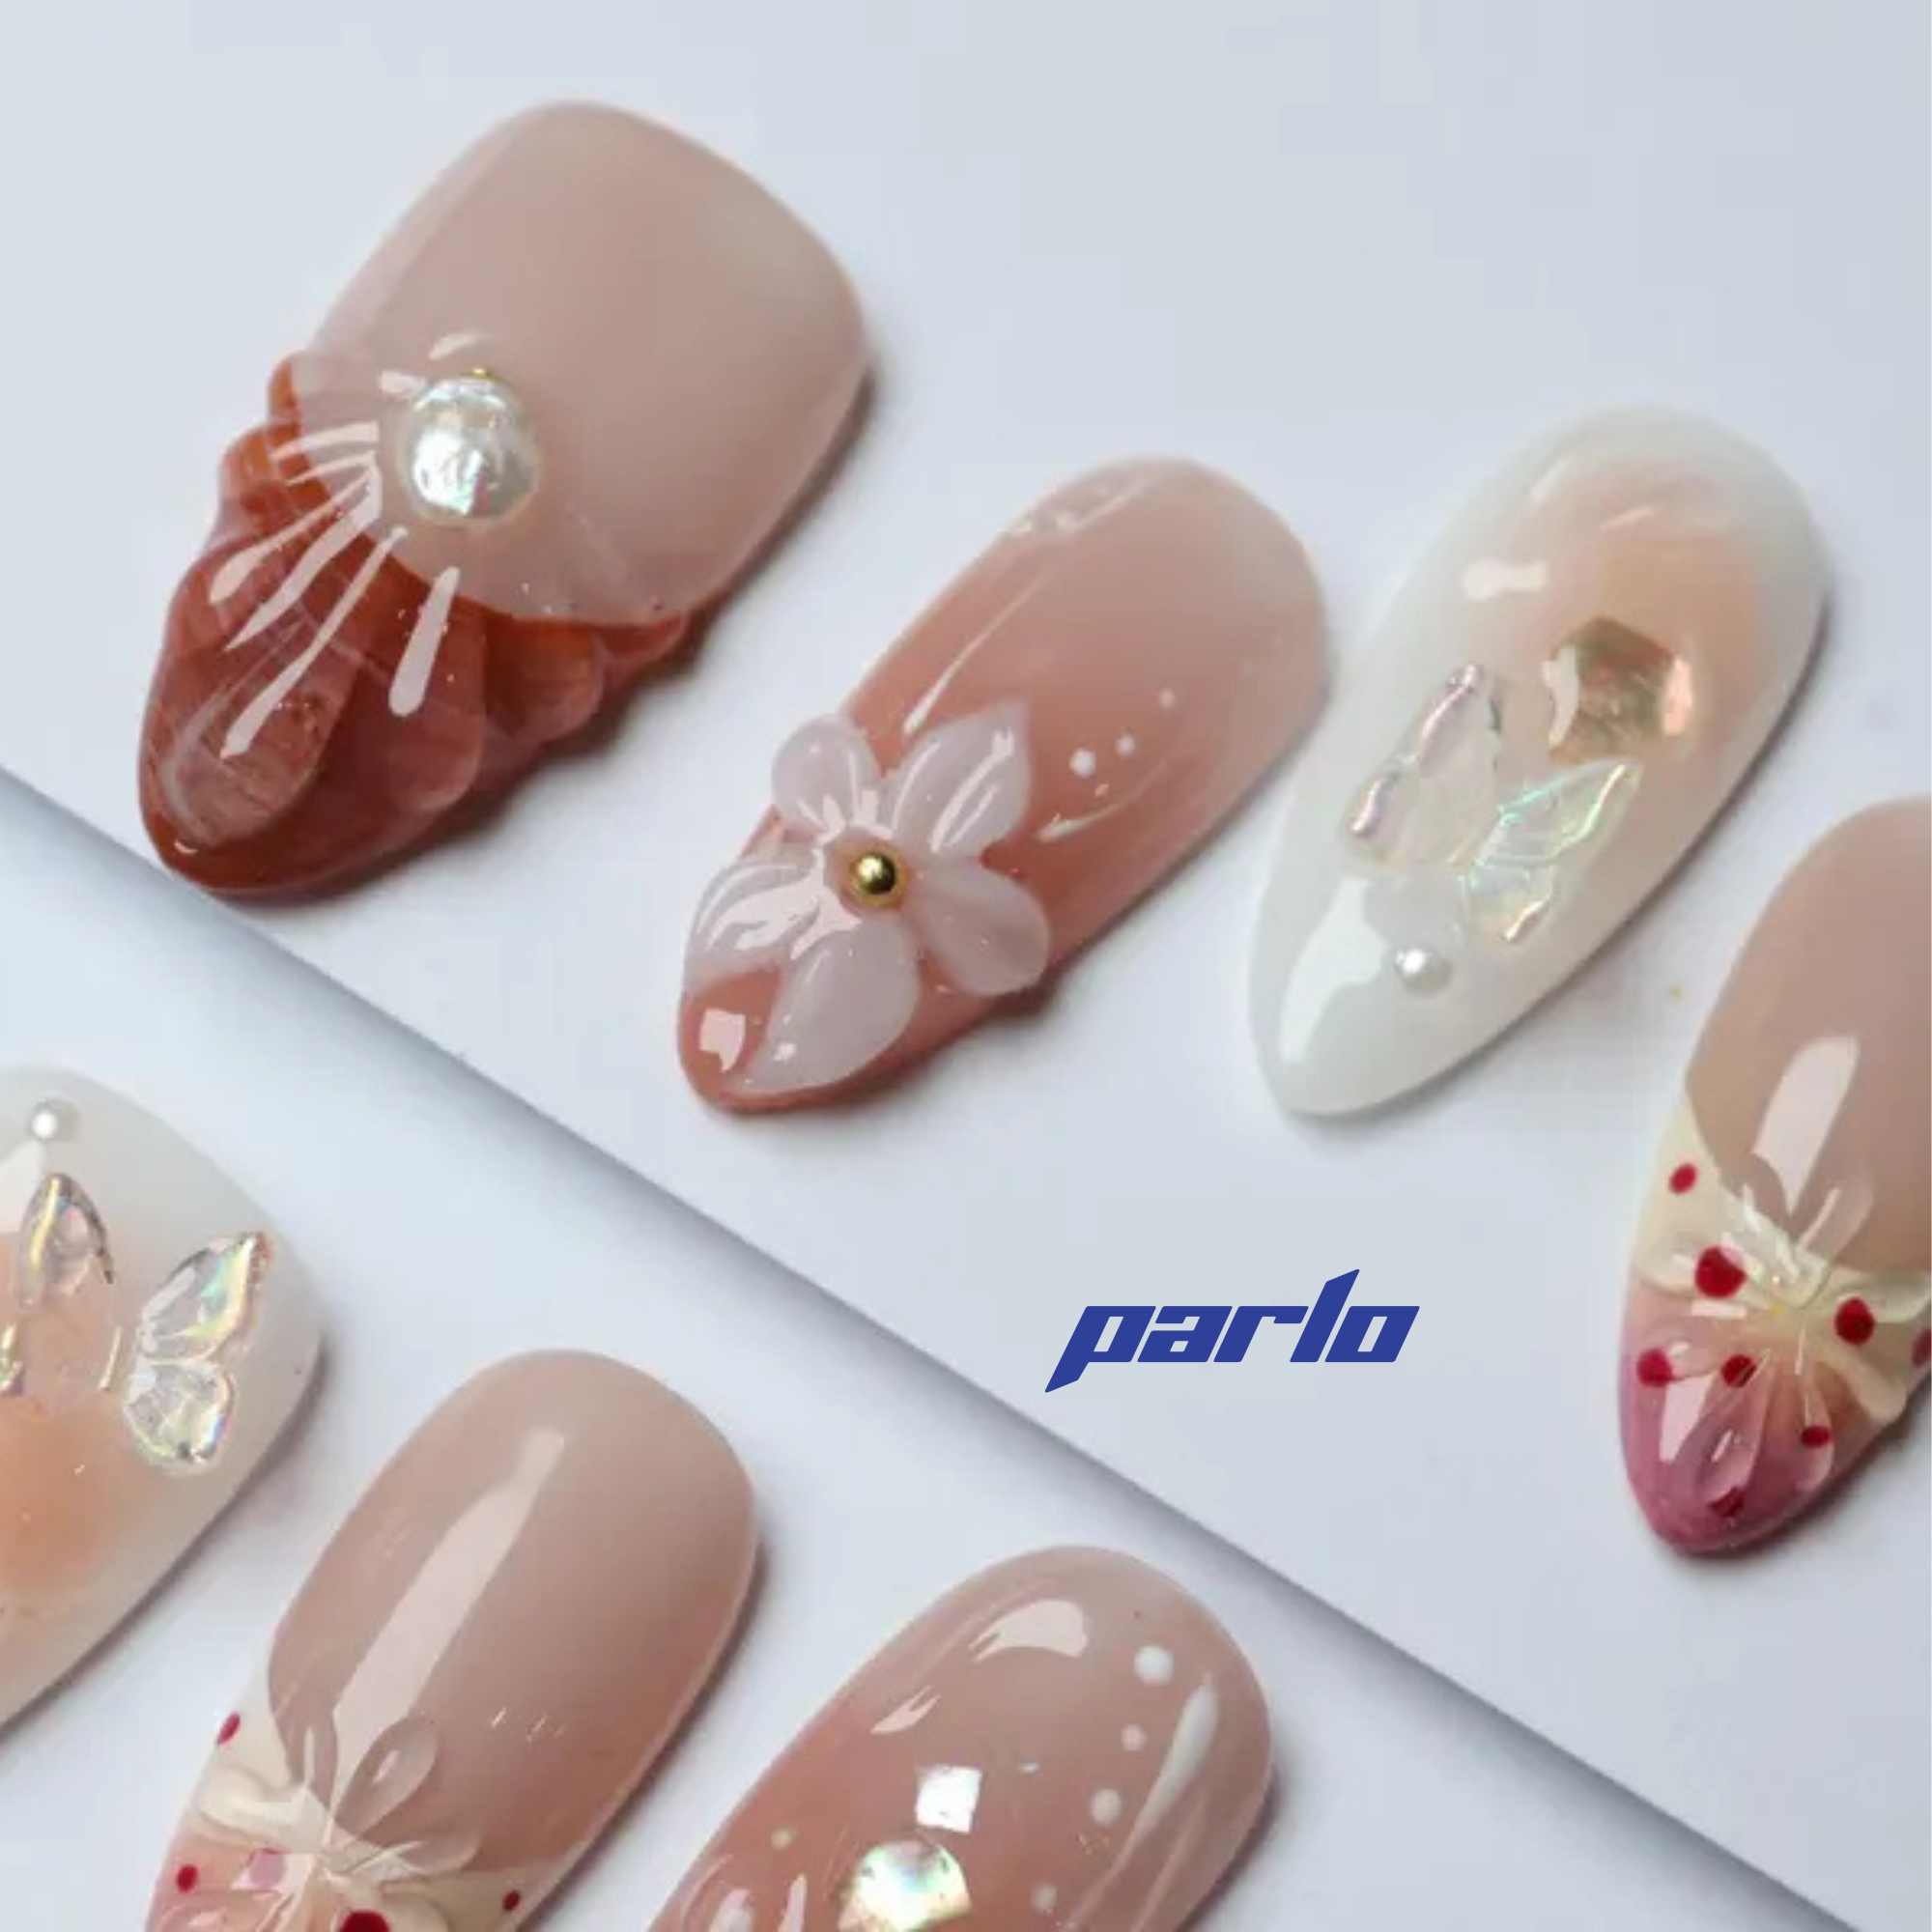
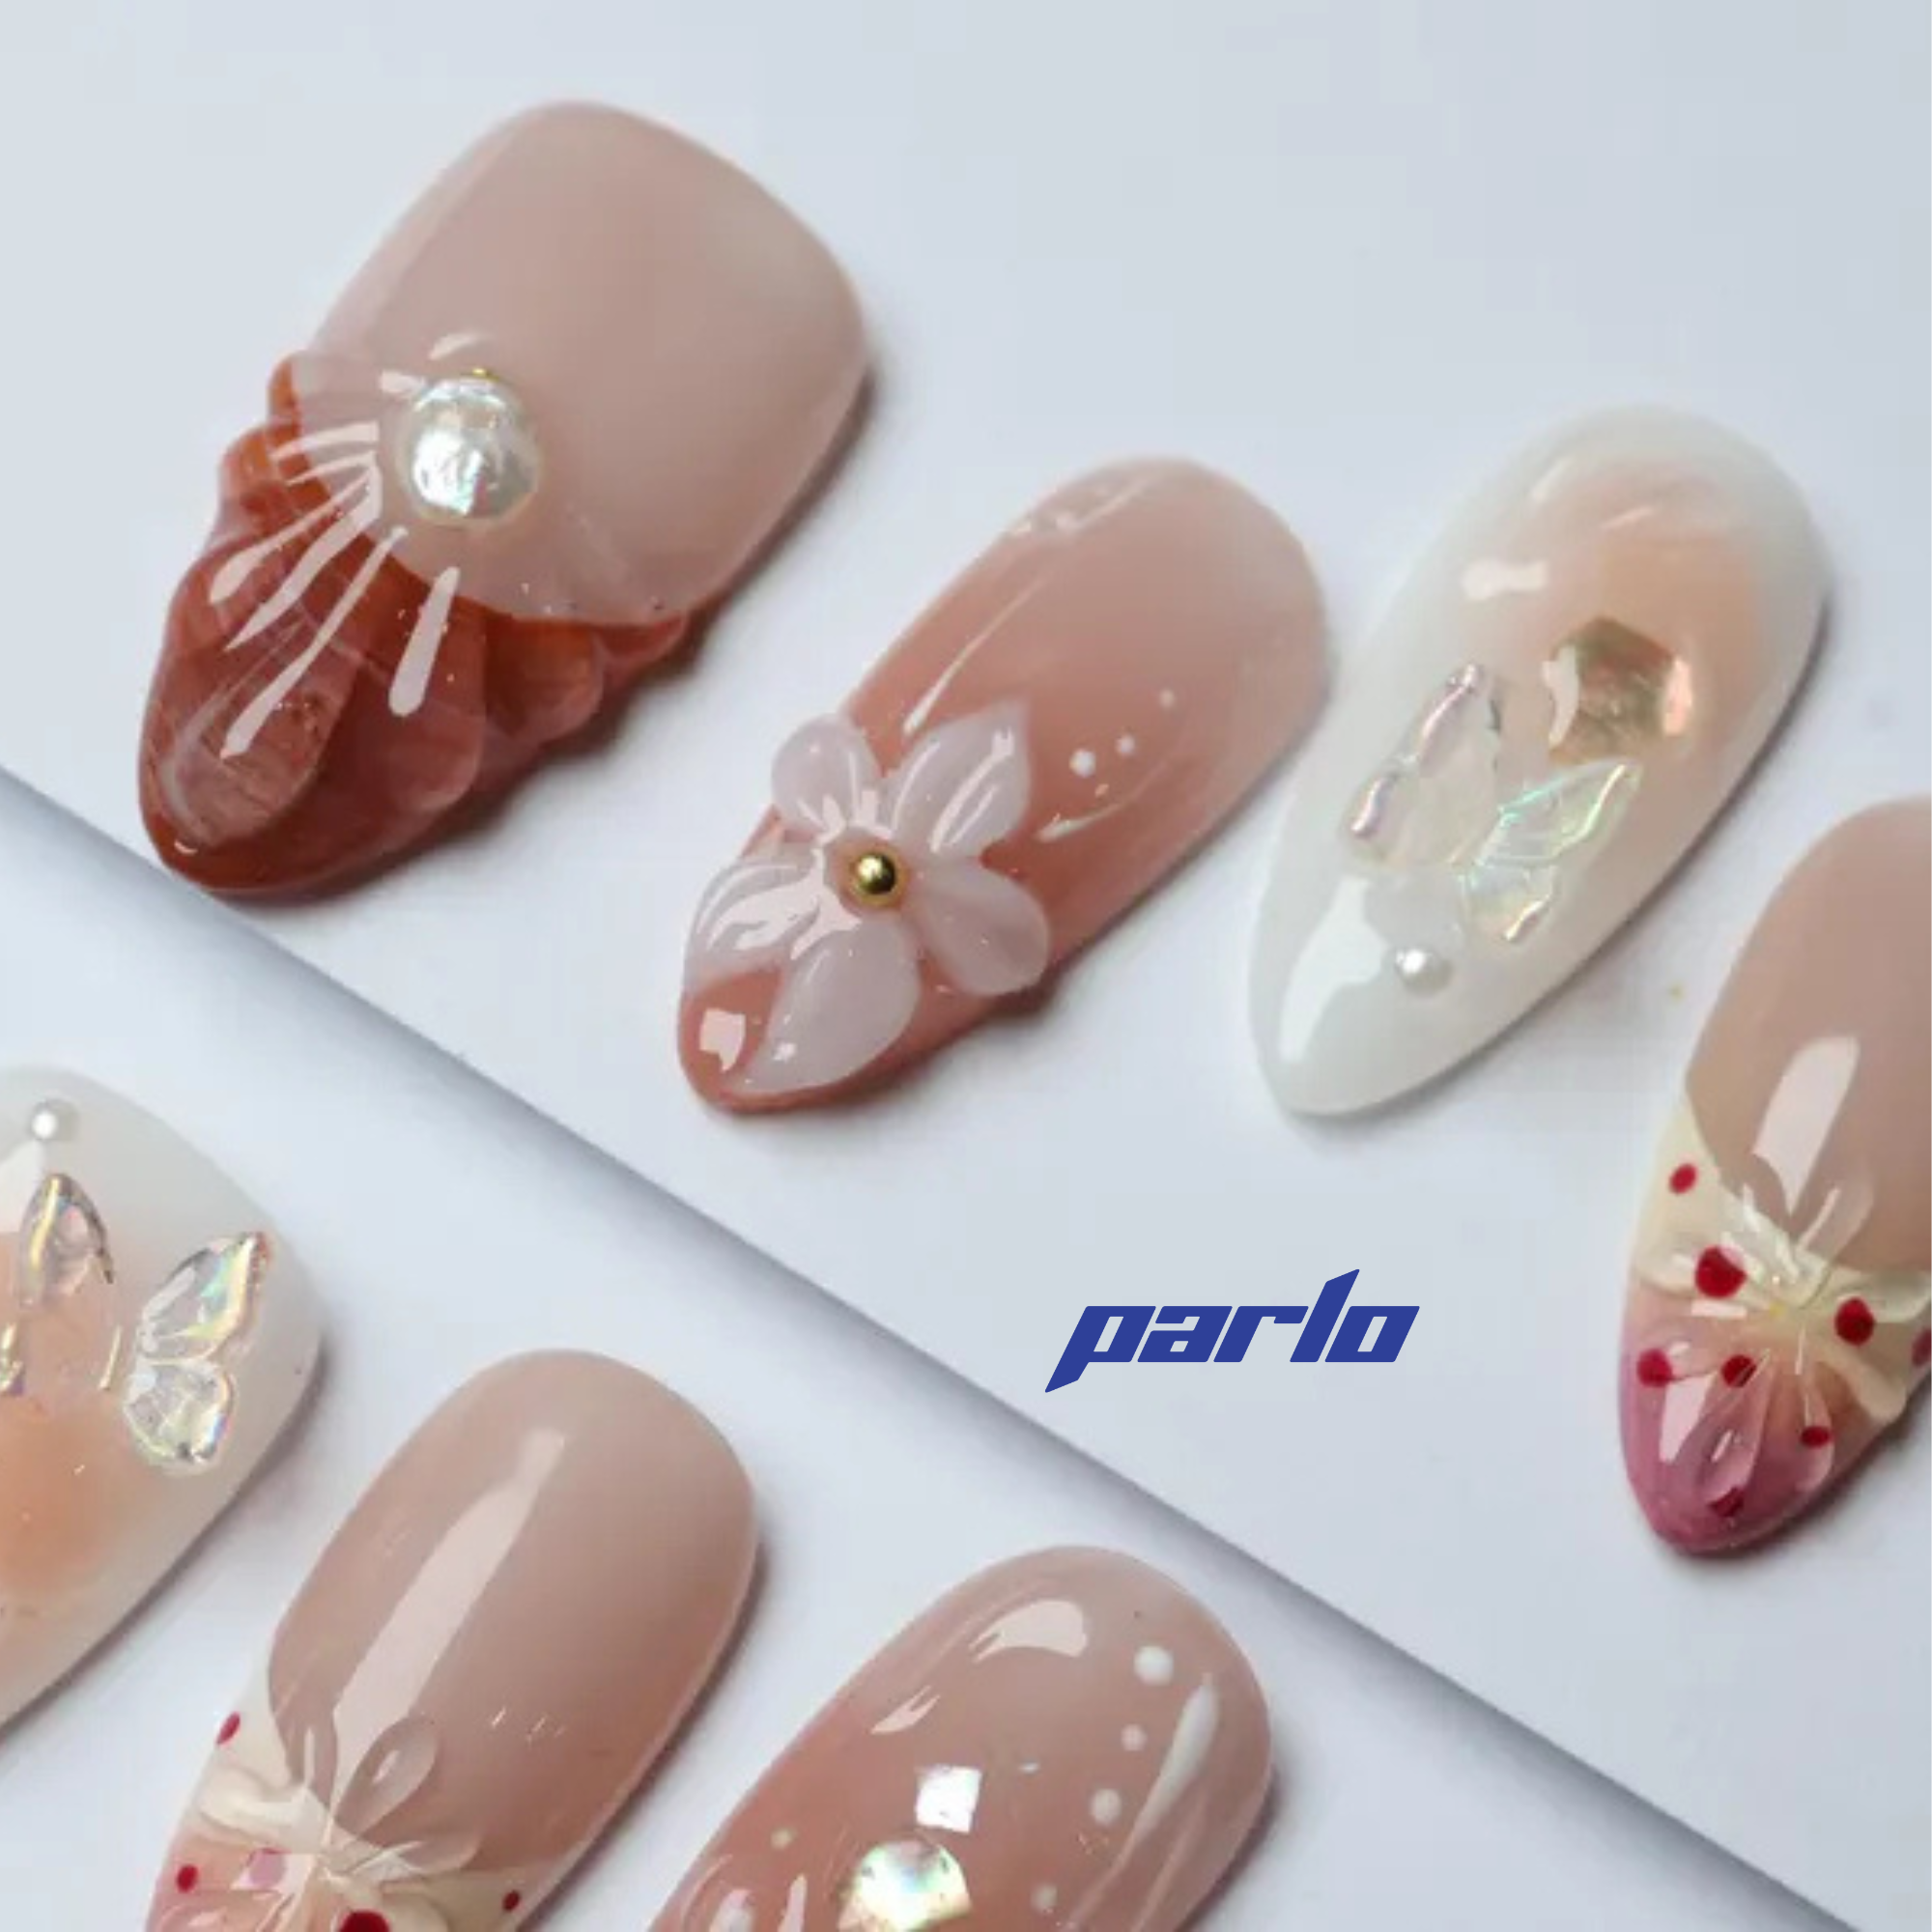
Once your braid is complete, gently pull on the edges of the braid to loosen it and create a fuller, more relaxed look. This also helps to hide any imperfections. You can also pull out a few strands of hair around your face for a softer, more romantic style. If you're looking for the perfect accessory, try these 3D floral press-on nails to complete your look!  Finish with a light hold hairspray to keep your braid in place all day long.
With a little practice, you'll be able to create a beautiful French braid in no time. Experiment with different variations, such as a side French braid or a Dutch braid, to find the style that you love. Remember to check out our other tutorials on hairstyles and beauty tips for more inspiration! Learn more about hair care tips here.
Call to Action: Ready to elevate your style? Explore our collection of beauty accessories!
Generated from keyword: "How to Create a Simple French Braid in 6 Easy Steps"


