How to Do Dip Nails at Home: A Step-by-Step Guide
Dip powder manicures have exploded in popularity, offering a durable and long-lasting alternative to traditional nail polish and gel. But salon visits can be costly and time-consuming. The good news? You can achieve stunning dip nails at home with the right tools and a little practice. This comprehensive guide will walk you through each step, ensuring you get salon-worthy results without leaving your house.
What You'll Need for Your DIY Dip Nail Kit
Before you begin, gather all your supplies. A complete dip nail kit typically includes:
- Dip powder colors of your choice
- Base coat
- Activator
- Top coat
- Cuticle pusher
- Nail file and buffer
- Brush saver
- Dust brush
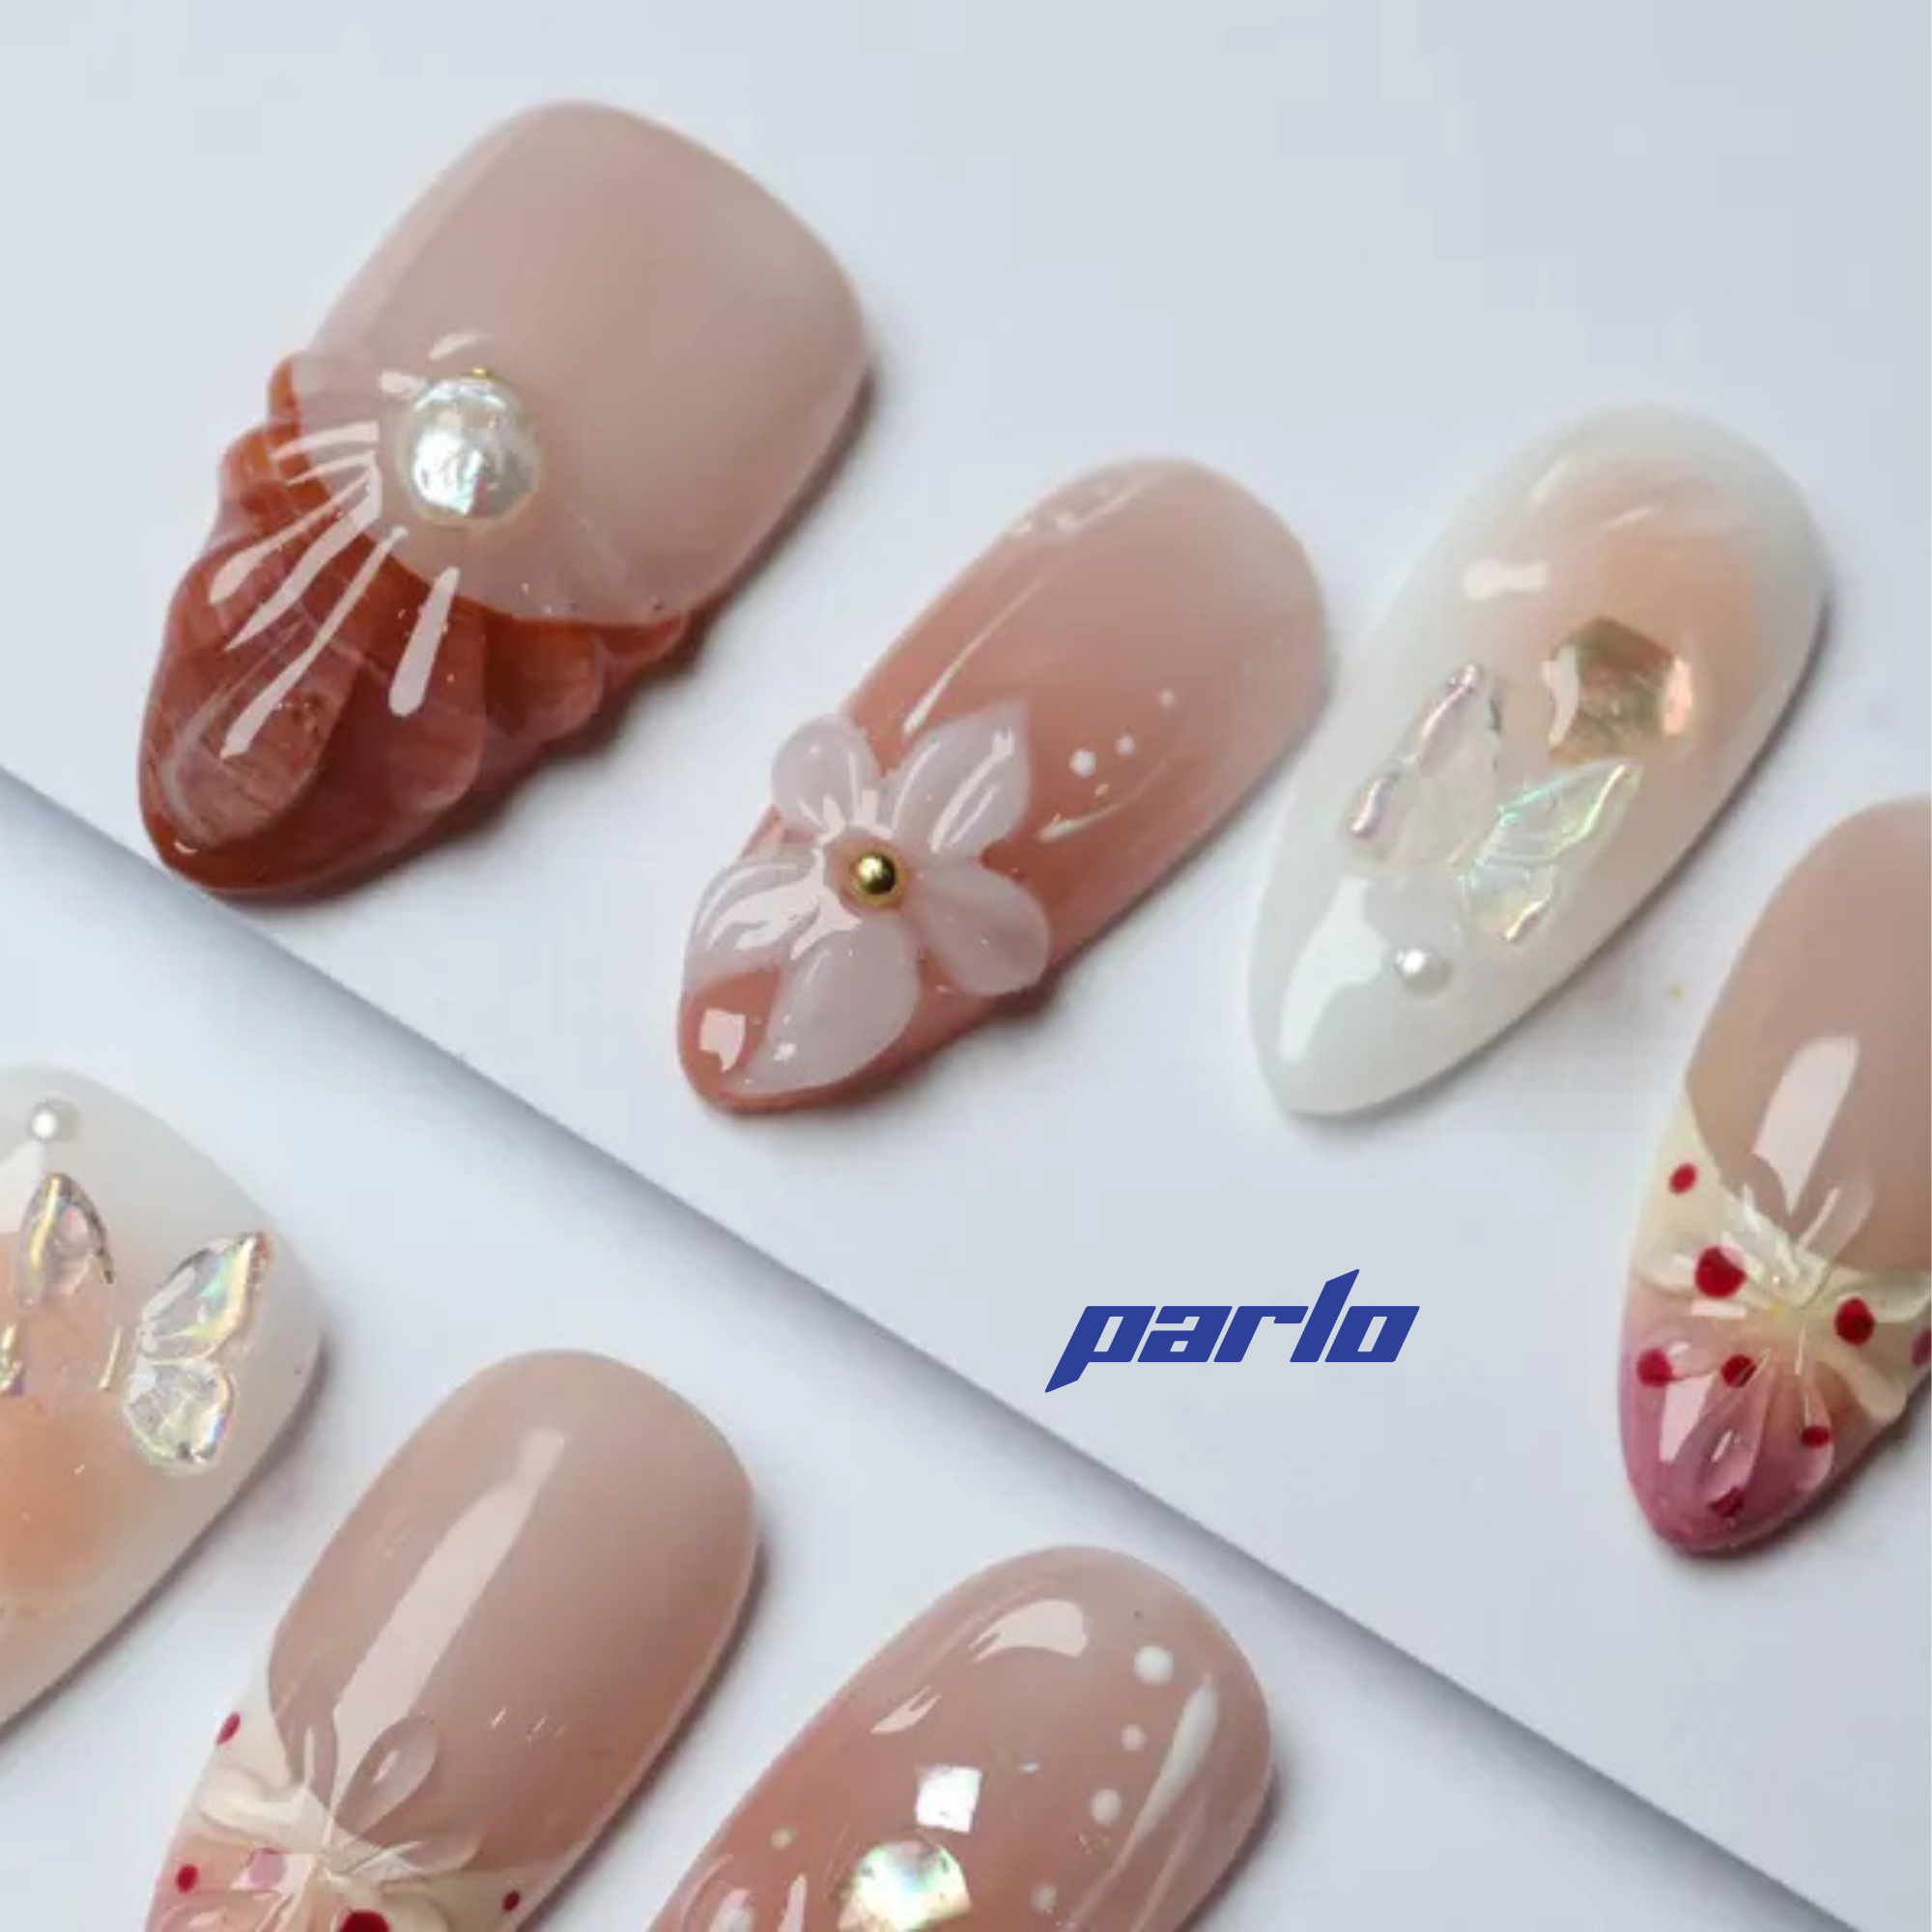
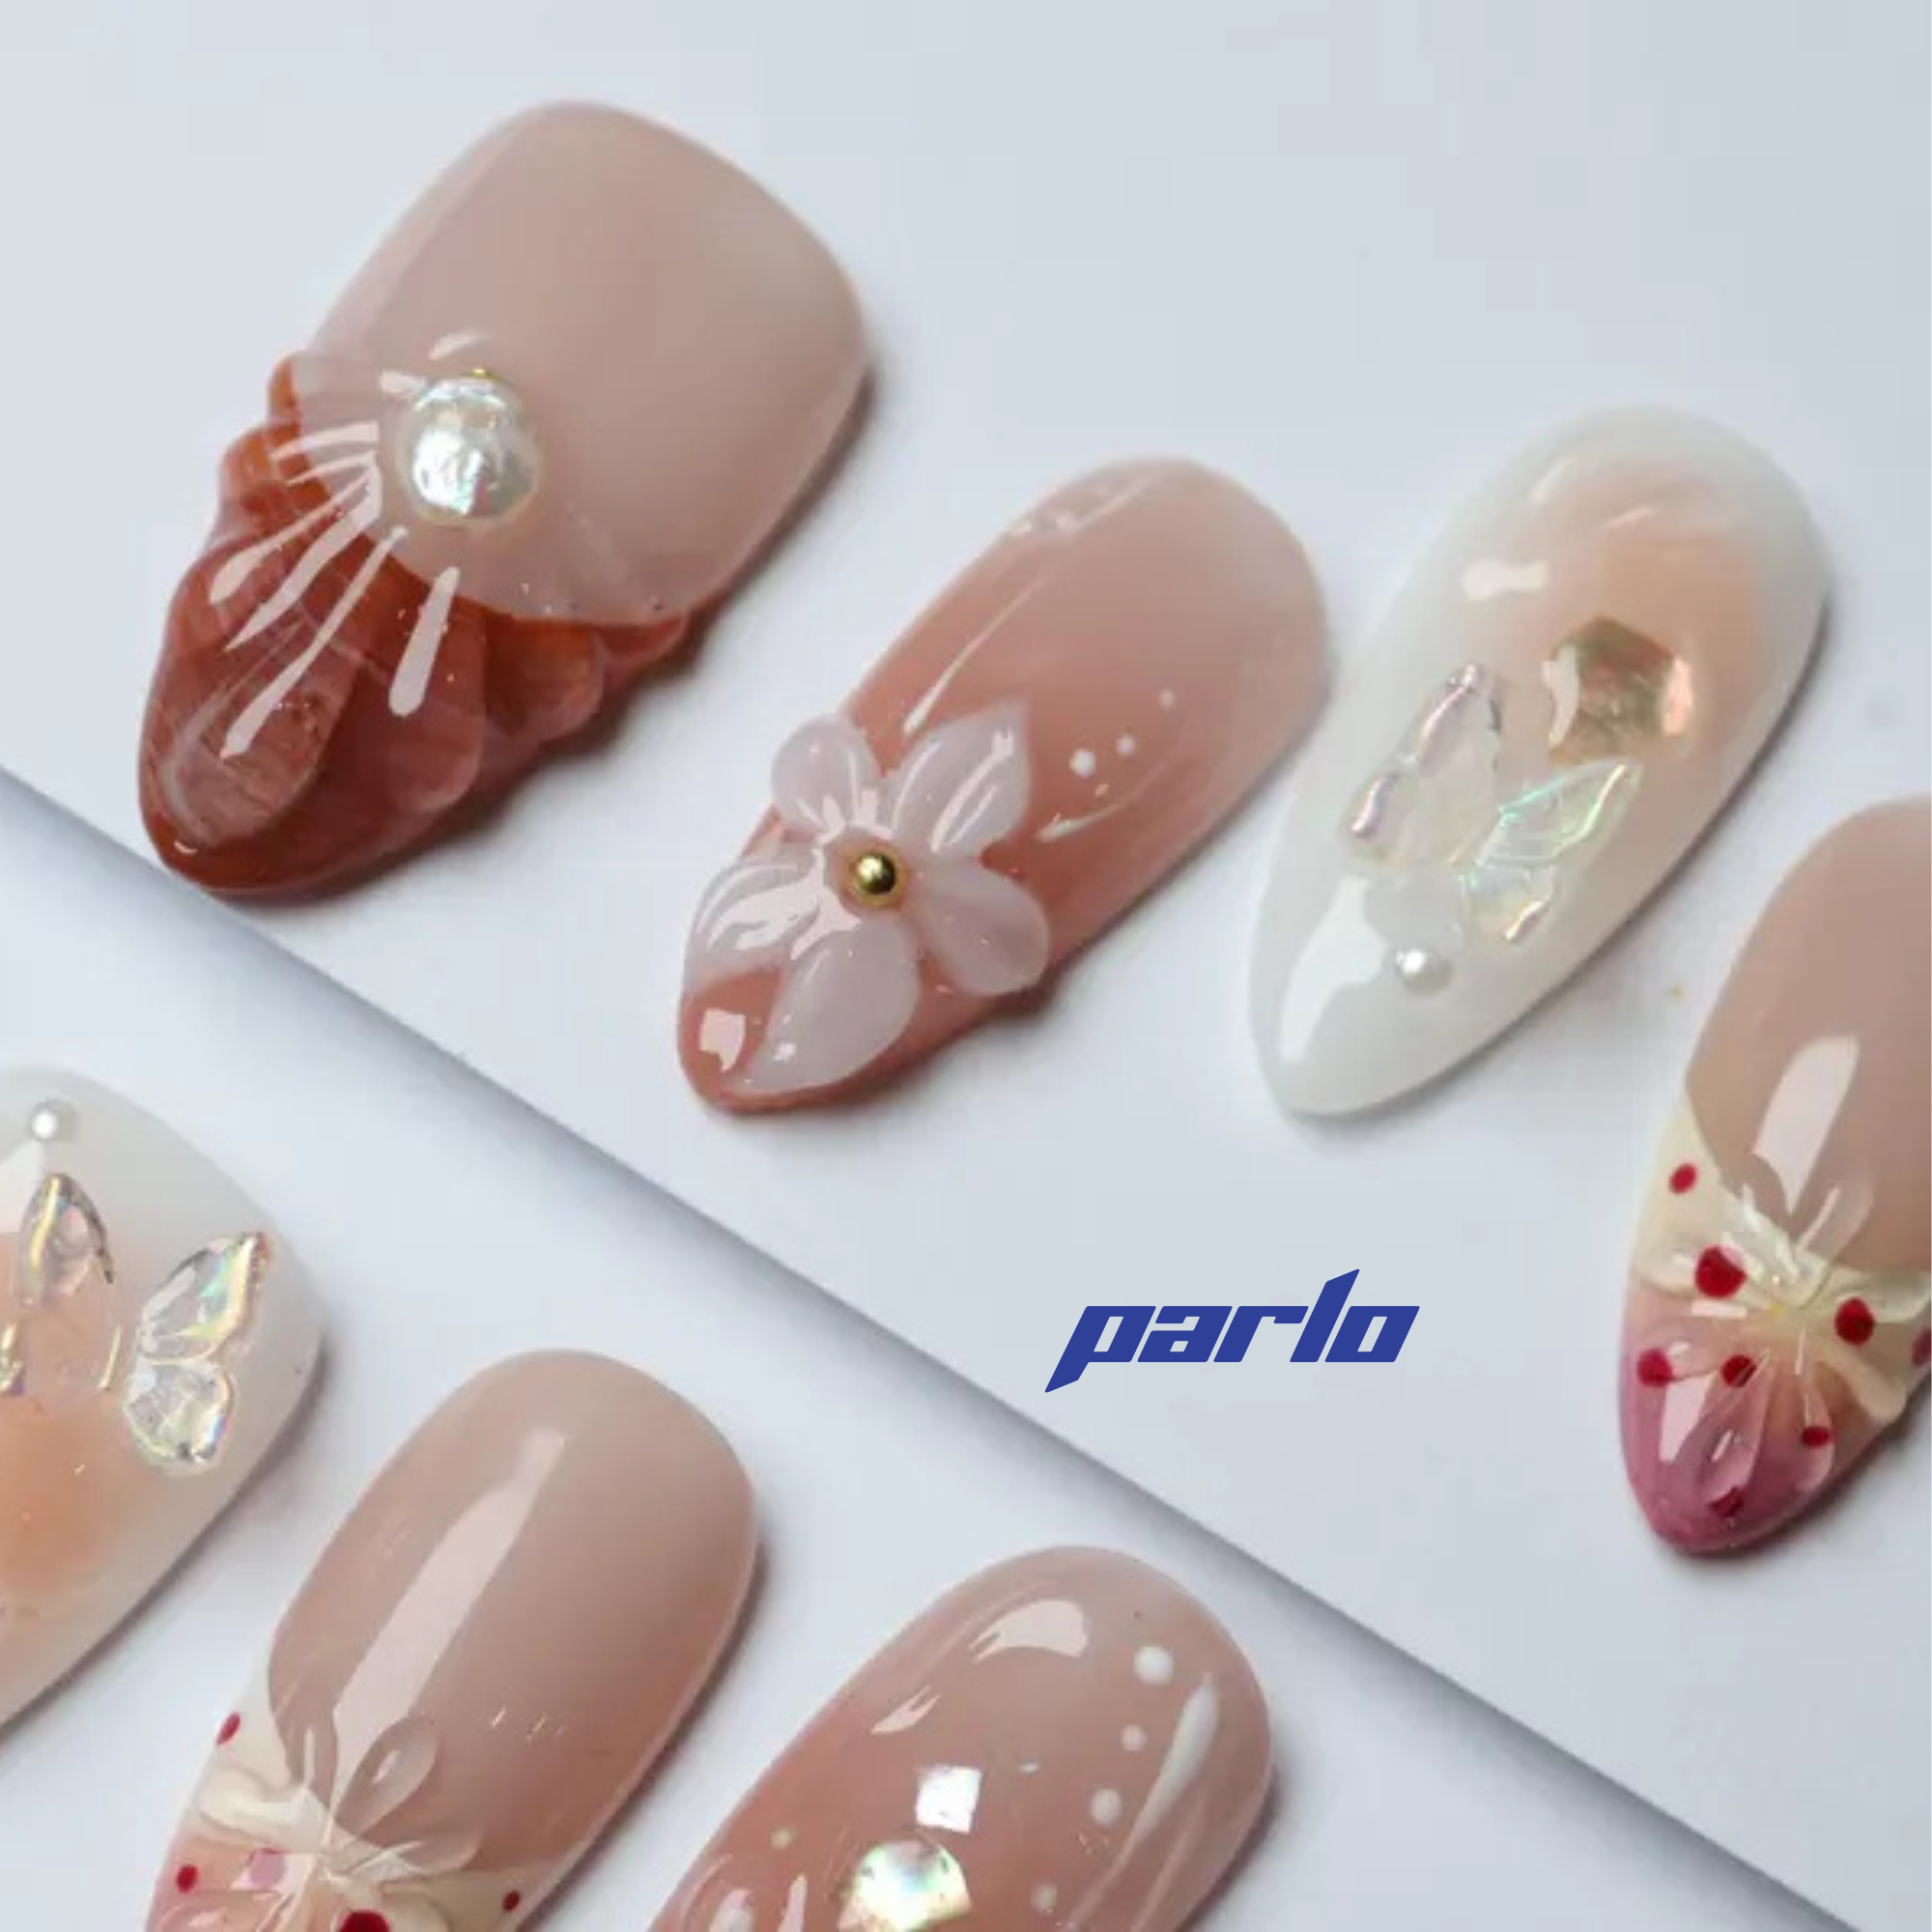
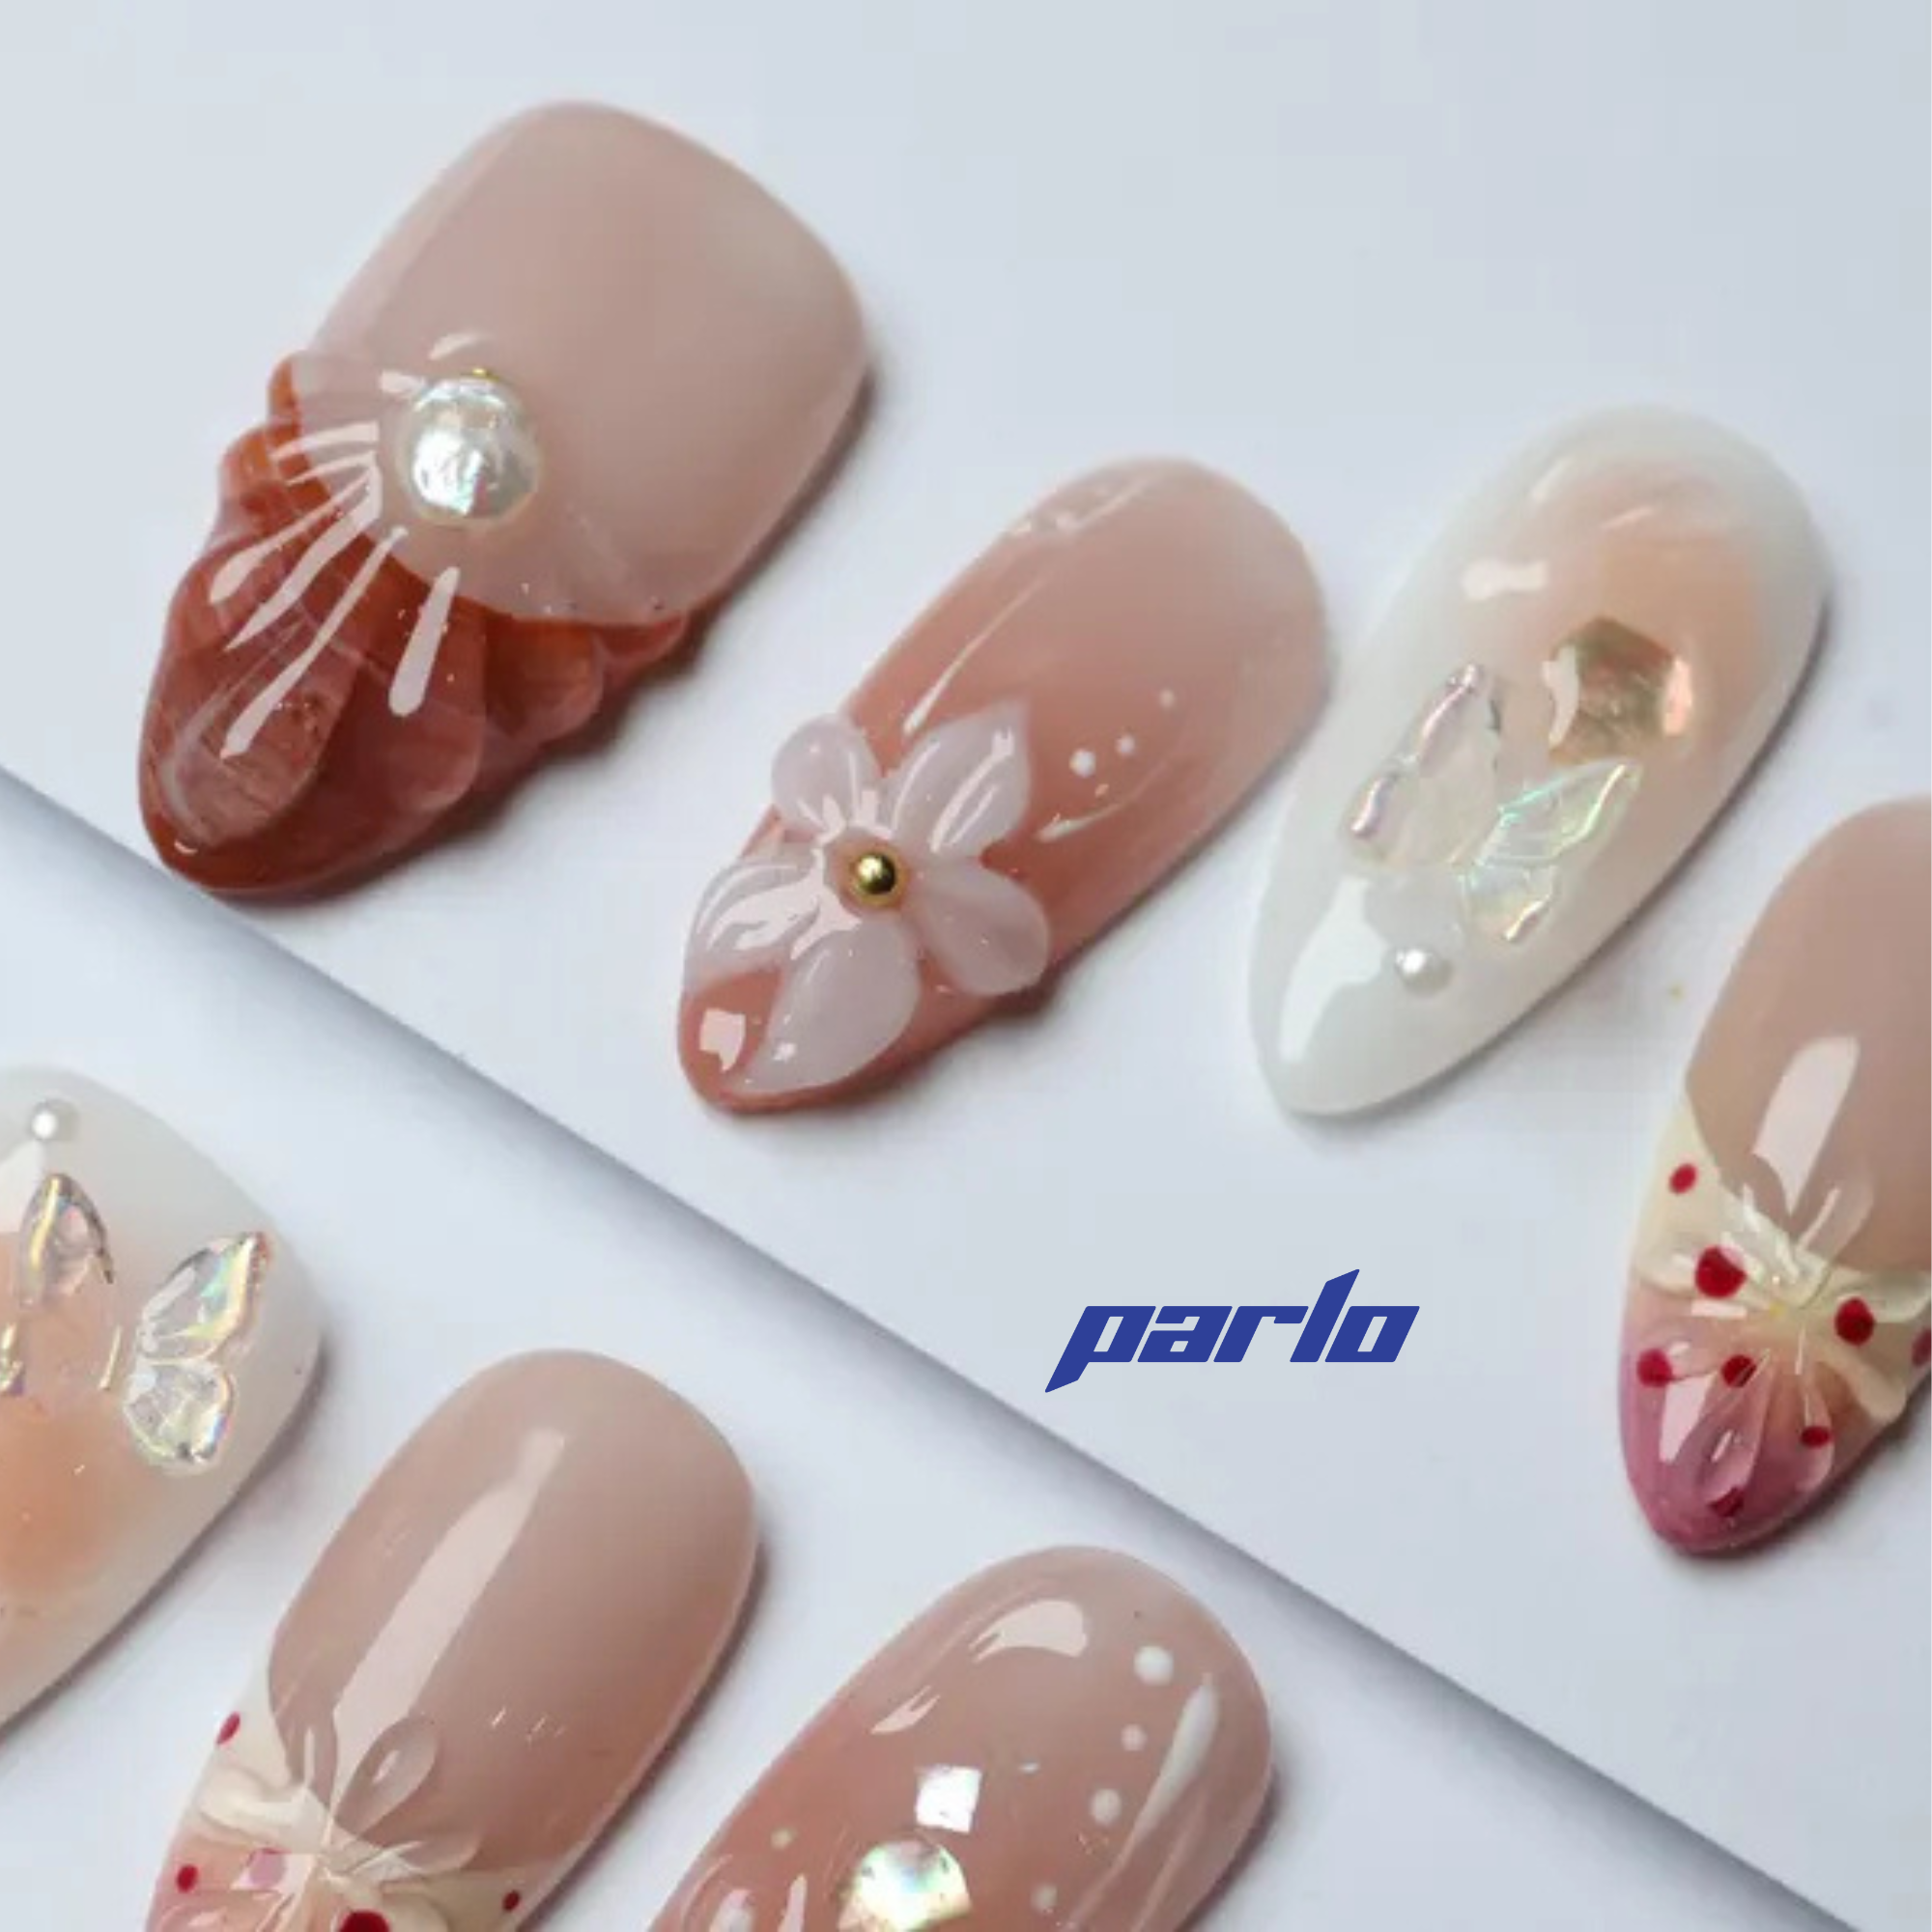
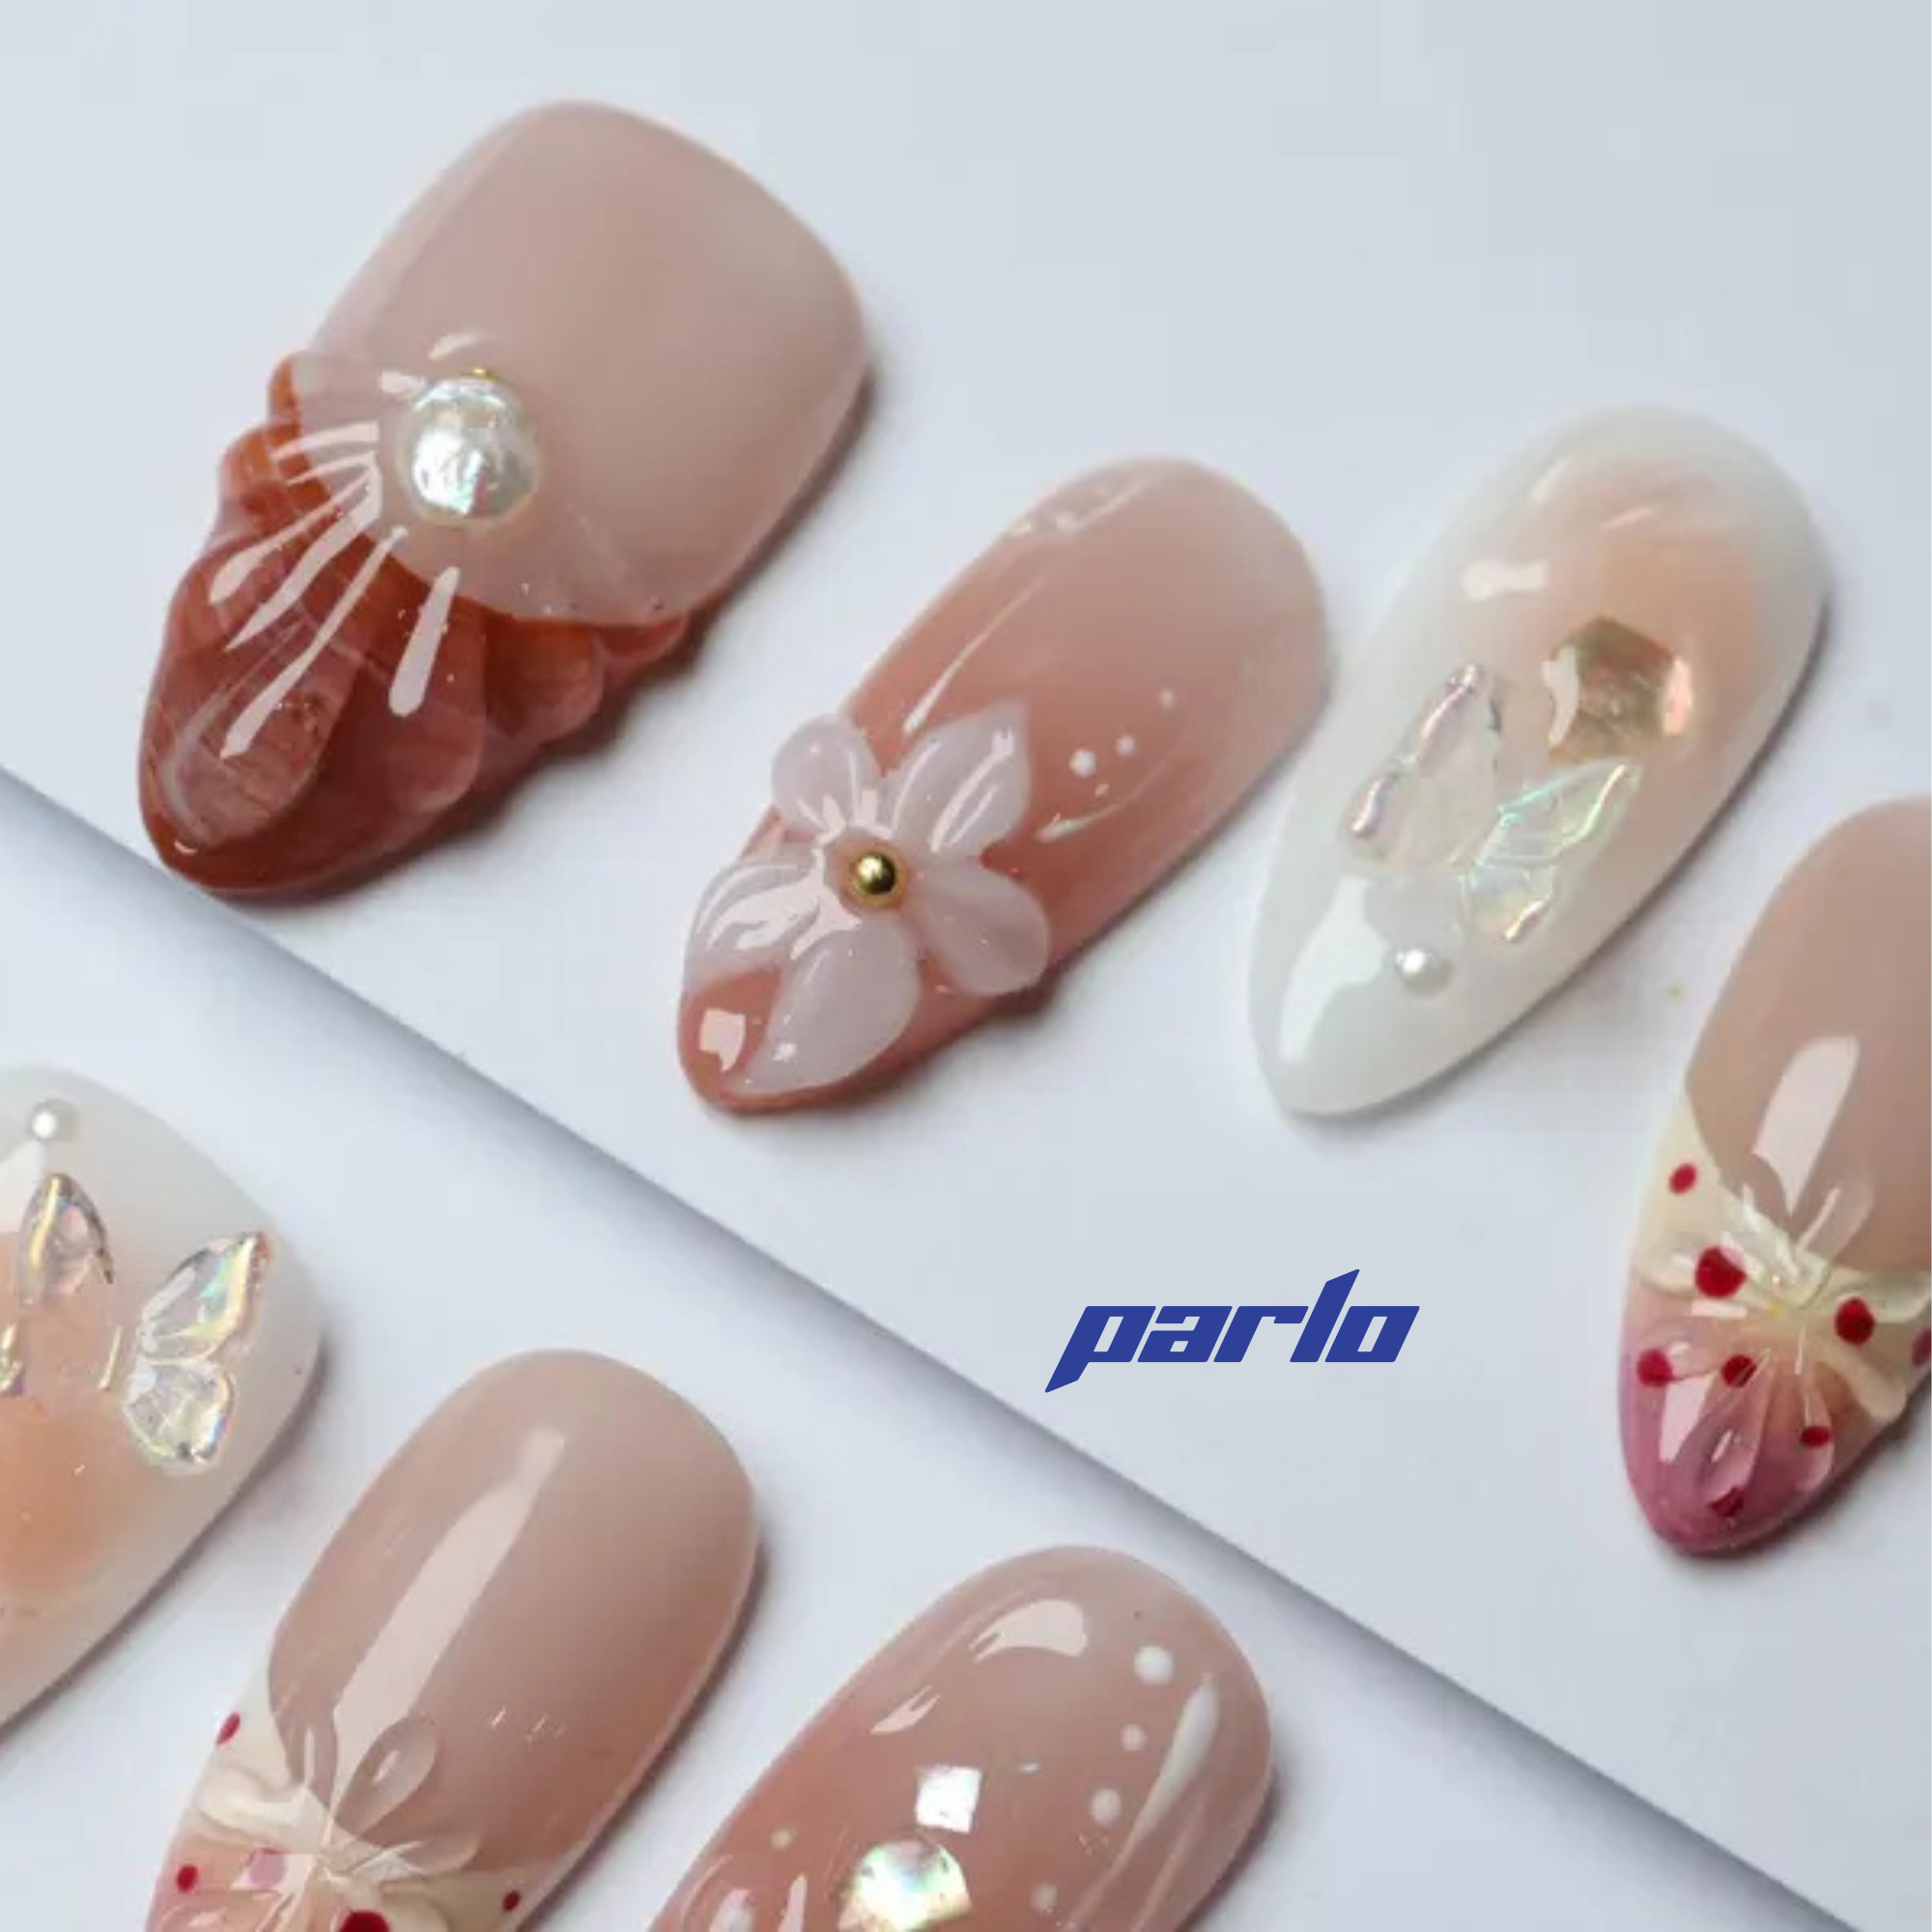
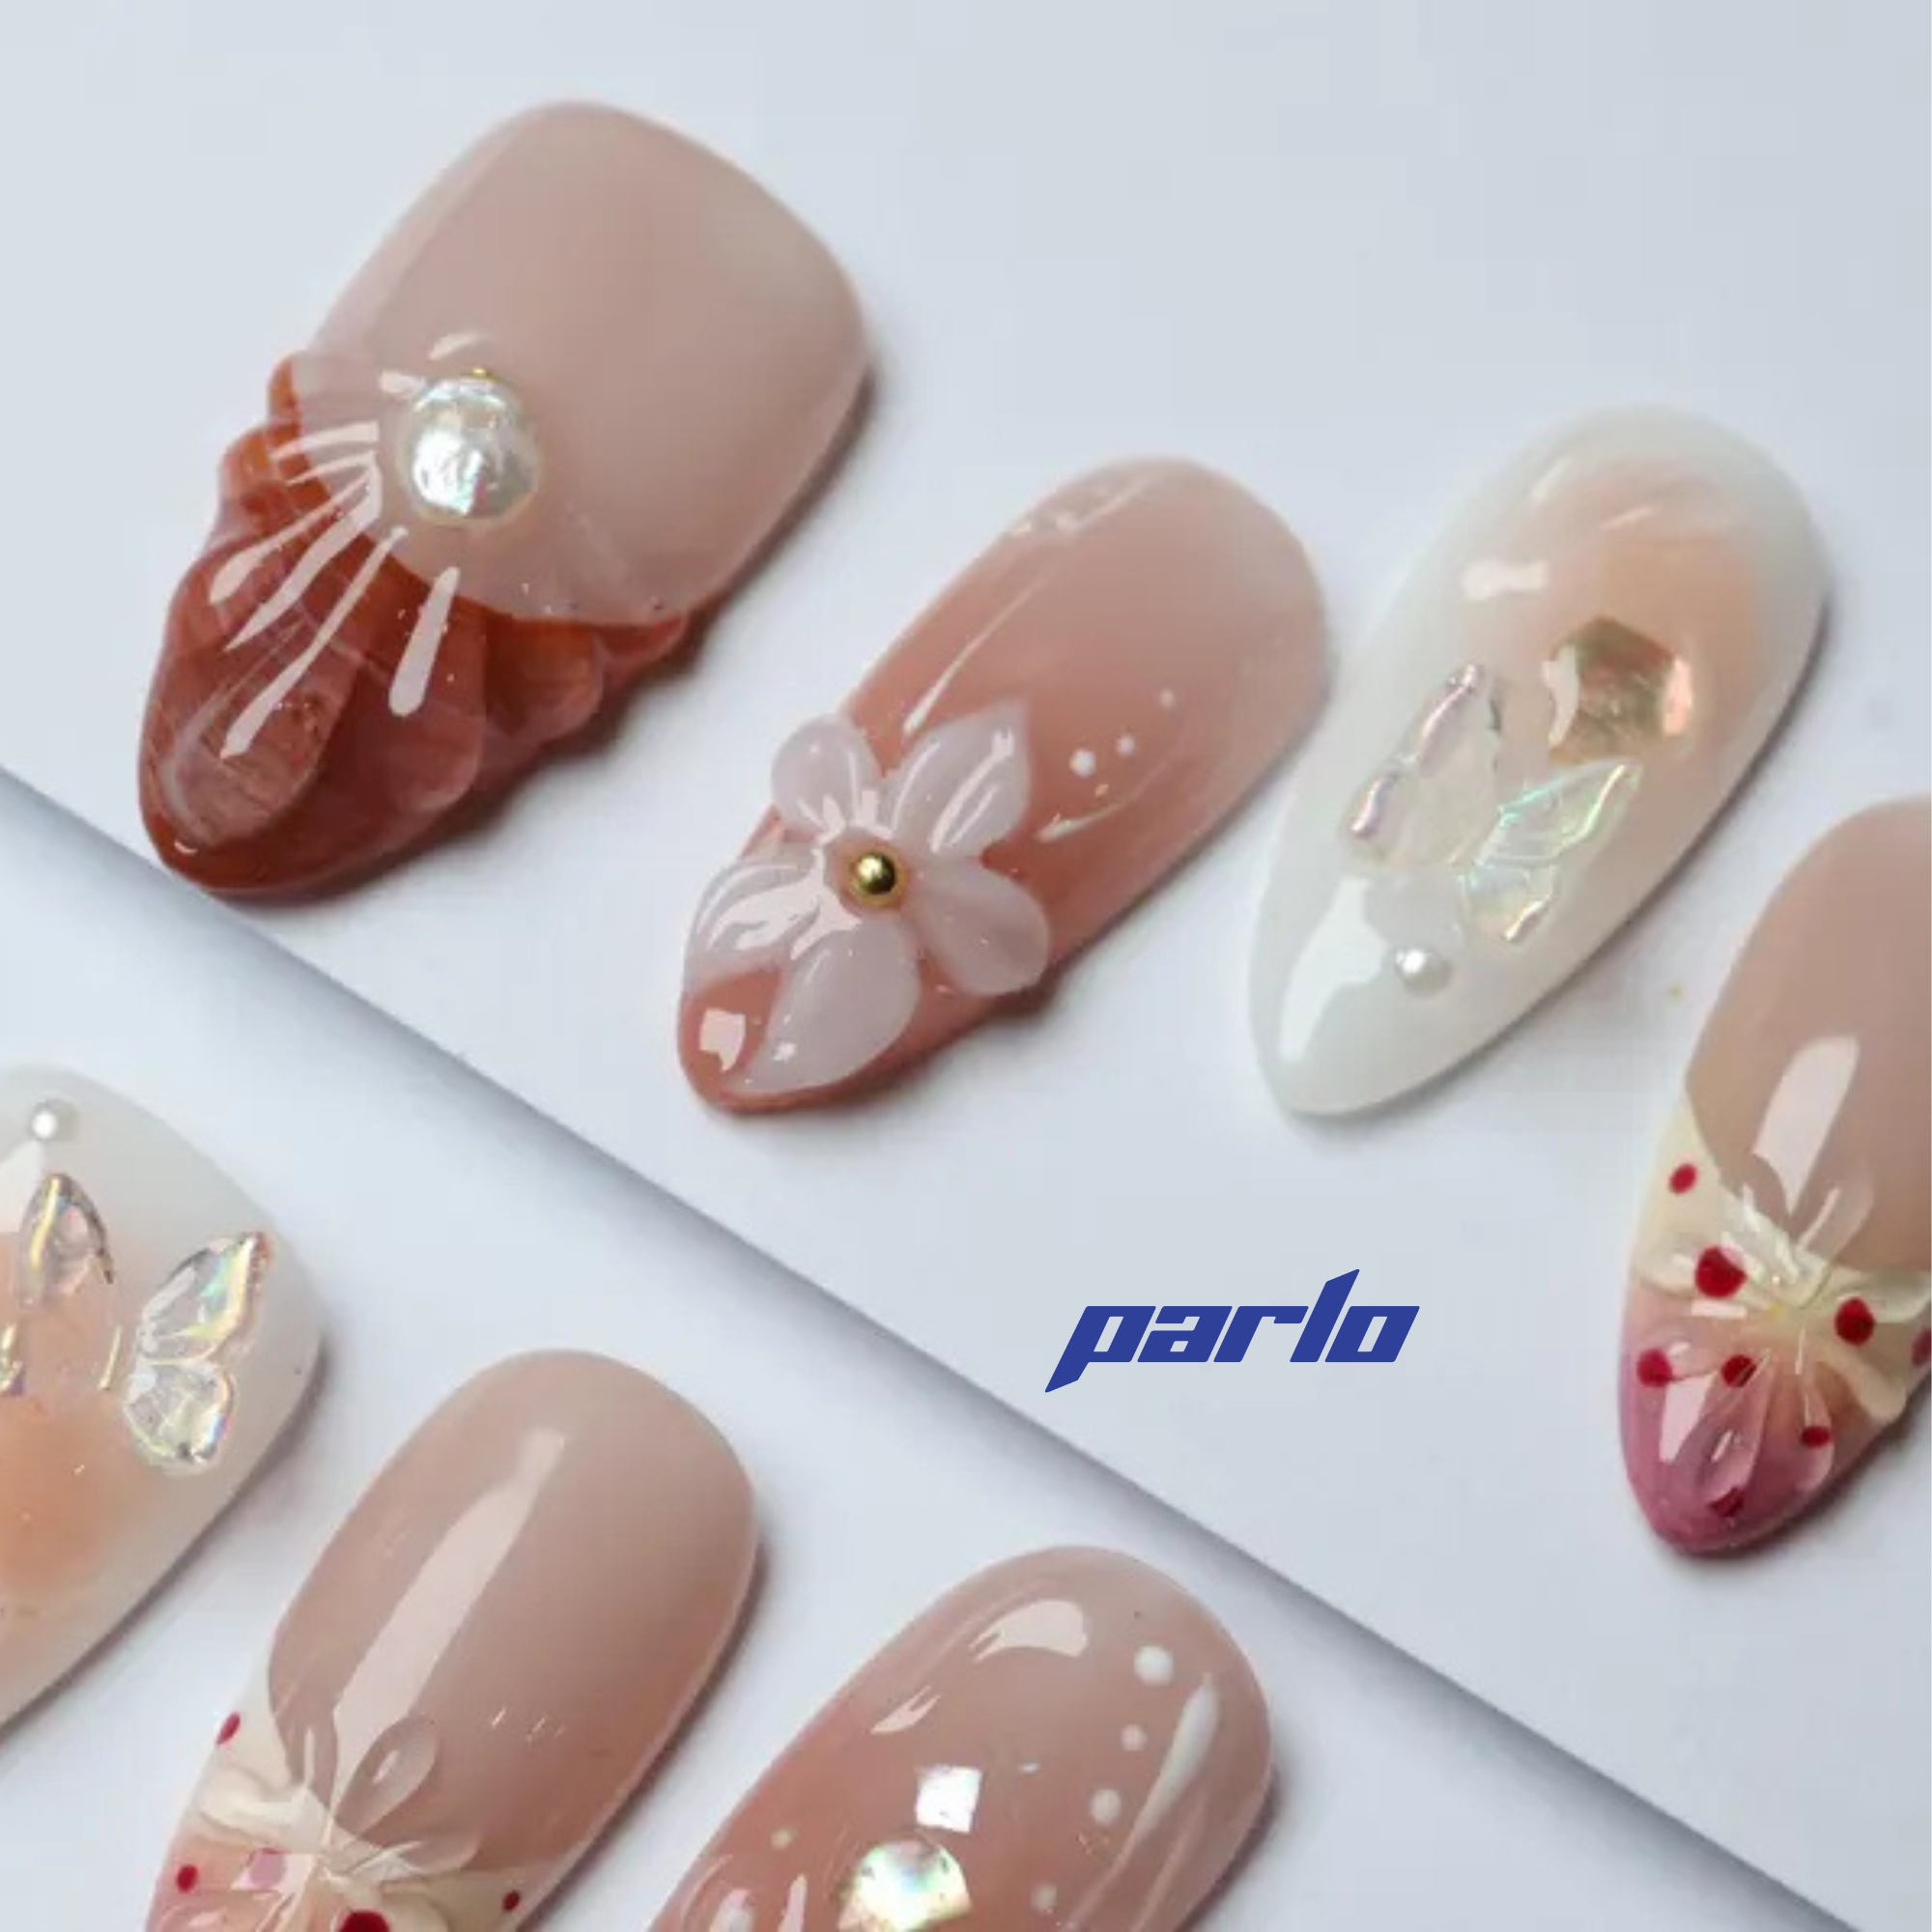
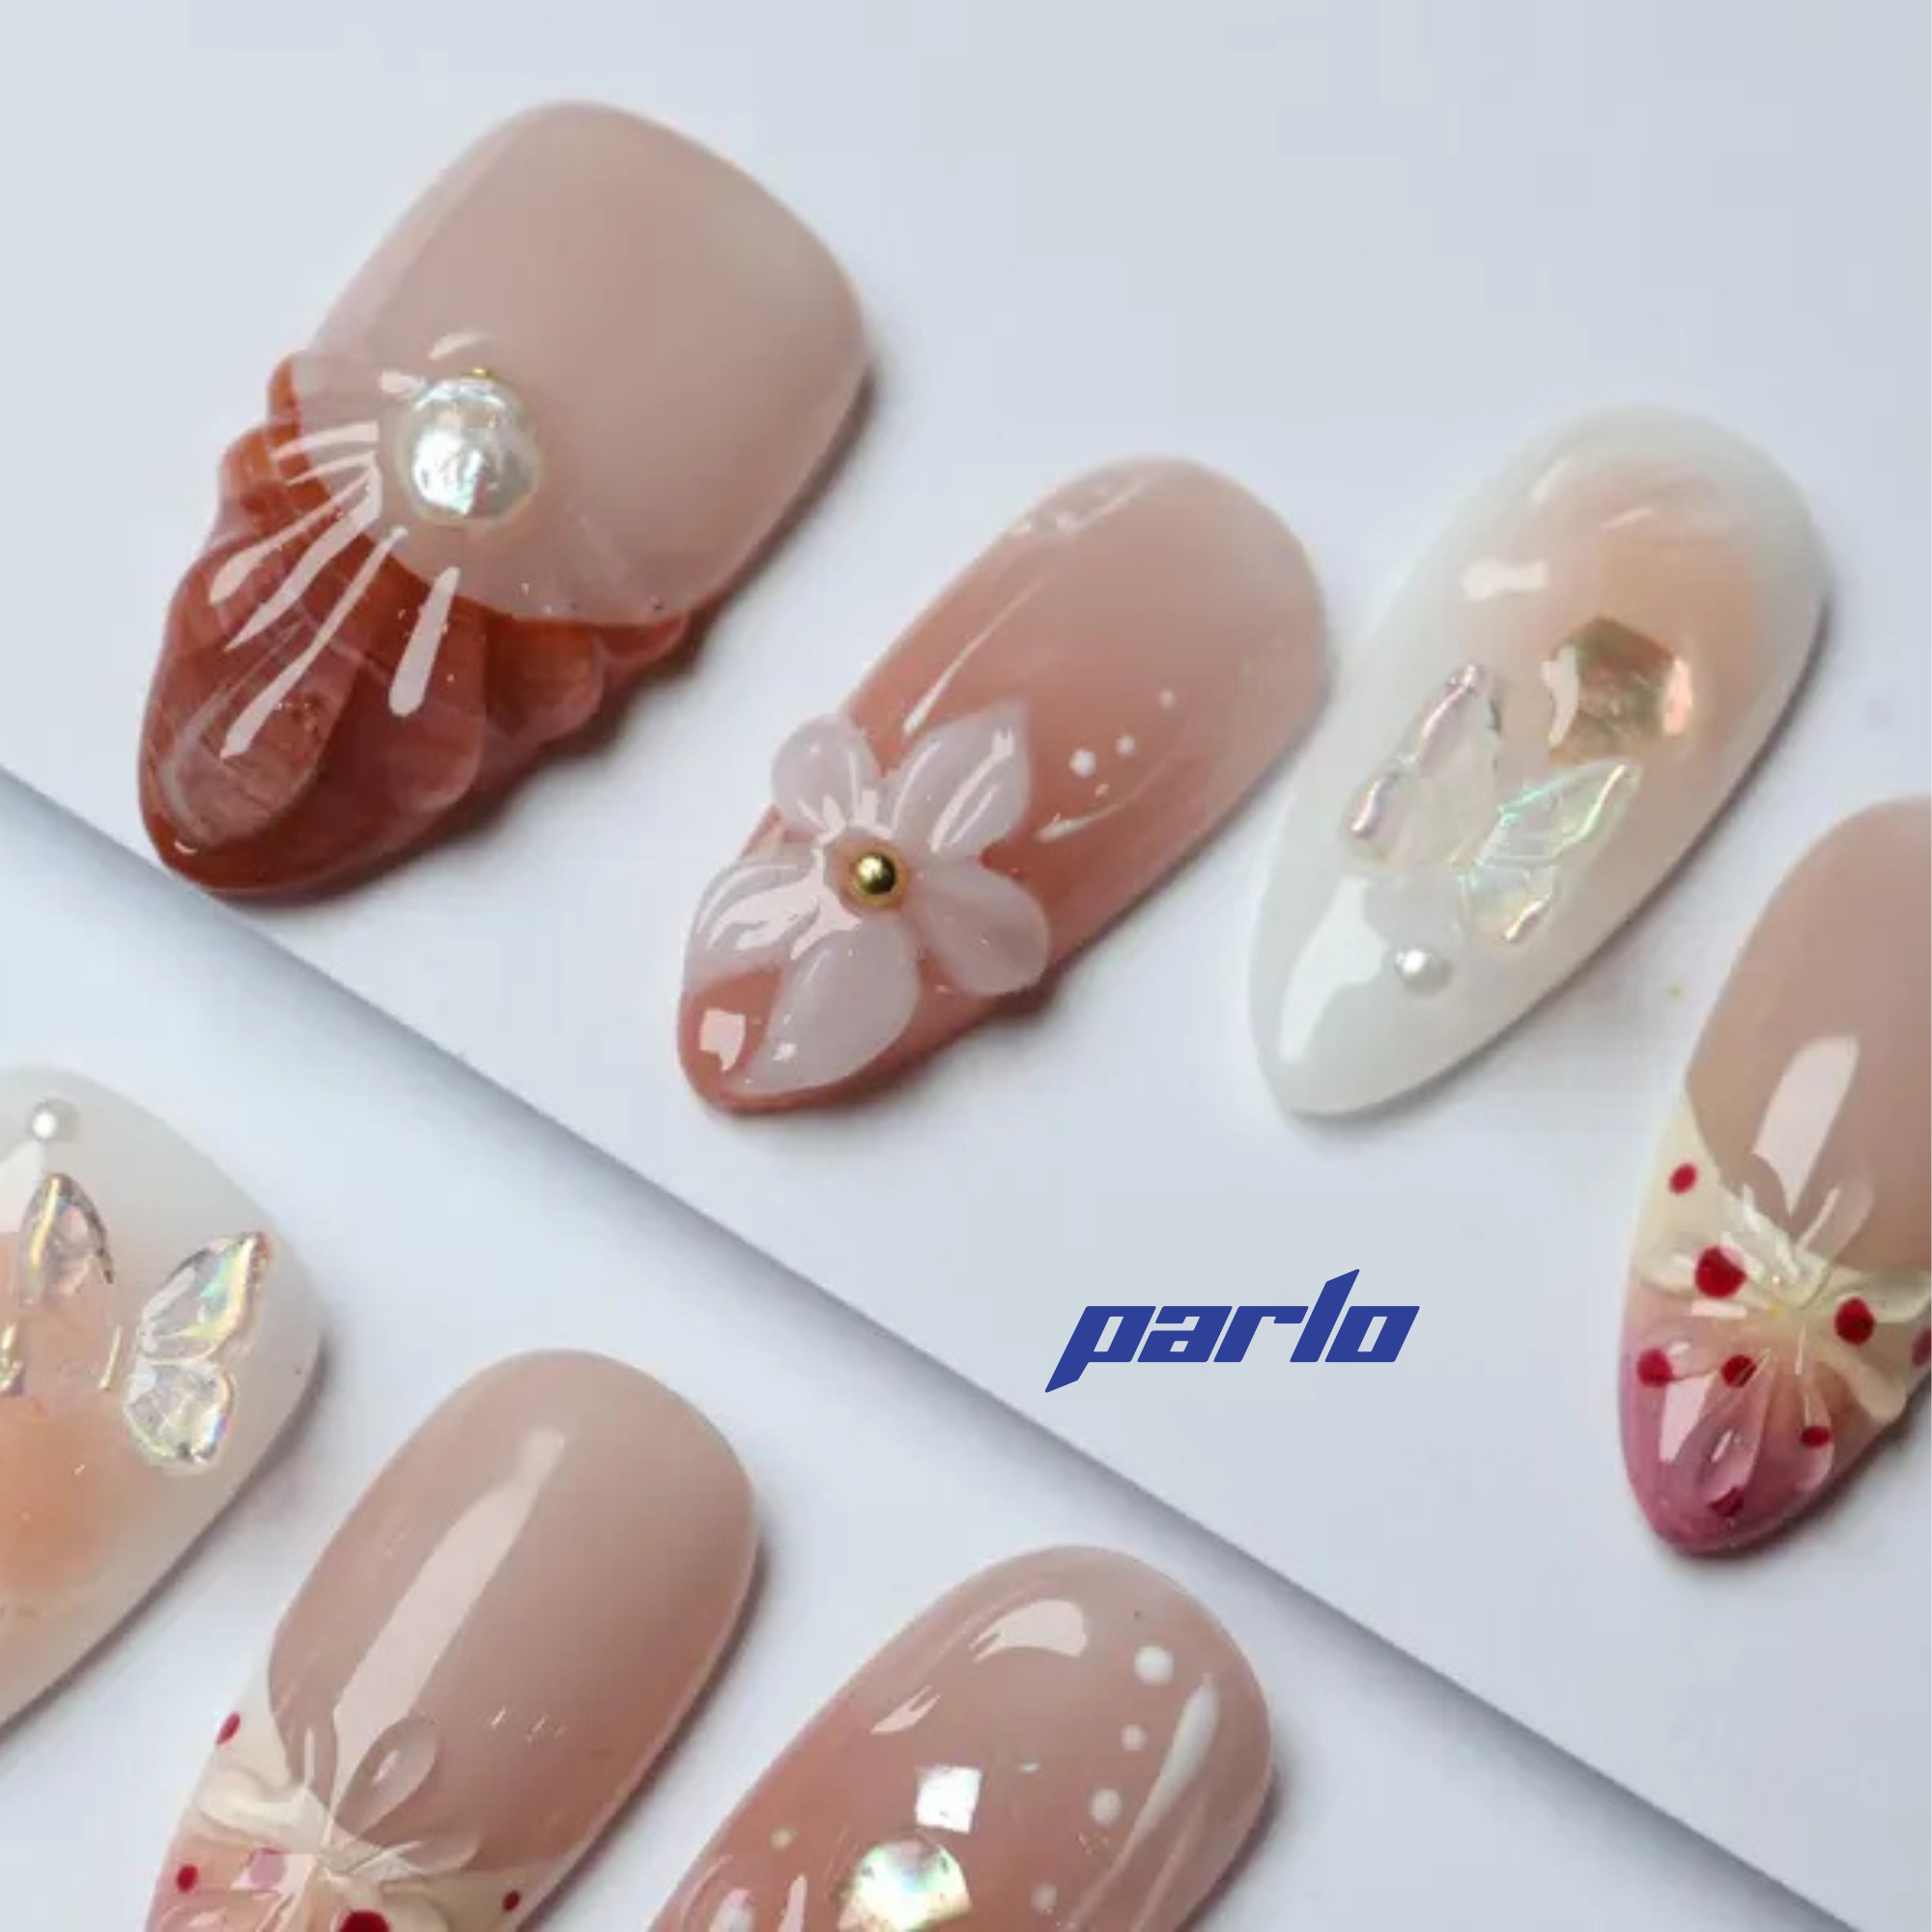
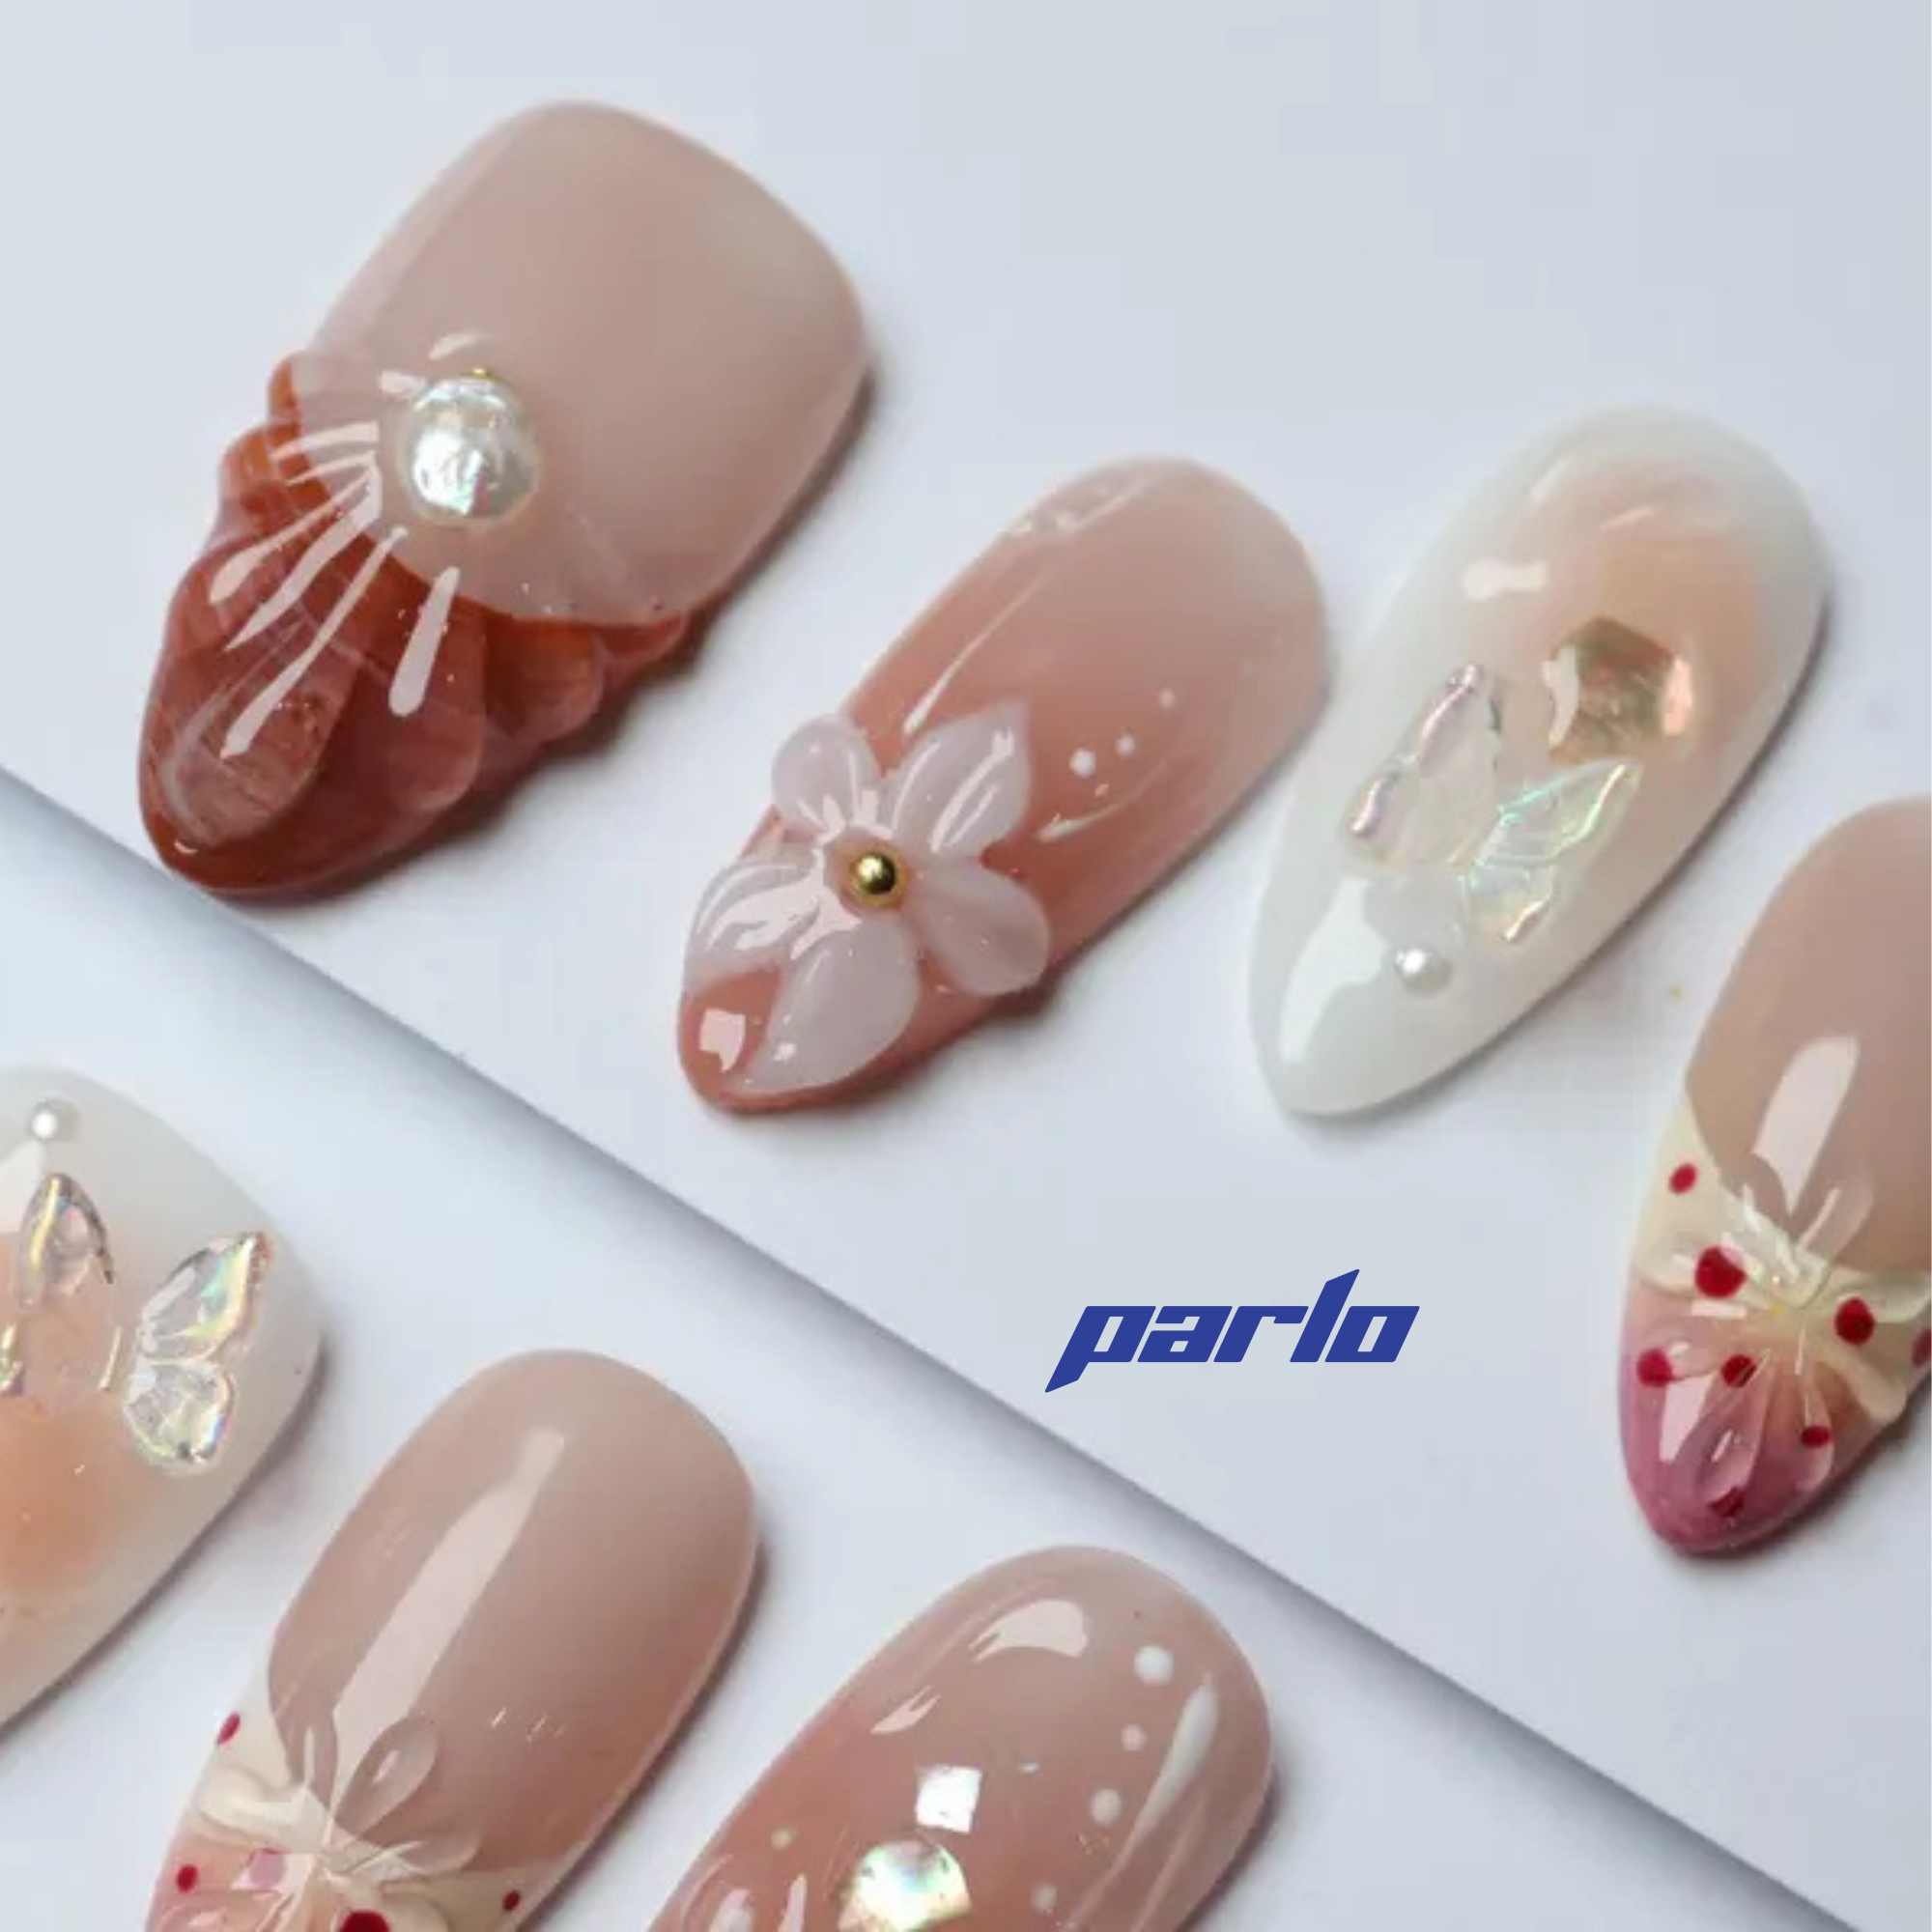
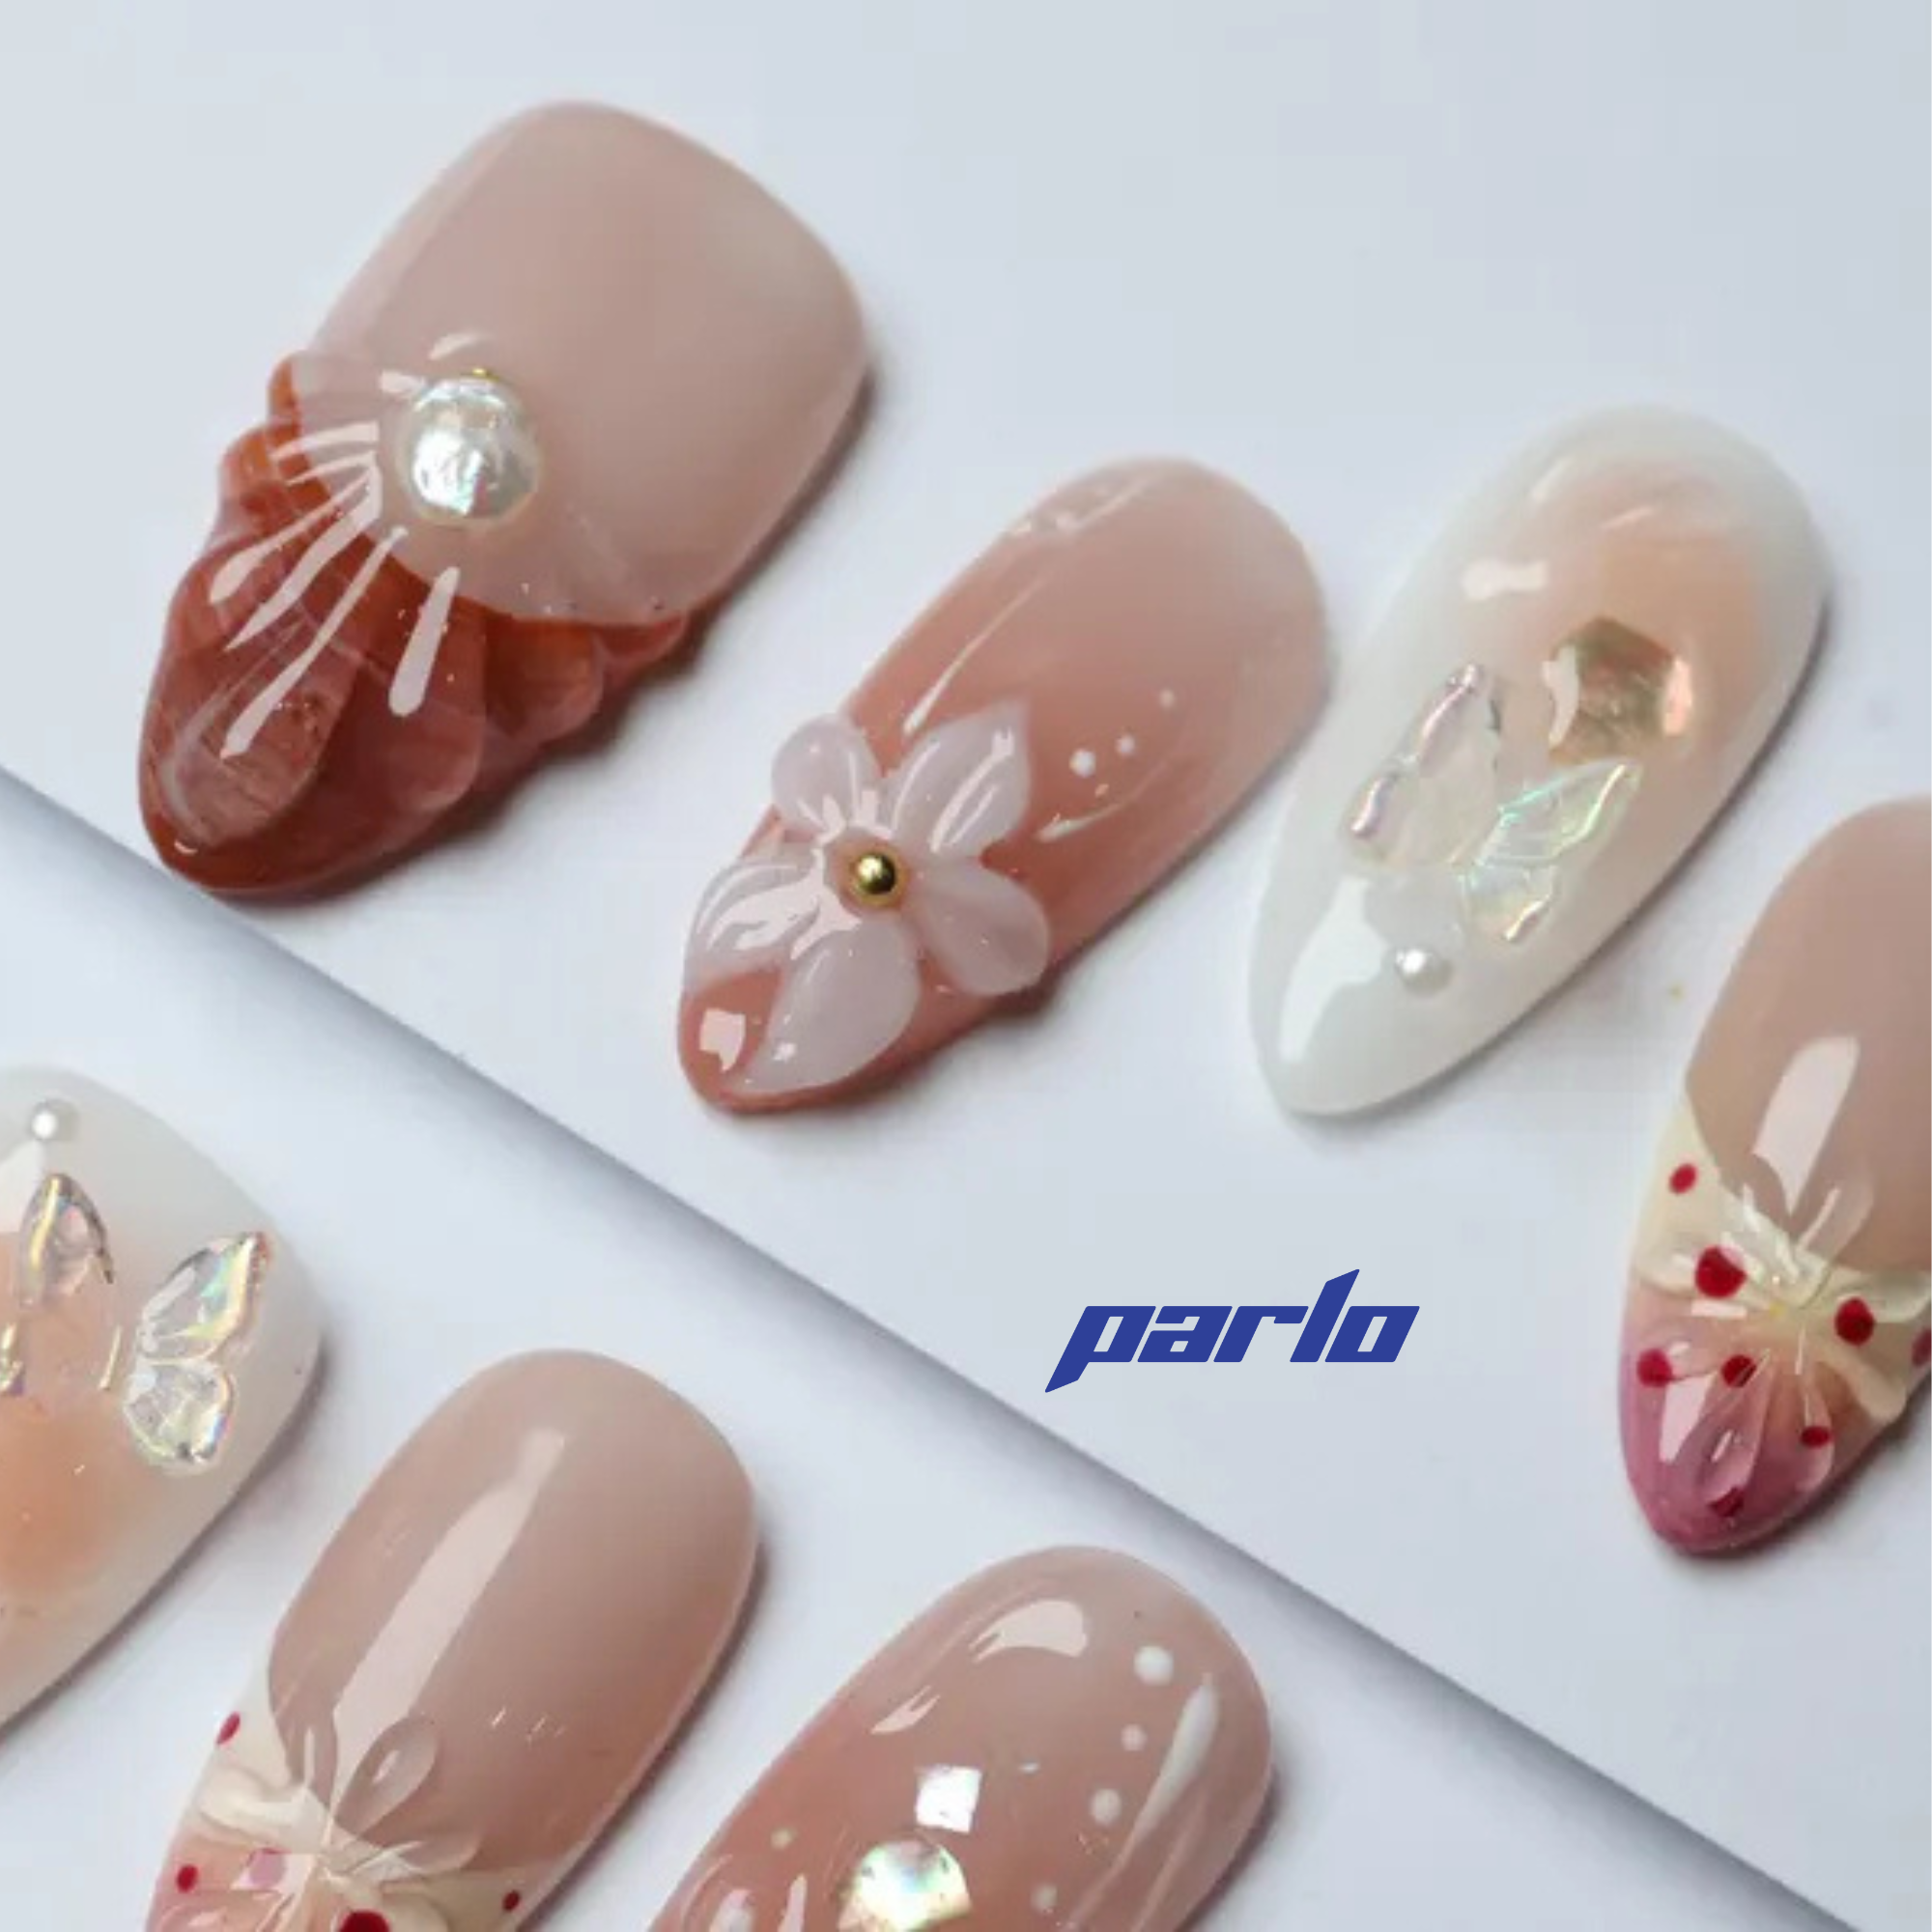
Having everything organized will make the process smoother and more enjoyable. Consider investing in high-quality powders and liquids for the best results. For a fun and unique look, you could even try press-on nails! Check out this product!
Step-by-Step: Applying Your Dip Powder Manicure
Now, let's get to the fun part! Follow these steps carefully for a flawless dip powder application:
- Prep Your Nails: Start by gently pushing back your cuticles with a cuticle pusher. File and shape your nails to your desired length and shape. Buff the surface of your nails to create a slightly rough texture for better adhesion.
- Apply Base Coat: Apply a thin, even layer of base coat to one nail at a time. Work quickly, as the base coat dries fast.
- Dip into Powder: Immediately dip your nail into the dip powder at a 45-degree angle. Gently tap off any excess powder.
- Repeat Dipping: Repeat steps 2 and 3 for each nail, applying two to three layers of dip powder for full coverage.
- Apply Activator: Once all layers are applied, brush on a generous coat of activator to all nails. Wait 1-2 minutes for the activator to dry and harden the powder.
- File and Buff: Use a nail file to smooth any imperfections and refine the shape of your nails. Then, use a buffer to create a smooth, even surface.
- Apply Second Coat of Activator: Apply another coat of activator and wait 1-2 minutes.
- Apply Top Coat: Finish with two thin coats of top coat, allowing each coat to dry completely before applying the next. This will seal in the color and create a glossy finish.
Tips and Tricks for a Perfect Dip Manicure
Here are some helpful tips to ensure your dip manicure lasts and looks its best:
- Apply thin layers: Applying thin layers of dip powder will prevent your nails from looking bulky and unnatural.
- Tap off excess powder: Always tap off excess powder after each dip to avoid clumping and unevenness.
- Clean your brush frequently: Use brush saver to clean your base coat and top coat brushes after each use to prevent them from hardening.
- Avoid getting product on your skin: If you accidentally get dip powder or liquid on your skin, clean it off immediately with a cotton swab dipped in acetone.
Troubleshooting Common Dip Nail Problems
Even with careful application, you might encounter some common issues. Here's how to fix them:
- Lifting: Ensure your nails are properly prepped and that you are applying thin, even layers.
- Chipping: Apply a generous coat of top coat and reapply every few days to protect your manicure.
- Uneven Texture: Buff your nails thoroughly after applying the activator to create a smooth surface.
Experiment with Colors and Designs
Dip powder manicures offer endless possibilities for creativity. Experiment with different colors, glitters, and designs to create unique and personalized looks. Consider using stencils or nail art brushes to add intricate details. If you're looking for inspiration, Check out this product! for a beautiful color!
Don't be afraid to try new things and have fun with your DIY dip nail journey! You can also explore other nail trends. Read more about the latest nail trends here.
Conclusion: Enjoy Your Salon-Worthy Dip Nails at Home
With a little practice and patience, you can easily master the art of dip powder manicures at home. Save money, express your creativity, and enjoy beautiful, long-lasting nails. So, gather your supplies, follow these steps, and get ready to flaunt your stunning DIY dip nails!
Ready to elevate your nail game? Explore our collection of dip powders and nail accessories to find everything you need for your next manicure!
Generated from keyword: "How to Do Dip Nails at Home"


