
How to Prep, Size & Apply Nail Tips: A Step-by-Step Guide
Achieving salon-worthy nails at home is easier than you think! With the right nail tips and techniques, you can create stunning manicures without breaking the bank. This comprehensive guide will walk you through every step, from prepping your natural nails to applying and shaping your new tips. Let's get started!
Step 1: Nail Prep - The Foundation for Success
Proper nail preparation is crucial for ensuring your nail tips adhere correctly and last longer. Begin by removing any existing nail polish with a non-acetone remover. Next, gently push back your cuticles using a cuticle pusher. Be careful not to damage the delicate skin around your nails.
Now, gently buff the surface of your natural nails to remove any shine. This creates a slightly rough texture that will help the nail tips adhere better. Finally, cleanse your nails with alcohol to remove any dust or oils. This ensures a clean surface for application.
Step 2: Sizing Your Nail Tips - Finding the Perfect Fit
Selecting the correct size nail tips is essential for a natural and comfortable fit. Each nail tip should cover your natural nail from side wall to side wall without overlapping onto the skin. If the nail tip is too small, it will look unnatural and may not adhere properly. If it's too large, it will be uncomfortable and could cause lifting.
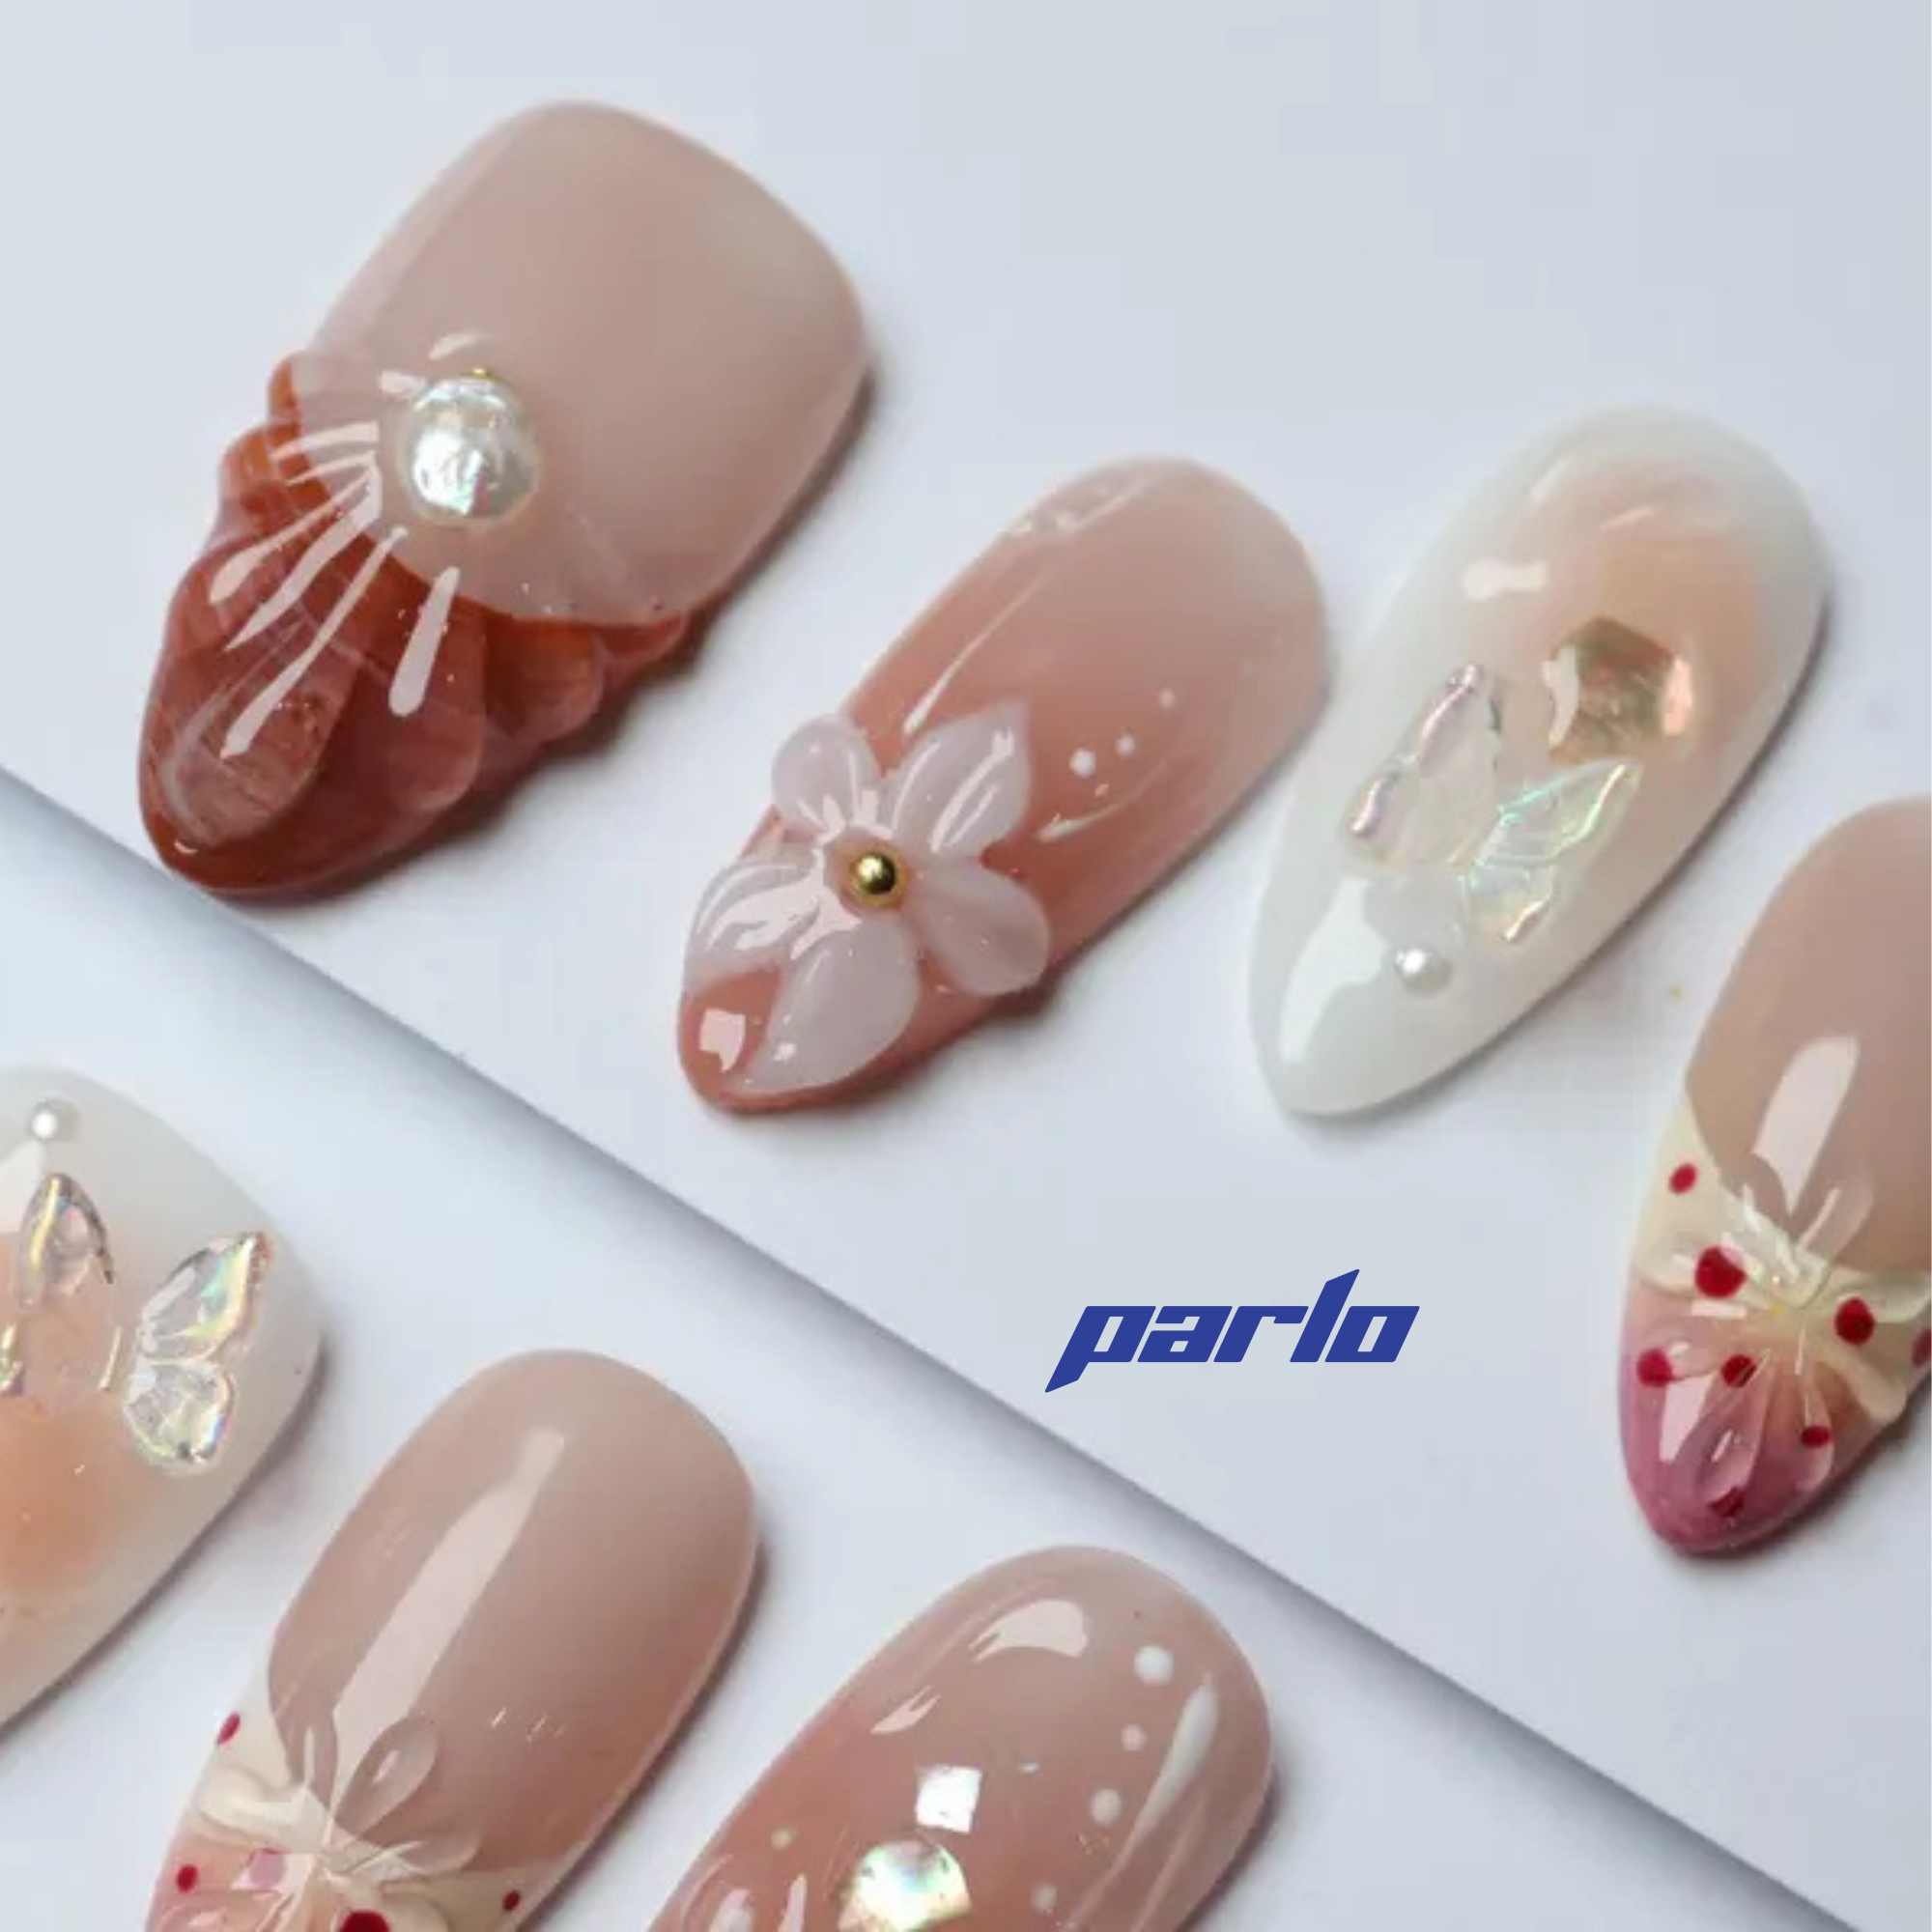
Most nail tip sets come in a range of sizes. Start by trying different sizes on each finger to find the best match. If you're between sizes, it's generally better to choose a slightly larger size and file it down to fit. For a quick and easy solution, consider press-on nails! Check out these stunning 3D floral press-ons!

Step 3: Applying the Nail Tips - Adhesion is Key
Now that your nails are prepped and your tips are sized, it's time to apply them. Apply a small amount of nail glue to the well of the nail tip (the indented area that sits on your natural nail). Avoid using too much glue, as it can seep out and cause a mess.
Carefully align the nail tip with your natural nail and gently press it down, starting from the cuticle area and working your way towards the free edge. Hold the tip in place for about 10-15 seconds to allow the glue to set. Repeat this process for each nail. If you are looking for a more temporary solution, consider trying press-ons like the Aloha Acai press-on nails!

Step 4: Shaping and Blending - Creating a Seamless Look
Once all the nail tips are applied, it's time to shape and blend them. Use a nail clipper to trim the tips to your desired length. Then, use a nail file to shape the edges and create a smooth, even surface.
To blend the nail tips with your natural nails, use a medium-grit file to gently file down the transition line. Be careful not to file too much, as this can damage your natural nails. You can also use an electric file for a more precise and efficient blending process.
Step 5: Finishing Touches - Polish and Protection
After shaping and blending, your nail tips are ready for polish! Apply a base coat to protect your natural nails and help the polish adhere better. Then, apply your desired nail polish color in thin, even coats. Finish with a top coat to seal in the color and add shine. Consider visiting our other blog post on nail art techniques for inspiration!
Congratulations! You've successfully prepped, sized, and applied nail tips. Enjoy your beautiful new manicure!
Ready to find your perfect set of press-on nails? Explore our collection of stylish press-on nails today!
Generated from keyword: "How to Prep, Size, and Apply Nail Tips"