
How to Take Nail Pictures Like a Pro
In the age of social media, showcasing your stunning manicure is a must! Whether you're a nail artist, a salon owner, or simply someone who loves flaunting their fresh set, taking high-quality nail pictures is essential. But how do you capture that perfect shot? Don't worry; this step-by-step guide will teach you how to take nail pictures like a pro, turning your handiwork into captivating content.
1. Master the Art of Lighting
Lighting is arguably the most crucial element in photography. Natural light is your best friend! Position yourself near a window or in a well-lit outdoor area. Avoid direct sunlight, which can create harsh shadows and wash out the colors of your nails. Overcast days provide soft, diffused light that's ideal for capturing detail and true color representation. If natural light isn't available, invest in a softbox or ring light to mimic natural lighting conditions. Experiment with different angles to see how the light interacts with your nails and the background.
2. Find the Perfect Angle and Pose
The angle at which you photograph your nails can drastically impact the final result. Experiment with different hand positions and angles to find what works best for your nail shape and design. Try holding your hand in a relaxed, natural pose. Common poses include gently curving your fingers, holding a prop (like a flower or a cup of coffee), or simply resting your hand on a clean surface. Pay attention to the background and ensure it complements your nails without being distracting.
3. Choose a Flattering Background
A clean, uncluttered background is key to making your nails the star of the show. Opt for neutral colors like white, gray, or beige. You can use a piece of fabric, a marble tile, or even a simple sheet of paper. Avoid busy patterns or distracting elements that could take away from your manicure. Consider the overall aesthetic you're aiming for and choose a background that complements your style. Looking for some inspiration? Browse our latest blog post on nail art trends for background ideas!
4. Focus is Your Friend
Sharp focus is non-negotiable. Ensure your nails are crystal clear in the picture. Use your camera or phone's autofocus feature to lock onto your nails. If you're using a phone, tap on your nails on the screen to ensure they're the focal point. Consider using a macro lens attachment for your phone to capture even finer details. Blurry images are a no-go!
5. Edit Like a Pro
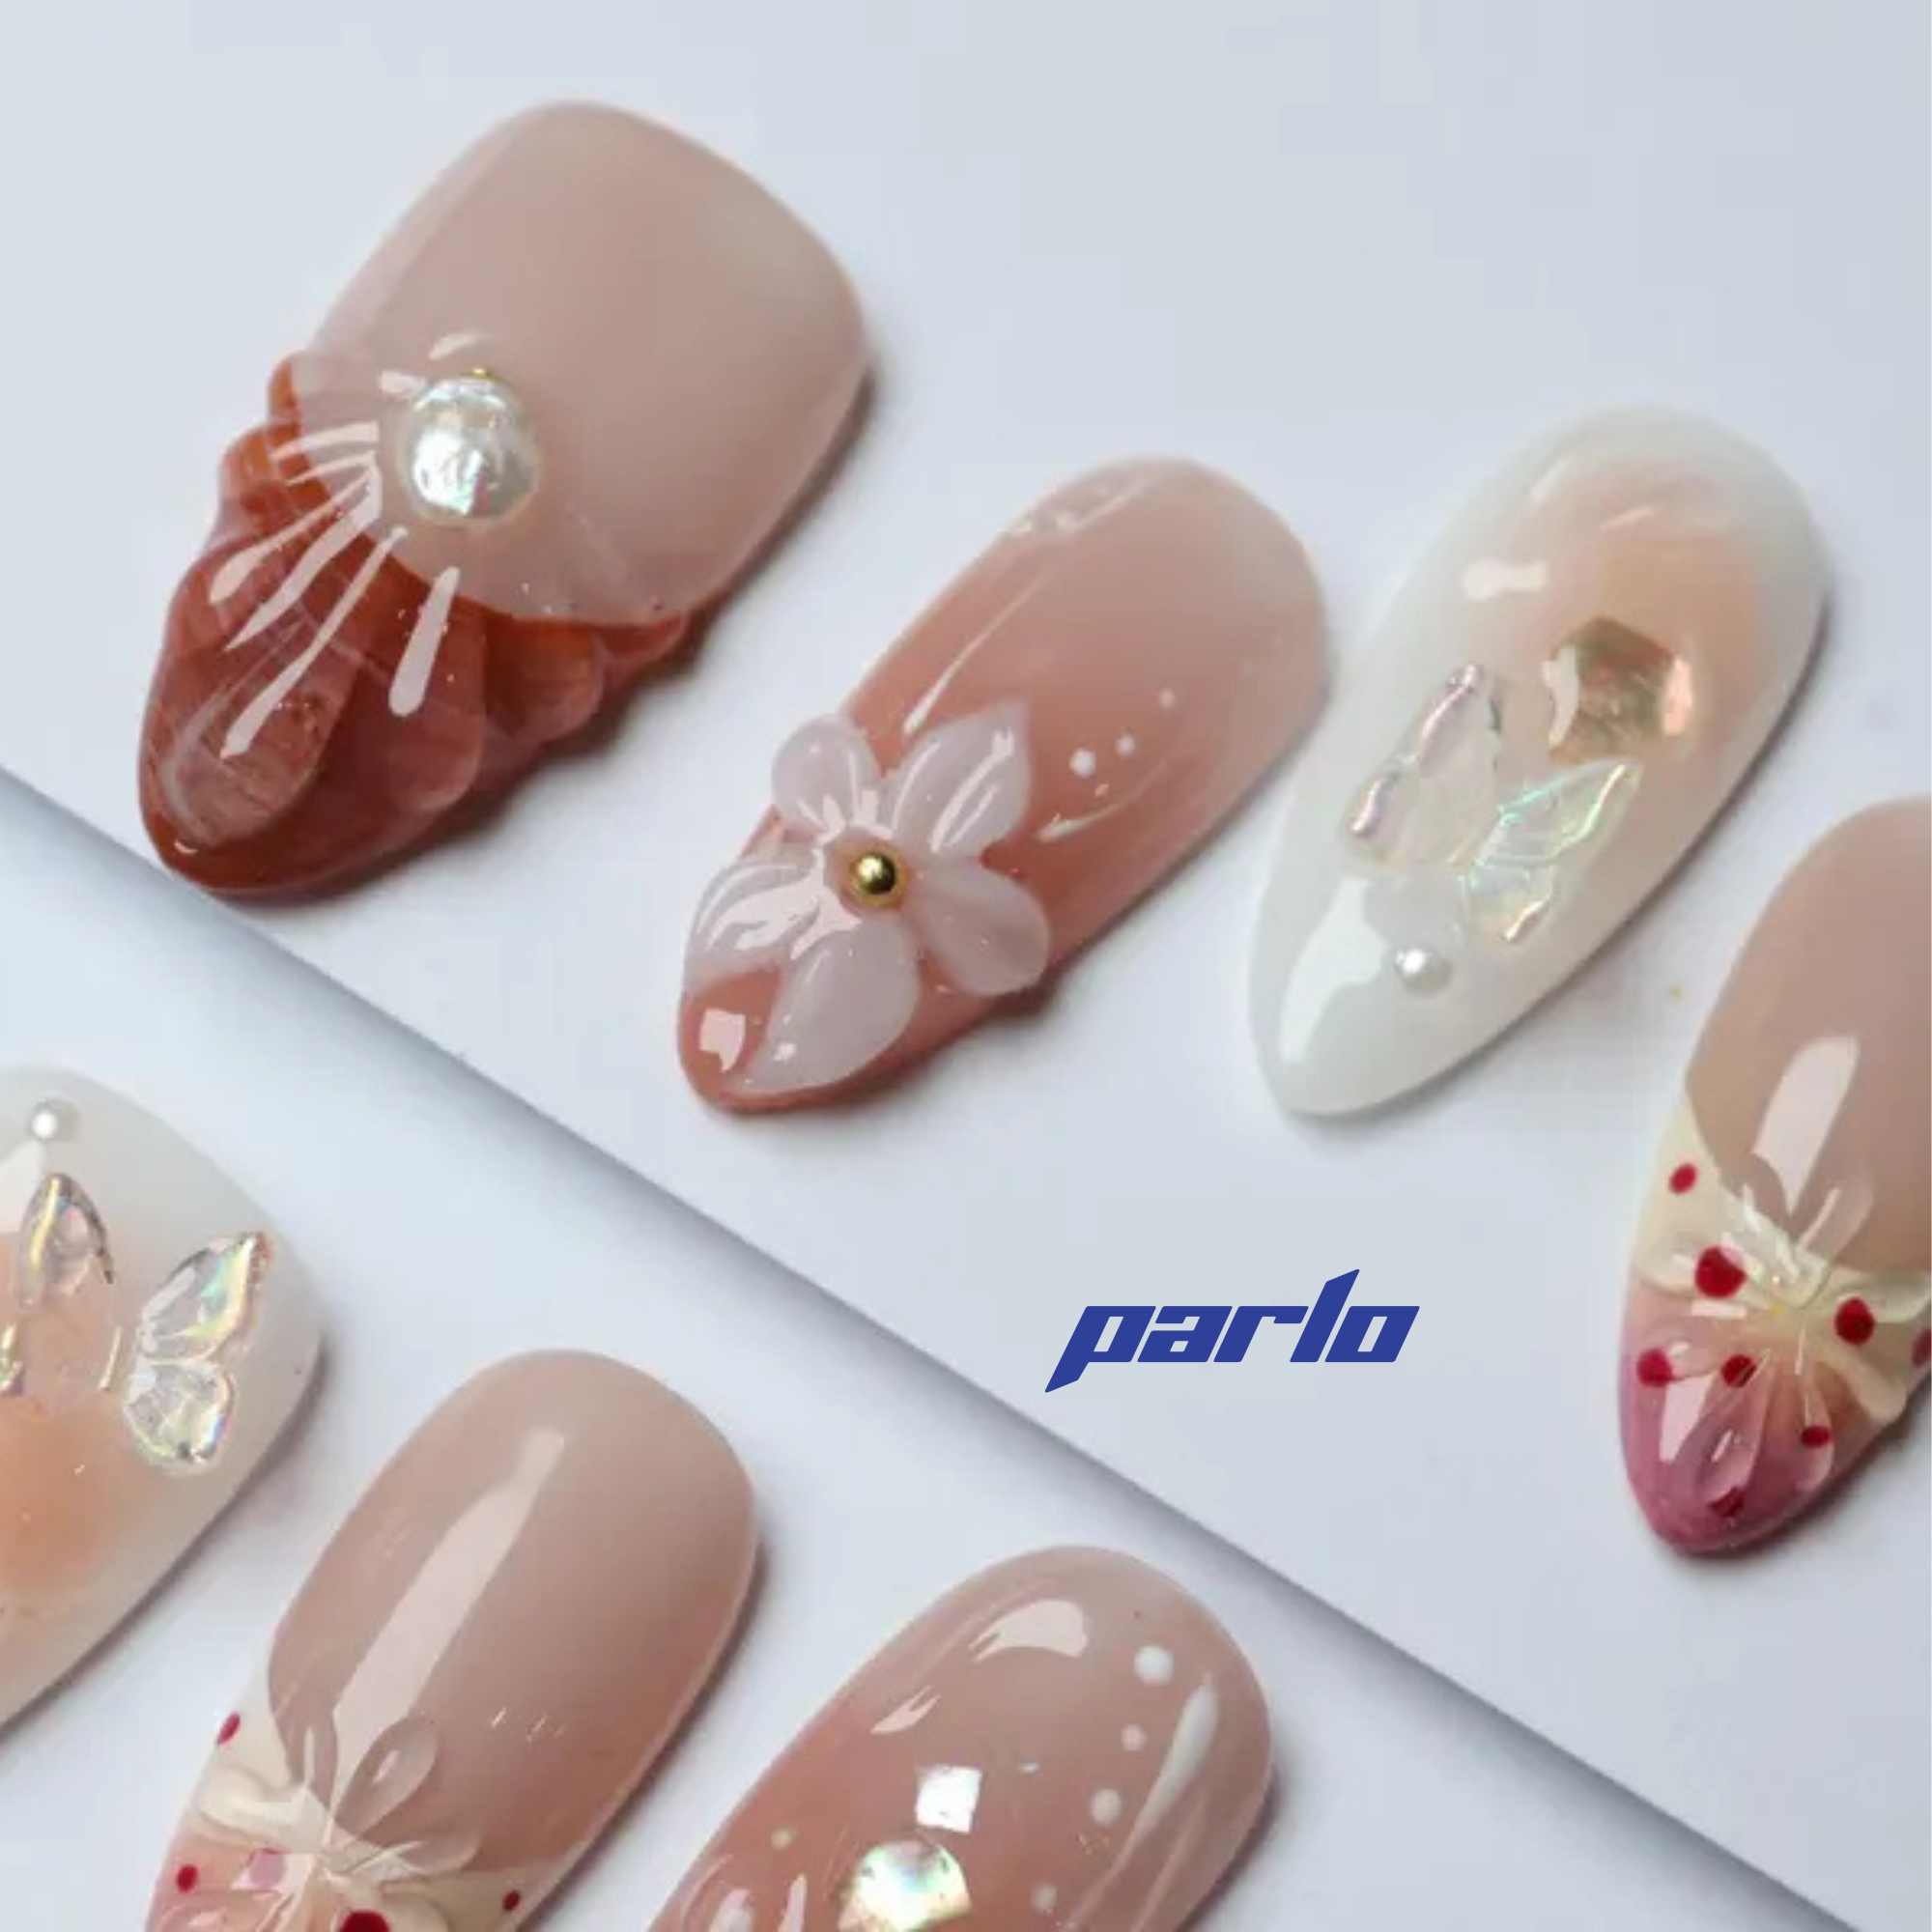
Even the best photos can benefit from a little editing. Use a photo editing app (like Snapseed, VSCO, or Adobe Lightroom) to adjust the brightness, contrast, and saturation. Be subtle with your edits to avoid making your nails look unnatural. Pay attention to color correction to ensure the colors in your photo are accurate. Crop the image to remove any distracting elements and focus on your nails. Speaking of stunning nails, check out these gorgeous 3D floral press-ons that are perfect for showing off!  Looking for something a little more vibrant? Aloha Acai might be the perfect set for you!
6. Consistent Style is Key
If you're using nail photos for your business, creating a consistent aesthetic is important. Use the same editing style and backgrounds across all your photos to create a cohesive look for your brand. This will make your photos more recognizable and appealing to your target audience.
Taking professional-looking nail pictures doesn't require expensive equipment or years of training. With a little practice and these tips, you can capture stunning photos that showcase your manicure and elevate your online presence.
Ready to show off your latest nail art? Explore our collection of press-on nails and find the perfect set to photograph!
Generated from keyword: "How to Take Nail Pictures Like a Pro"