
Kitty Sector 9 Manicure Tutorial: Unleash Your Inner Tech Goddess!
Ready to take your nail game to the next level? Inspired by the futuristic and edgy aesthetic of Kitty Sector 9, this manicure tutorial will guide you through creating a stunning, head-turning nail look. Whether you're a seasoned nail art pro or a complete beginner, this guide will provide you with the tips and tricks you need to achieve a salon-worthy manicure at home.
What is Kitty Sector 9 and Why is it Trending?
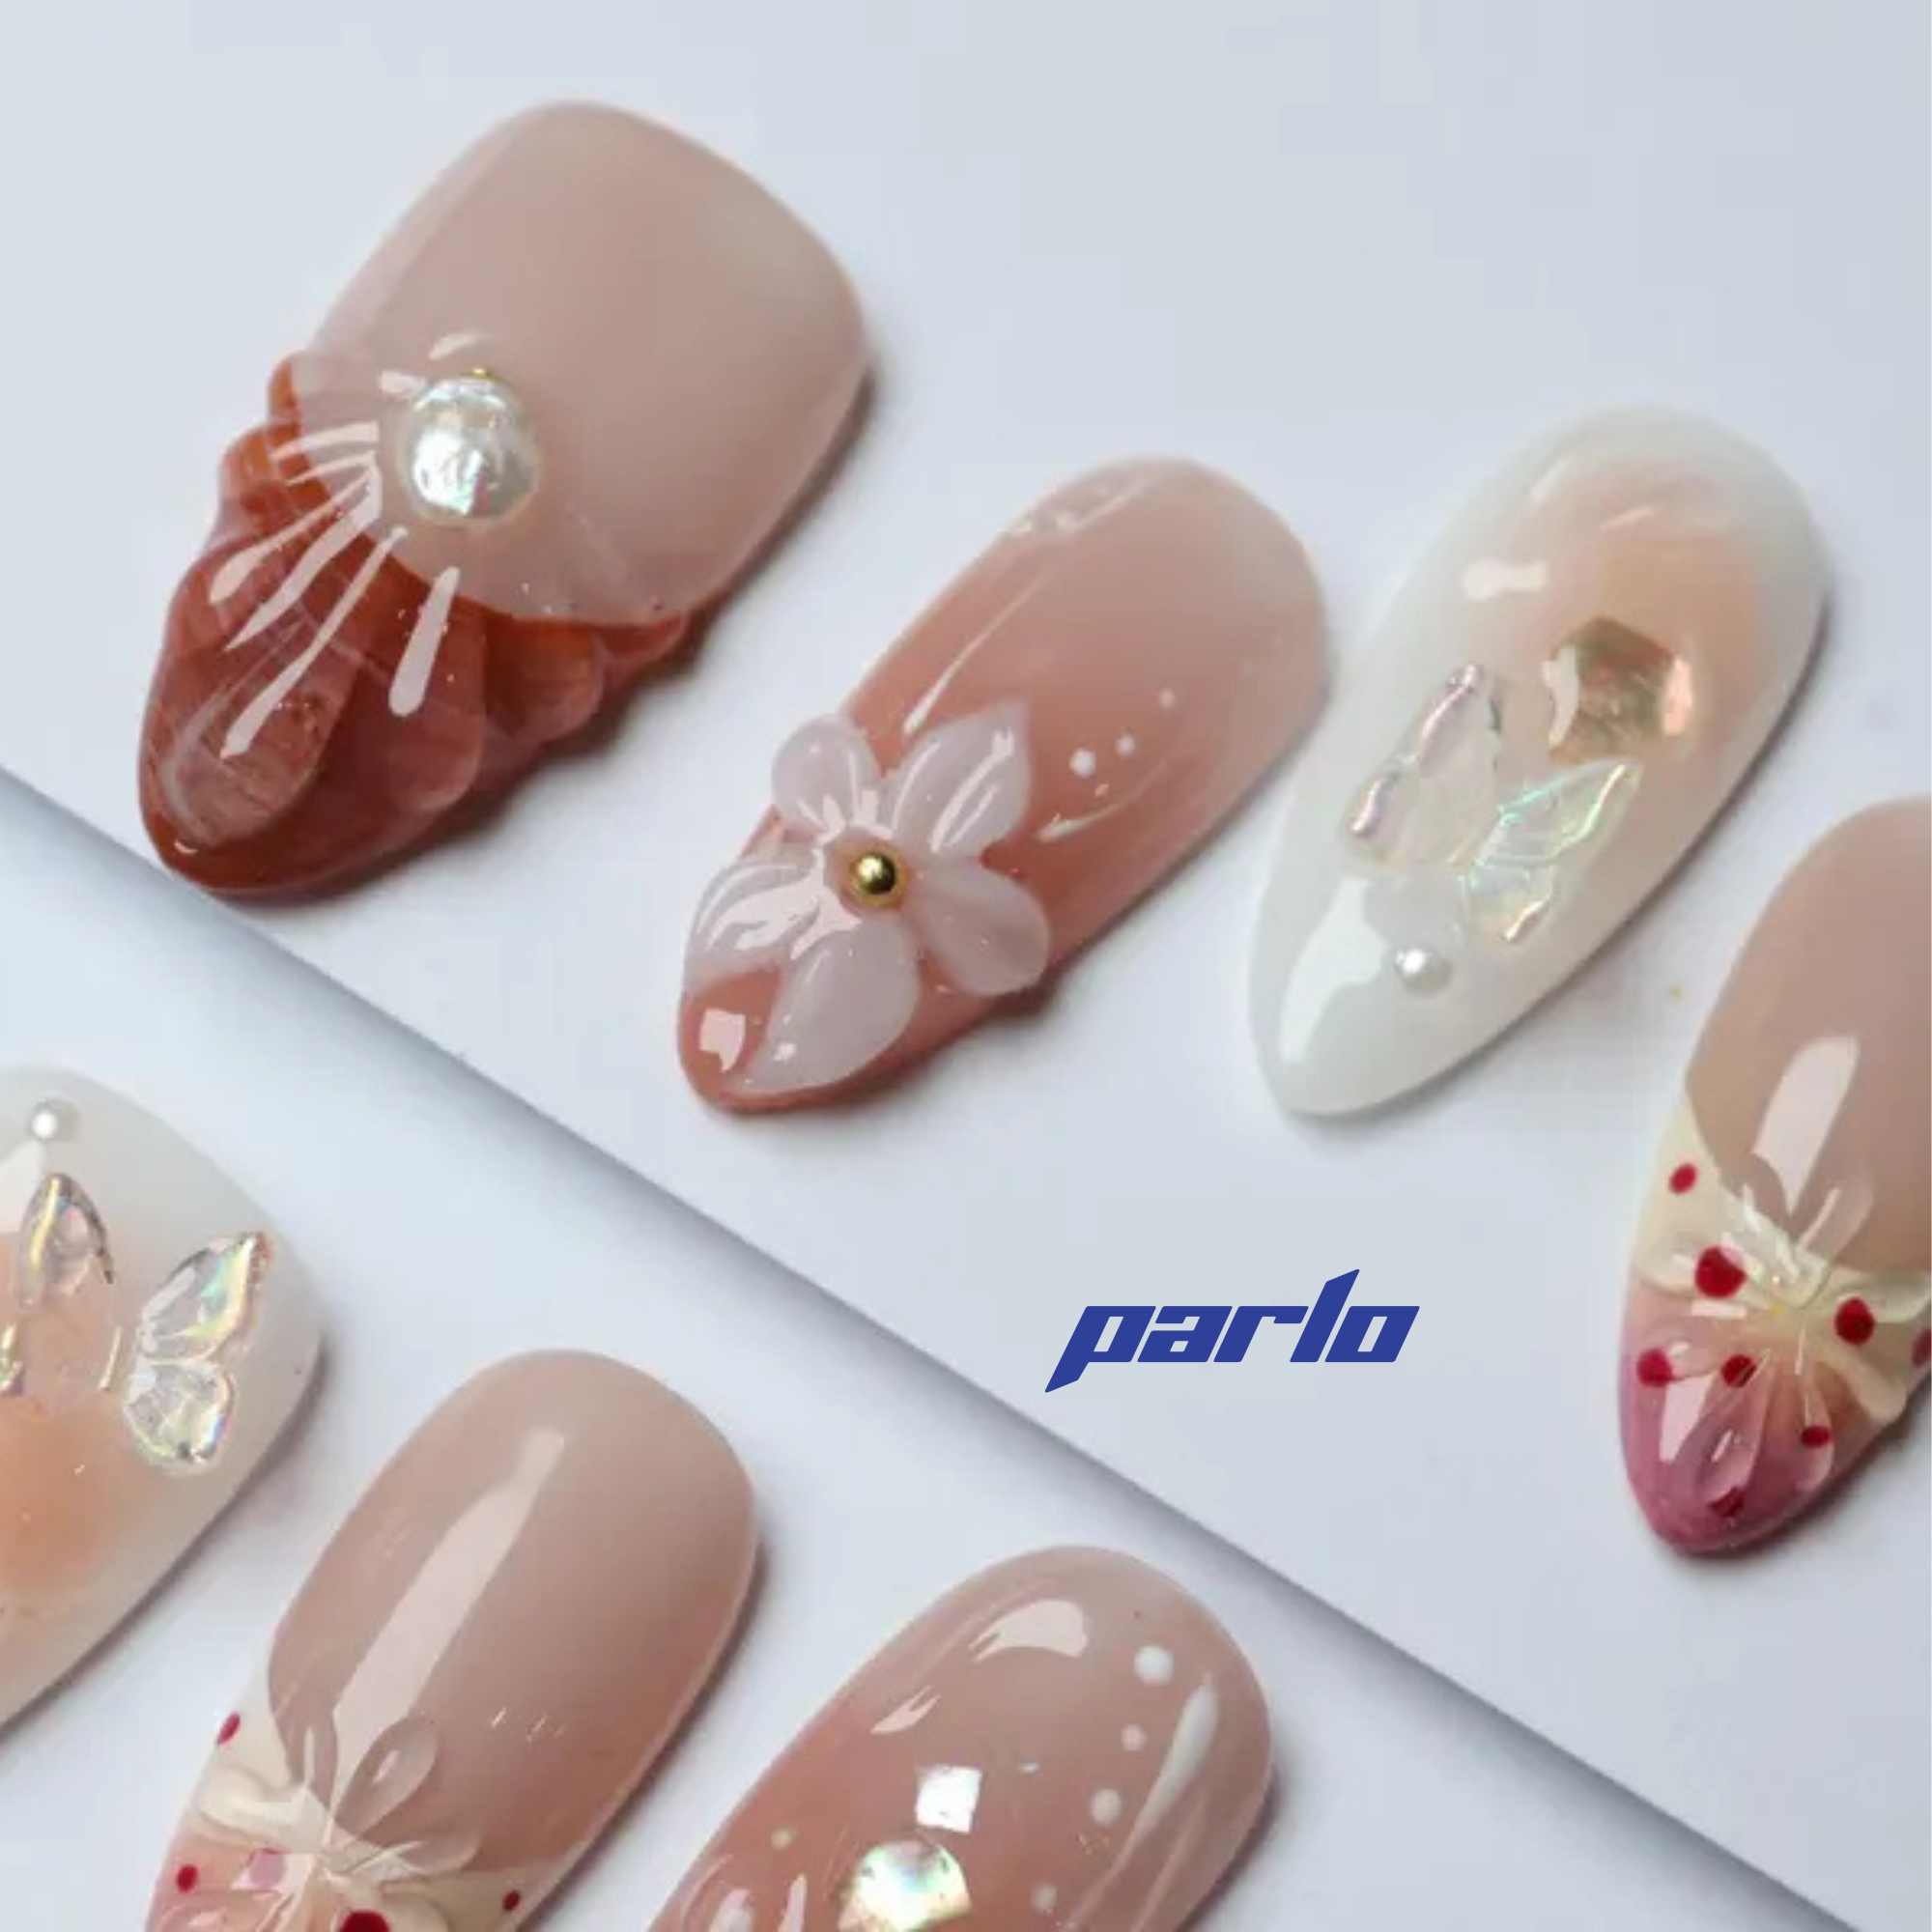
Kitty Sector 9 represents a fusion of cyberpunk, futuristic fashion, and a touch of feline grace. Think neon colors, geometric shapes, and a sleek, modern vibe. This aesthetic is incredibly popular right now, and translating it into a manicure is a fantastic way to express your unique style. Achieving this look doesn't require extensive artistic skills; it's all about understanding the key elements and using the right tools. One option to achieve a similar look quickly is with press-ons. Check out these press-ons for a quick and easy alternative!

Tools and Materials You'll Need
Before we dive into the tutorial, let's gather our supplies. You'll need:
- Base coat
- Nail polish in various colors (think black, silver, neon pink, electric blue)
- Thin nail art brushes
- Dotting tool (or toothpick)
- Nail art stickers or decals (optional)
- Top coat
- Nail polish remover and cotton swabs (for cleanup)
- A steady hand!
Step-by-Step Kitty Sector 9 Manicure Tutorial
- Prep Your Nails: Start by cleaning and shaping your nails. Apply a base coat to protect your natural nails and provide a smooth surface for the polish.
- Base Color: Apply 2 coats of your chosen base color. A dark color like black or a metallic silver works great to provide that futuristic foundation.
- Geometric Designs: Using thin nail art brushes and contrasting colors, create geometric shapes such as triangles, squares, and lines. Don't be afraid to experiment and get creative!
- Neon Accents: Add pops of neon colors with your dotting tool or nail art brush. Small dots or thin lines of neon pink, electric blue, or vibrant green can really make the design stand out.
- Stickers and Decals (Optional): If you're not confident with freehand drawing, use nail art stickers or decals to add intricate details. Cyberpunk-themed symbols or circuit board patterns work particularly well.
- Top Coat: Once your design is complete and dry, apply a generous layer of top coat to seal in the design and add shine.
- Clean Up: Use a cotton swab dipped in nail polish remover to clean up any mistakes or smudges around your nails.
Tips and Tricks for a Perfect Kitty Sector 9 Manicure
- Use striping tape to create clean, straight lines for your geometric designs.
- Experiment with different color combinations to find what you like best.
- Don't be afraid to layer different textures and finishes.
- Practice makes perfect! Don't get discouraged if your first attempt isn't perfect.
Looking for some inspiration? Consider using press-ons to get a unique look. Check out these press-ons for a quick and easy alternative!

Show Off Your Kitty Sector 9 Manicure!
Now that you've created your stunning Kitty Sector 9 manicure, it's time to show it off! Share your creations on social media using the hashtag #KittySector9Nails. We can't wait to see what you come up with!
Ready to explore more nail art options? Browse our latest collection of nail polishes and accessories!
Generated from keyword: "Kitty Sector 9 Manicure Tutorial"