
The Ultimate Guide to Creating Stunning Nail Art Gradients 💅✨
Nail art gradients, also known as ombre nails, are a beautiful and versatile way to express your creativity. They offer a seamless transition between colors, creating a mesmerizing effect that's surprisingly easy to achieve. Whether you're a beginner or a seasoned nail art enthusiast, this guide will provide you with everything you need to create flawless and stunning nail art gradients at home.
What You'll Need for Nail Art Gradients
Before you begin, gather your supplies. You'll need:
- Base coat
- Two or more nail polish colors
- A makeup sponge (wedge-shaped works best)
- A small dish or palette
- Top coat
- Nail polish remover
- Cotton swabs or a clean-up brush
Step-by-Step Guide to Gradient Nail Art
- Apply a Base Coat: This protects your nails and provides a smooth surface for the polish. Let it dry completely.
- Prepare Your Colors: On your dish or palette, apply a small amount of each nail polish color, side by side, slightly overlapping.
- Blend the Colors: Use a toothpick or a small brush to gently blend the colors where they meet, creating a smooth transition.
- Apply to the Sponge: Dab the makeup sponge onto the blended colors, ensuring the sponge is evenly coated.
- Dab onto Your Nail: Gently dab the sponge onto your nail, starting from the cuticle area and working your way to the tip. Repeat this process 2-3 times, re-applying polish to the sponge as needed, until you achieve your desired gradient effect. Don't worry about getting polish on your skin; we'll clean that up later.
- Clean Up: Use a cotton swab dipped in nail polish remover to clean up any excess polish around your nails. A small clean-up brush can also be helpful for more precise cleaning.
- Apply Top Coat: Once your gradient is dry, apply a generous layer of top coat to seal in the design and add shine. This will also help to smooth out any texture from the sponge.
Tips and Tricks for Perfect Gradients
- Choose Your Colors Wisely: For a subtle gradient, choose colors that are close in shade. For a bolder look, experiment with contrasting colors.
- Use a High-Quality Sponge: A fine-pored makeup sponge will give you the smoothest gradient.
- Don't Be Afraid to Experiment: Try different techniques, such as using multiple colors or adding glitter.
- Practice Makes Perfect: Don't get discouraged if your first attempt isn't perfect. Keep practicing, and you'll get the hang of it.
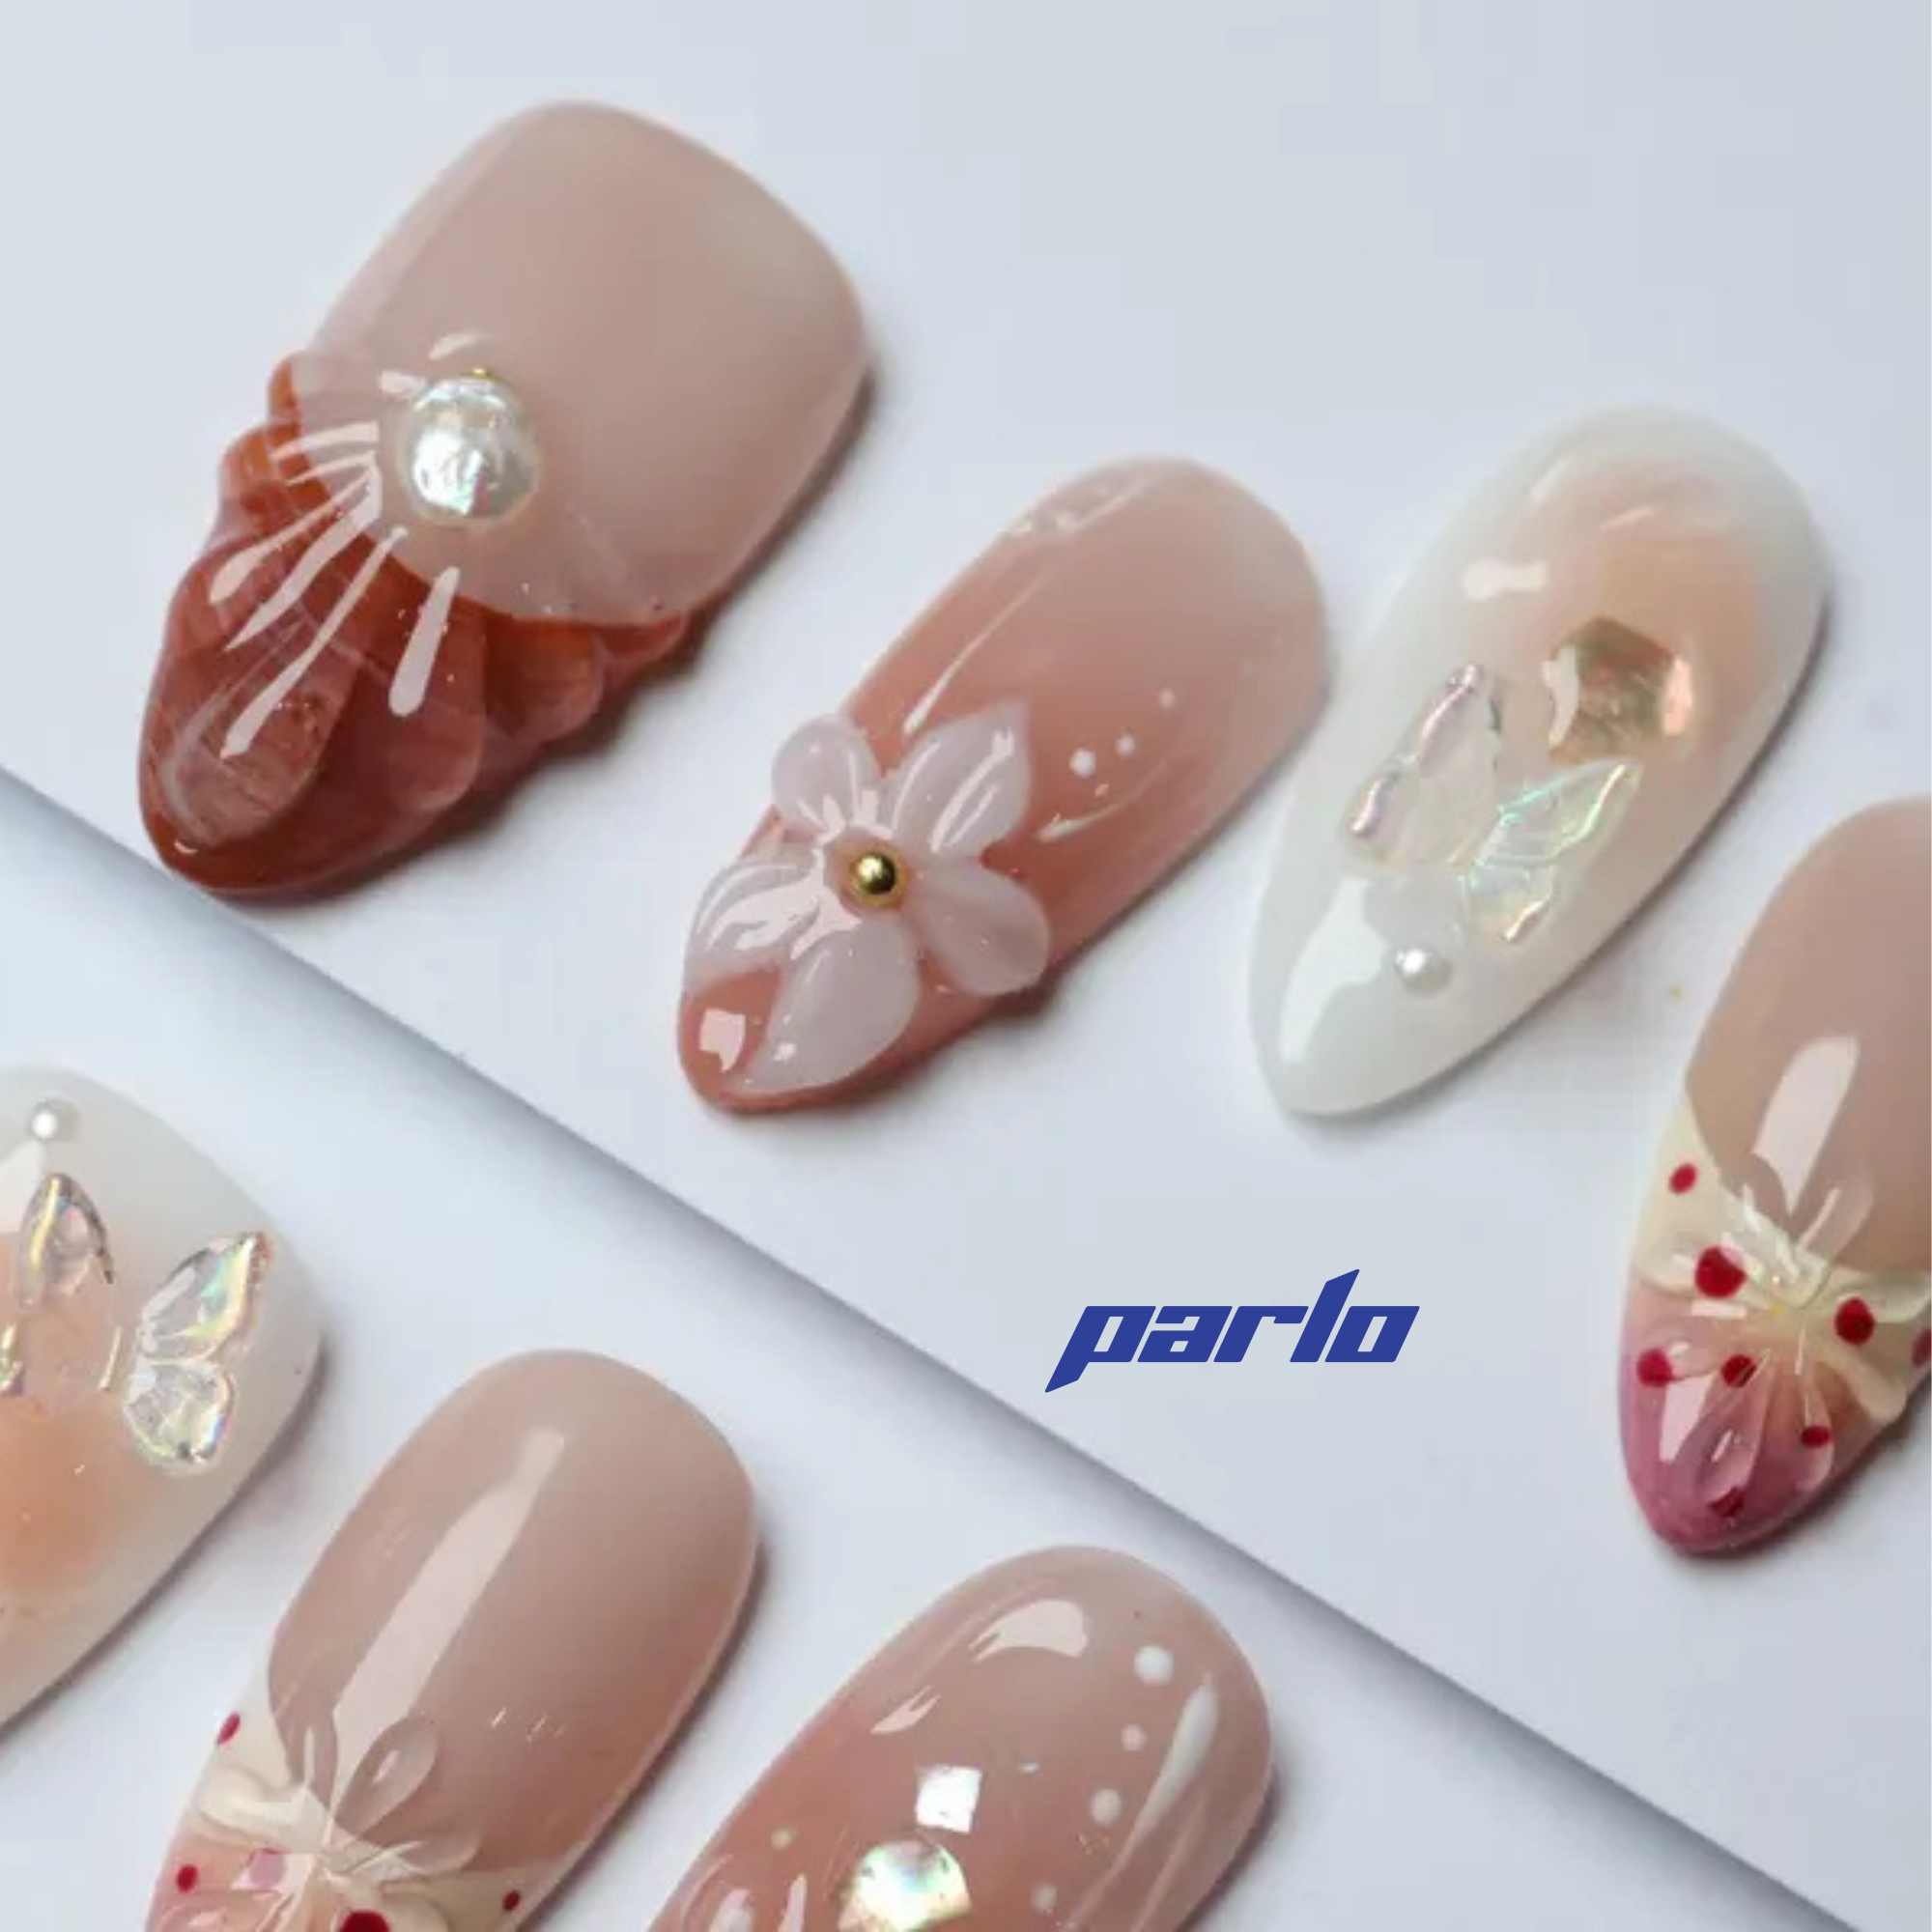
Elevate Your Gradient with Press-Ons
Want a stunning gradient effect without the mess and effort? Consider using press-on nails with pre-designed gradients! They offer a quick and easy way to achieve a salon-quality look in minutes. Plus, they are reusable!

For a beautiful floral design, check out these stunning 3D floral press-on nails!
Beyond the Basics: Creative Gradient Ideas
Once you've mastered the basic gradient technique, the possibilities are endless! Here are a few ideas to inspire you:
- Glitter Gradients: Add a touch of sparkle by applying glitter polish to the tip of your nail.
- Reverse Gradients: Create a gradient that fades from dark to light, instead of light to dark.
- Horizontal Gradients: Instead of a vertical gradient, create a horizontal one by blending colors across the nail.
- Ombre French Tips: Put a twist on the classic French manicure by creating an ombre effect on the tips of your nails.
Try Different Color Palettes
The colors you choose for your gradient can drastically change the overall look. Consider using pastel shades for a soft and dreamy effect, or opt for vibrant neons for a bold and playful design. Don't be afraid to experiment with unexpected color combinations!

For example, these Aloha Acai press-on nails offer a unique and eye-catching color palette for a gradient look.
Ready to create your own stunning nail art gradients? Explore our collection of nail polishes and accessories and get started today!
Generated from keyword: "The Ultimate Guide to Creating Stunning Nail Art Gradients 💅✨"