
A Step-by-Step Guide to Ombre Nails Using Dip Powder
Ombre nails are a beautiful and trendy nail art style that seamlessly blends two or more colors together. While it might seem intimidating, creating an ombre effect with dip powder is surprisingly easy and achievable at home. This step-by-step guide will walk you through the process, ensuring you get salon-worthy results without the salon price tag!
What You'll Need
Before you begin, gather your supplies. You'll need:
- Dip powder colors (at least two contrasting or complementary shades)
- Dip powder base coat
- Dip powder activator
- Dip powder top coat
- A soft brush
- A cuticle pusher
- A nail file and buffer
- Lint-free wipes
- Isopropyl alcohol
- A small, clean eyeshadow brush or sponge applicator
- Paper towels
Step 1: Prep Your Nails
Proper nail preparation is crucial for a long-lasting and flawless dip powder manicure. Start by gently pushing back your cuticles with a cuticle pusher. Then, file and buff your nails to your desired shape. Remove any shine from the nail surface with a buffer. Clean your nails thoroughly with a lint-free wipe soaked in isopropyl alcohol to remove any oils or residue.
Step 2: Apply Base Coat
Apply a thin, even layer of dip powder base coat to one nail at a time. Work quickly, as the base coat dries fast.
Step 3: First Dip – Base Color
Dip your entire nail into your chosen base color dip powder at a 45-degree angle. Tap off any excess powder gently. Repeat this step for all nails. For a bolder look, apply a second dip of the base color.
Step 4: Create the Ombre Effect
This is where the magic happens! Using a clean eyeshadow brush or sponge applicator, pick up a small amount of your second dip powder color. Gently dab the color onto the tip of your nail, focusing on the area where you want the ombre transition to occur. You can also use a small brush to lightly dust the second color onto the nail tip. Avoid harsh lines. The goal is a gradual fade.
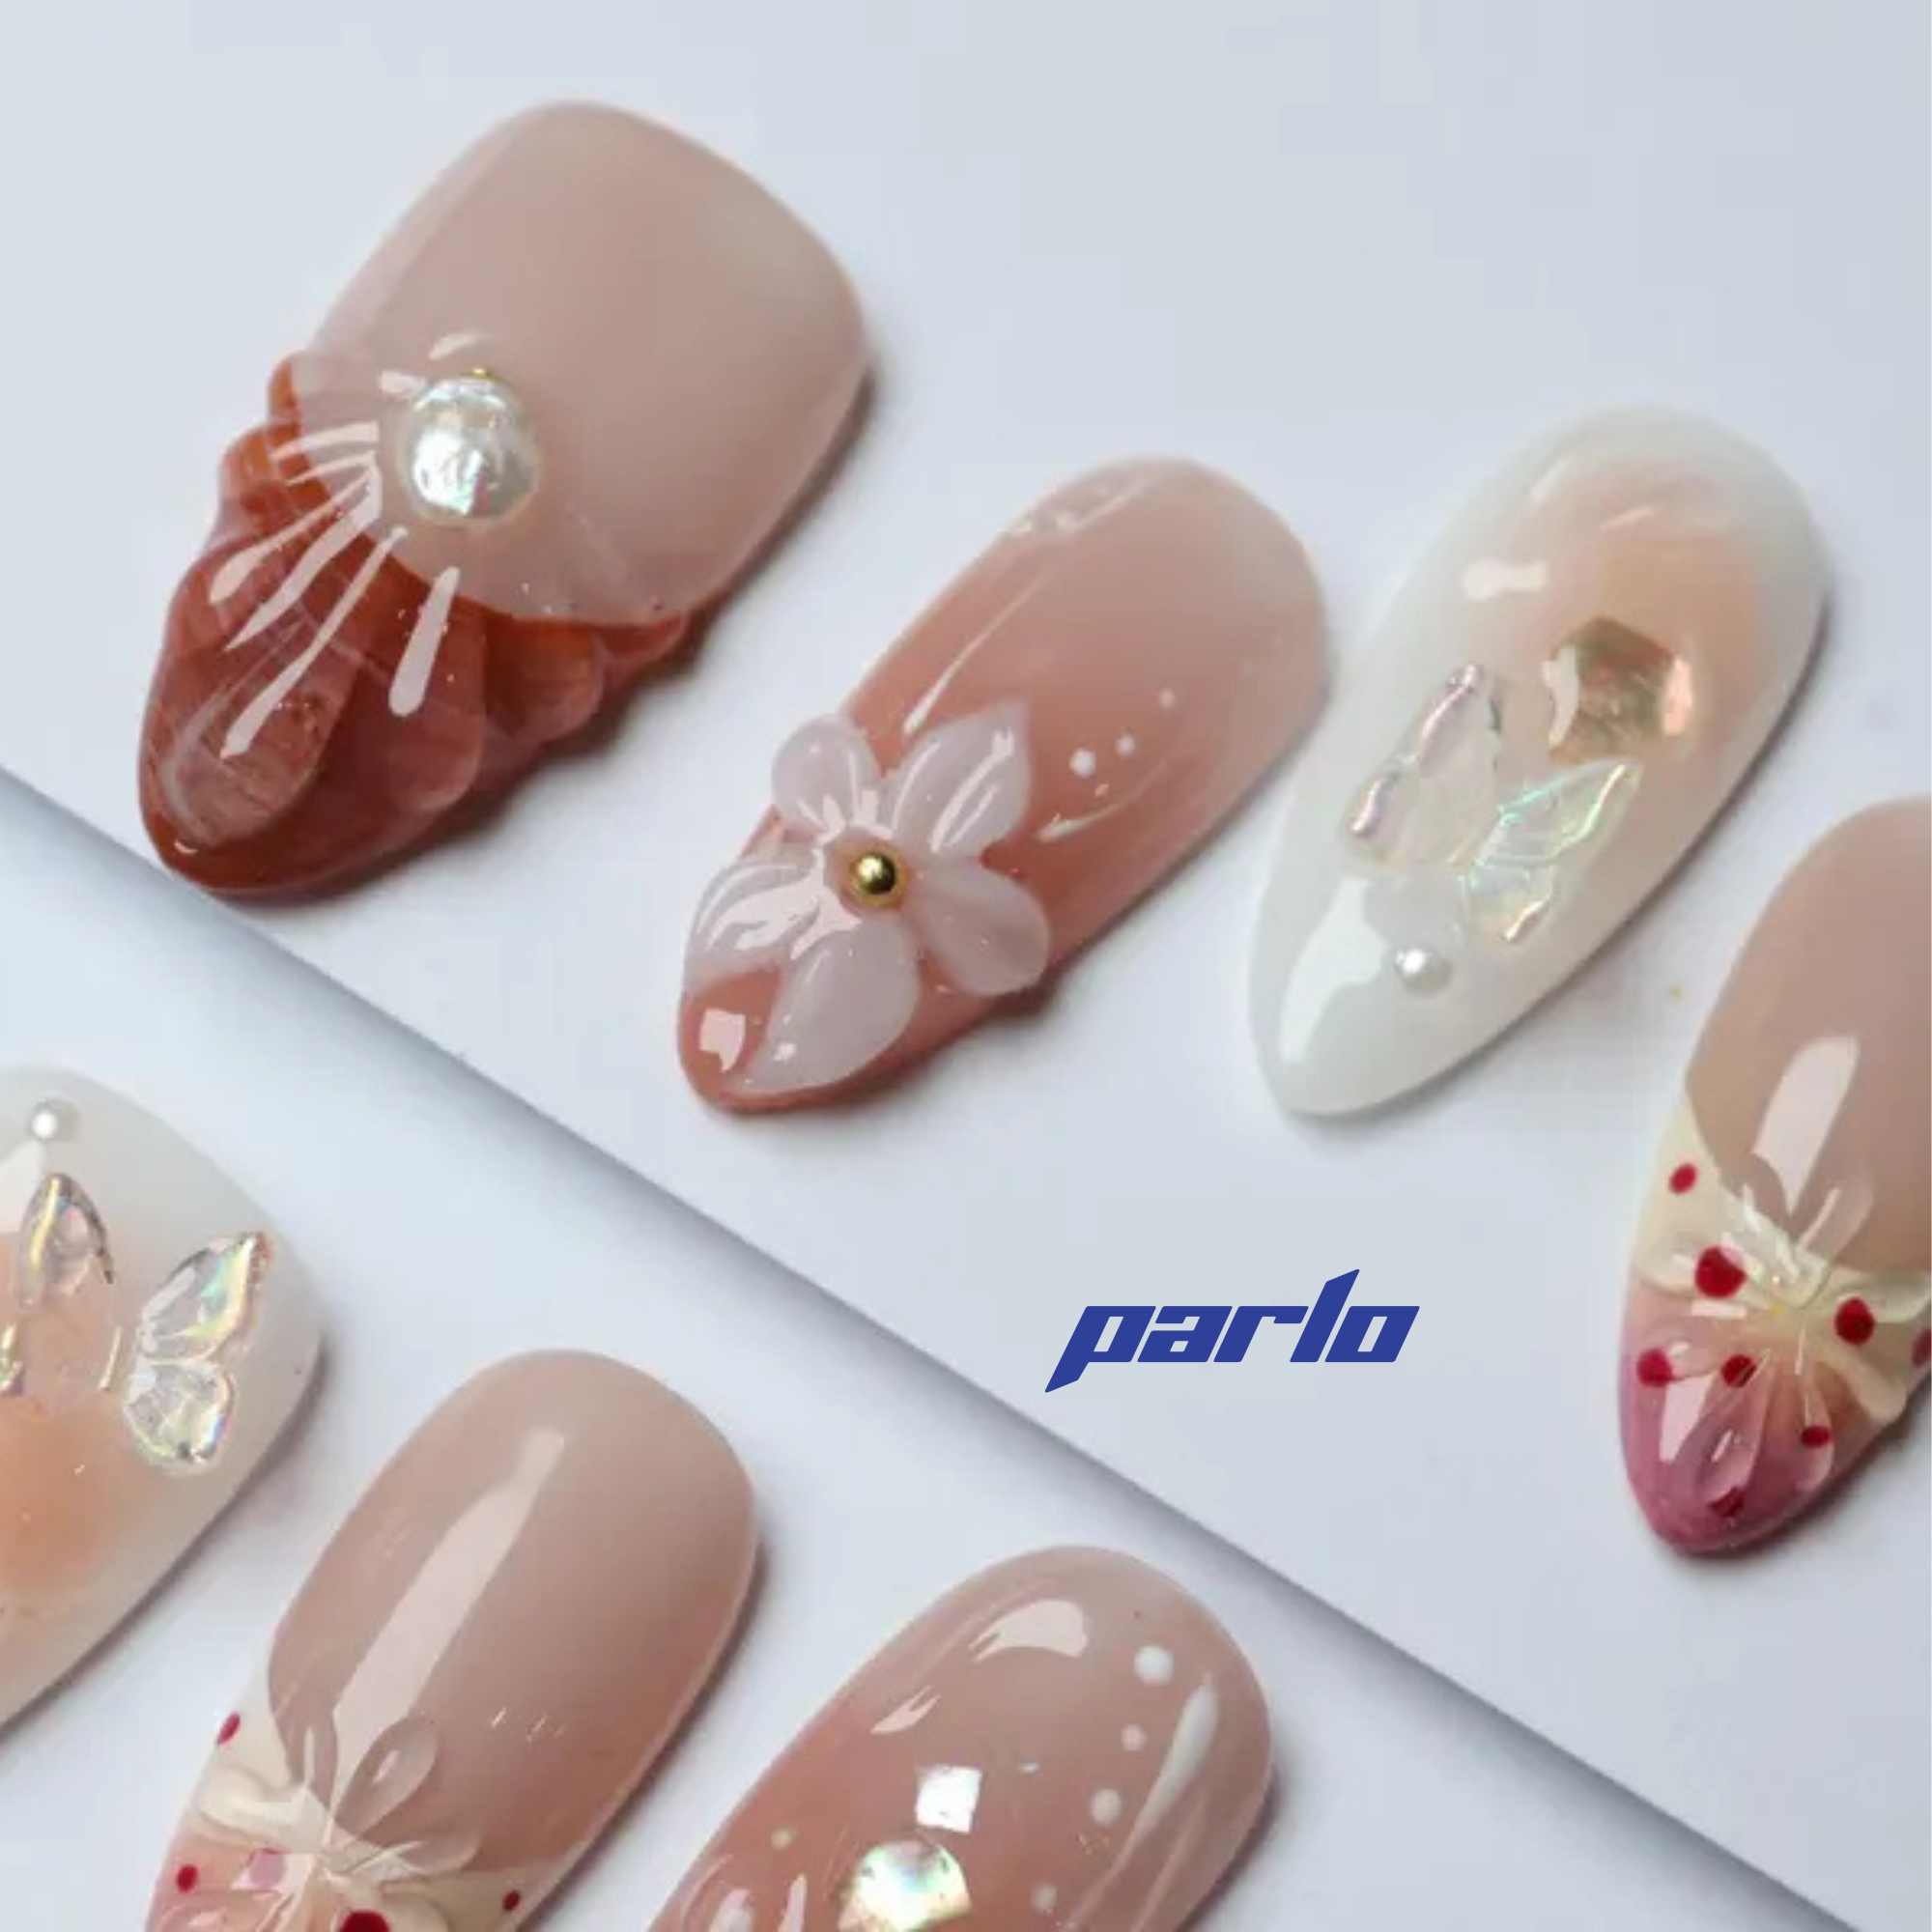
Looking for some nail inspiration? Consider these beautiful 3D Floral Press-On Nails for a quick and stunning look!

Repeat this process for each nail, layering the second color until you achieve your desired ombre effect. Remember to tap off any excess powder after each application.
Step 5: Encapsulate the Design
To protect your ombre design, apply another layer of the base color dip powder over the entire nail. This will encapsulate the ombre and prevent any smudging or color bleeding.
Step 6: Apply Activator
Apply a generous layer of dip powder activator to all nails. This will harden the dip powder and prepare it for filing and shaping. Let the activator dry completely according to the manufacturer's instructions (usually 1-2 minutes).
Step 7: File, Buff, and Shape
Once the activator is dry, use a nail file to shape and refine your nails. Then, use a buffer to smooth out any imperfections or bumps on the surface. This step is crucial for a smooth and even finish.
Step 8: Apply a Second Coat of Activator
Apply another coat of dip powder activator to ensure the dip powder is fully hardened.
Step 9: Apply Top Coat
Apply a thin, even layer of dip powder top coat to all nails. Allow it to dry completely. Depending on the top coat, you may need to apply a second layer for a high-shine finish.
If you're seeking a vibrant and trendy color for your ombre, consider Aloha Acai! This dip powder color can add a unique twist to your ombre nails.

Step 10: Clean Up and Moisturize
Finally, clean up any excess powder around your cuticles with a small brush or a pointed cotton swab dipped in acetone. Apply cuticle oil to moisturize your cuticles and keep your nails healthy.
Tips for Perfect Ombre Nails
- Practice makes perfect! Don't be discouraged if your first attempt isn't flawless.
- Use high-quality dip powder products for the best results.
- Work in thin layers to avoid bulky or uneven nails.
- Don't be afraid to experiment with different color combinations.
- Use a light hand when applying the second color to avoid overpowering the base color.
Creating ombre nails with dip powder is a fun and rewarding DIY project. With a little practice, you'll be able to achieve stunning, salon-worthy nails in the comfort of your own home. Enjoy!
Ready to try more nail trends? Explore our full collection of nail products!
Generated from keyword: "A Step-By-Step Guide To Ombre Nails Using Dip Powder"