Reverse Stamping: 2 Ways to Create Successful and Full-Proof Nail Designs
Nail art enthusiasts are always on the lookout for techniques to elevate their manicures. Reverse stamping is one such method, allowing you to create intricate and colorful designs that appear embedded within your nail polish. It might seem daunting, but with a little practice, it's a game-changer. This guide will walk you through two full-proof ways to achieve stunning reverse stamped nail art.
Method 1: The Traditional Reverse Stamping Technique
The traditional method involves stamping your chosen design onto a stamper head, filling it in with your desired colors, and then transferring it to your nail. Here's a breakdown:
- Prepare Your Nails: Start with a clean, dry base. Apply a base coat and let it dry completely.
- Stamp the Image: Choose your stamping plate and stamping polish. Stamp the design onto your stamper.
- Fill in the Design: Using a thin brush or a dotting tool, carefully fill in the stamped image with your chosen nail polish colors. Let the polish dry slightly – it should be tacky but not completely dry.
- Apply a Top Coat to the Stamper: This is crucial! Apply a generous layer of top coat over the entire filled-in design on the stamper. This creates a seal and allows you to easily remove the design as a decal. Let it dry completely.
- Peel and Apply: Gently peel the decal from the stamper. Apply a thin layer of base coat to your nail, then carefully place the decal onto your nail. Press it down firmly to adhere.
-
Clean Up and Seal: Clean up any excess decal around your nail using a brush dipped in acetone. Apply a top coat to seal the design and add shine. Check out this product! If you're looking for inspiration, these
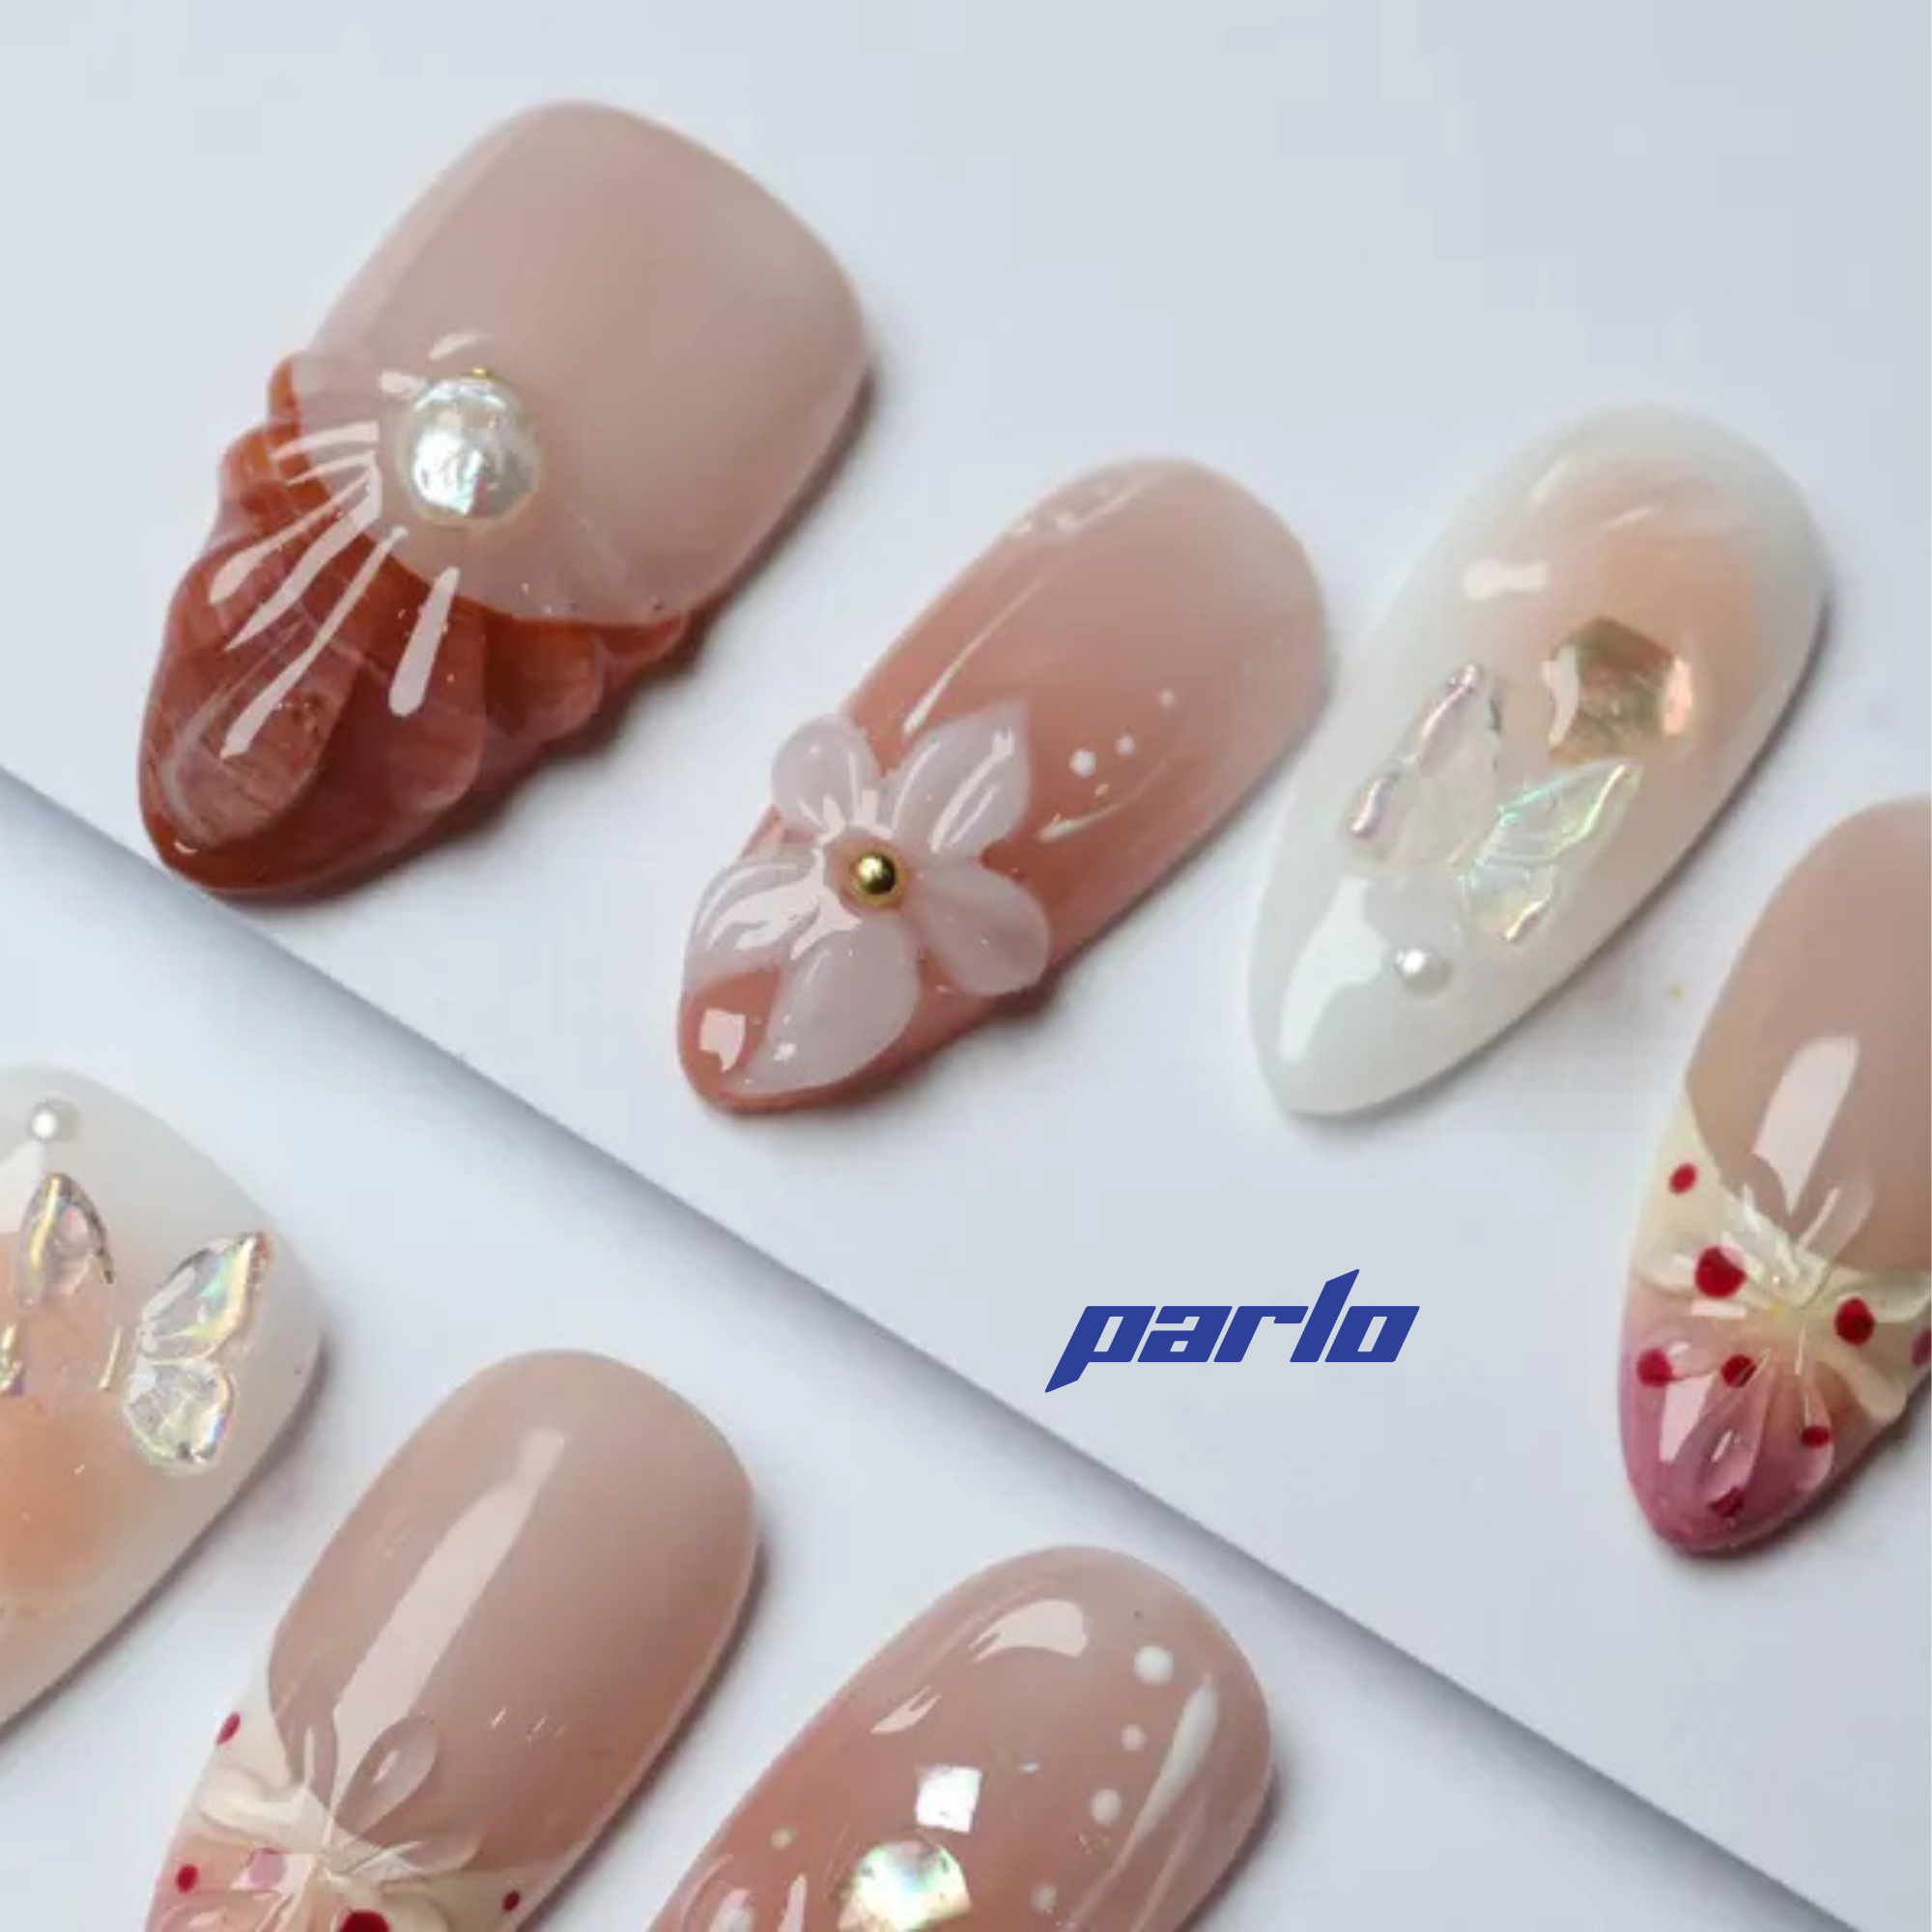
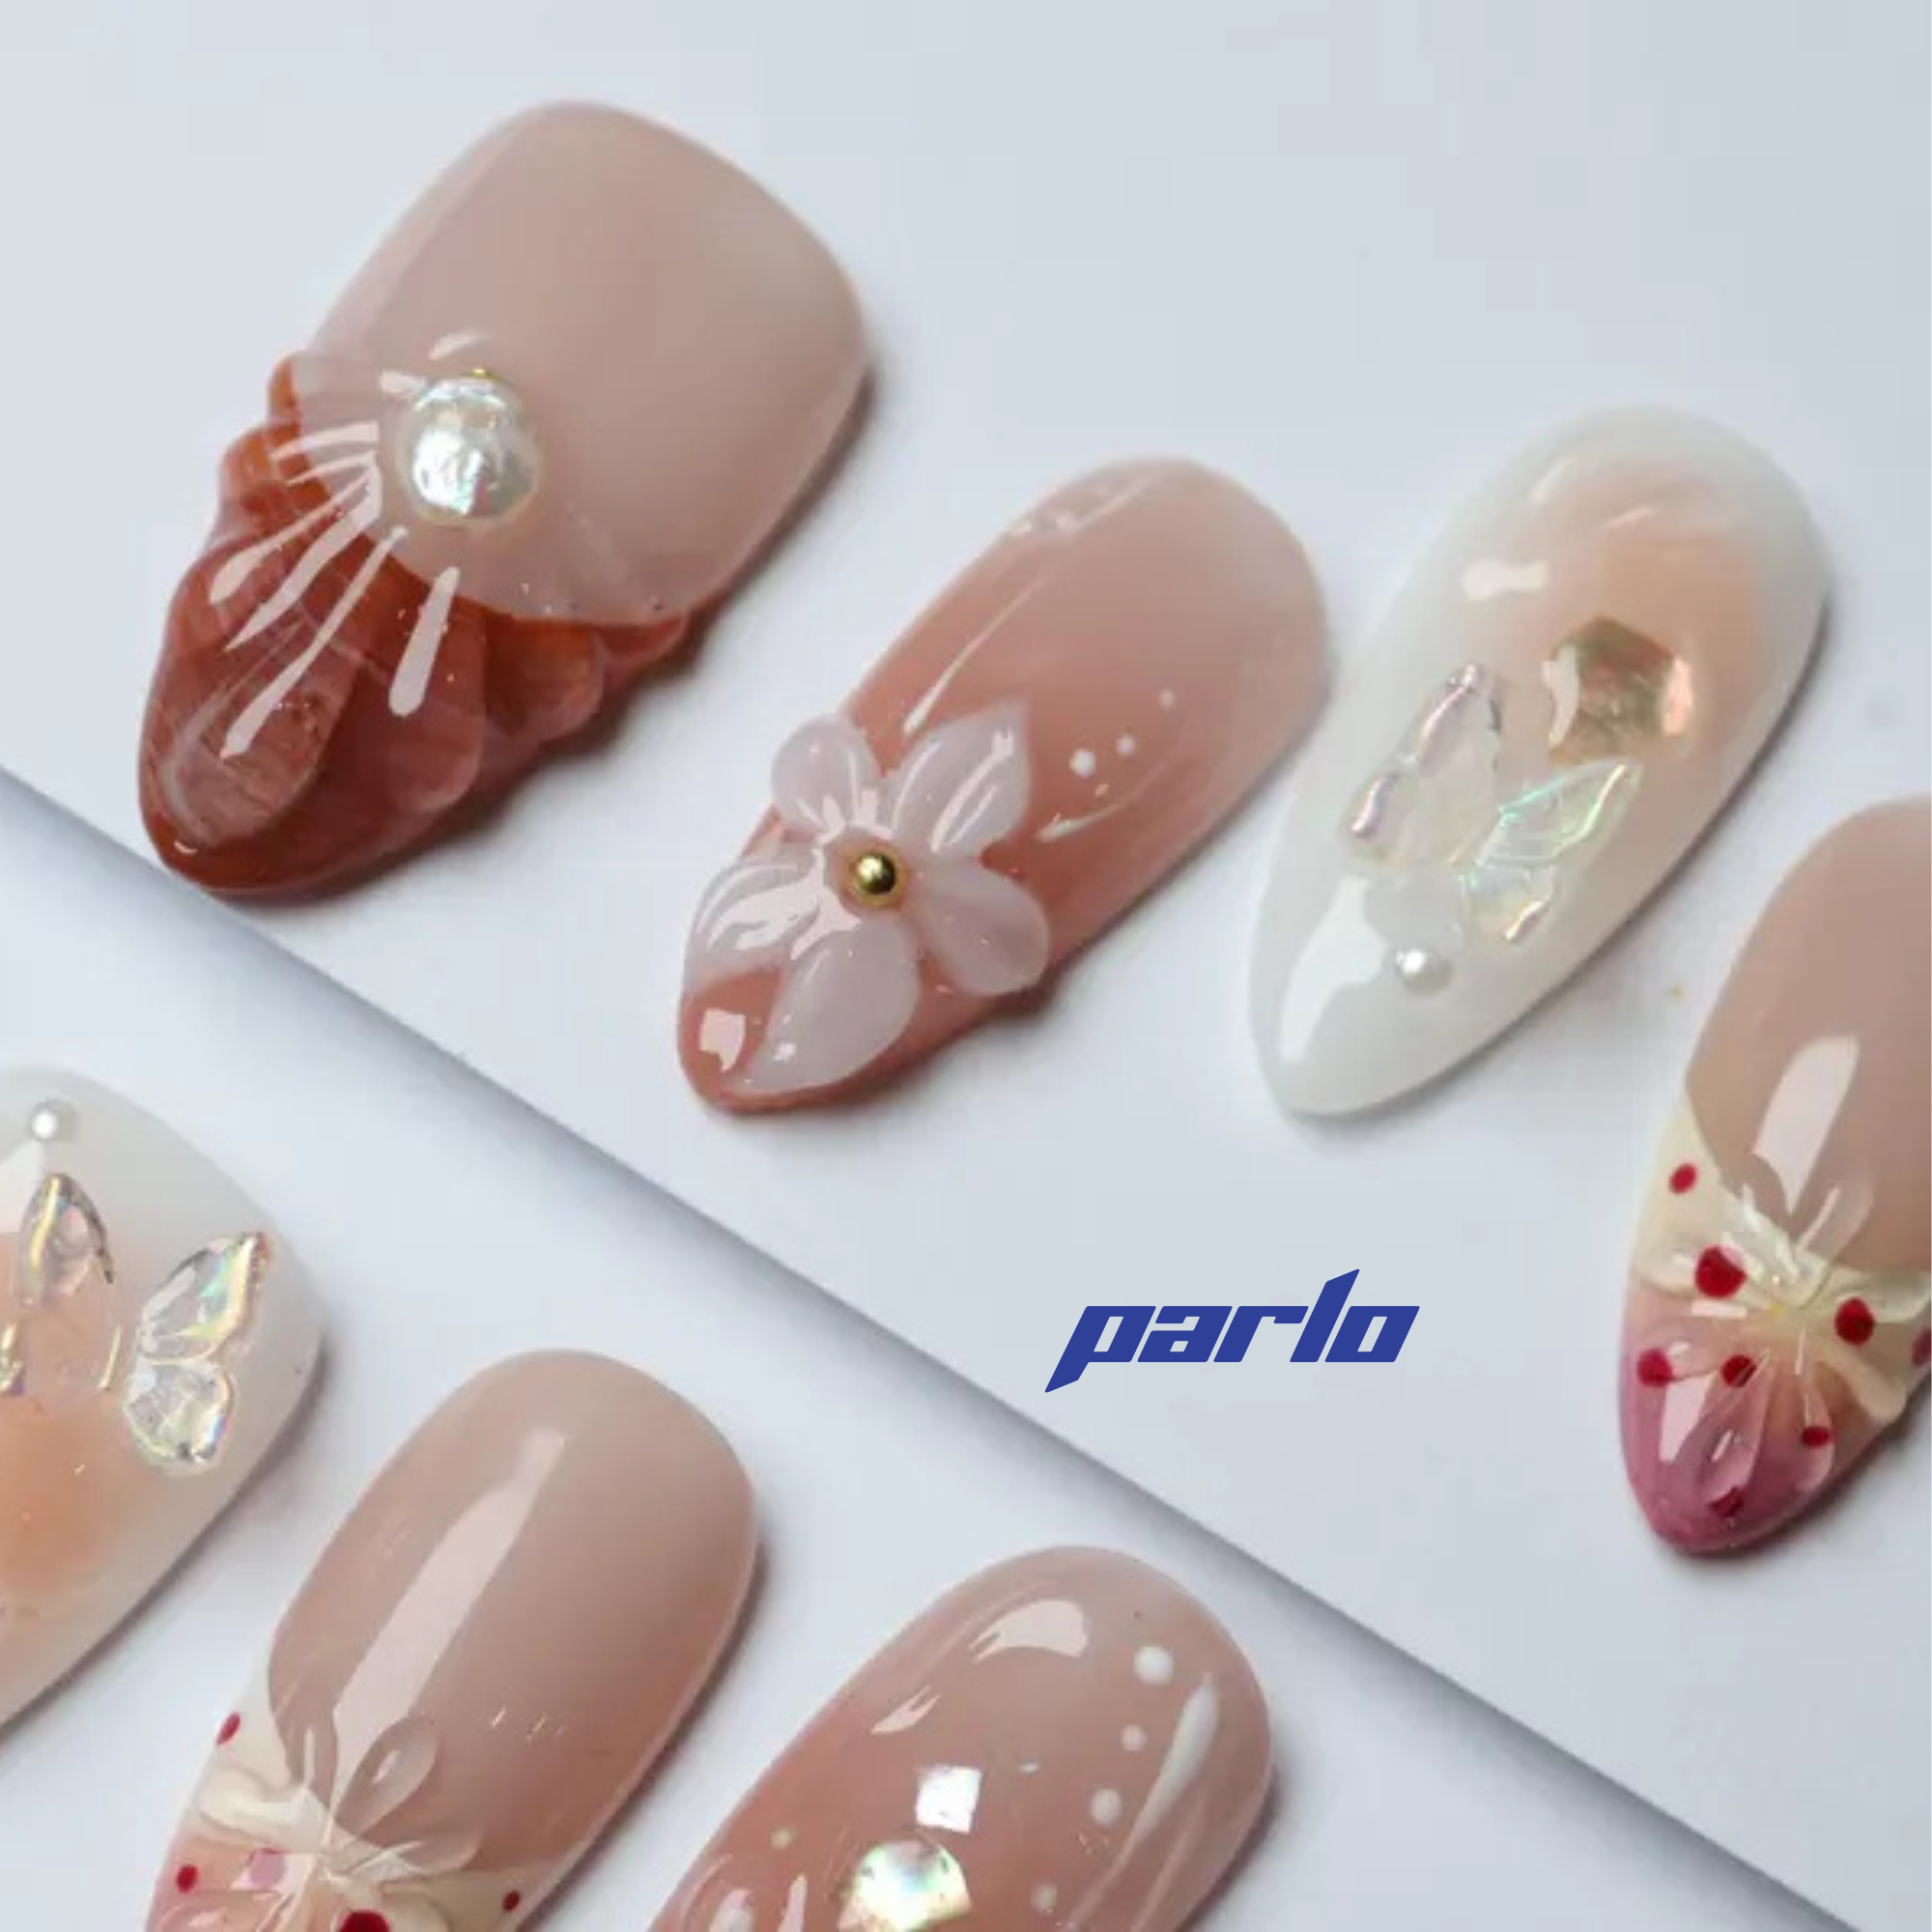
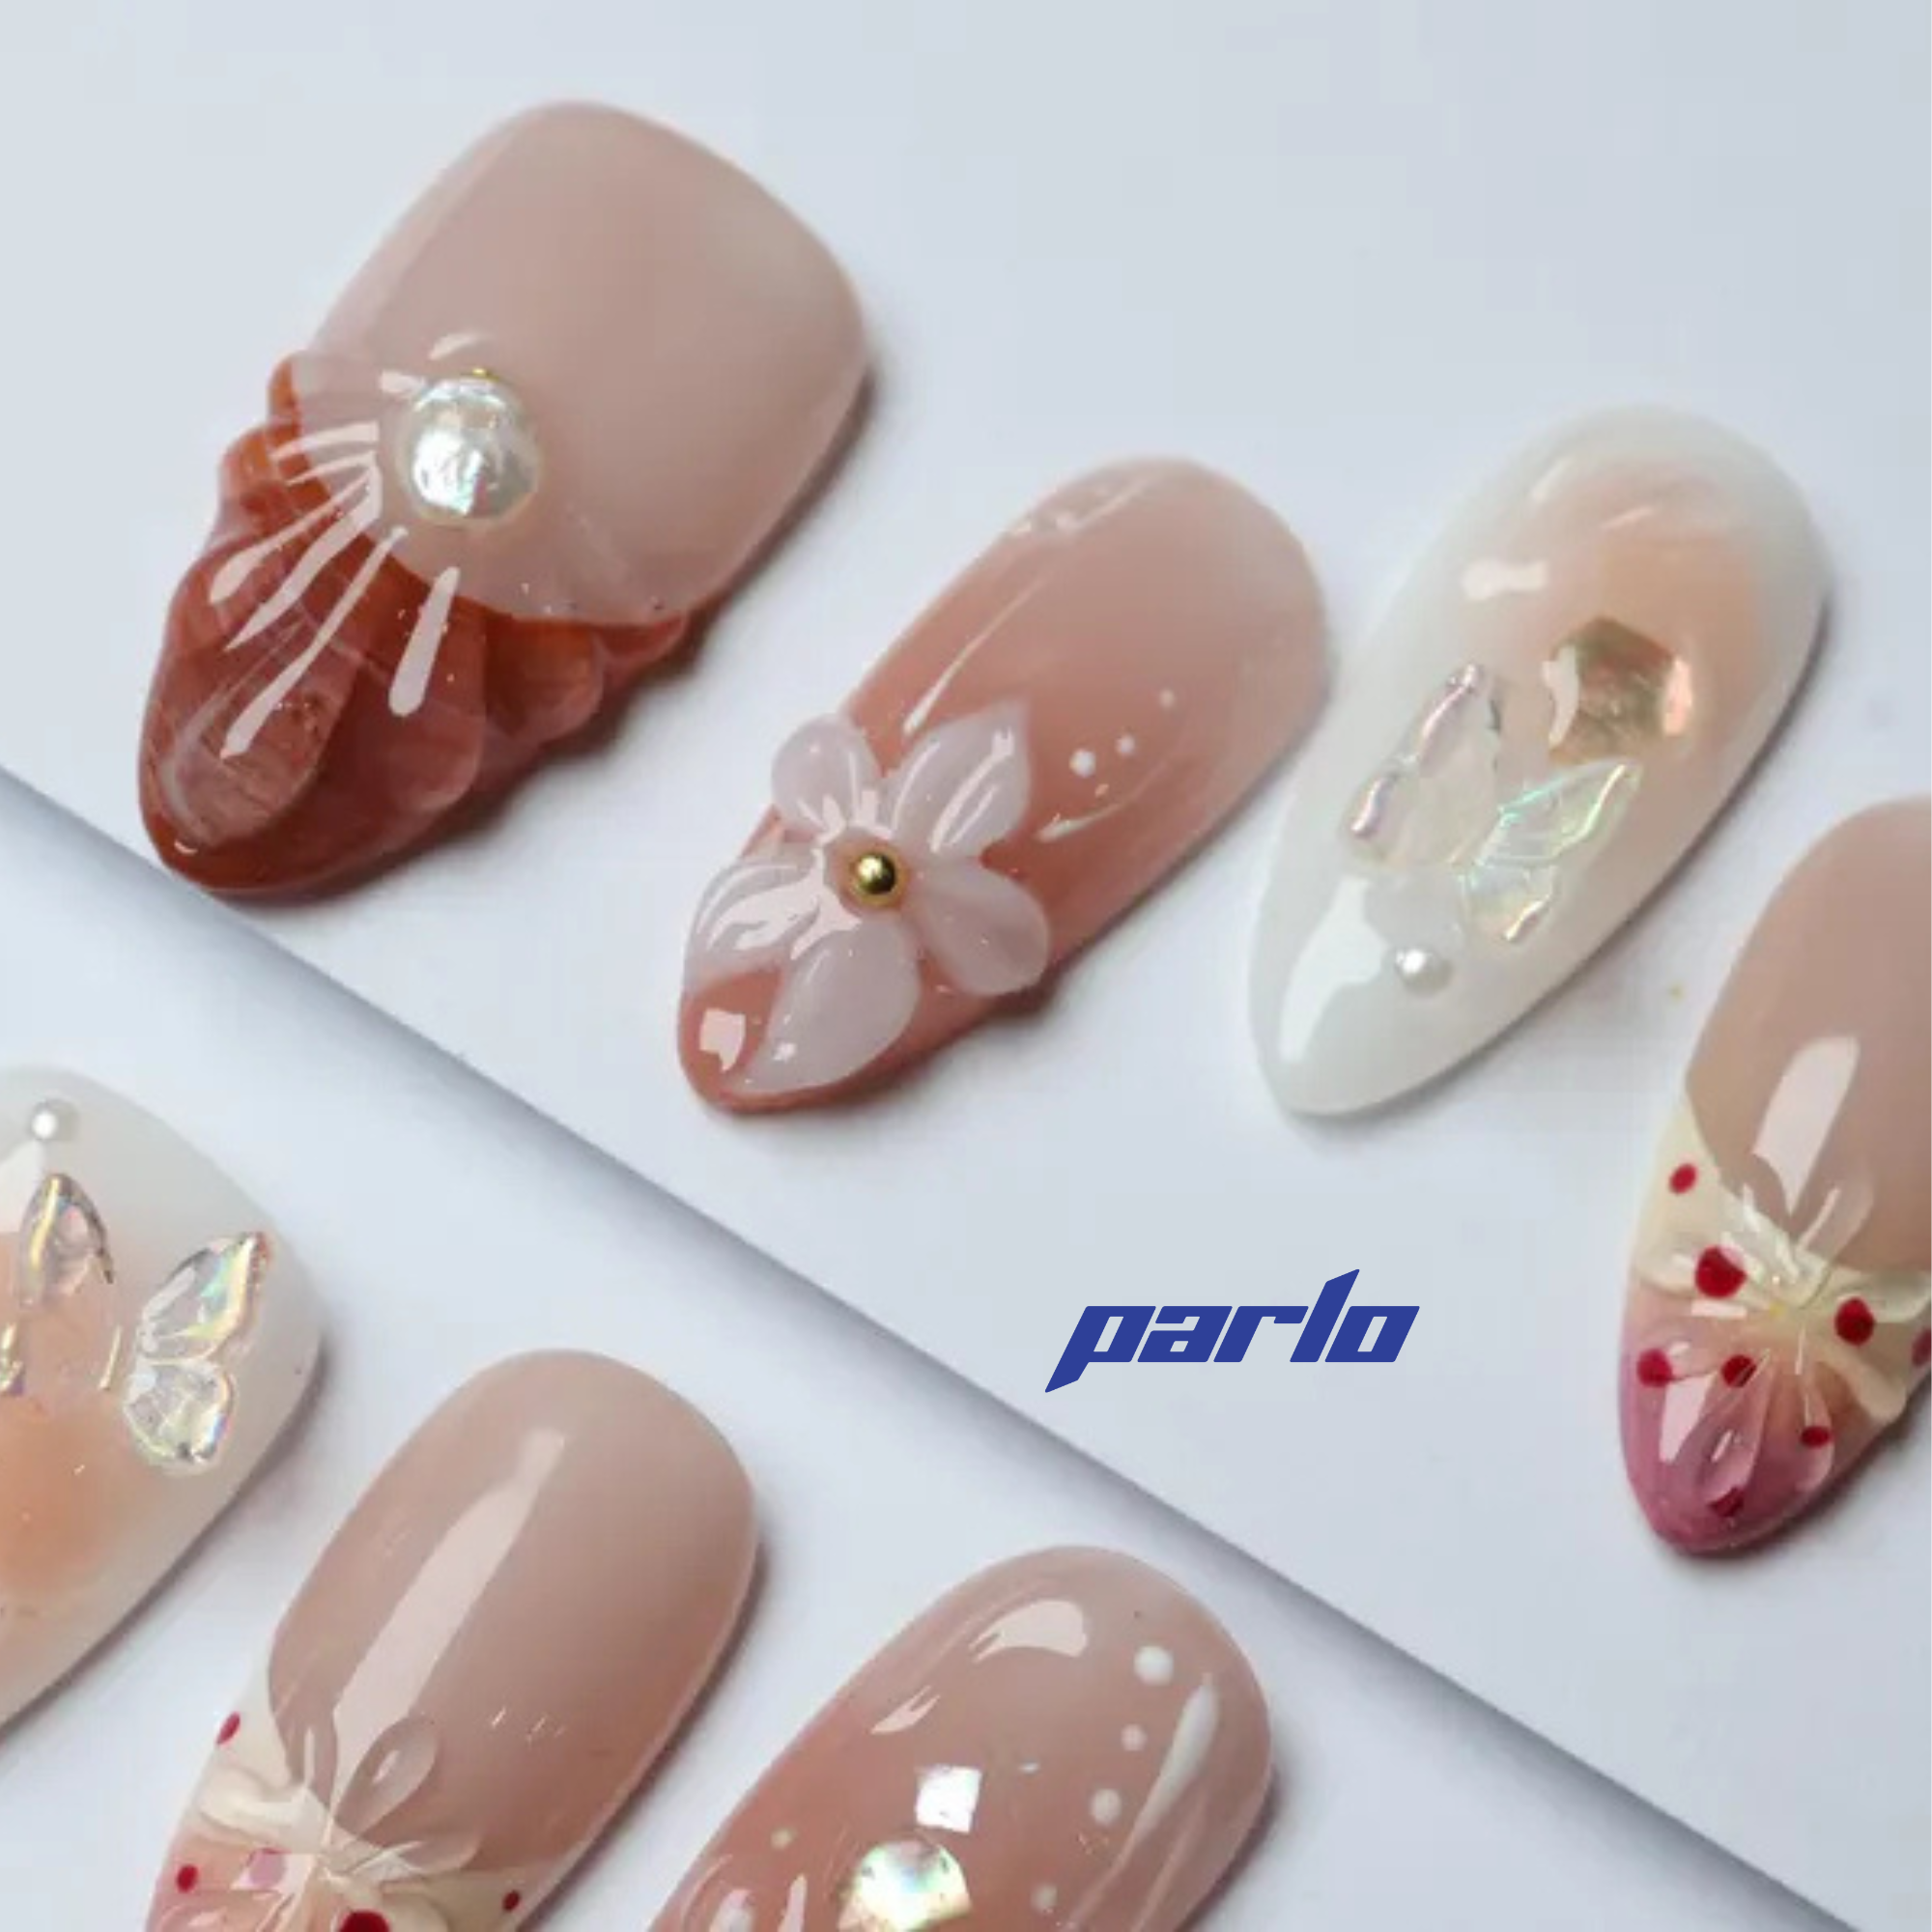
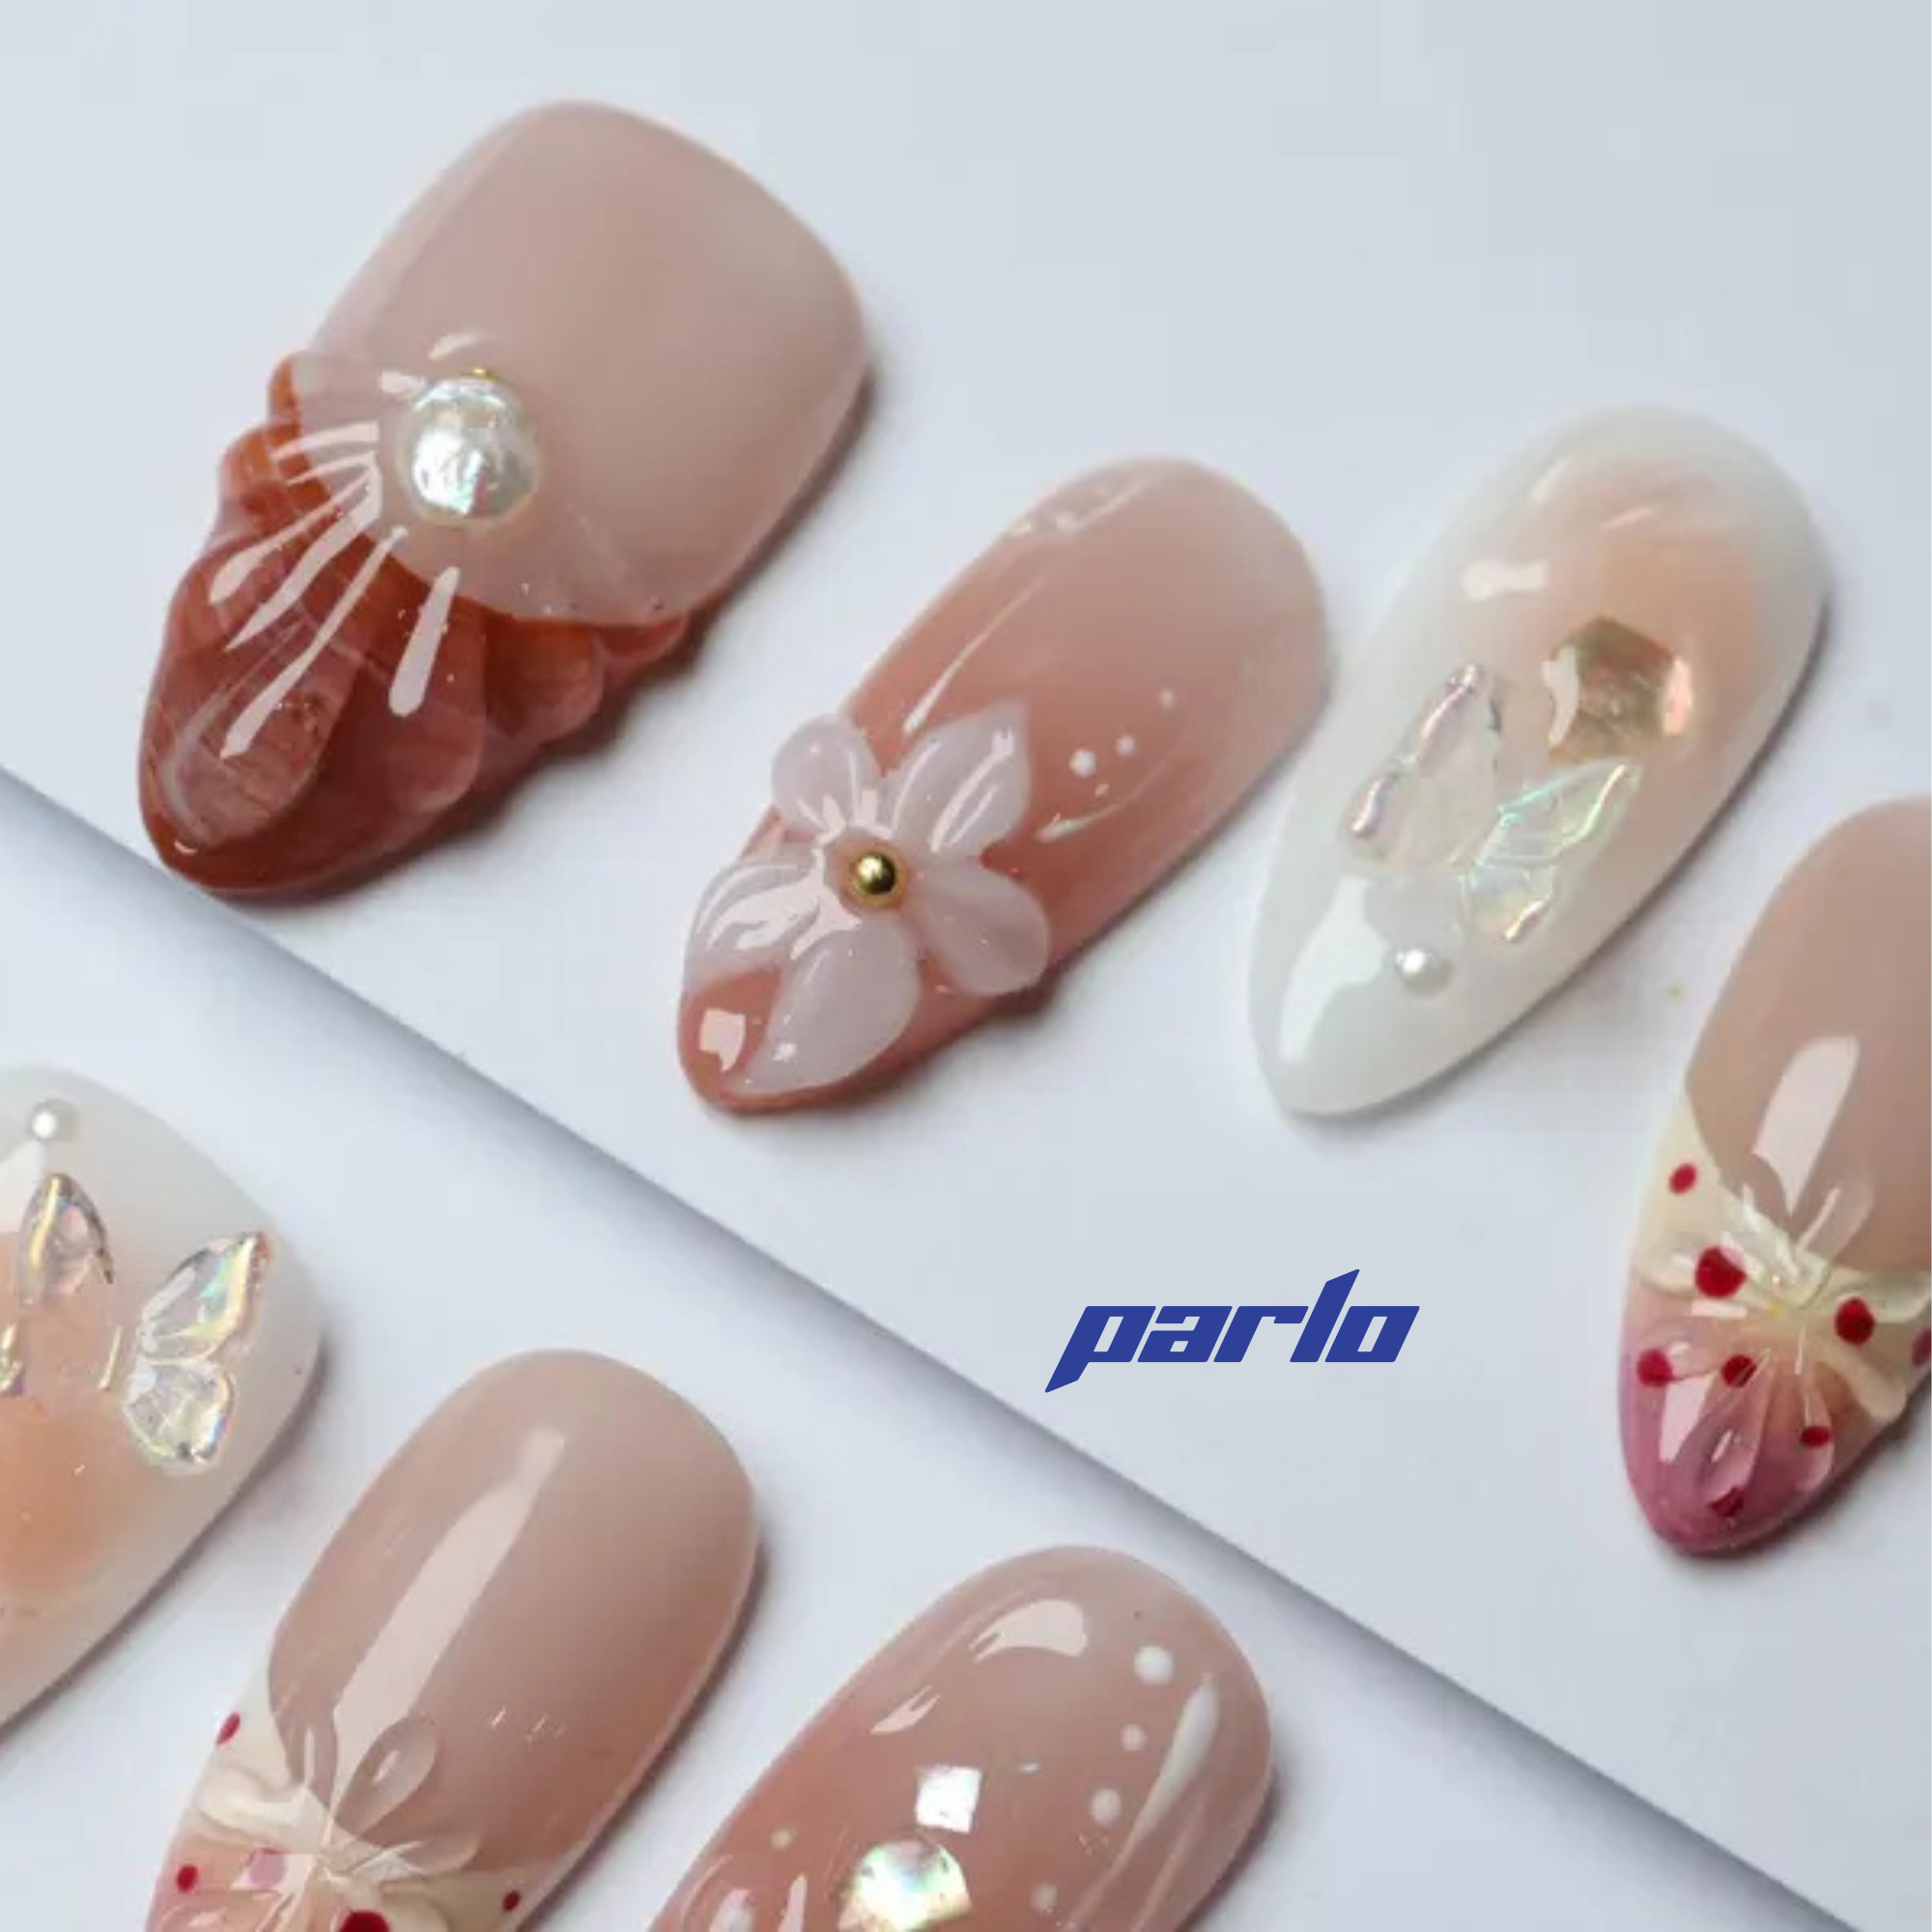
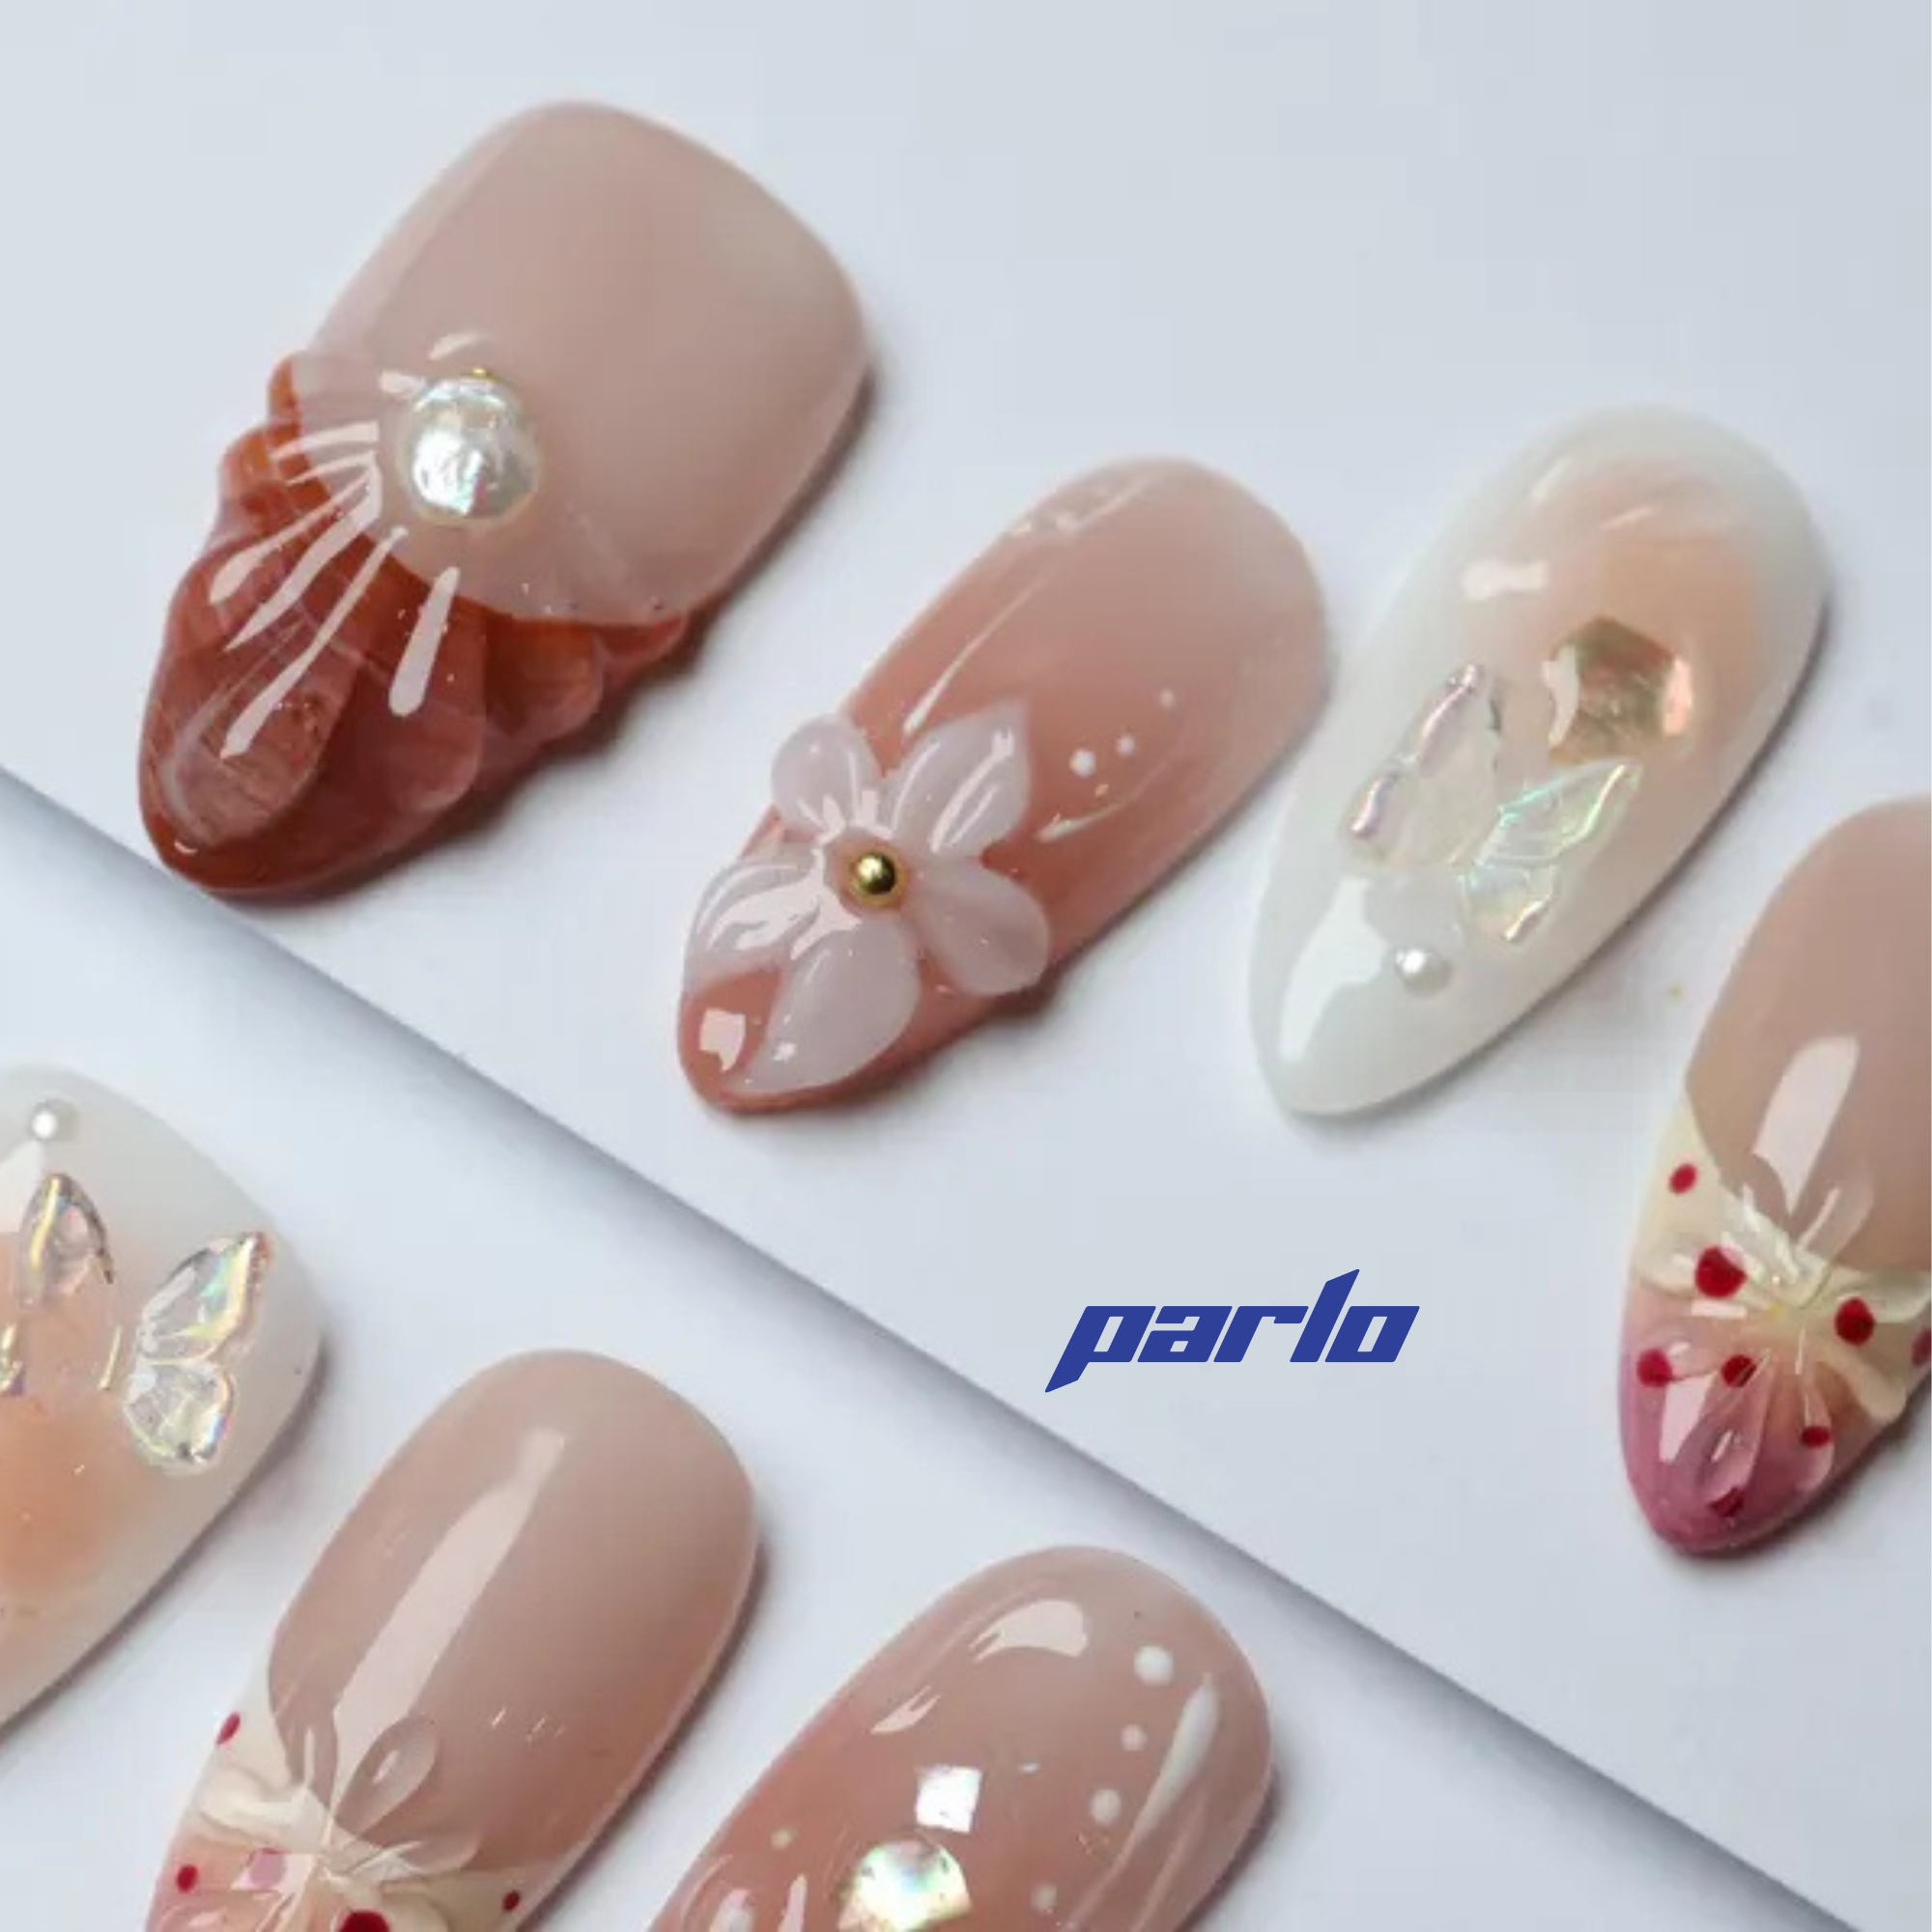
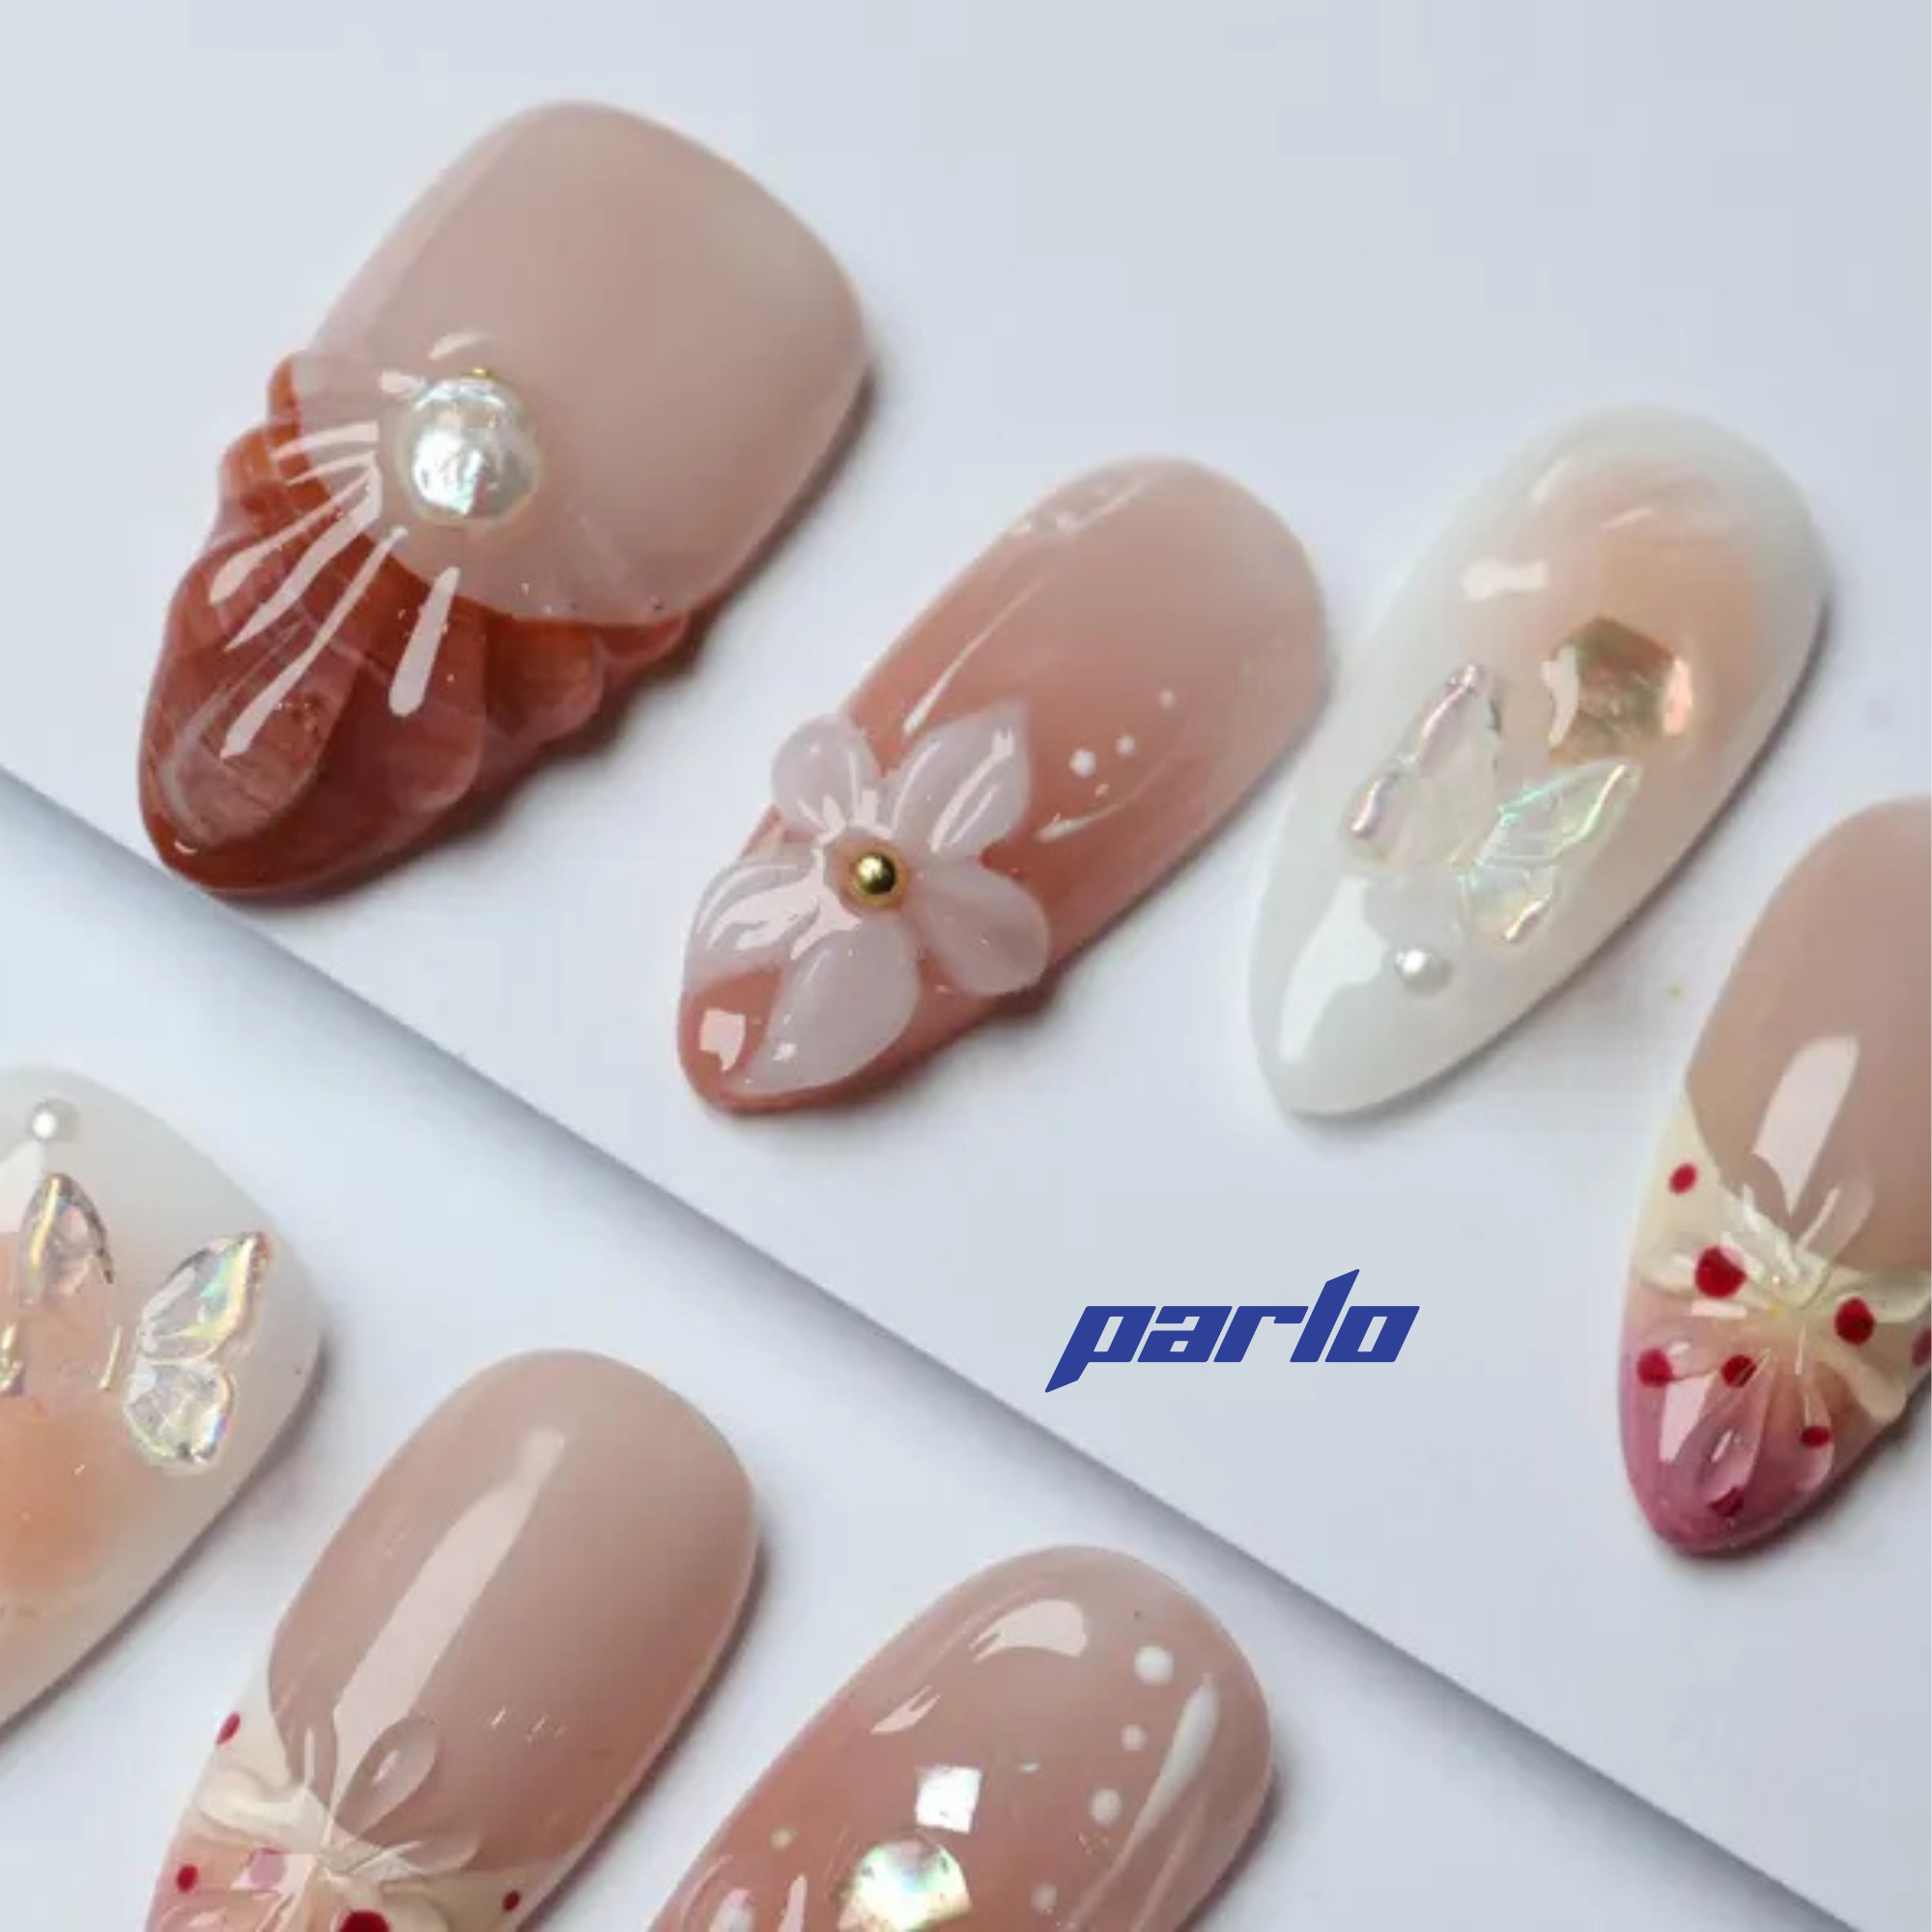
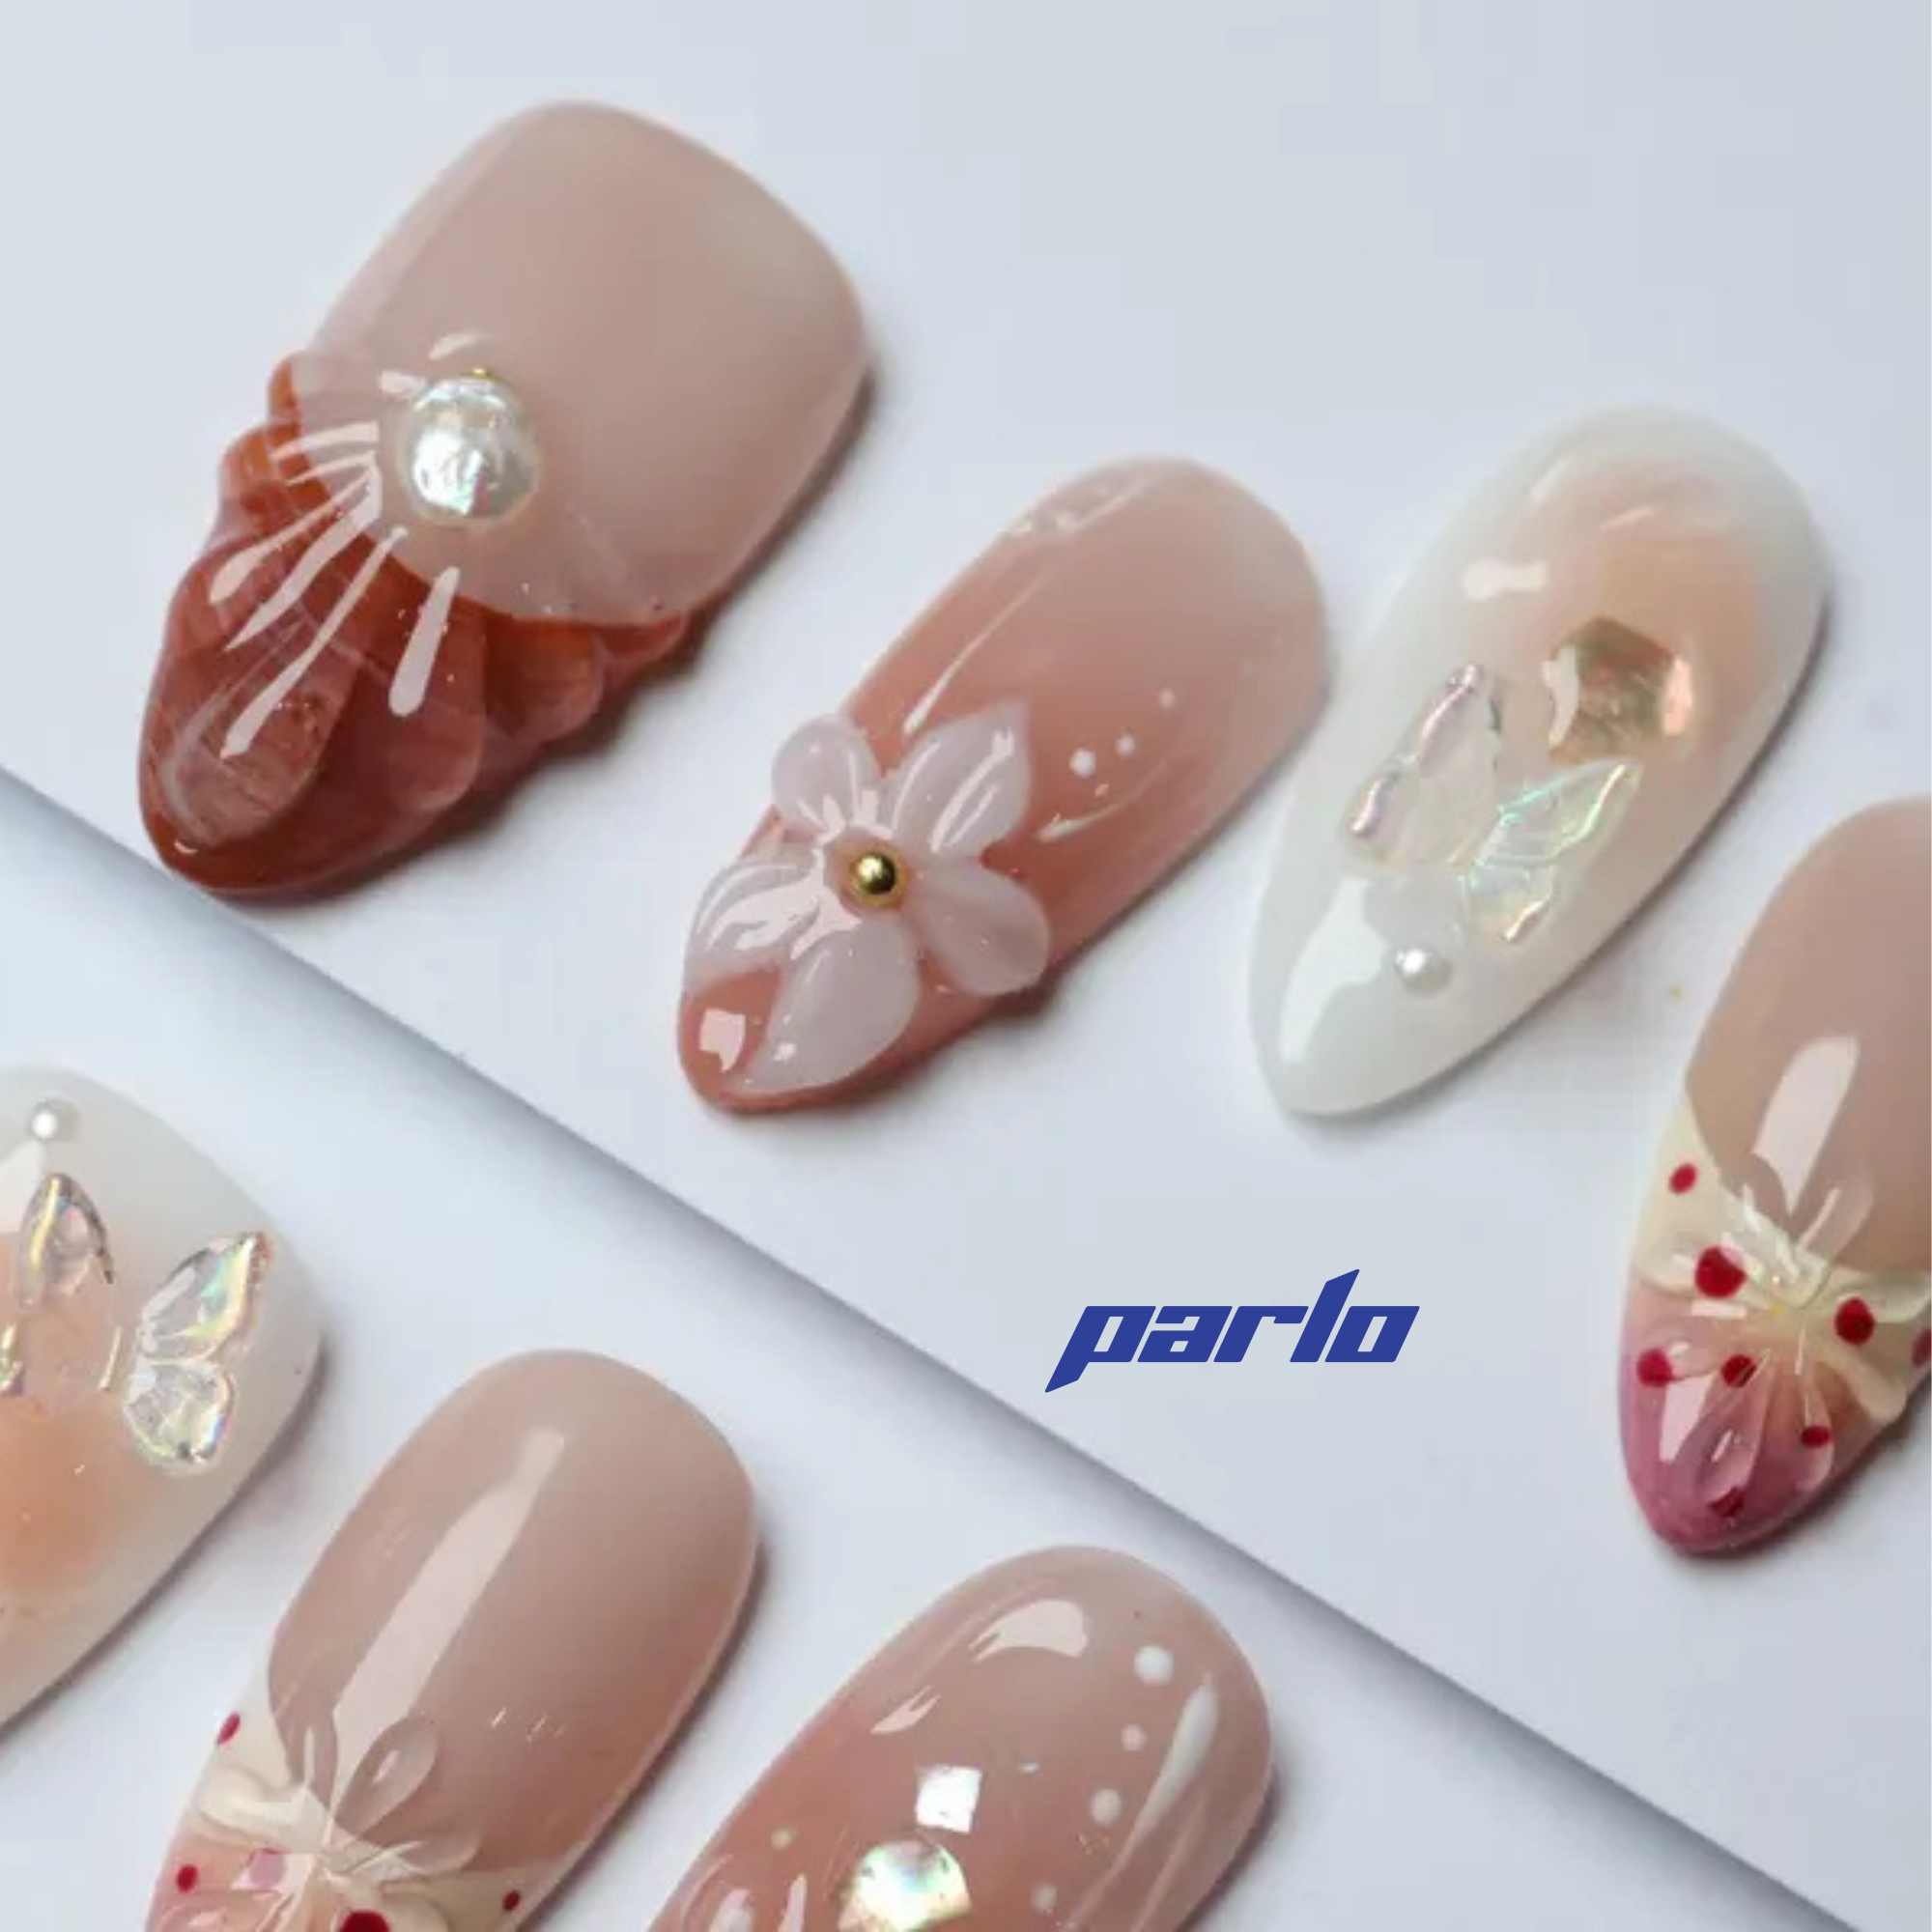
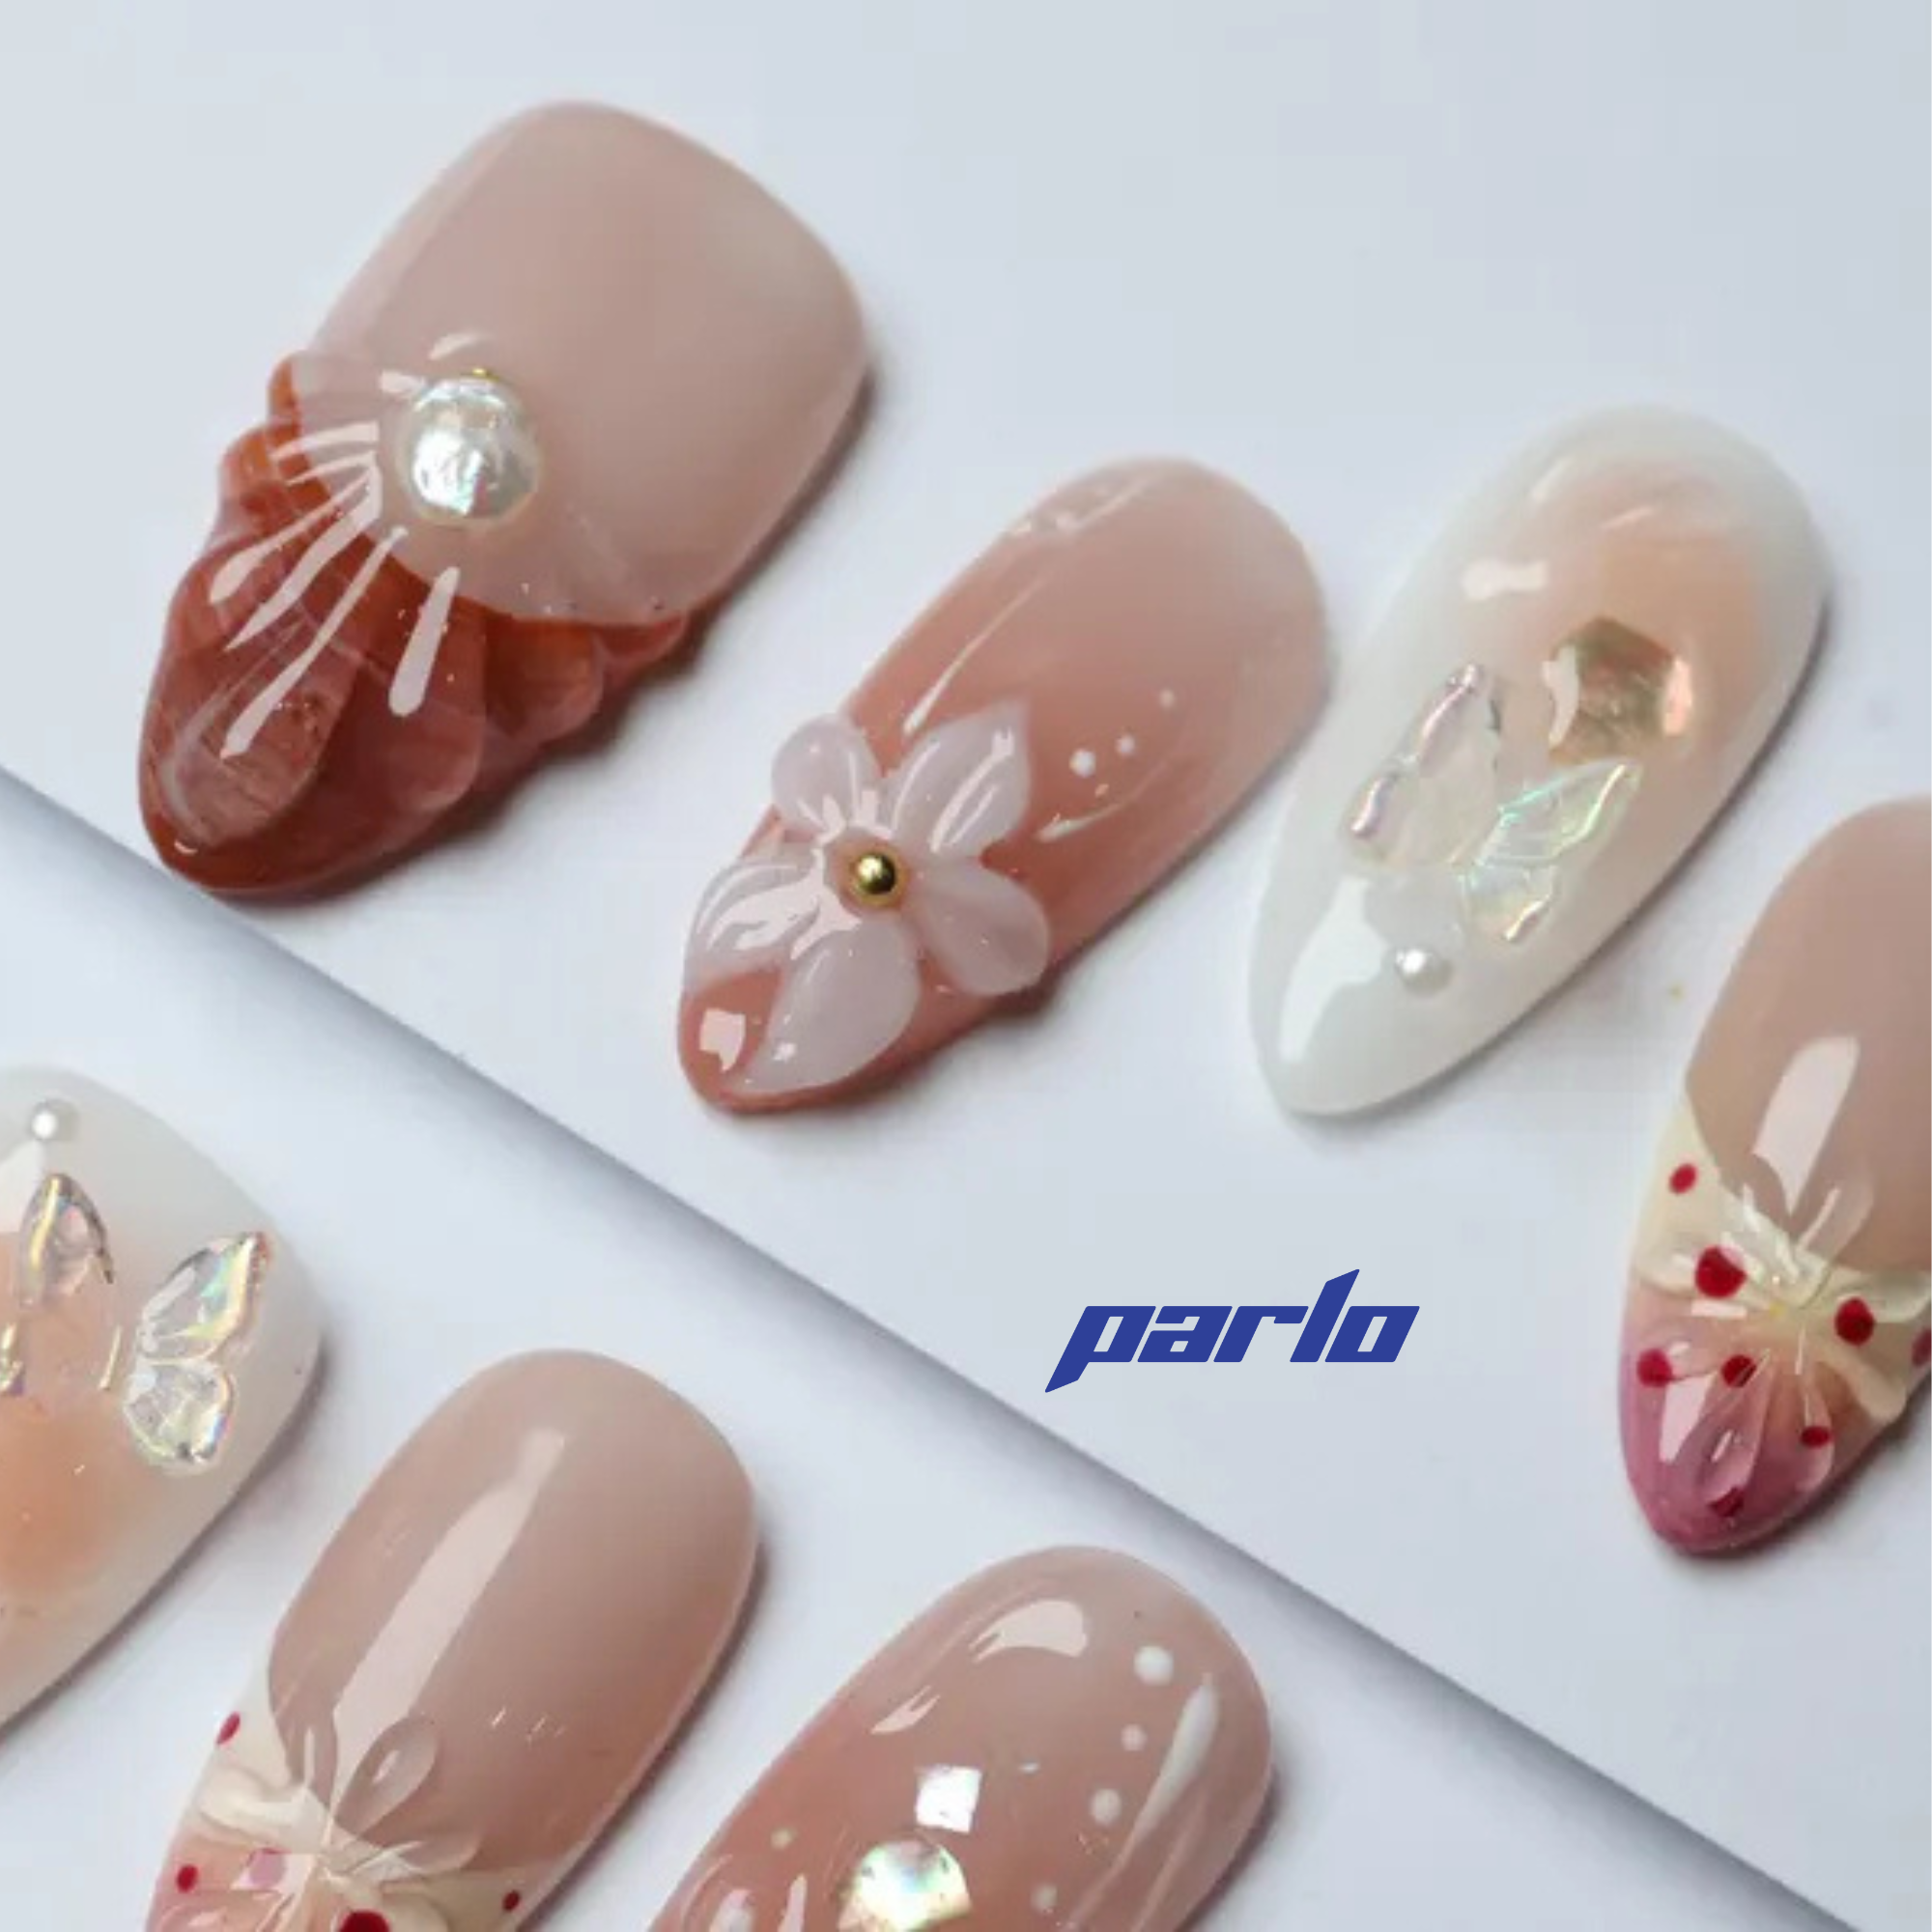
 3D floral press-ons could provide some ideas for your next design!
Method 2: The Clear Stamper Decal Technique
This method simplifies the process by using a clear stamper to create the decal directly. It's slightly less forgiving but can be faster with practice.
- Prepare Your Nails: As with the traditional method, start with a clean, dry base and apply a base coat.
- Stamp the Image onto a Clear Stamper: Stamp your chosen design onto a clear stamper. The clarity helps you see exactly where you're placing colors.
- Fill in the Design: Carefully fill in the stamped image with your desired nail polish colors using a fine brush or dotting tool. Aloha Acai could be a great color to use!
- Let it Dry (Almost): Allow the filled-in design to dry until it's slightly tacky but not fully dry. This is key for a clean transfer.
- Transfer to Nail: Gently roll or press the stamper onto your nail, transferring the design. Be precise!
- Clean Up and Seal: Clean up any excess polish around your nail. Apply a top coat to seal the design and add shine. Consider using a glitter polish as an accent.
Tips for Success:
- Use the Right Polishes: Stamping polishes are typically more pigmented than regular nail polishes. They're designed to transfer cleanly and opaque.
- Work Quickly: Nail polish dries fast. Work quickly to prevent smudging or uneven transfer.
- Practice Makes Perfect: Don't get discouraged if your first attempt isn't perfect. Reverse stamping takes practice.
- Clean Your Stamper: Use a lint roller or sticky tape to clean your stamper between stamps. Avoid using acetone, as it can damage the stamper.
Reverse stamping opens up a world of possibilities for intricate and colorful nail art. Whether you choose the traditional or clear stamper method, with practice and the right tools, you can achieve stunning, salon-worthy manicures at home. Don't be afraid to experiment with different colors, designs, and techniques to find what works best for you.
Ready to take your nail art to the next level? Explore our collection of stamping plates and polishes to get started!
Generated from keyword: "Reverse Stamping: 2 Ways to Create Successful and Full-Proof Nail Designs"


