Rhinestones On Nails: What You Need & How To Apply Them
Adding rhinestones to your nails is a fantastic way to elevate your manicure and create a dazzling, eye-catching look. But before you dive into a world of sparkle, it's essential to have the right tools and products to ensure a secure and long-lasting application. This guide will walk you through everything you need to know to successfully apply rhinestones to your nails, whether you're a seasoned nail art enthusiast or a beginner.
Essential Adhesives for Rhinestone Nail Art
The most crucial element for securing rhinestones is a reliable adhesive. Here are a few popular options:
- Nail Glue: Specifically formulated for nail art, nail glue provides a strong hold but can sometimes be a bit messy. Apply sparingly!
- Rhinestone Glue: Thicker than nail glue, this is designed to precisely secure rhinestones.
- Gel Polish: If you're using gel polish, you can use a thick builder gel or top coat to encapsulate the rhinestones. This provides excellent durability and a smooth finish.
Tools of the Trade: Applying Rhinestones with Precision
Beyond adhesive, certain tools make the application process much easier and more precise:
- Wax Pencil/Dotting Tool: These are invaluable for picking up and placing rhinestones without smudging adhesive or damaging your manicure.
- Tweezers: Fine-tipped tweezers can be helpful for maneuvering larger rhinestones or adjusting their placement.
- Cuticle Pusher/Orange Wood Stick: Useful for gently pressing rhinestones into the adhesive for a secure bond.
Step-by-Step Guide to Applying Rhinestones
Now that you have your supplies, let's get started:
- Prepare Your Nails: Apply your base coat and desired nail polish color. Ensure the polish is completely dry or cured if using gel.
- Apply Adhesive: Place a small dot of your chosen adhesive where you want to position the rhinestone.
- Pick Up and Place: Use a wax pencil or dotting tool to pick up the rhinestone and carefully place it onto the adhesive.
- Secure the Rhinestone: Gently press the rhinestone into the adhesive using a cuticle pusher or orange wood stick.
- Seal and Protect: Apply a top coat (or encapsulate with gel) to seal the rhinestones and protect them from snagging.
- Cure (if using gel): Cure under a UV/LED lamp according to the gel polish instructions.
Consider Press-On Alternatives
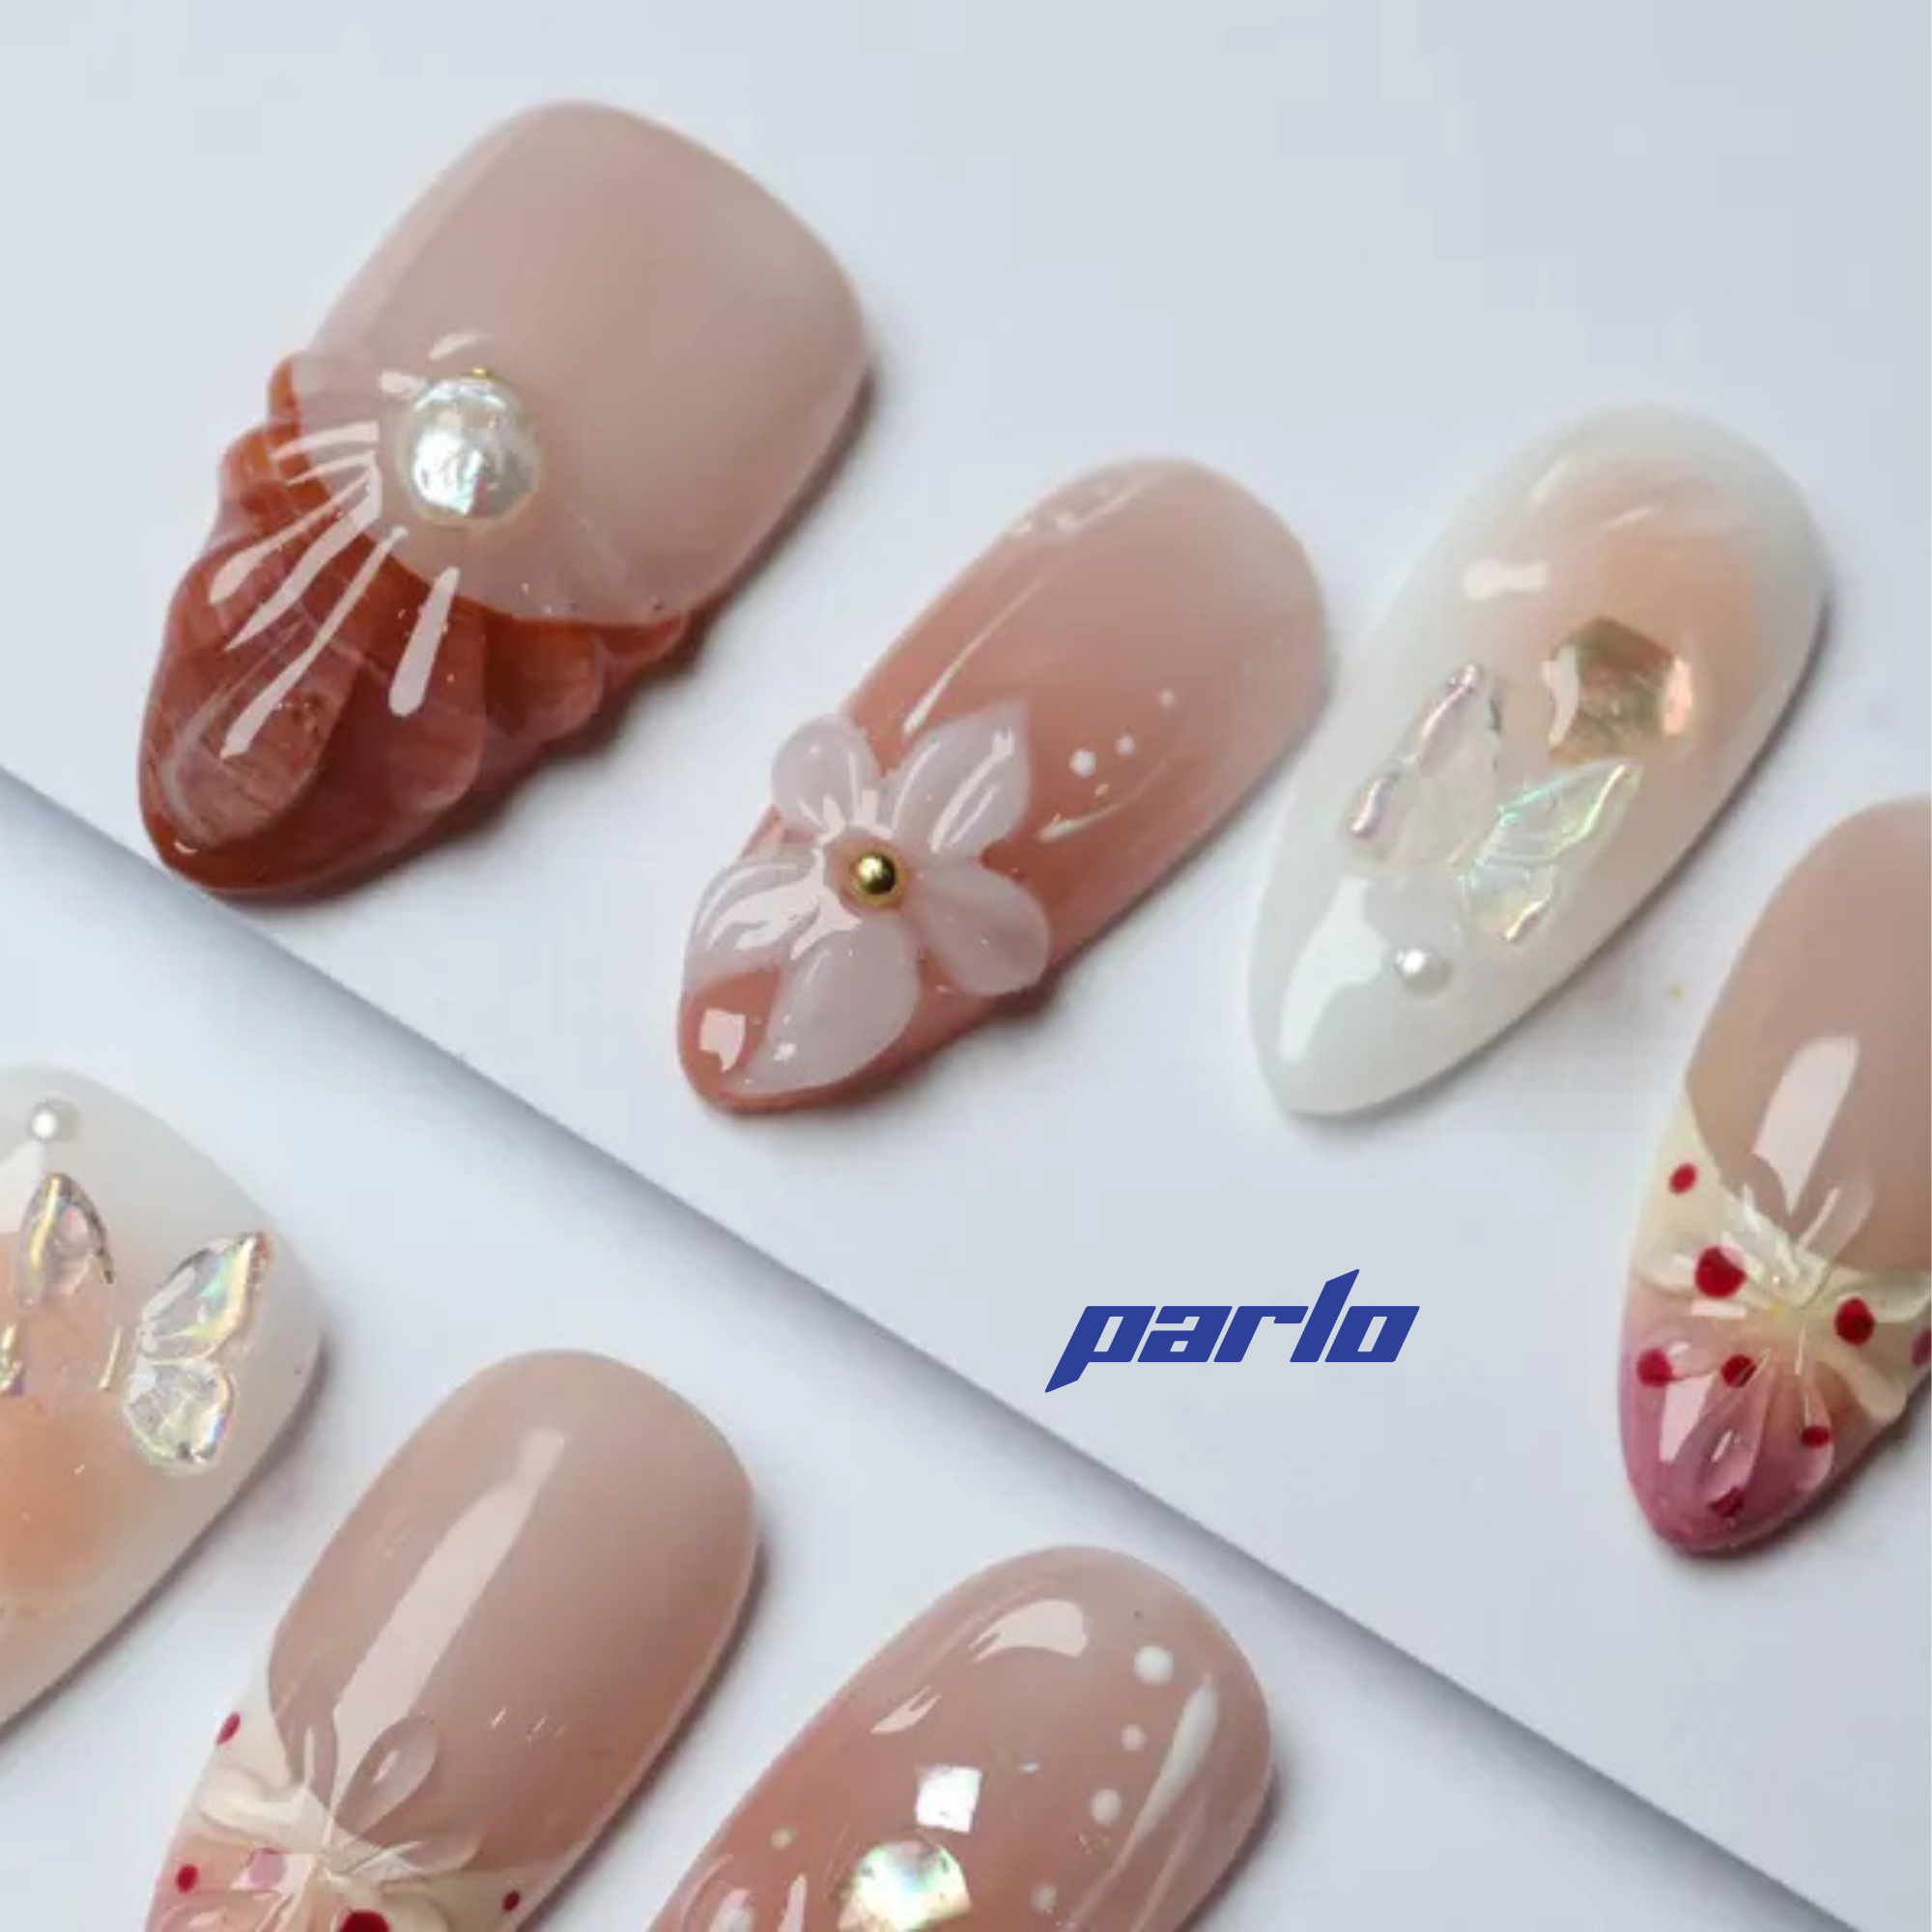
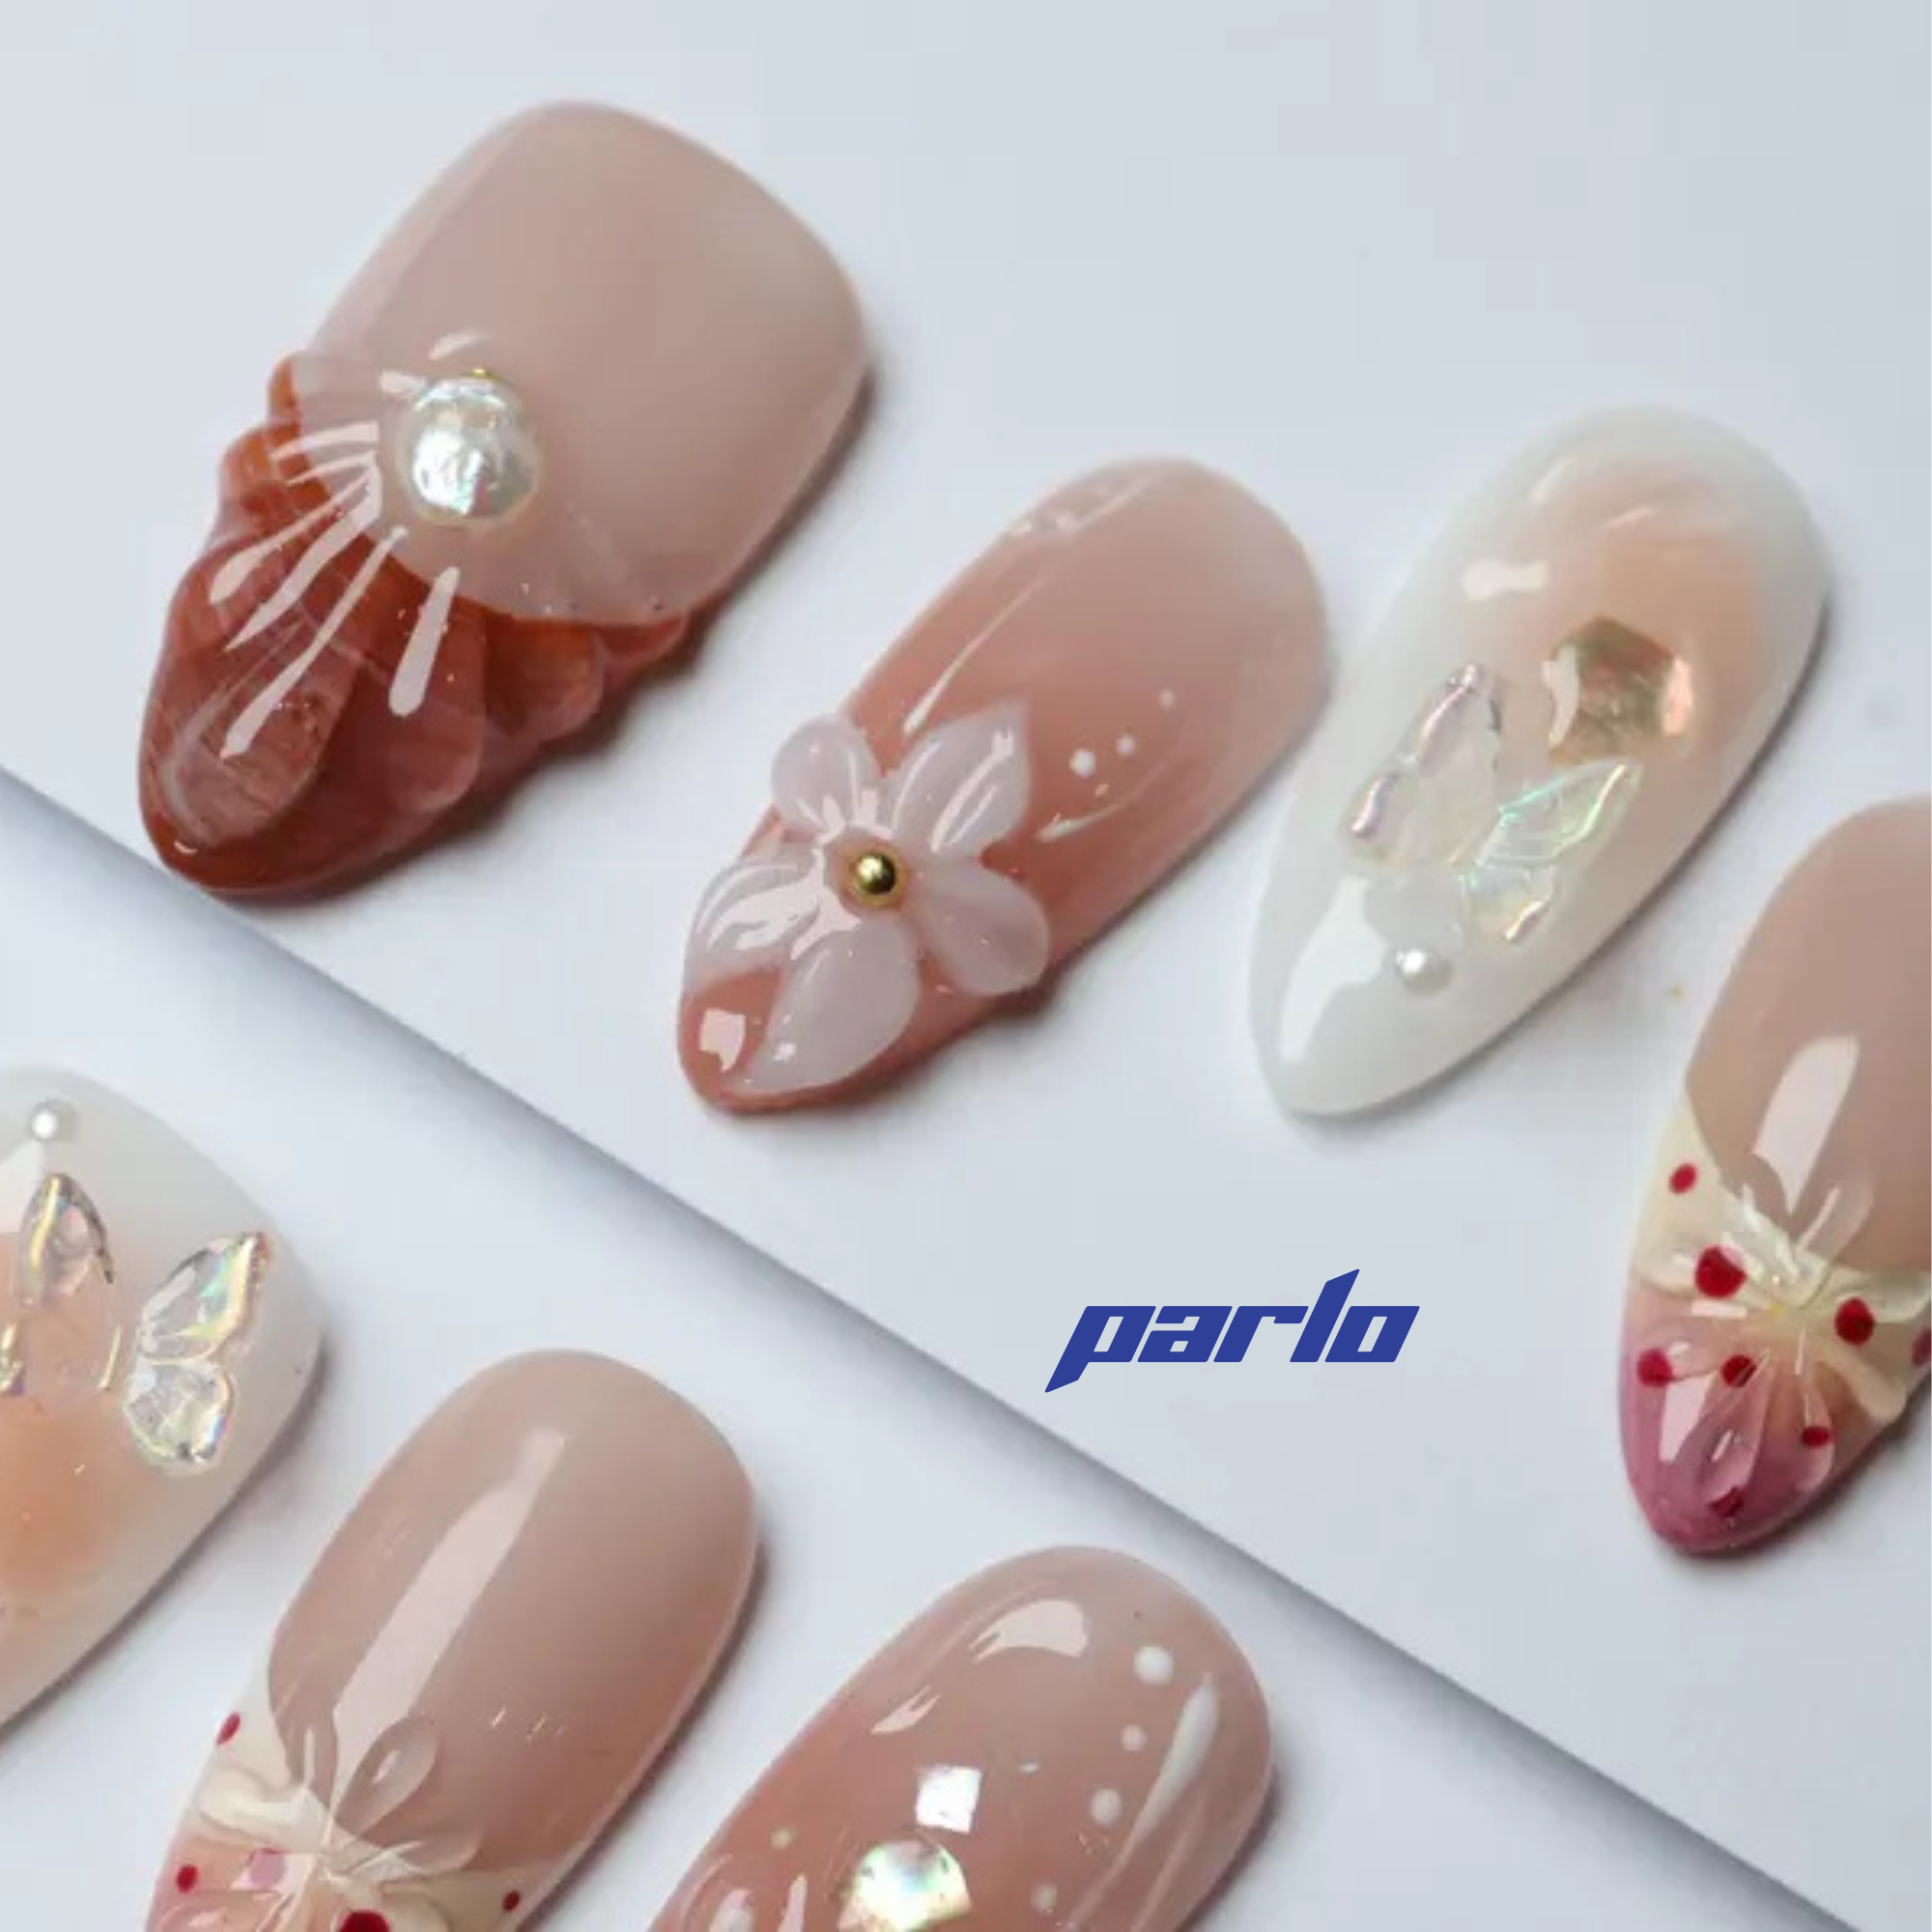
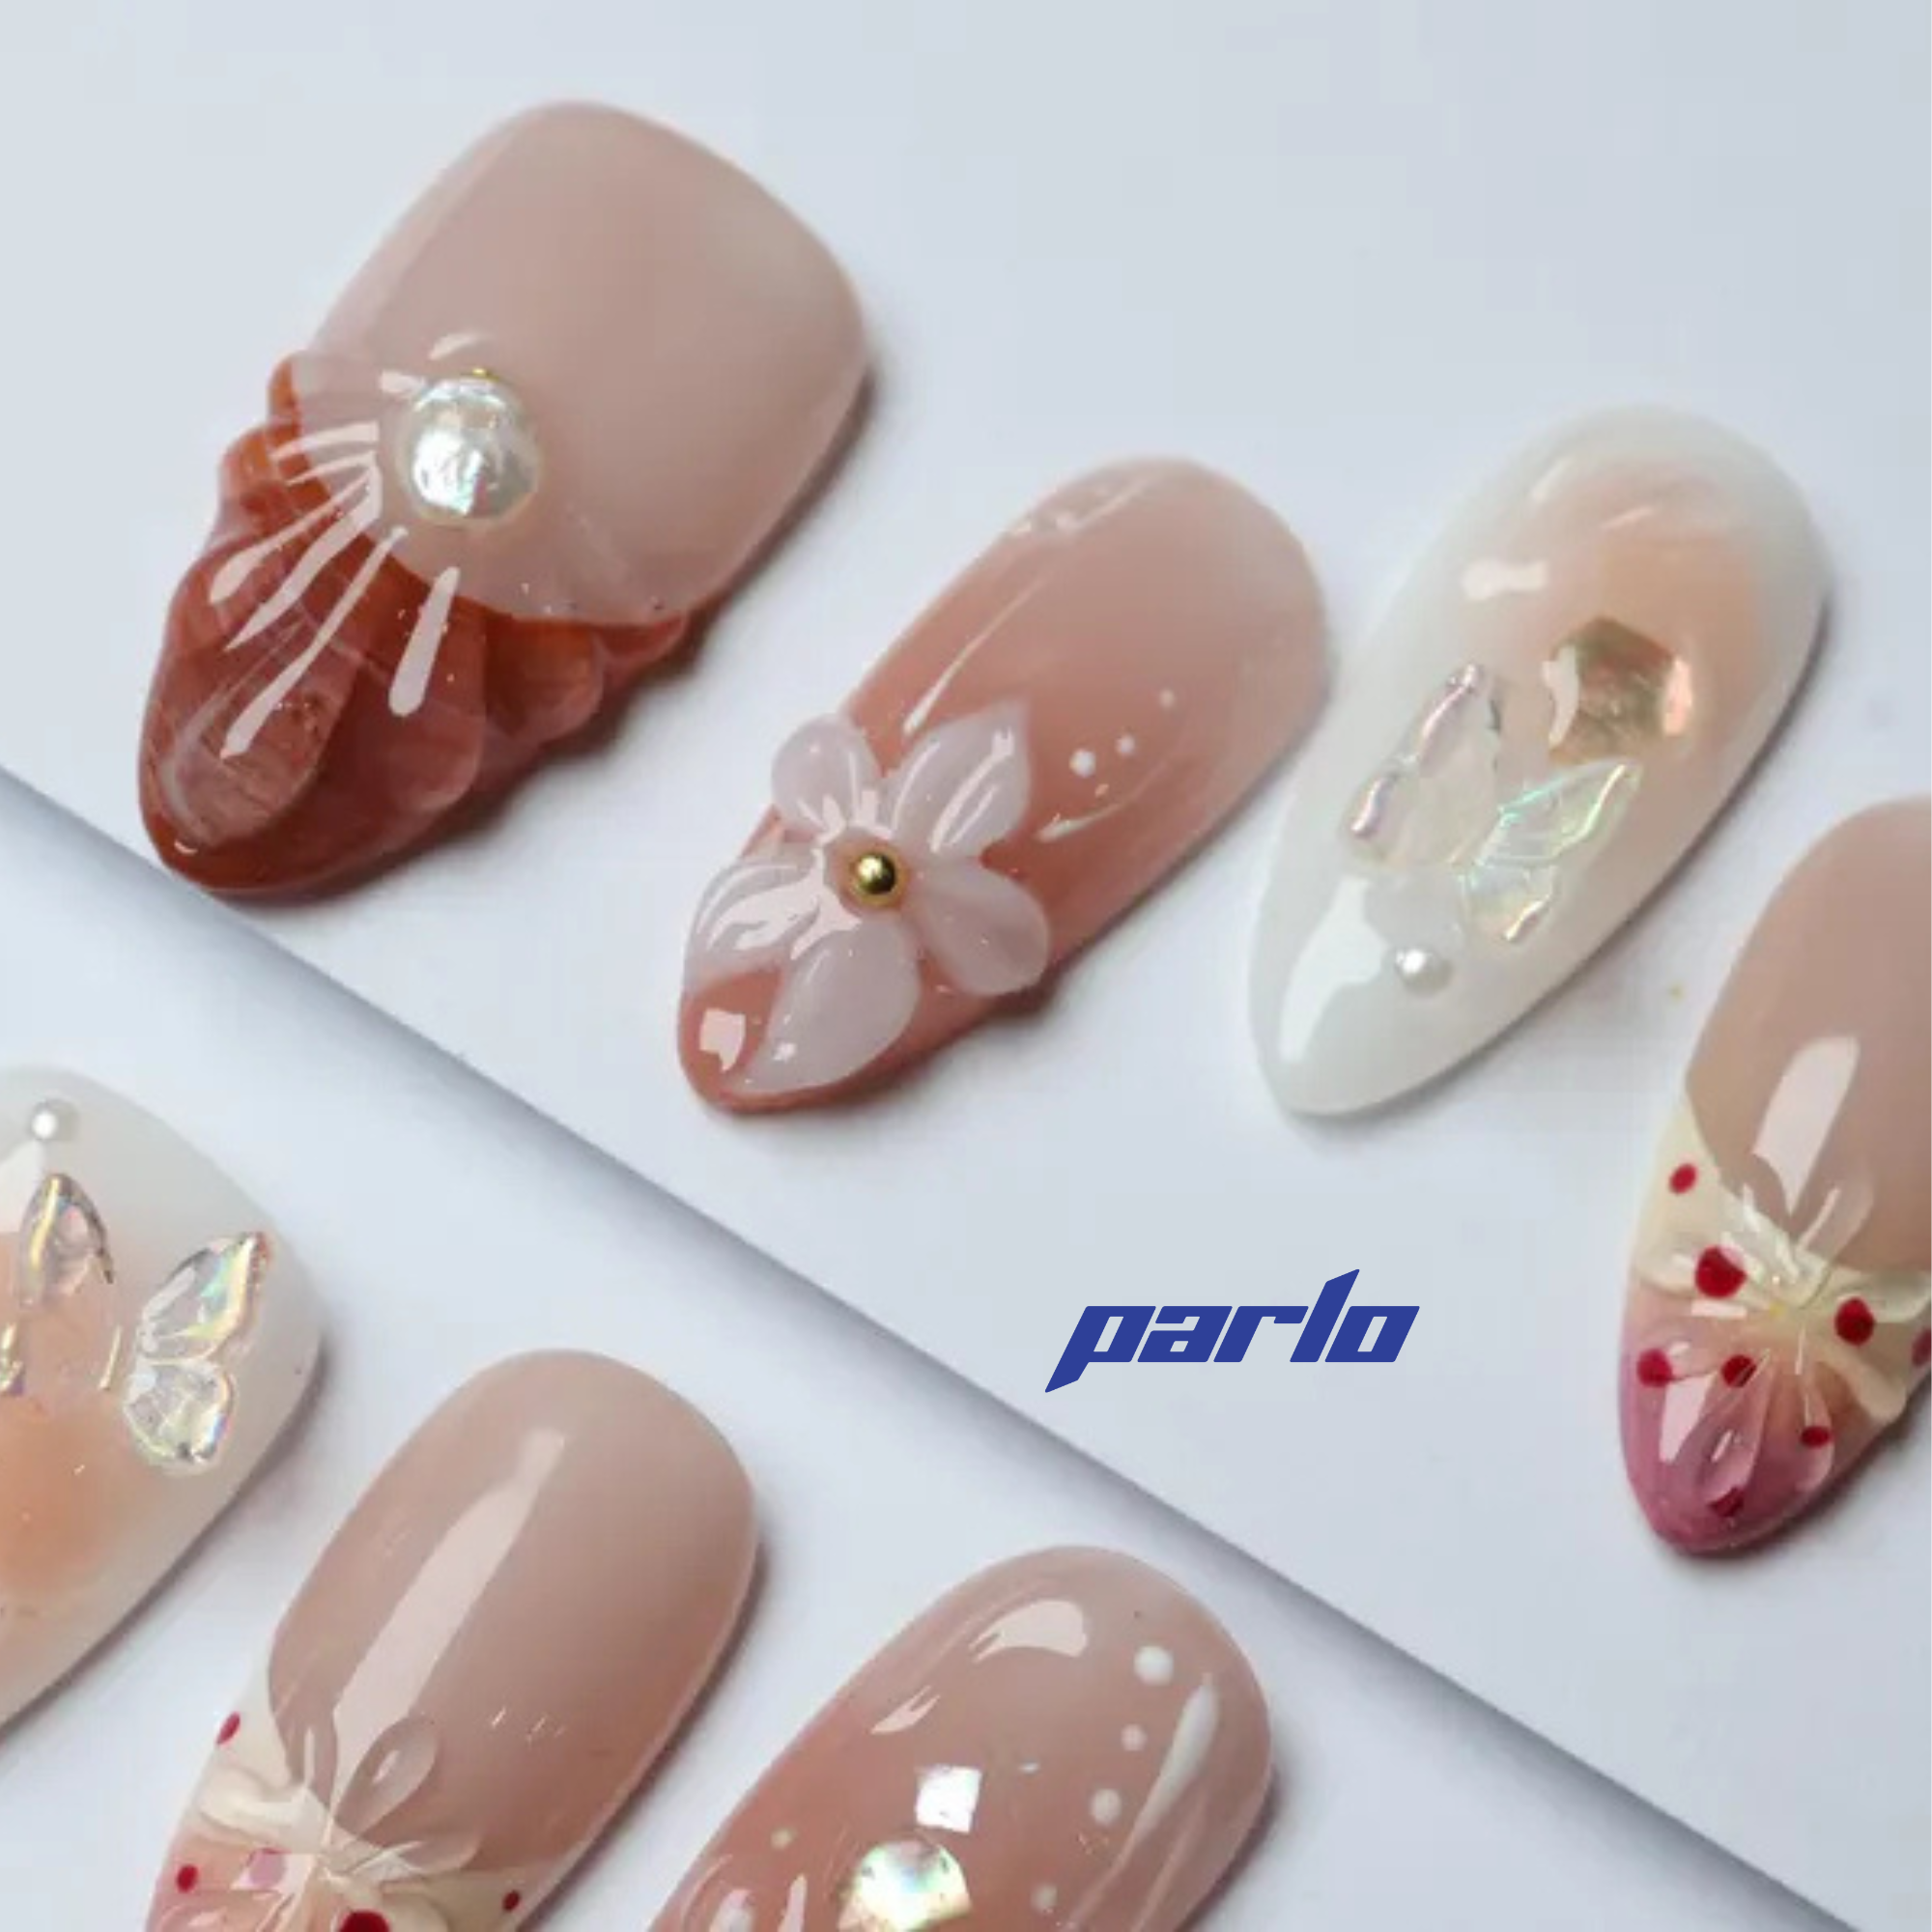
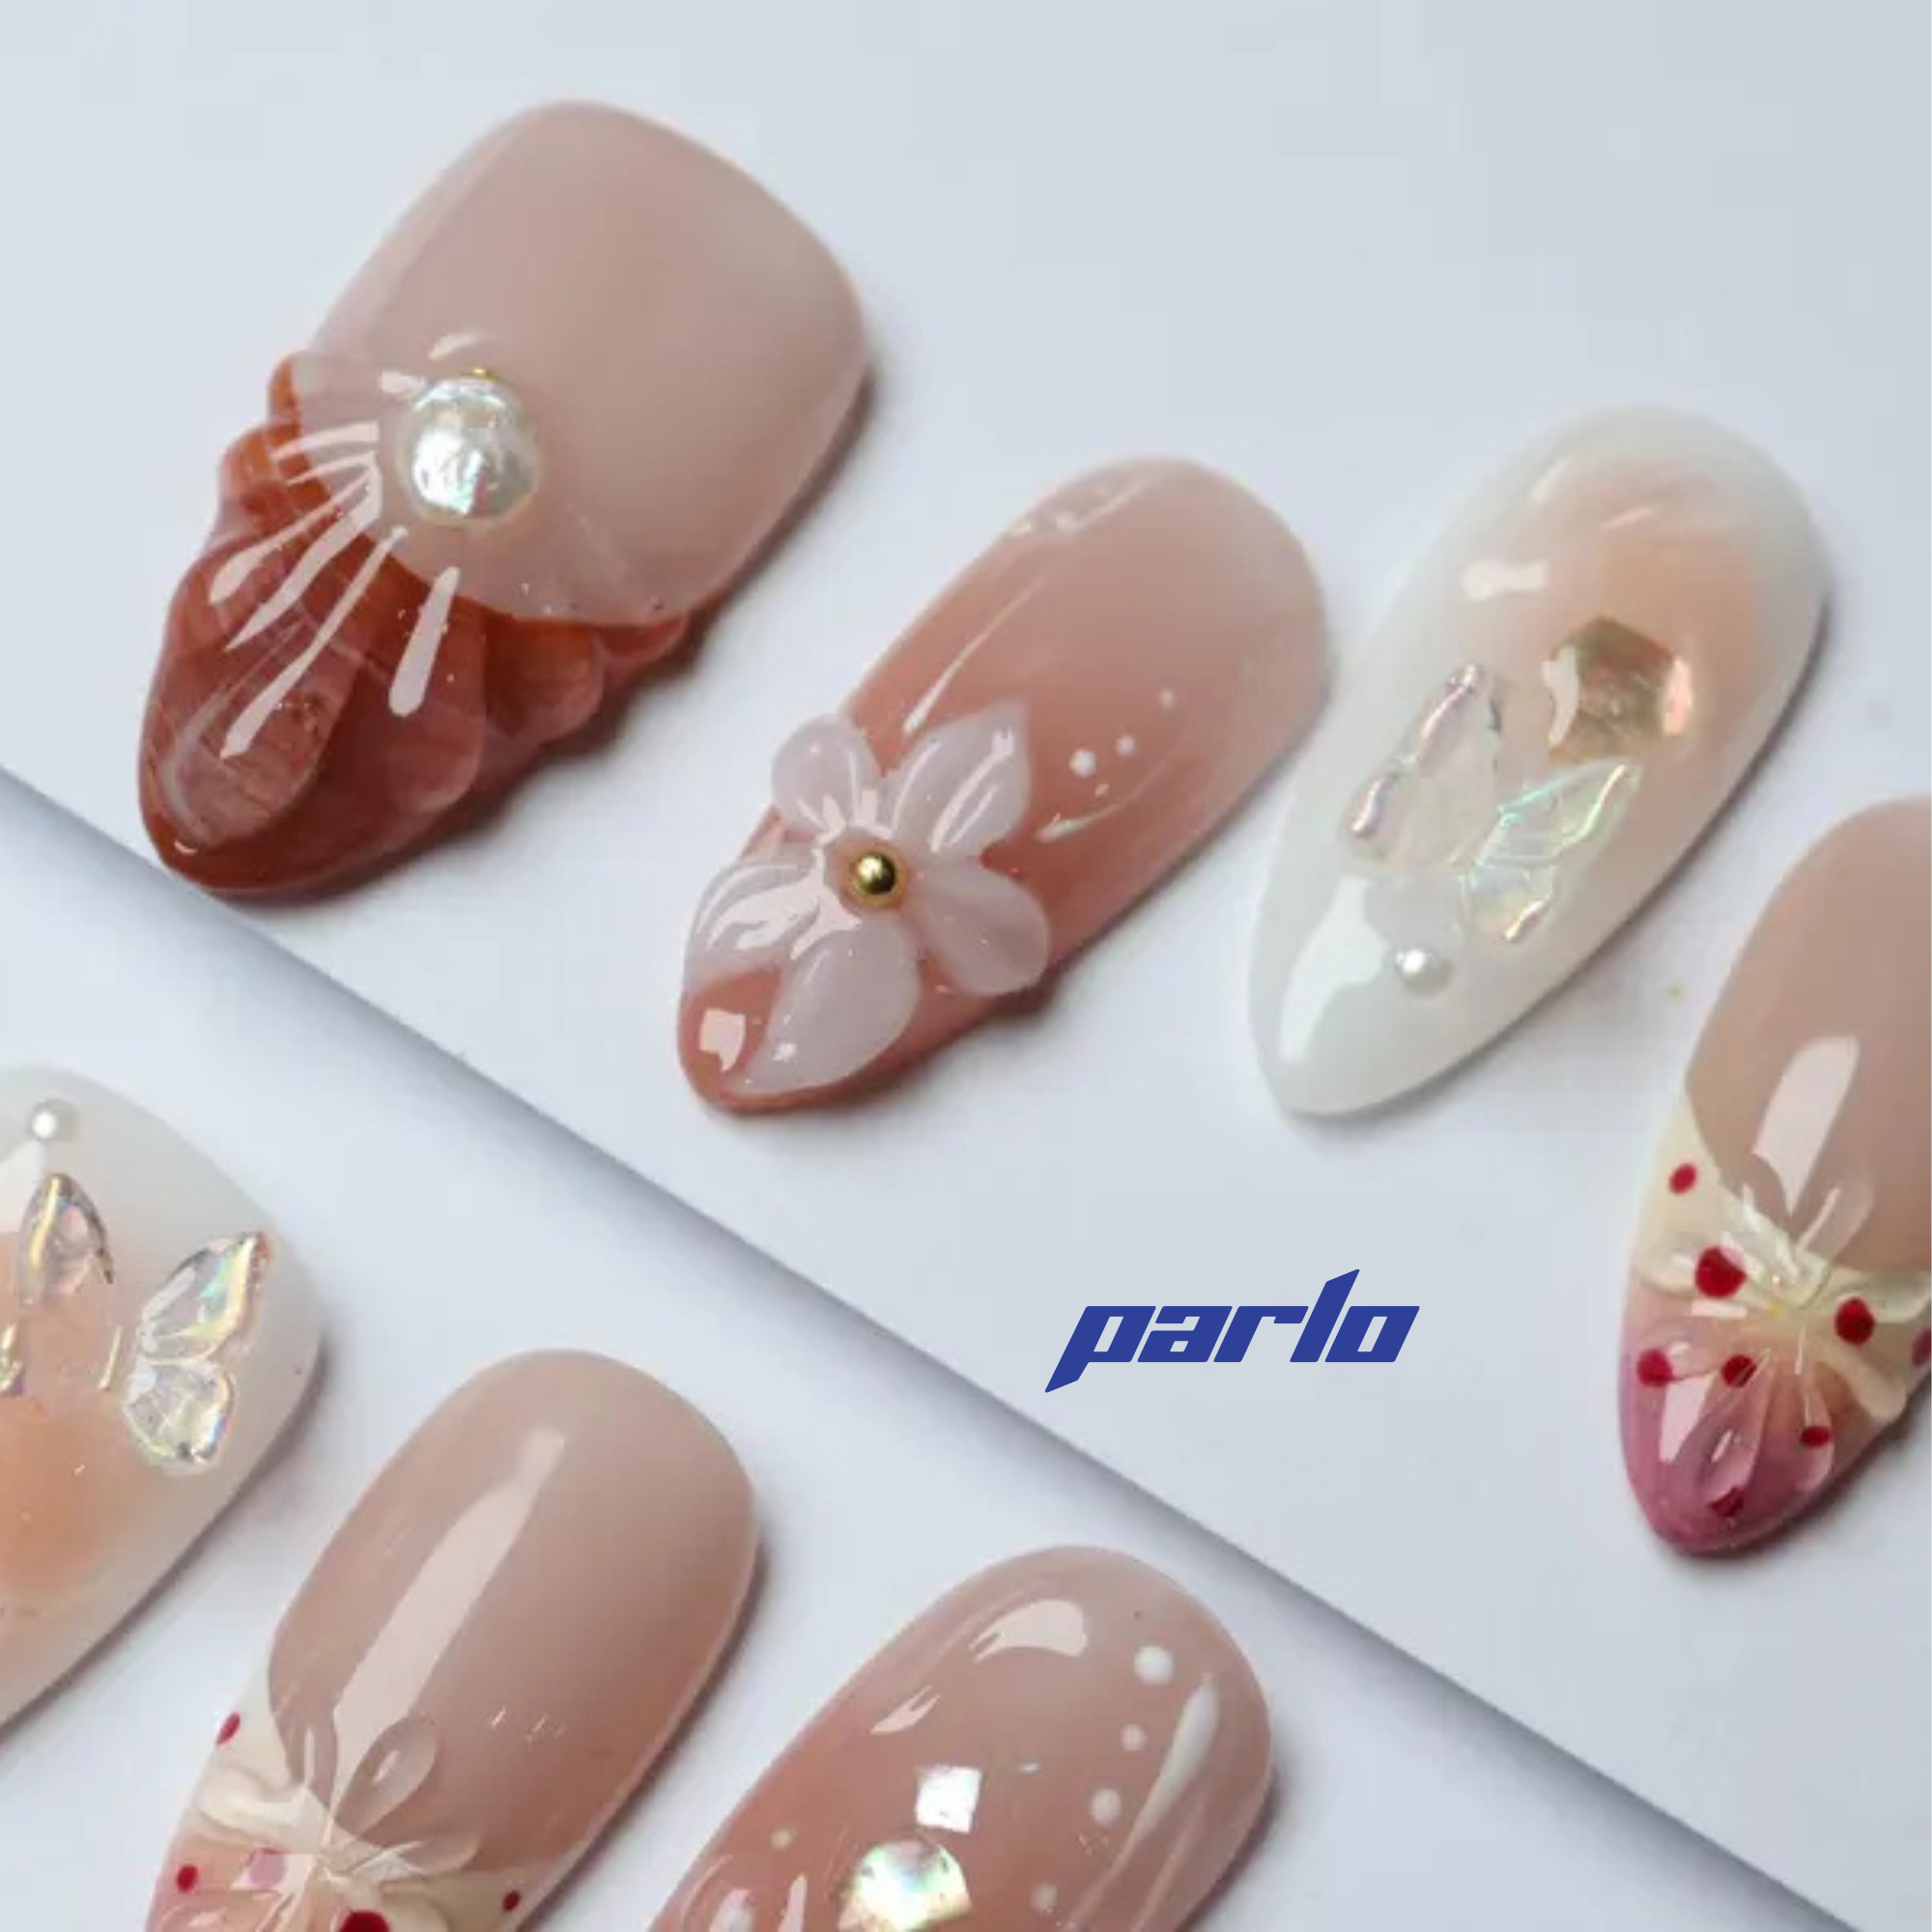
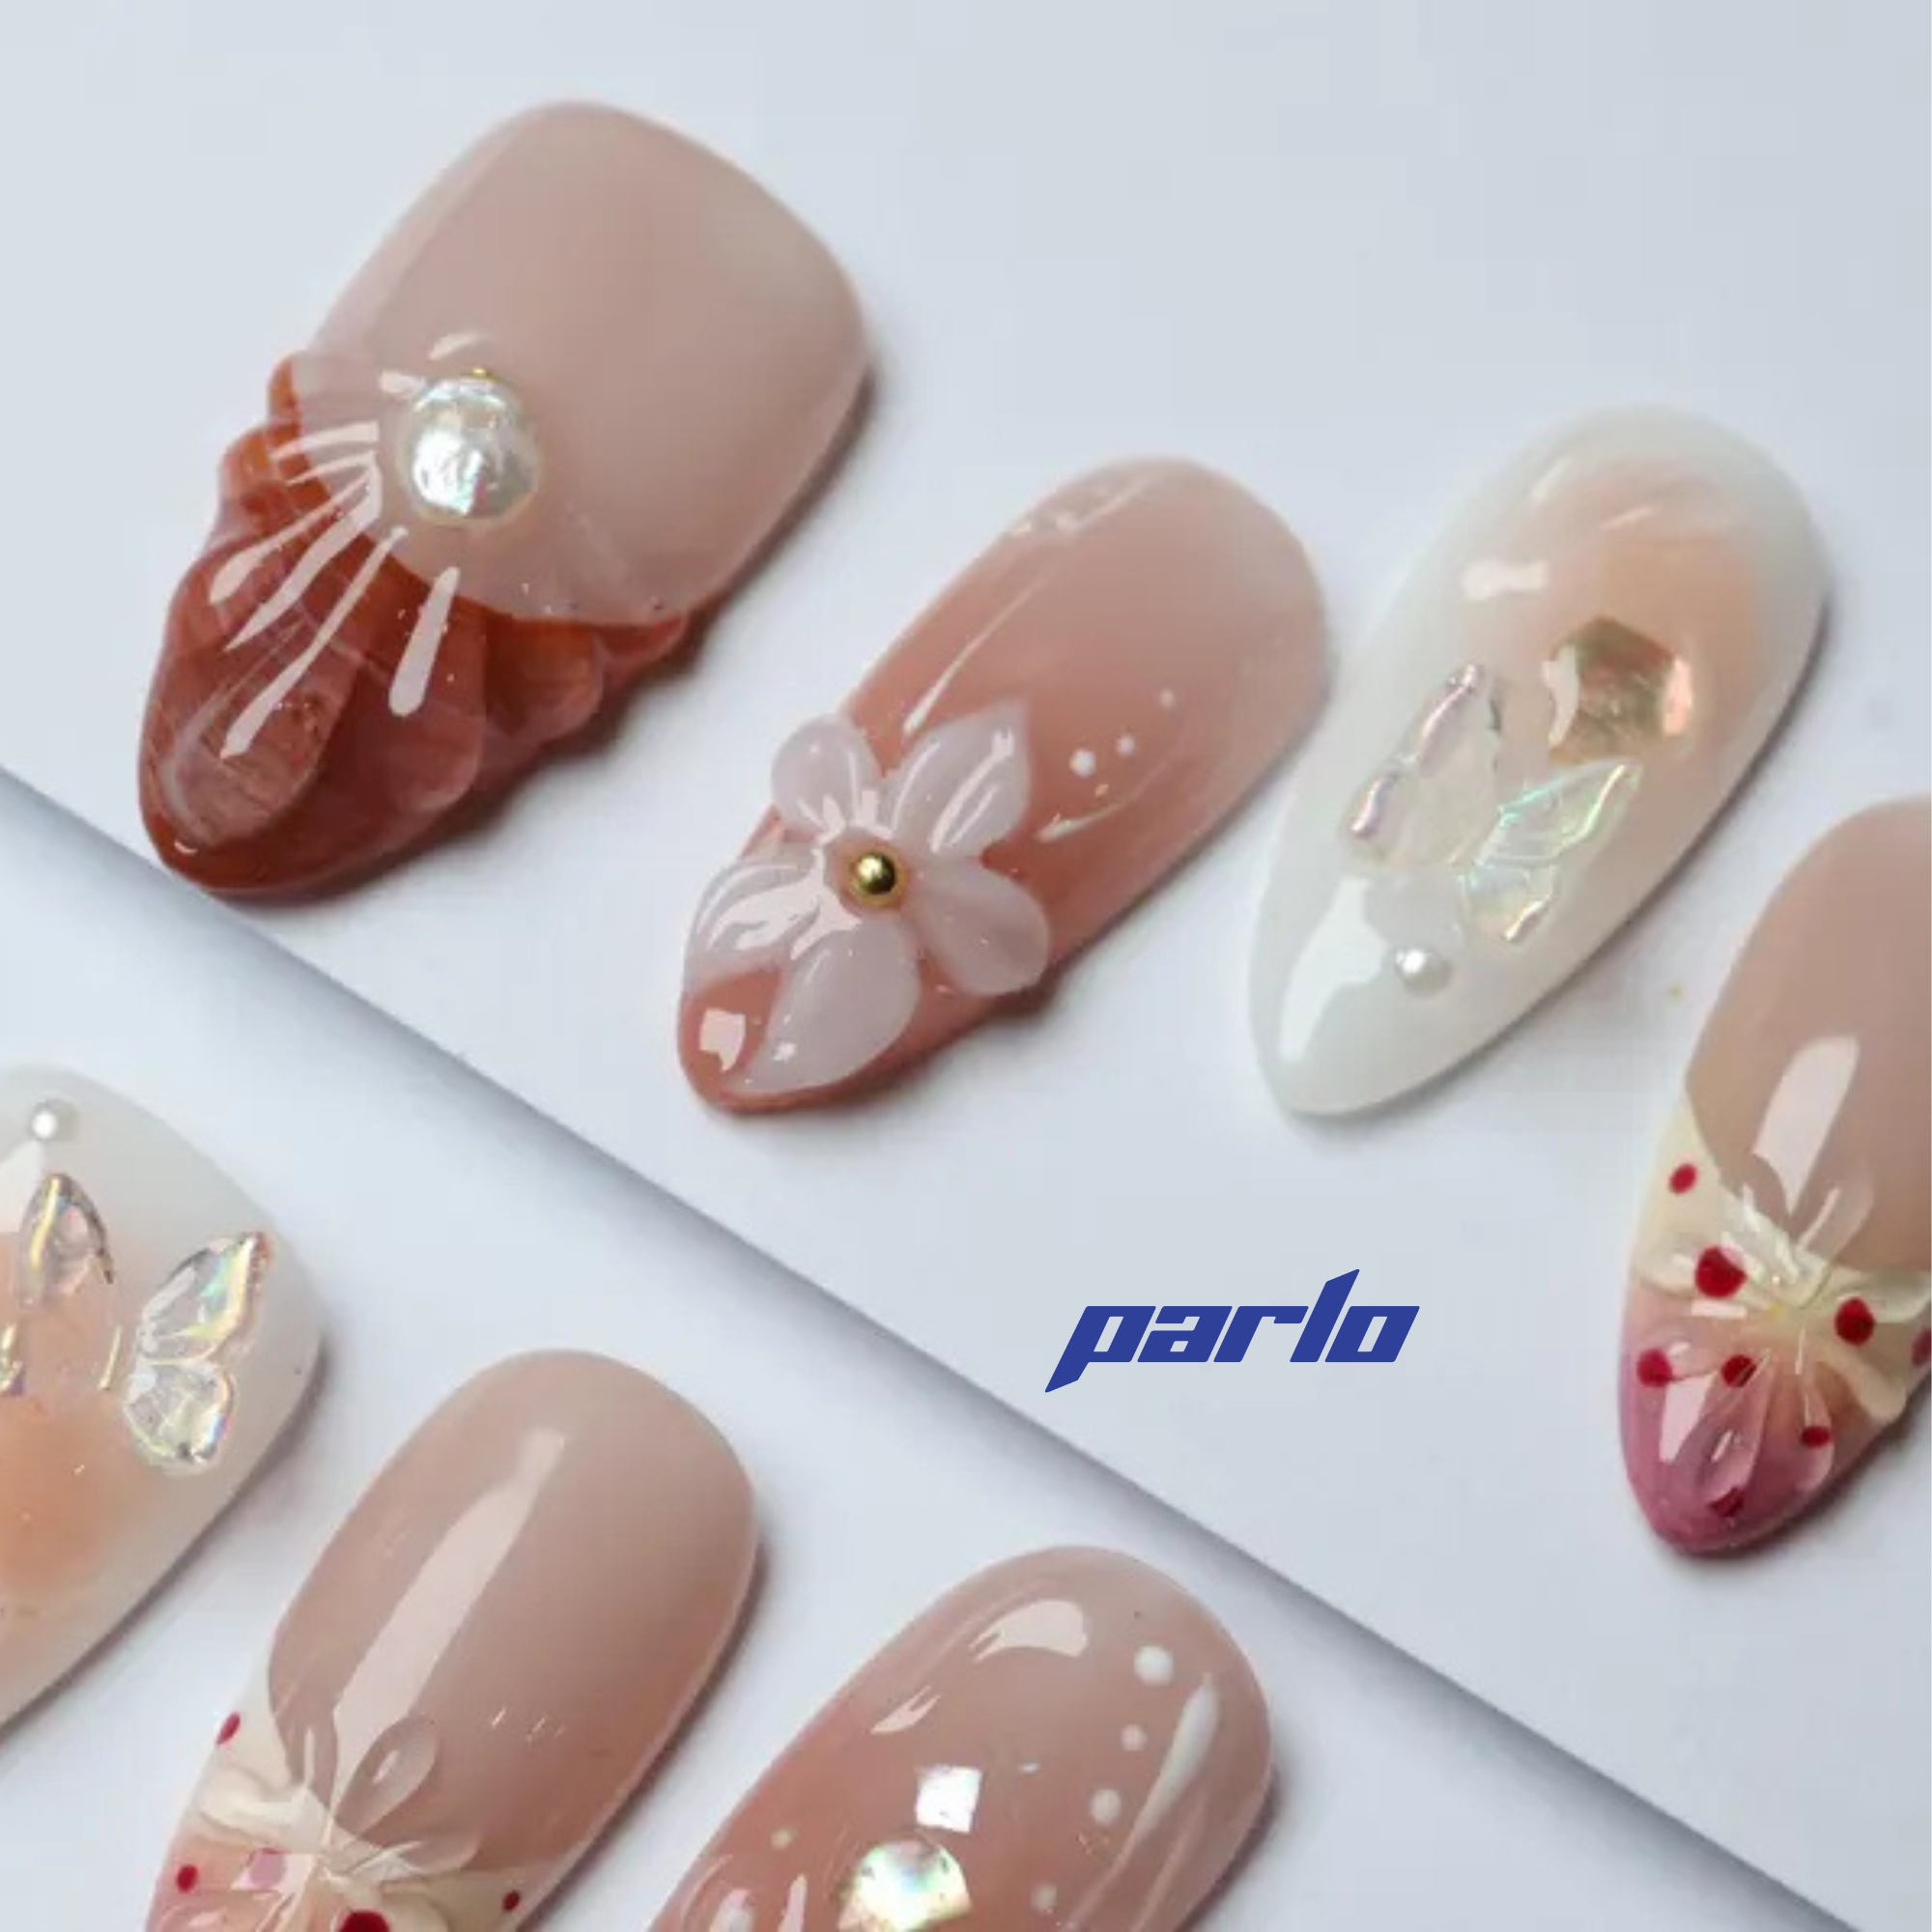
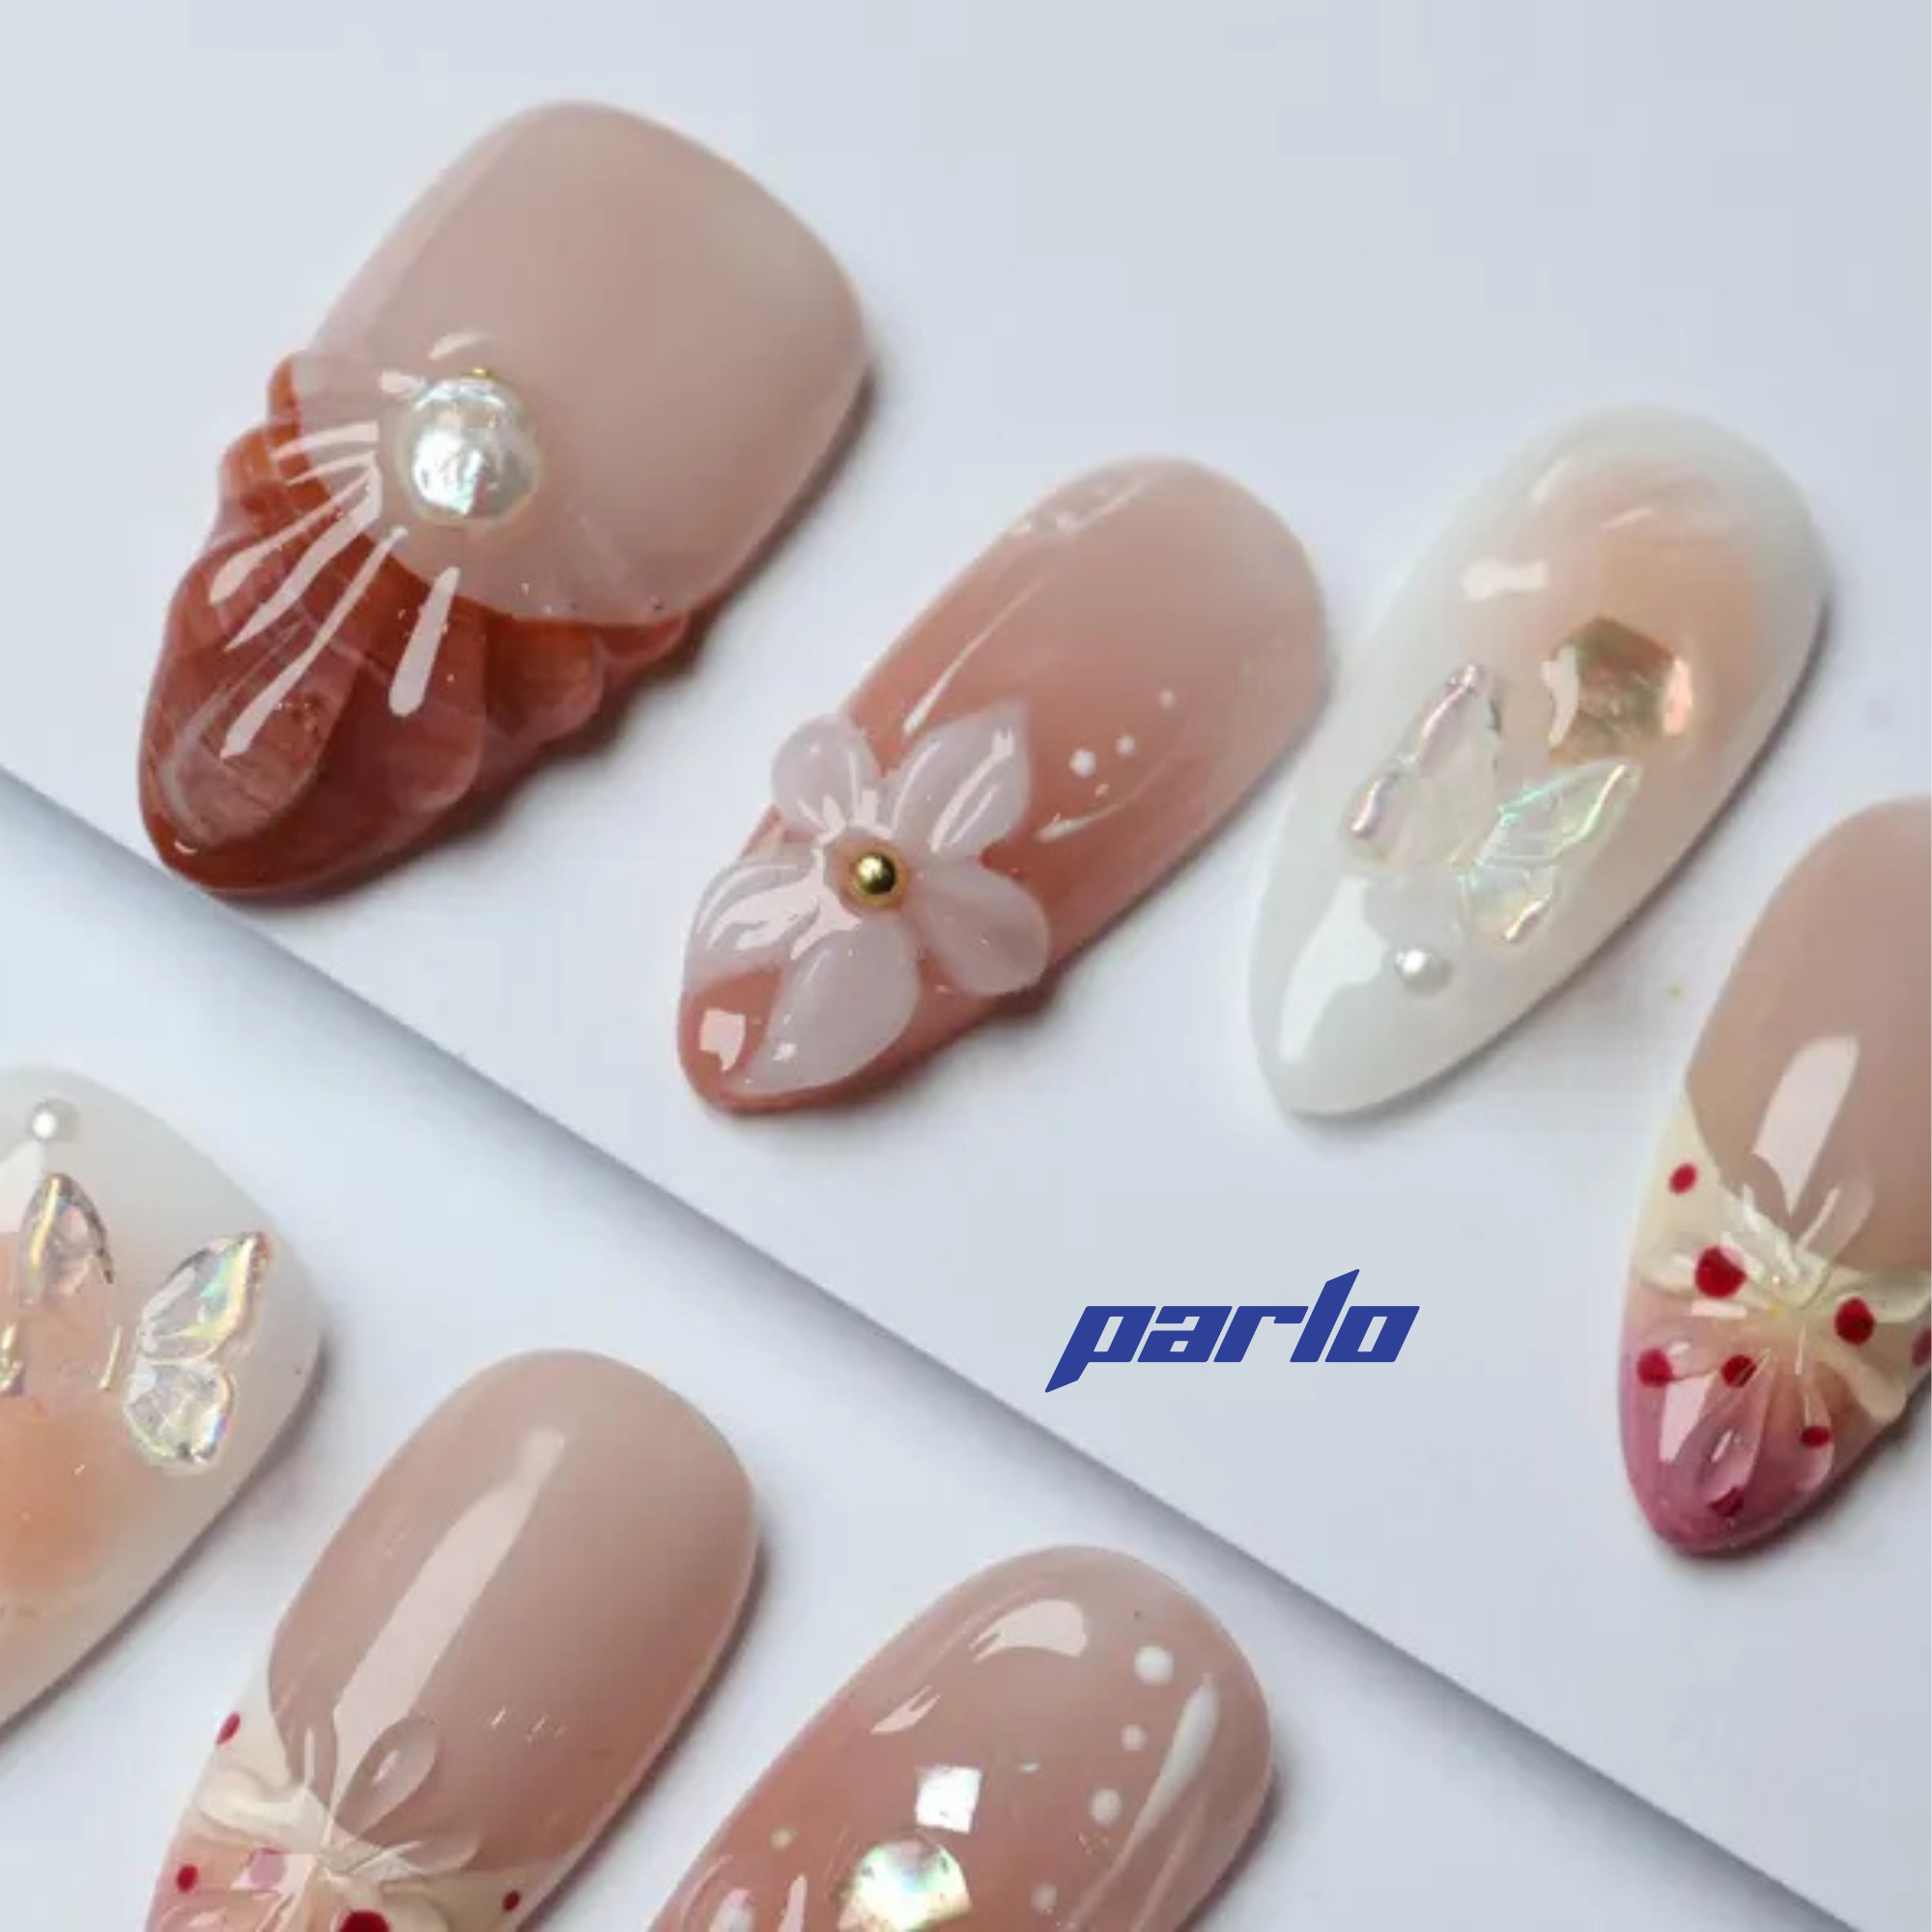
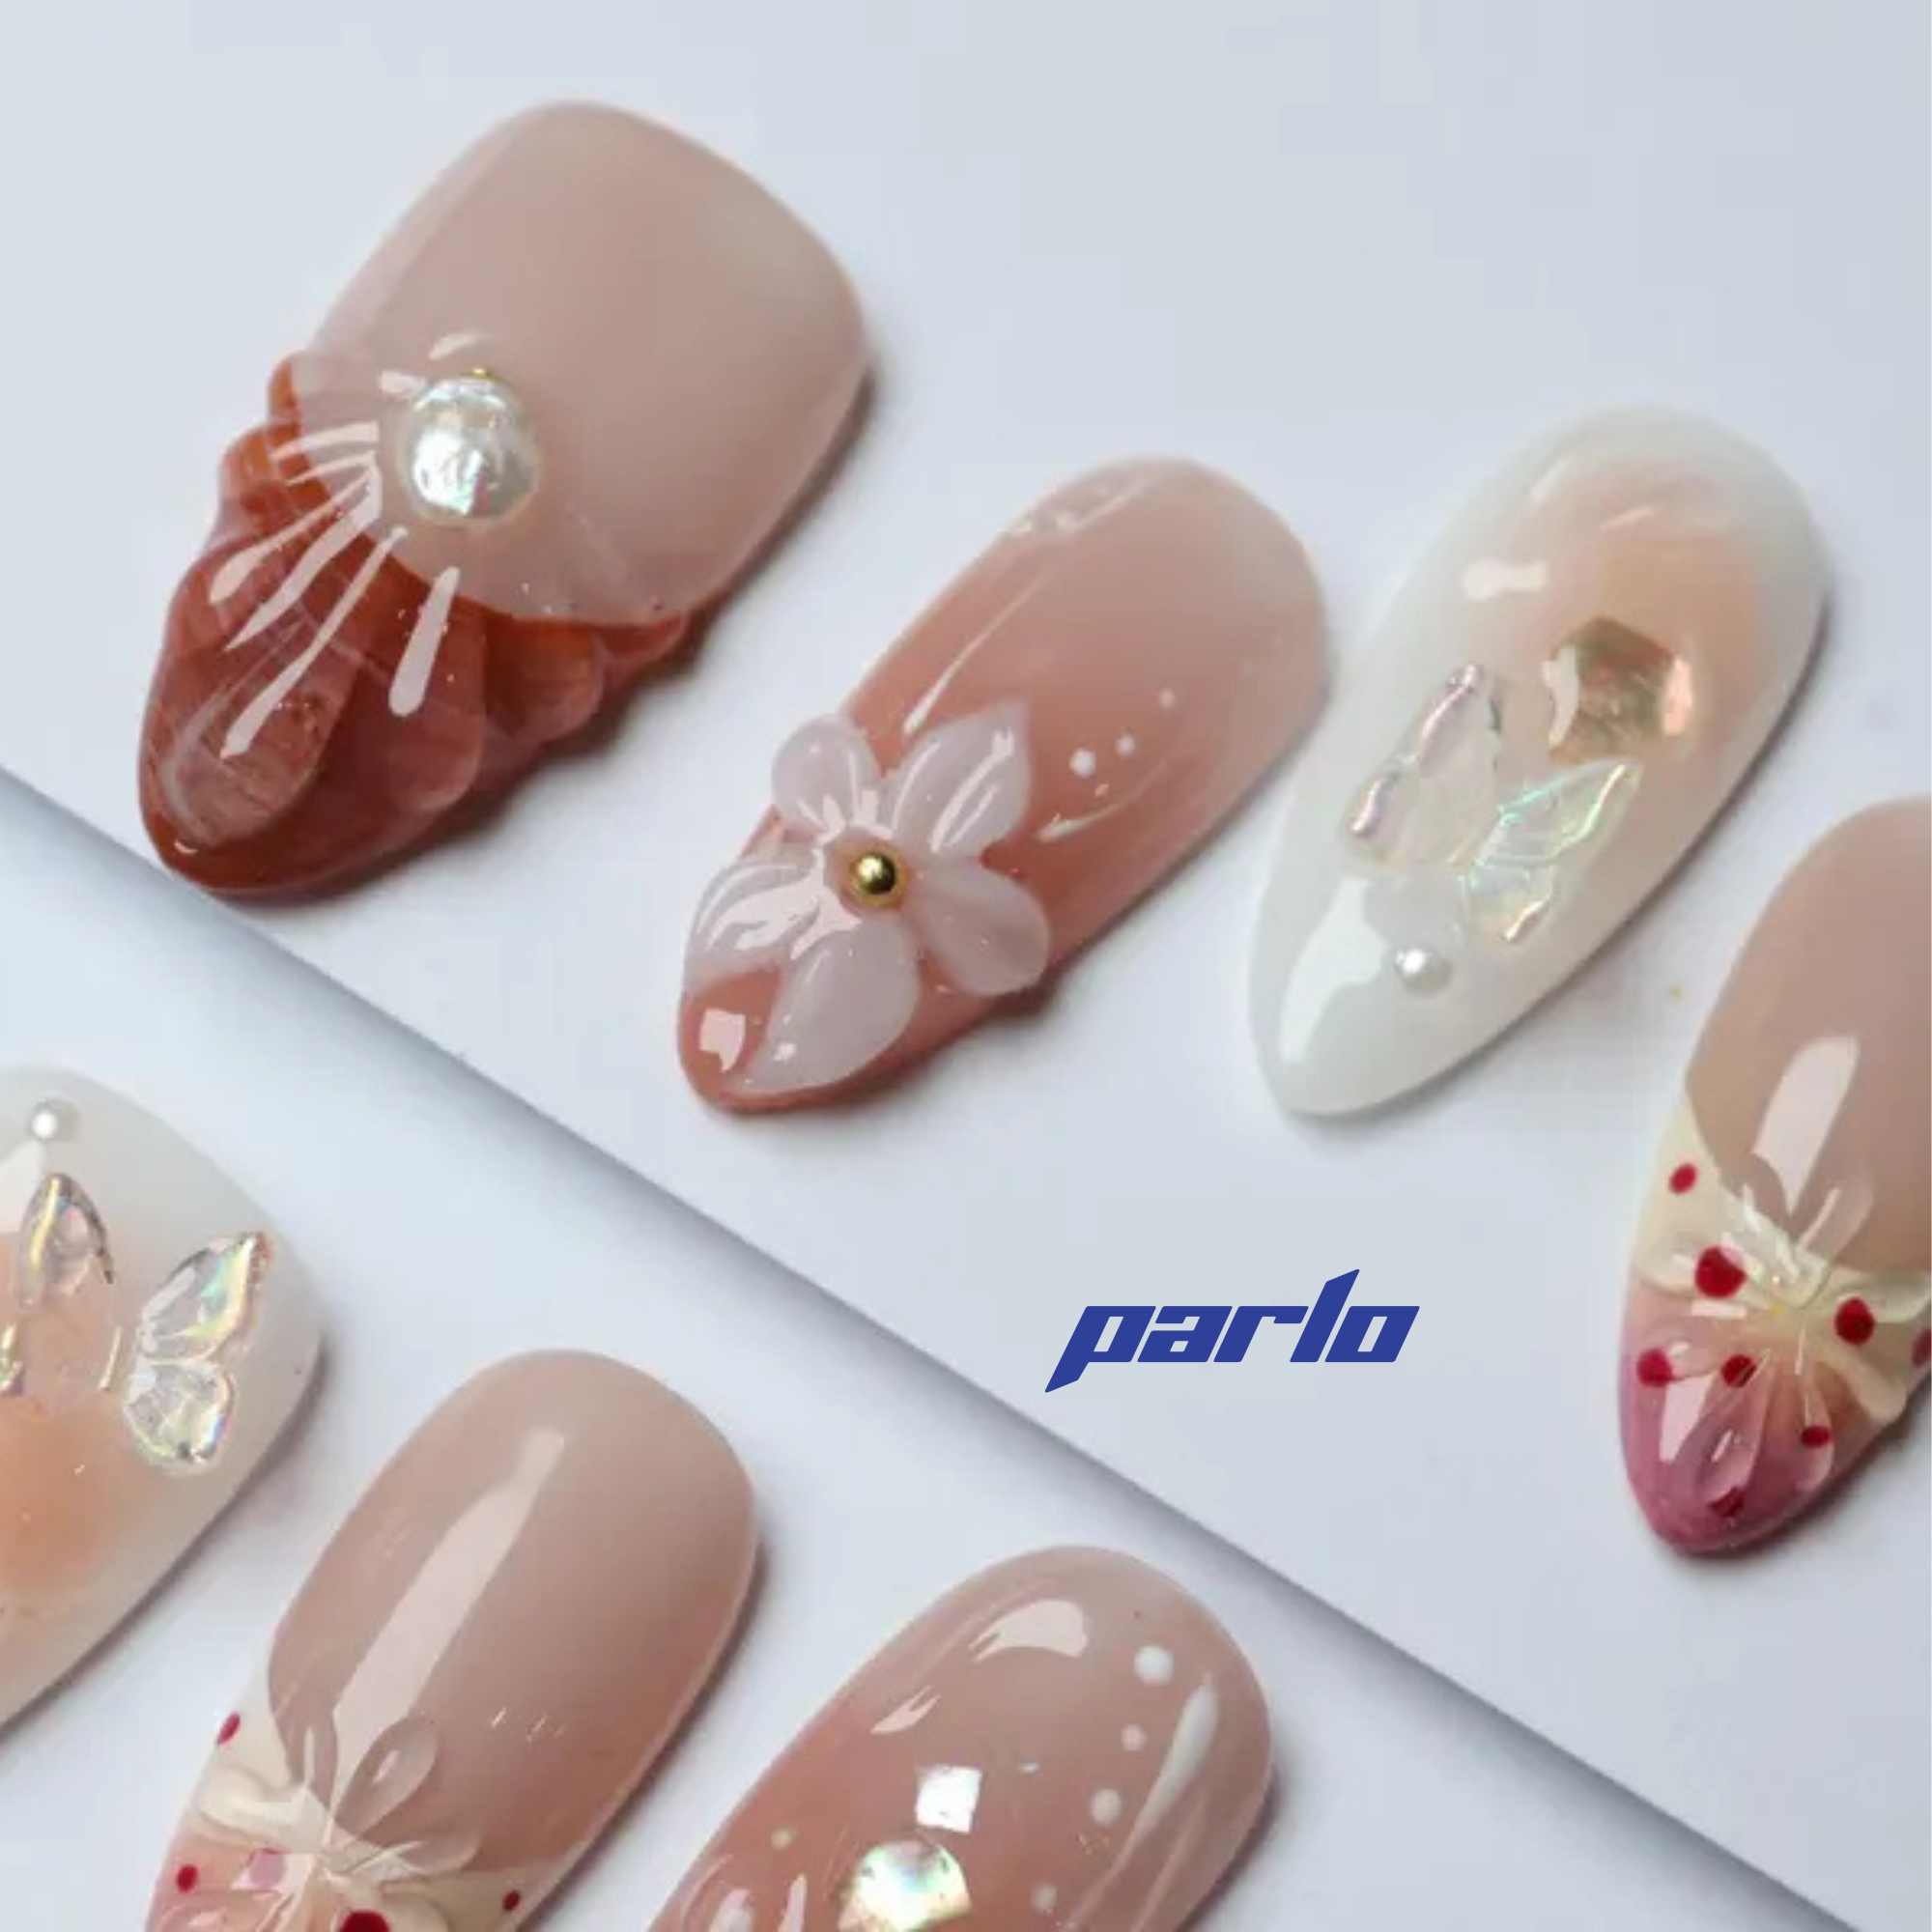
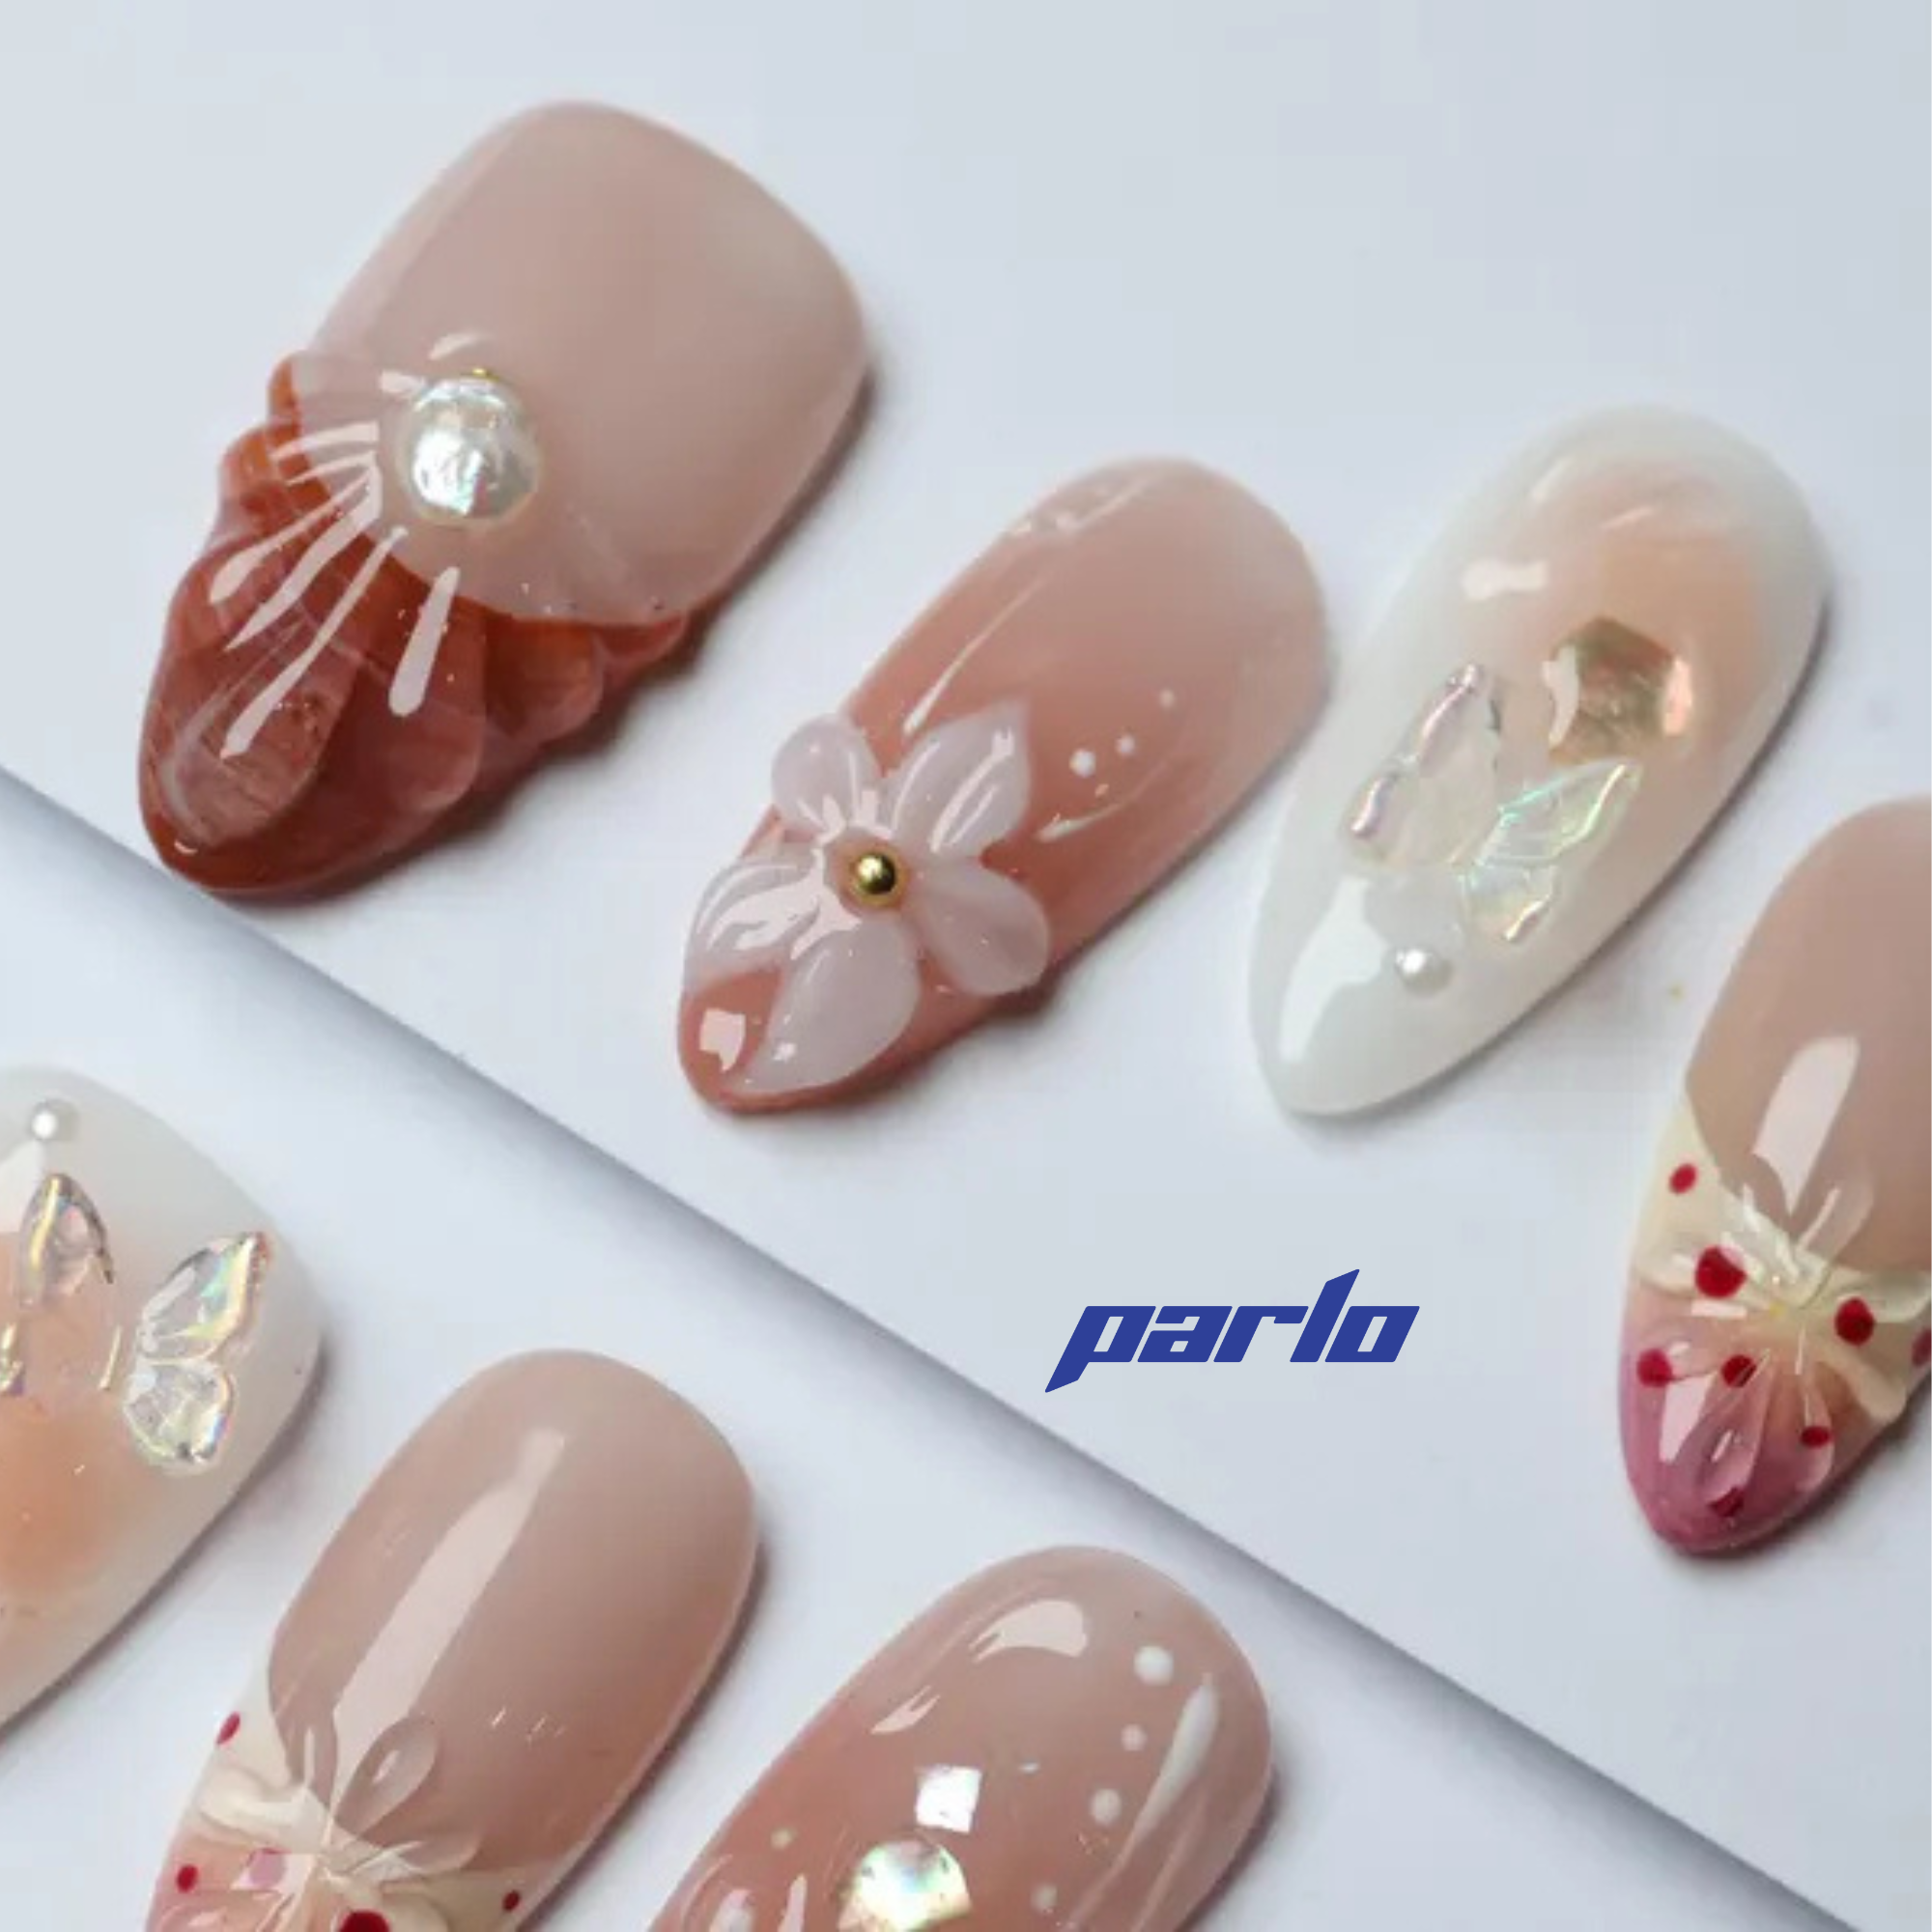
If you're looking for a quick and easy way to achieve stunning rhinestone nails without the hassle of individual application, consider press-on nails. Many beautiful designs feature pre-applied rhinestones for instant glamour.
These offer a convenient and reusable option for adding sparkle to your fingertips. Check out this product!
Maintaining Your Rhinestone Nails
To keep your rhinestone nails looking their best, avoid harsh chemicals and excessive water exposure. Consider wearing gloves when doing household chores. If a rhinestone comes loose, you can reapply it using the same method.
For a vibrant and easy application, check out these press ons!
With the right tools, techniques, and a little practice, you can create stunning rhinestone nail art that will turn heads. Enjoy the sparkle!
Ready to explore more nail art options? Discover our full range of nail products and accessories!
Generated from keyword: "Here’s What To Use To Put Rhinestones On Nails"


