
Acrylic 101: Back to Basics for Beautiful Nails
Acrylic nails offer a durable and versatile way to enhance your natural nails. Whether you're aiming for length, strength, or a flawless canvas for nail art, understanding the fundamentals of acrylic application is key. This guide will take you back to the basics, covering essential steps and techniques to help you achieve salon-worthy results at home.
Understanding Acrylic: What It Is and Why It's Popular
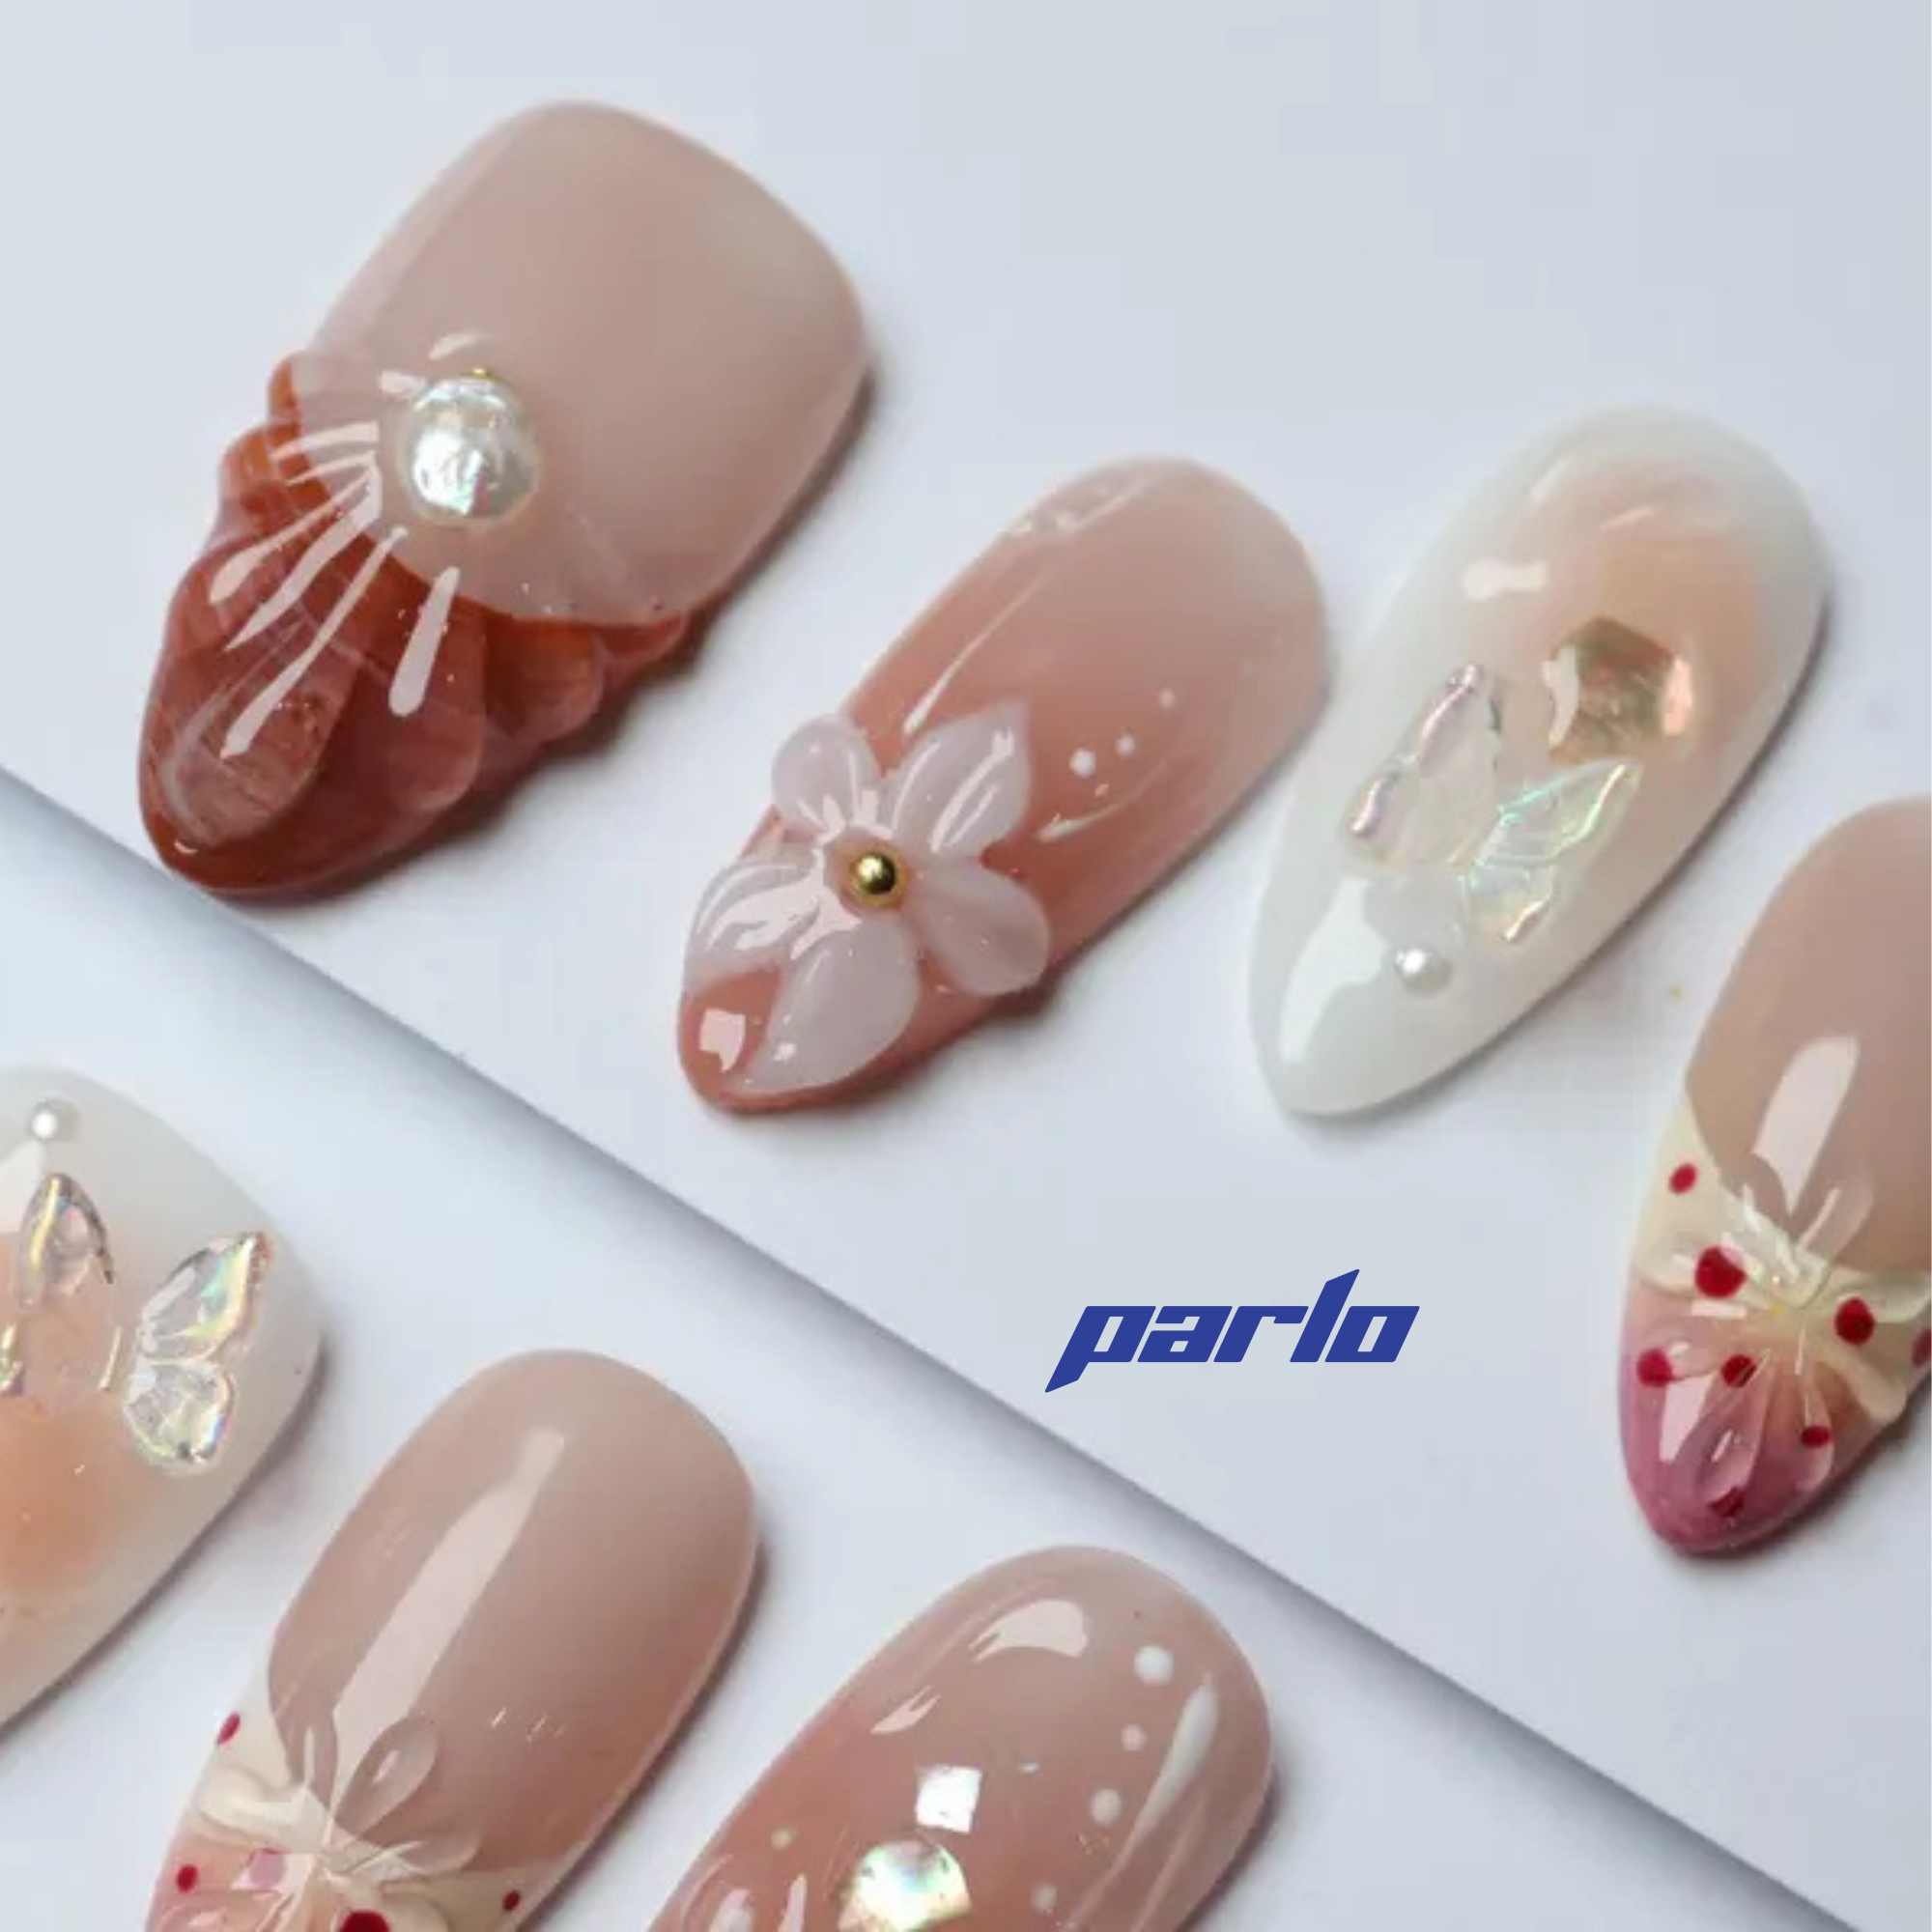
Acrylic nails are created by combining a liquid monomer with a powder polymer. This mixture forms a pliable substance that hardens over time, creating a strong and durable artificial nail. The popularity of acrylics stems from their strength, longevity, and ability to be shaped and customized to various lengths and designs. They provide a fantastic base for all sorts of nail art, from simple colors to intricate designs. For example, you could use acrylics as the perfect base for 3D floral designs. Check out these stunning floral press-ons!

Essential Tools and Materials
Before diving into the application process, gather your essential tools and materials. You'll need:
- Acrylic powder (various colors)
- Liquid monomer
- Acrylic brush (size 8 or 10 is a good starting point)
- Dappen dish
- Nail file (100/180 grit)
- Buffer block
- Nail dehydrator
- Primer
- Cuticle pusher
- Nail tips (optional, for adding length)
- Nail glue (if using tips)
- Top coat
Investing in high-quality products will significantly impact the final result and longevity of your acrylic nails. Remember to clean and sanitize your tools before each use to prevent infections.
Step-by-Step Acrylic Application
Now, let's walk through the acrylic application process:
- Prep Your Natural Nails: Start by pushing back your cuticles, filing the surface of your natural nails to create a slightly rough texture, and removing any oils or debris with a nail dehydrator.
- Apply Nail Tips (Optional): If you desire added length, apply nail tips using nail glue. Trim and shape the tips to your desired length and shape.
- Apply Primer: Apply a thin layer of primer to your natural nails and nail tips (if used). This helps the acrylic adhere better.
- Mix Acrylic: Pour a small amount of liquid monomer into your dappen dish. Dip your acrylic brush into the monomer, then gently tap it into the acrylic powder to create a small bead. The consistency should be smooth and not too runny.
- Apply Acrylic: Apply the bead of acrylic to your nail, starting near the cuticle area and working your way down to the free edge. Use gentle pressure to spread the acrylic evenly. Repeat this process until the entire nail is covered.
- Shape and Refine: Once the acrylic has hardened, use a nail file to shape and refine the nails to your desired shape. Use a buffer block to smooth out any imperfections.
- Apply Top Coat: Finish with a layer of top coat to seal the acrylic and add shine.
Troubleshooting Common Acrylic Nail Problems
Even with careful application, you might encounter some common problems. Here are a few solutions:
- Lifting: Ensure proper nail prep and use a good-quality primer. Avoid getting acrylic on the cuticle area.
- Bubbles: Ensure your acrylic bead is the right consistency and avoid overworking the acrylic.
- Uneven Application: Practice makes perfect! Take your time and use gentle pressure to spread the acrylic evenly.
Level Up Your Look
Once you've mastered the basics, don't be afraid to experiment with different colors, designs, and techniques. You can even add some fun accents!

For a quick and easy way to achieve a stunning, professional-looking manicure, consider exploring press-on nails. Check out these beautiful Aloha Acai nails!
With a little practice and patience, you'll be creating beautiful acrylic nails in no time!
Ready to start your acrylic nail journey? Explore our collection of nail products and accessories!
Generated from keyword: "Acrylic 101- Back to the Basics"