
How to Apply Dip Powder Nails at Home in 10 Easy Steps!
Want gorgeous, long-lasting nails without the expensive salon trips? Dip powder nails are the answer! This easy-to-learn technique delivers a durable, chip-resistant manicure that can last for weeks. Follow our 10 simple steps to achieve salon-quality dip powder nails in the comfort of your own home.
What You'll Need
Before you begin, gather your supplies. You'll need:
- Dip powder liquids (base coat, activator, top coat)
- Your favorite dip powder colors
- A nail file and buffer
- Cuticle pusher
- Brush saver
- Dust brush
- Paper towels
10 Easy Steps to DIY Dip Powder Nails
Step 1: Prep Your Nails
Start with clean, dry nails. Remove any existing polish and gently push back your cuticles. Lightly buff the surface of your nails to create a slightly rough texture for better adhesion. This is a crucial step for long-lasting results.
Step 2: Apply Base Coat
Apply a thin, even layer of dip powder base coat to one nail at a time. Work quickly, as the base coat dries fast.
Step 3: Dip Into Powder
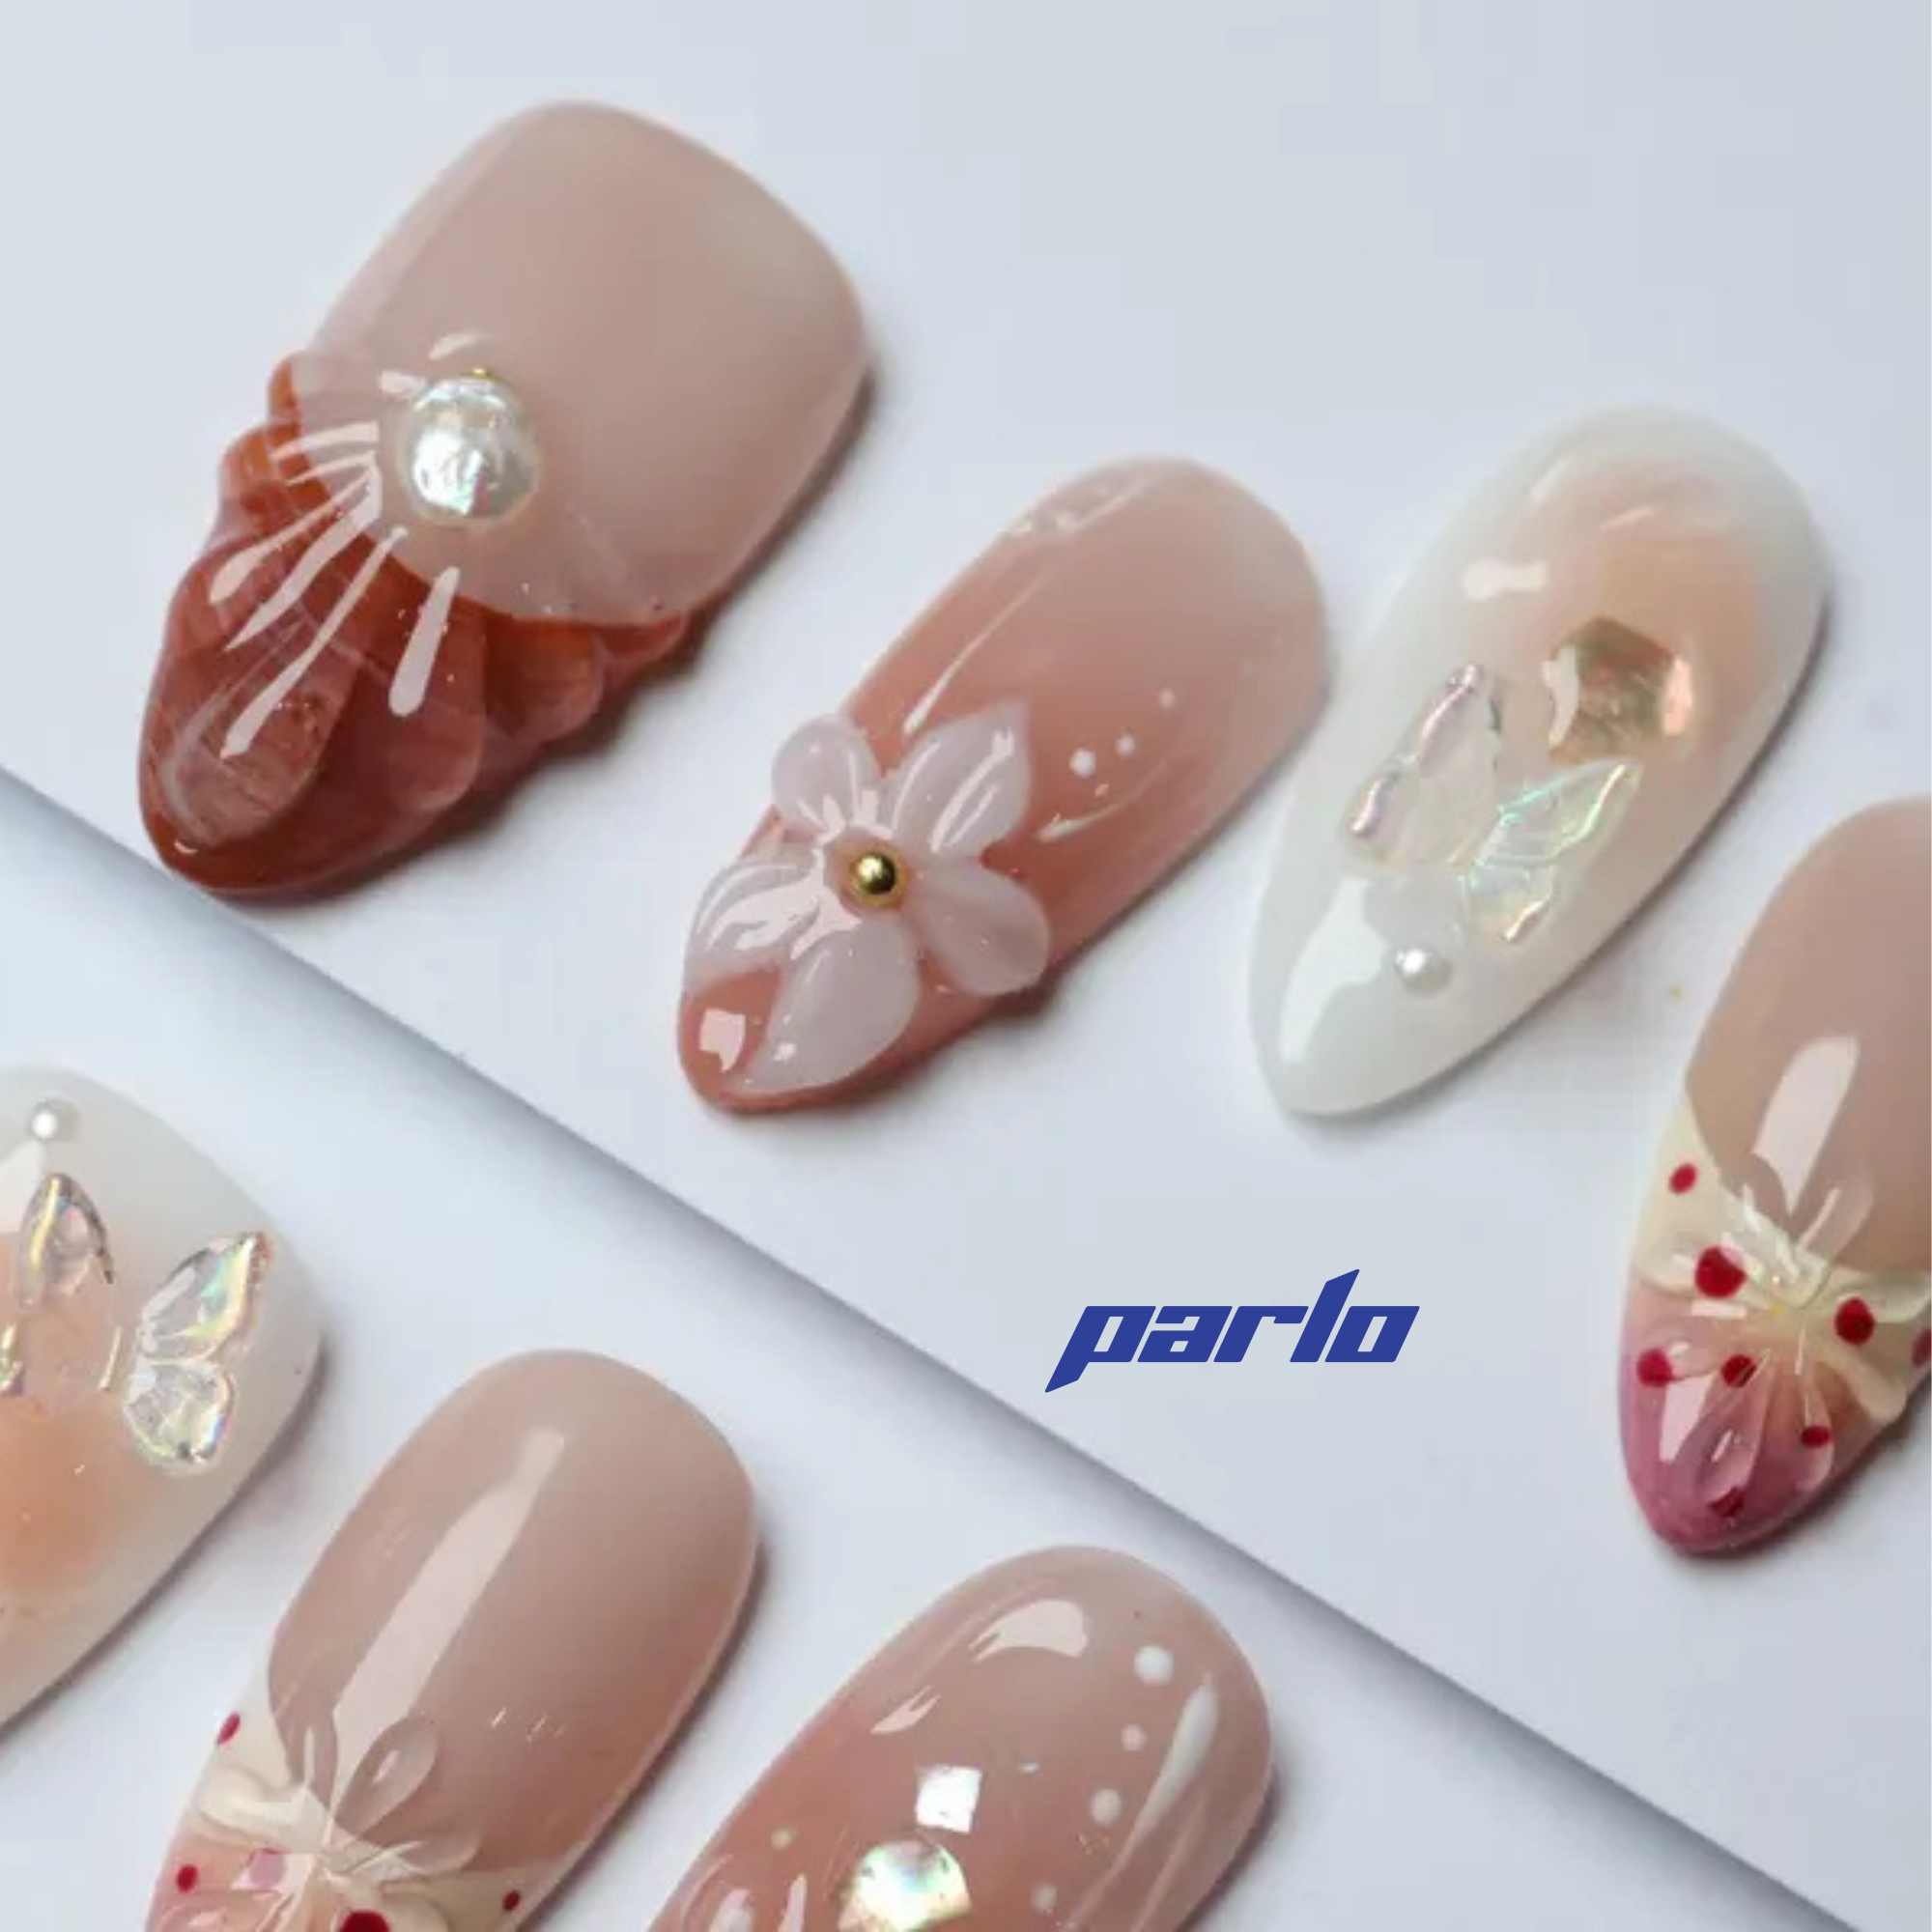
Immediately dip your nail into your chosen dip powder color at a 45-degree angle. Gently tap off any excess powder. Repeat steps 2 and 3 for a second or third layer, depending on the desired opacity. For a fun and unique look, consider adding some floral accents. Check out these beautiful 3D floral press-ons!

Step 4: Apply Activator
Once you've applied the desired number of powder layers, brush on a generous coat of activator to all nails. This hardens the powder and prepares it for filing.
Step 5: File and Shape
After the activator has dried (about 1-2 minutes), use a nail file to shape your nails to your desired length and shape. Use a buffer to smooth out any imperfections.
Step 6: Apply Another Coat of Activator
Apply a second coat of activator to ensure complete hardening and a smooth surface.
Step 7: Clean Up
Use a lint-free wipe and alcohol to clean the surface of your nails and remove any remaining powder residue.
Step 8: Apply Top Coat
Apply a thin, even layer of dip powder top coat. Allow it to dry completely. For a high-shine finish, you may need to apply a second coat of top coat. For a pop of color or a unique design, consider exploring different powder options. Aloha Acai is a popular choice!

Step 9: Clean Your Brushes
Immediately clean your dip powder brushes with brush saver to prevent them from hardening and becoming unusable. This is crucial for maintaining your supplies.
Step 10: Moisturize
Finish by applying cuticle oil to your cuticles to keep them hydrated and healthy. This will also enhance the overall appearance of your manicure.
Tips for Success
- Apply thin layers of base coat and powder for a smoother finish.
- Tap off excess powder after each dip to avoid a bulky look.
- Don't forget to clean your brushes immediately after use.
With a little practice, you'll be a dip powder pro in no time! Enjoy your beautiful, long-lasting manicure!
Ready to elevate your nail game? Explore our collection of dip powder colors and accessories today!
Generated from keyword: "How to Apply Dip Powder Nails at home in 10 Easy Steps!"